
So I am starting a new thing on Mondays. The little things we really can make for ourselves which no one knows how to make anymore…Make it yourself Monday. I decided to start with butter because I happened to be making some.
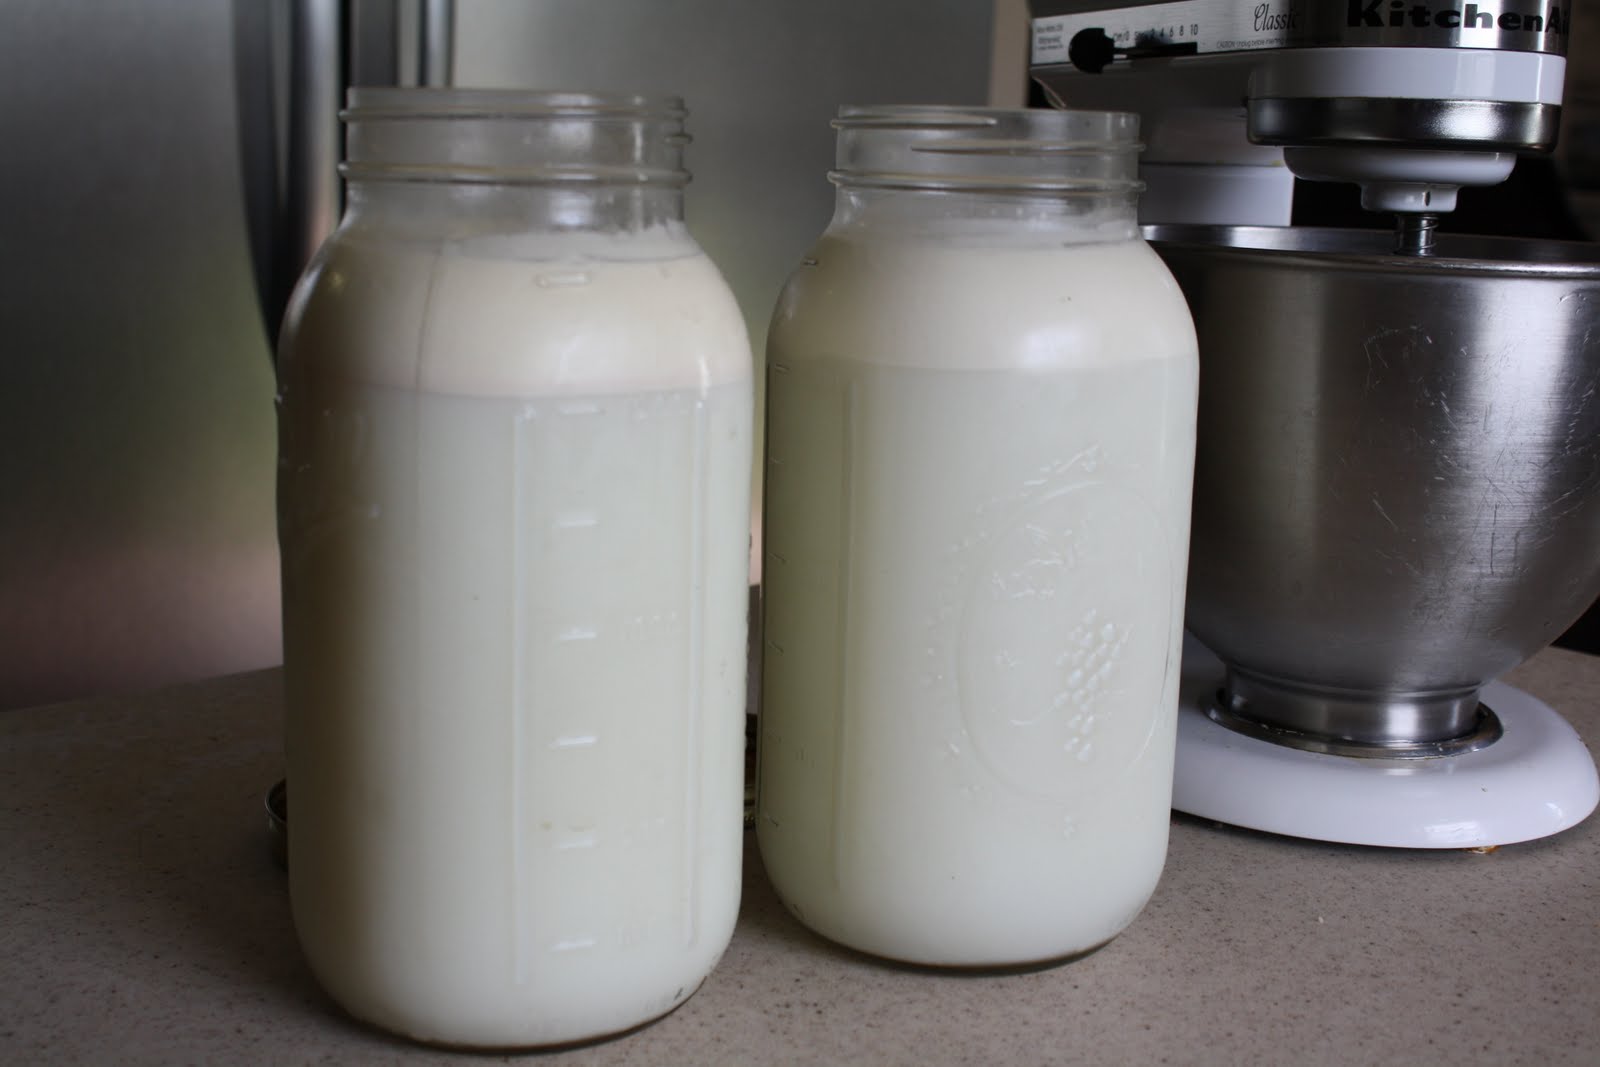
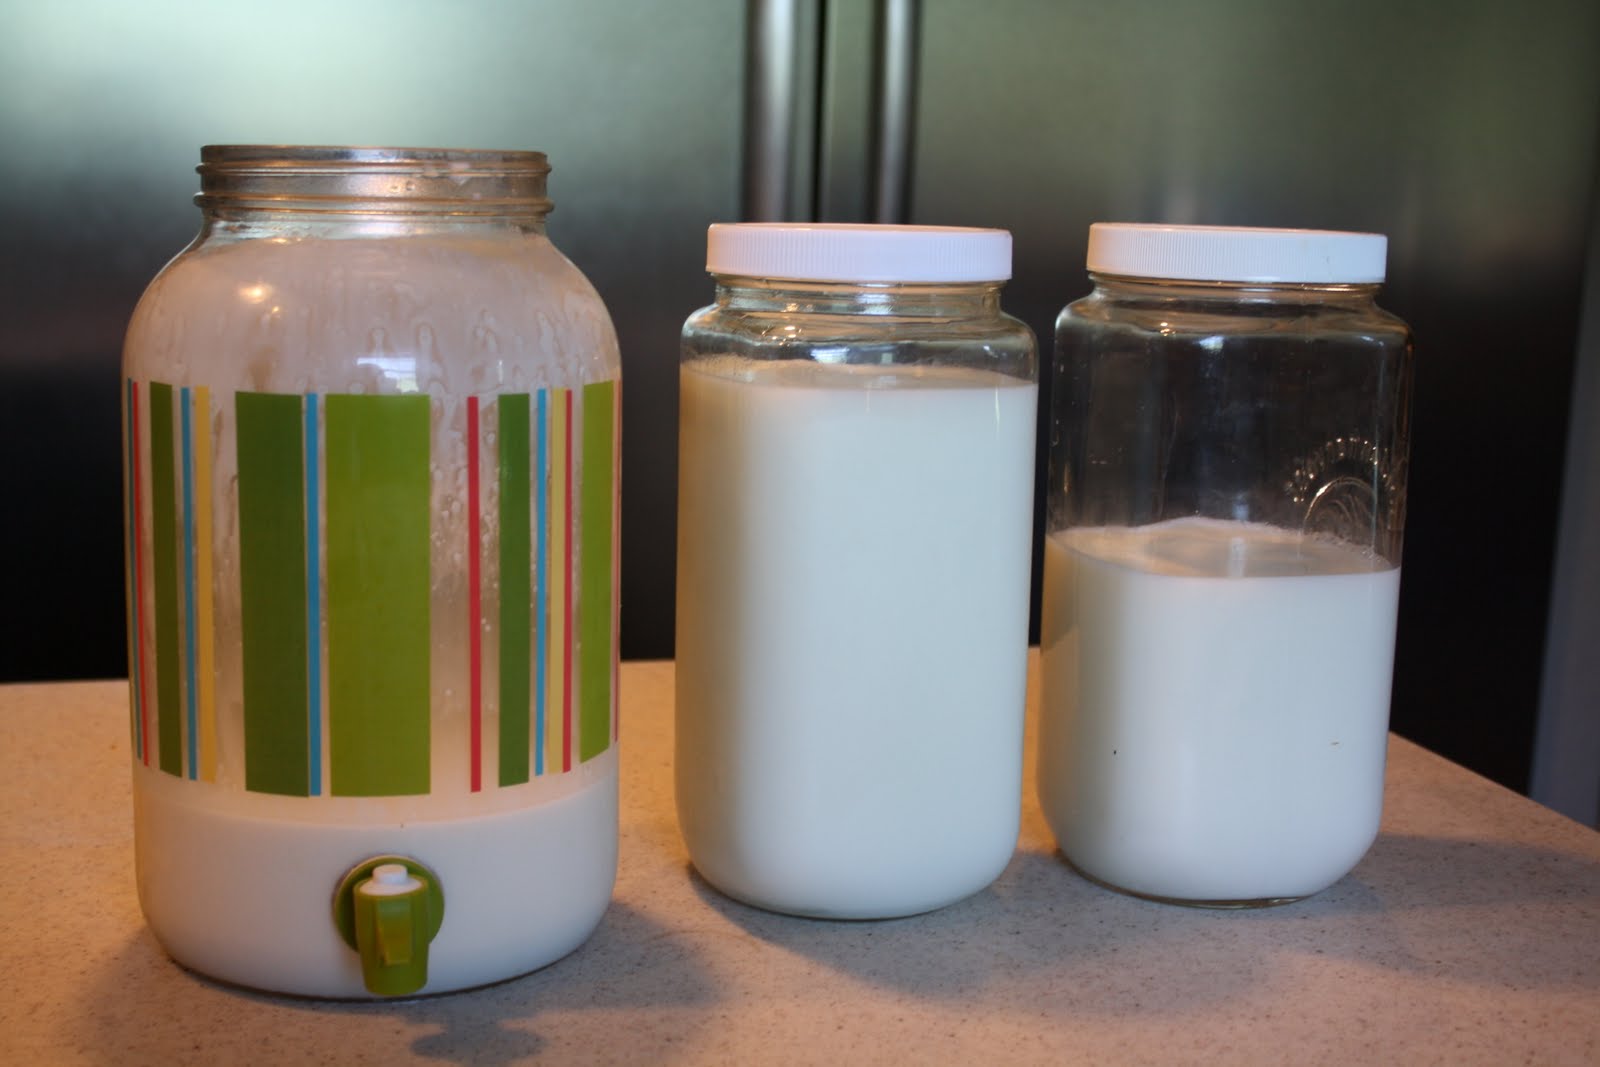
This is seriously so easy! You need only one thing…raw milk! OK you could go to the store and buy some cream but digress.
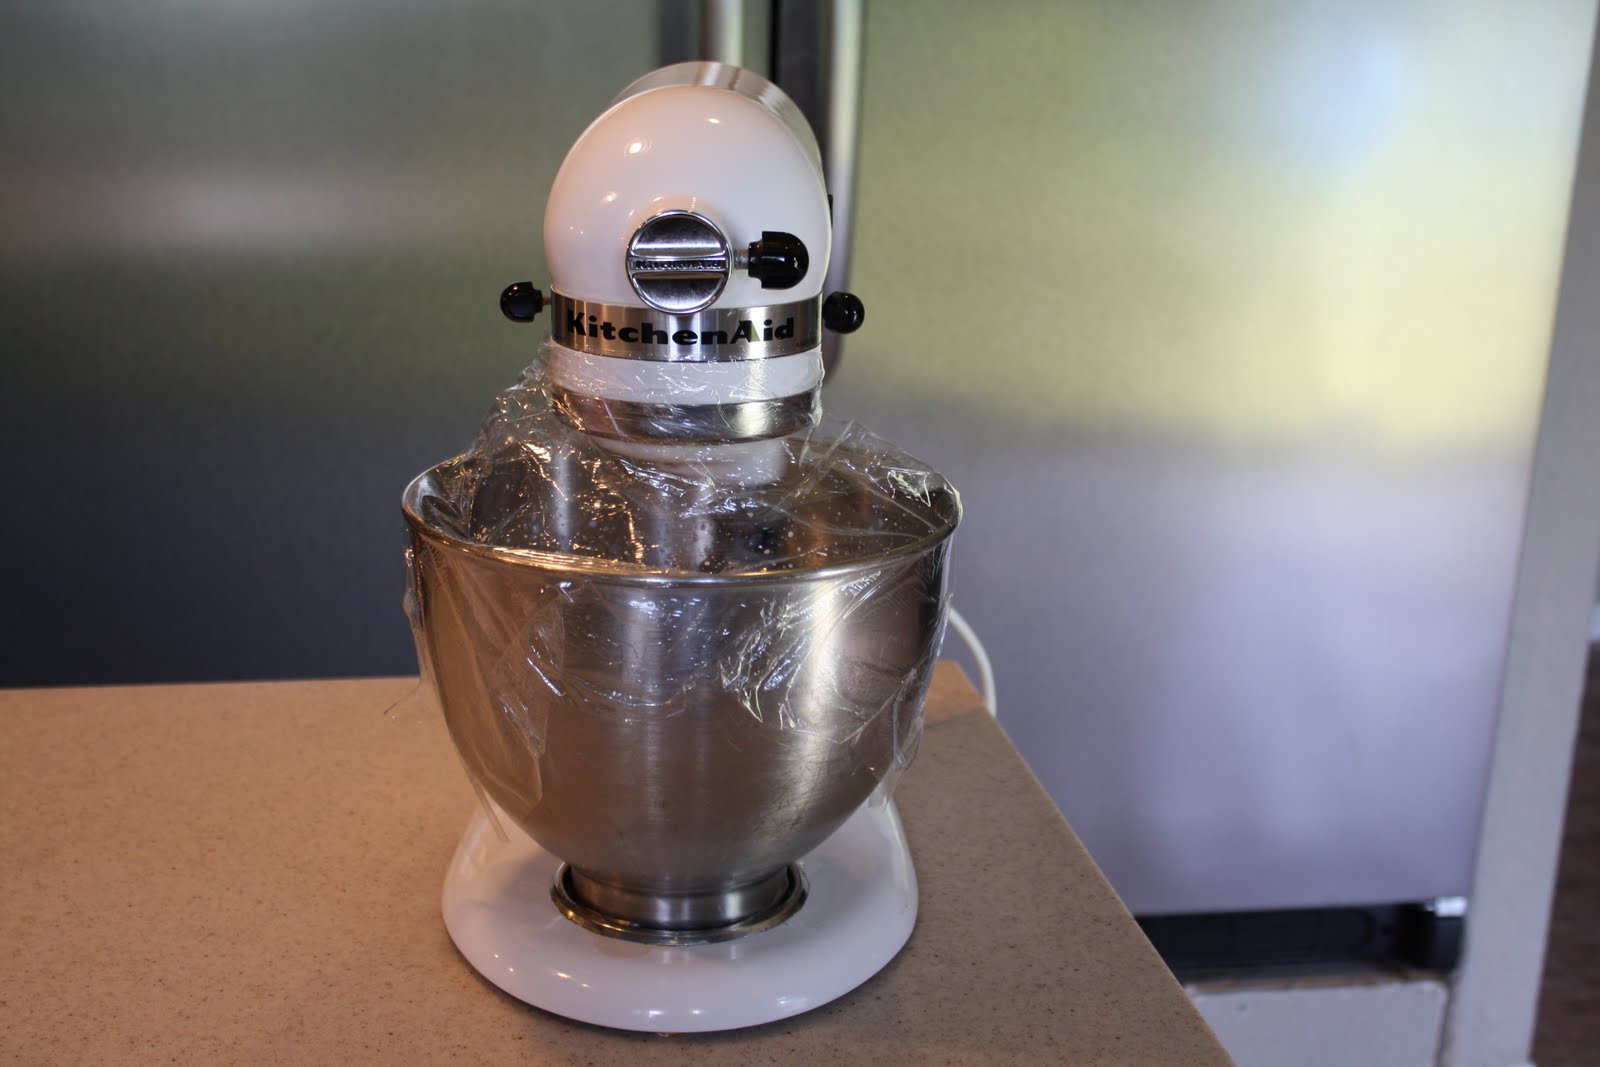
Pour your cream (room temp) into the bowl of your mixer.
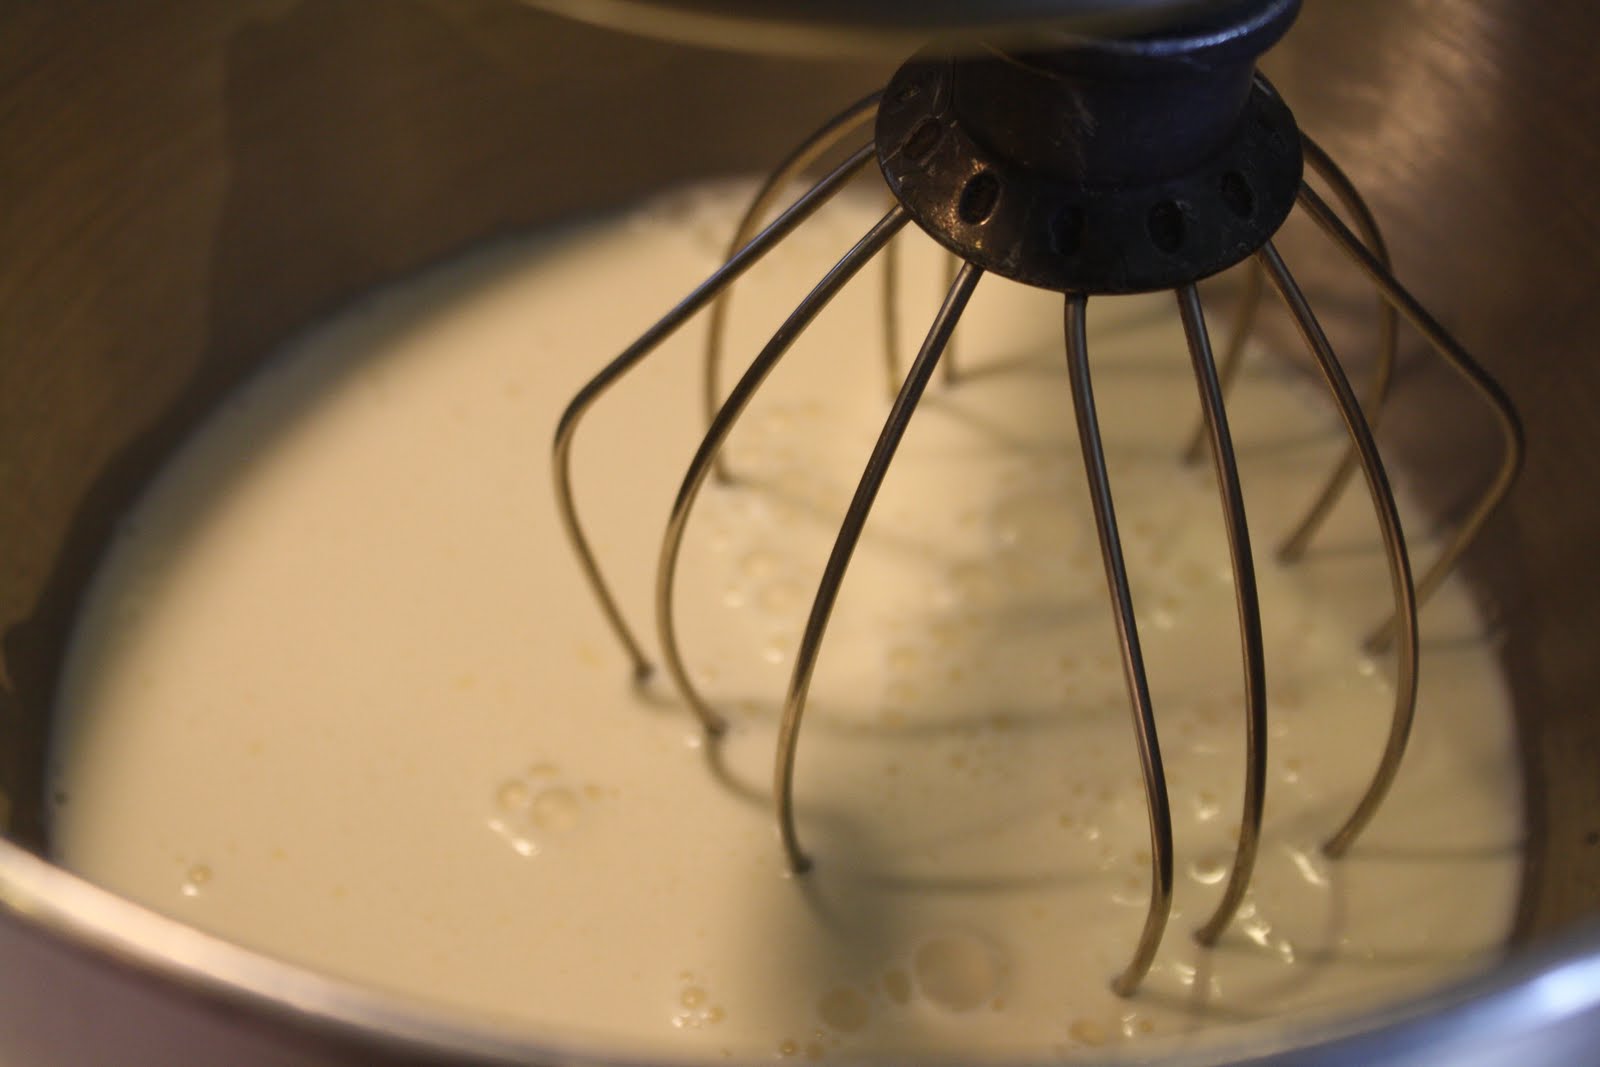
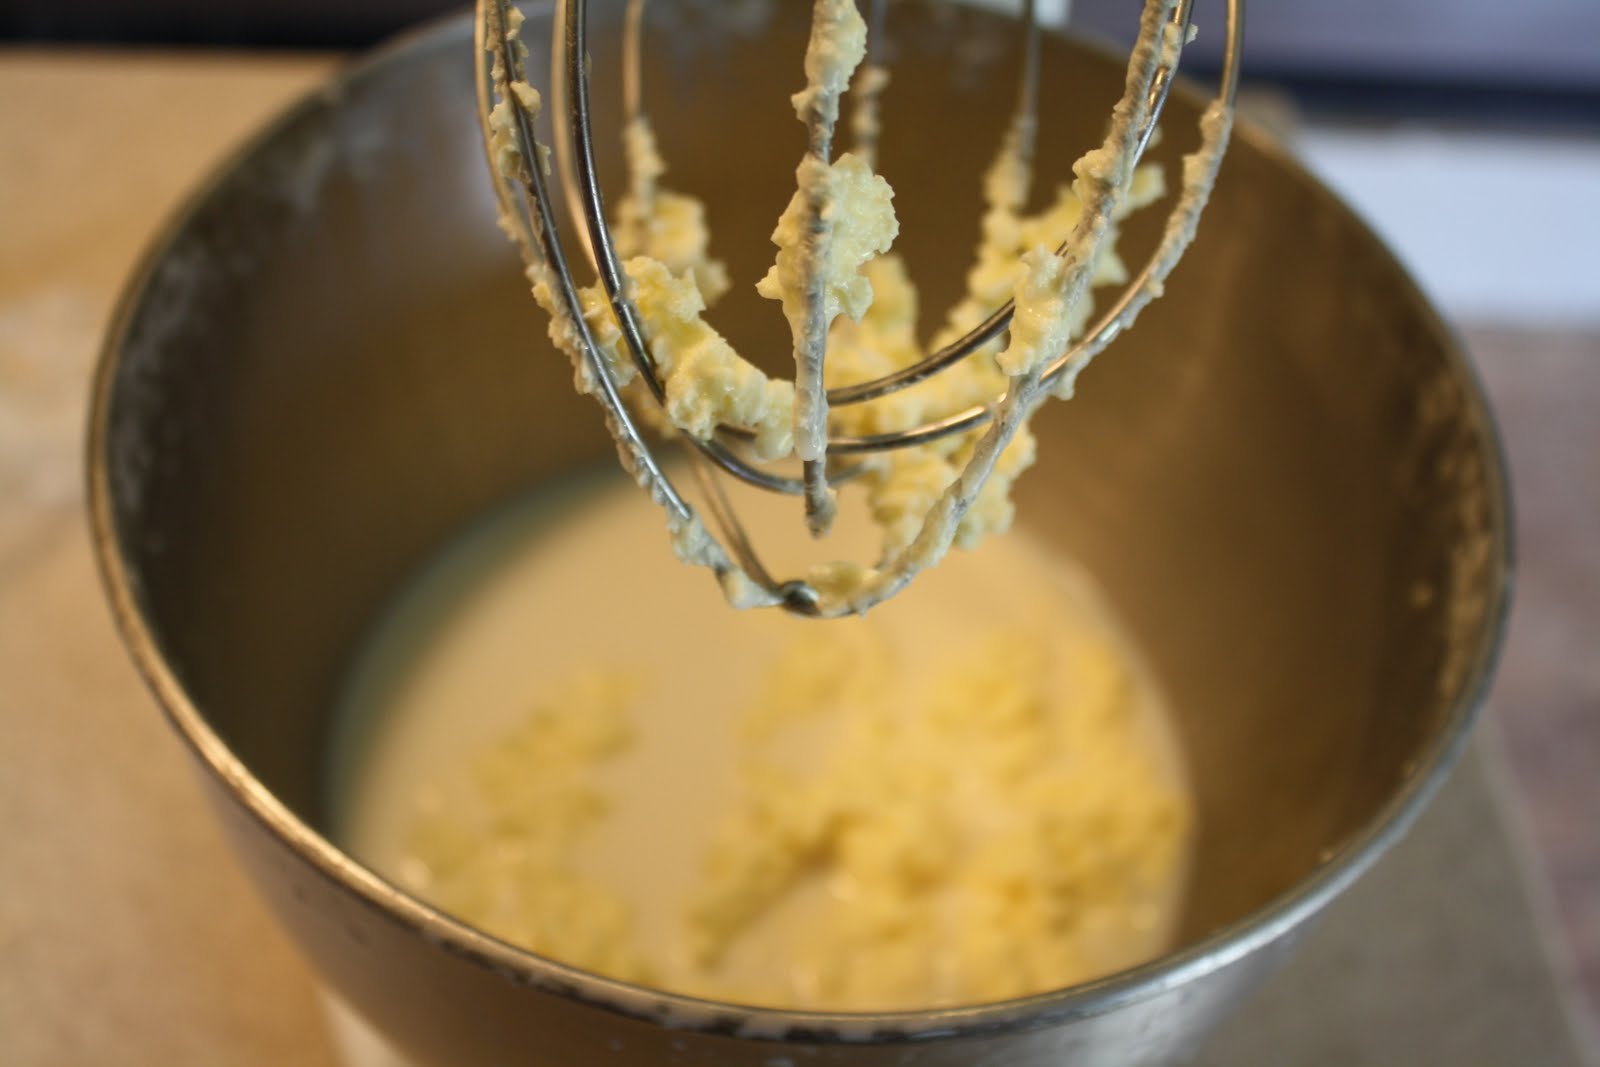
If you don’t have a splash guard you are going to want to put some plastic wrap around it or you will be bathing in cream. Start your mixer on medium and work it up to fast. Let it mix on high for a few minutes and keep an eye on it. I think this took about 3 minutes and
the fat started separating from the buttermilk.

when you see the cream look grainy, you are almost done.
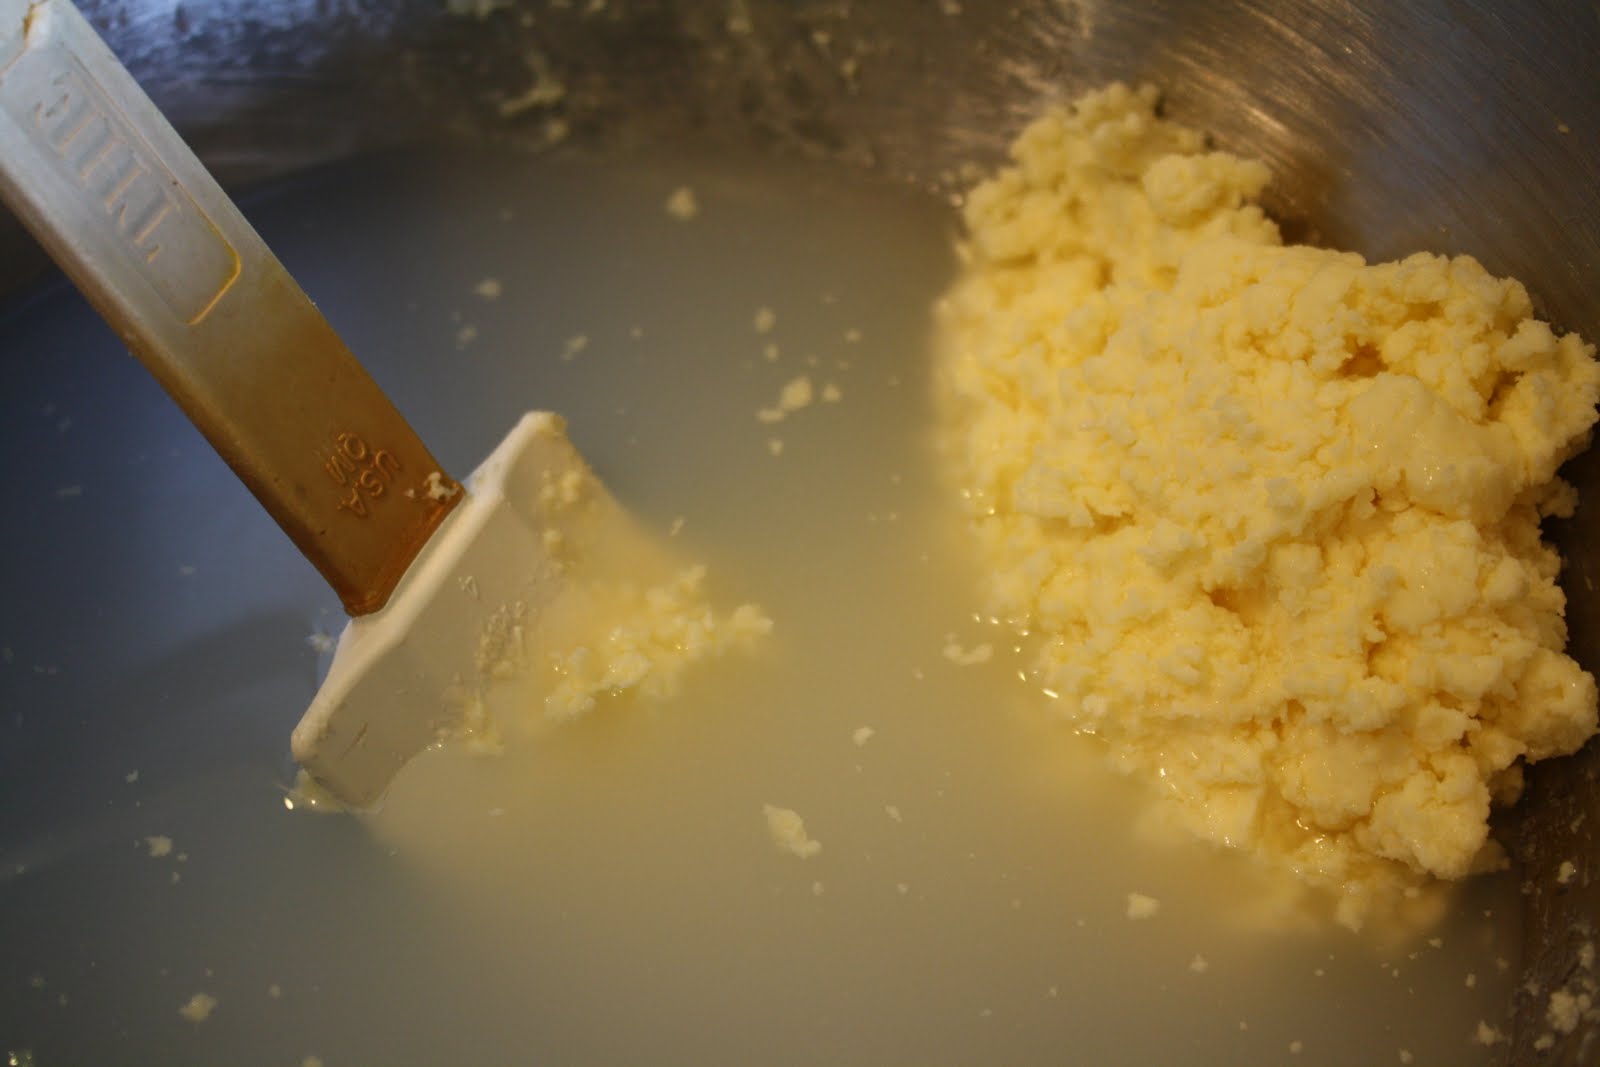
Now you have to pour the buttermilk off of the butter. I took a spatula and just pressed all the butter to one side and then poured off the liquid into a container (don’t throw it away, I use it to make pasta, and pancakes).

Next we are going to wash the butter. You are supposed to wash the butter to get the buttermilk out so it does not spoil too quickly. I don’t normally do this because the butter does not last long enough in my house to get rancid. Just pour some ice cold water into your butter and press the butter with your spatula to get any buttermilk out. Pour the water off and enjoy your butter.


Awesome! We've been using the jar method, but without the marble. Also, we didn't think of skimming the cream off first. We're all over this method! God bless!
We tried it at Pioneer School, where 3 of the boys shook so hard the marble broke their baby food jar and spoiled the butter. That's just how boys are. I don't think the marble made it go any faster. It shows kids how tough it was in Laura Ingalls Wilder books!Warmly,Candise & CrewMo Catholic homeschoolers
Heidi, you can make it in a jar, with or without a marble. My kids have tried that one before but for me, my arm would fall off lol. You can't use half and half because you need lots of fat to make butter. You can definetely use cream. Next monday I am showing how we make farmers cheese from the milk that we did not use on the day of the butter making.
OK, here's a comment. You can use cream, right? Will half-and-half work? I think you can make it in a jar without a marble, too. Just takes longer.
Fugzilla, Can I just say I love you haha. You always post a comment and you have no idea how frustrating it is to keep up a blog like this and not get comments when my reader meter shows me people from everywhere visiting all day. Oh yeah about the butter, it was so much quicker to make than reading about it.
This looks so yummy. I haven't ever used a mixer to make butter, but I have done a kid project with a jar, a marble, and kids shaking the jars. Though if kids are too young, this could be dangerous if using glass jars. :-)You raise an excellent point. Why don't we make our own butter with my mixer. Thanks for the informative and inspiring post!