Archive | Make it yourself Monday RSS feed for this section

Make it yourself Monday: Grind your own wheat flour and winner of giveaway

Today being my baking day I started pulling out all my ingredients and my tools and while I was cleaning my grain mill I remembered how many people have told me that they can’t grind their own wheat because much like a pressure cooker, it is something that most people have not used and it is scary.

Hopefully after you read this you will see the real simplicity in grinding your own flour.  Freshly grinded flour also has so much more nutrients in it, its alive! 

First things first, my mill is called a Whisper Mill, it is old and by now I am sure there are much better ones out there but it does its job.  Its name is a mystery to me because I would not equate the word whisper with my grain mill.  It sends the dog running for cover and I have to use it while children are not napping and no one is seriously concentrating…the sound of an airplane taking off comes to mind : )  I do have a Vitamix that can grind wheat but it does not make it fine enough for my liking.

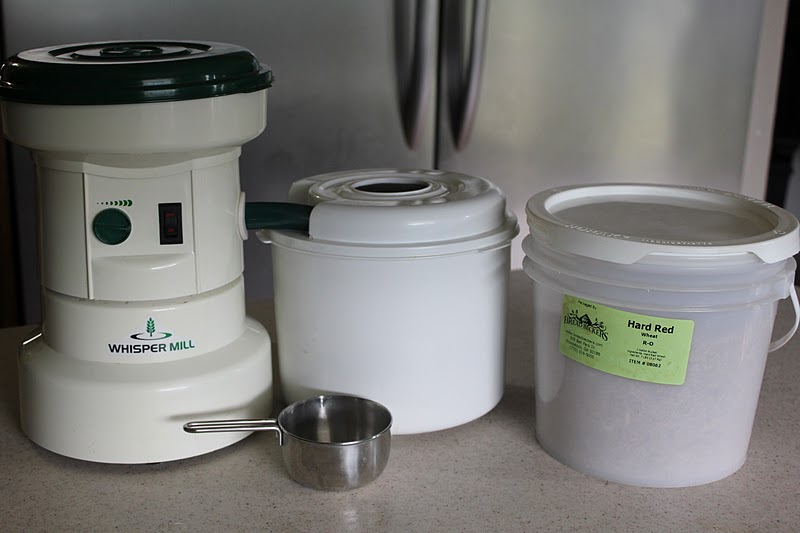
Another note of interest.  One cup of wheat berries will produce about one and a half cups of flour.

Ok so, seriously, this is going to be short.

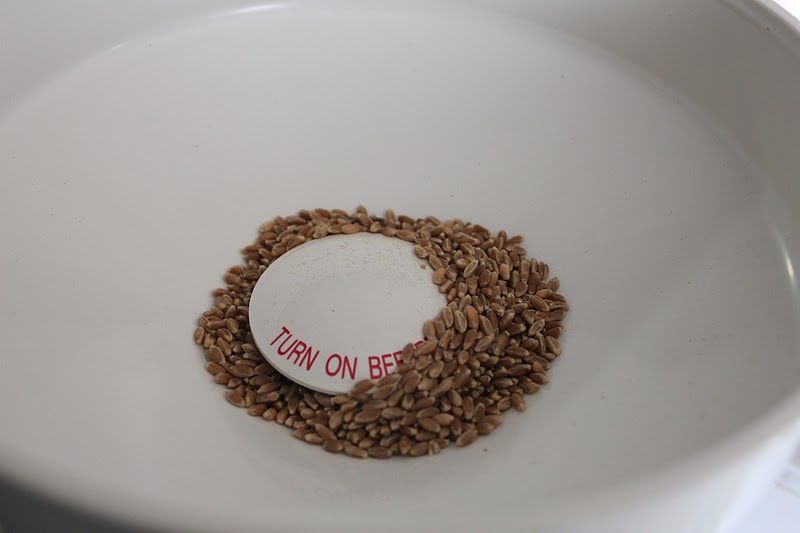
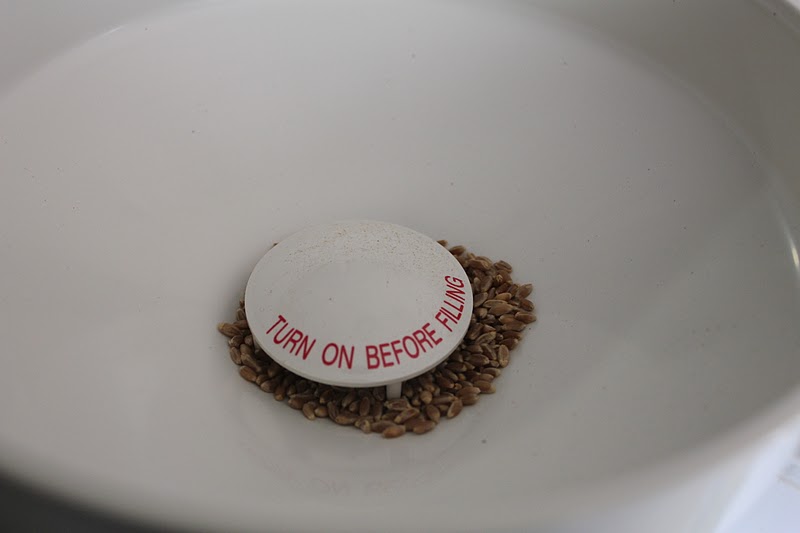
With my machine, you turn on the machine prior to putting the grain in. (read your own machines instructions) Set the machine to how fine or course you want to grind your wheat berries.

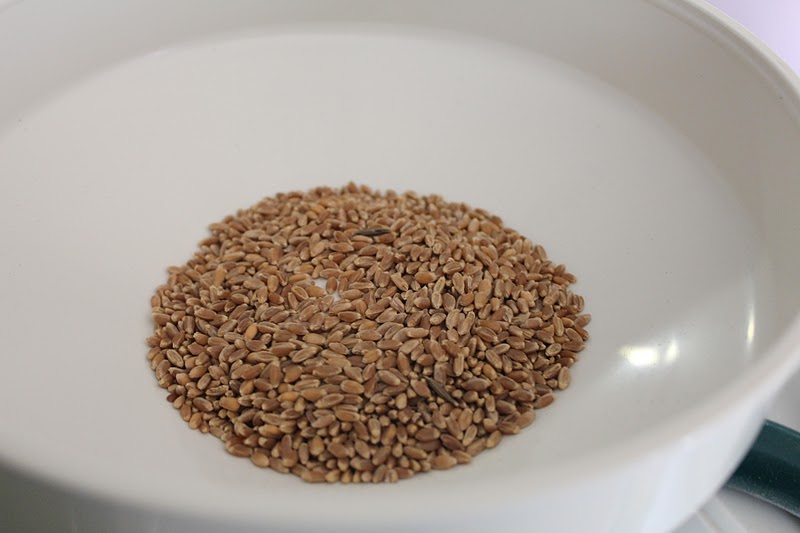
Pour the grains in but not too fast.

 going

 going

 going

gone

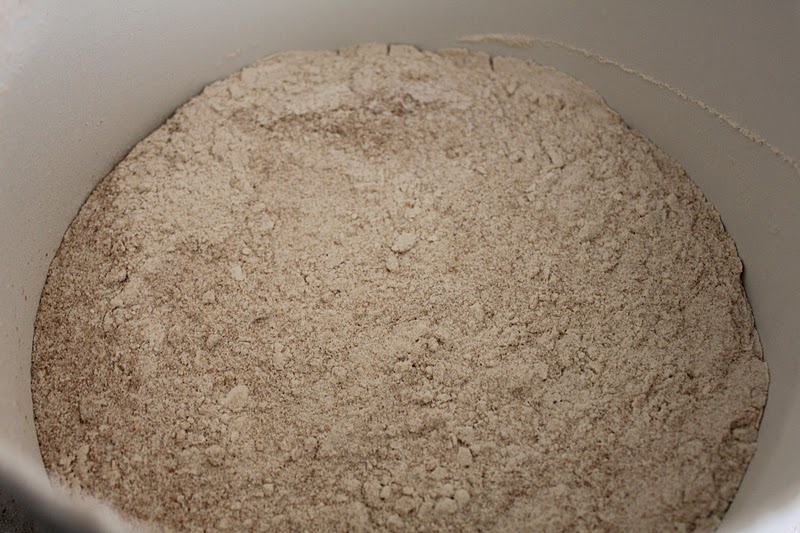
Retrive your flour from the receptacle.

Doesn’t get any easier than that!  Now pull out your favorite whole wheat recipe and get going.

Onto the giveaway winner… The lucky winner of the Flexi-clip from Lilla Rose is… RogerandKatie, Katie Vanderkamp. Katie, please contact me so we can get your prize underway.  Thank you to everyone who participated in the giveaway fun.  For anyone who would like more information, please visit Sarah Montee’s Lilla Rose website right here.  These will make great stocking stuffers that I know my girls will definetely use and yours will too.

Comments { 4 }

Make it yourself Monday: Homemade yogurt

I have been away for a few days. I burned my right hand kind of badly.  Actually, I burned all the fingers of my right hand.  I can do very little with it and it is very frustrating!  Thankfully, I took pictures while making yogurt on thursday.

My yogurt story: The year 2000 was a big year for me.  I had my fourth baby, stopped working and had to let go of our nanny.  In an effort to save a few pennies where ever I could I started learning how to make lots of things for myself.  I found a book called The Tightwad Gazette at the library and checked out the 3 volumes dozens of times. I read them cover to cover learning lots of little tricks including how to make yogurt.  That is a great full proof recipe, but…

It uses powdered milk to thicken the yogurt.  Who wants to add powdered milk to beautiful raw milk?  That also raises the price and so I spent the last few years trying to find a recipe that did not use it.  Then one day I just decided not to use it and guess what… it worked fine.  So, here is my recipe, the trick is to watch the temperature very carefully and then let your yogurt set up for 6 to 8 hours without moving it in a nice warm place.

All you need to make yogurt is whole milk and starter (yogurt from another batch or store bought yogurt with live active enzymes)  I buy organic or Dannon.  You may not use all the yogurt before it goes bad so one thing you can do is freeze the yogurt 3 tablespoons at a time in ice cube trays, if your ice cube tray is small try one tablespoon at a time.  Then at yogurt making time, just remove exactly what you need and set it out to defrost.

If you have a candy thermometer it will come in handy. Bring a quart of milk to 180 degrees, if you do not have a thermometer that is until the milk is almost to a boil.

 While you are doing this, measure out three tablespoons of your yogurt starter. Put the starter in a bowl so that it gets to room temperature.

Next, take the milk off the stove and cool the milk to 100 degrees. You can get lots of other little things done while you wait for this to happen. I do this on baking day so in between I am mixing and kneading dough.
Remove any skin that has formed at the top. Now add a little of the cooled milk to the bowl of starter and whisk it together. Add this to the cooled milk in a big bowl and mix it well.  I leave my yogurt in this same bowl to set up.

Now its time to incubate your yogurt.  This is the only tricky part.  If your yogurt fails it will be runny but don’t dispair, as I learned from The Tightwad Gazette, you can use it in smoothies or popsicles or baking.  In order for the yogurt to set up correctly, it needs to incubate at between 85 to 100 degrees, any higher and your yogurt may curdle. 

What I do is cover my bowl with a lid (I don’t use plastic wrap) and wrap it in a blanket.  Then I put it in a cooler and check on it in a few hours.  I only let my yogurt incubate for about 6 hours and then it goes in the fridge.  You may want to leave it a bit longer…up to you.  It comes out sweet and not too tangy. Some people put it in their gas oven where the pilot light will keep it at the correct temp but alas, I have no gas hee hee.

It costs me about $4.00 to make a gallon of yogurt.  At that price, my kids can eat as much as they want, and they do.  We sweeten our yogurt with whatever jam or preserves we have around and it is wonderful topped off with some vanilla macaron granola.

one less thing to buy at the store and it will have all of 2 ingredients in it.

Comments { 3 }