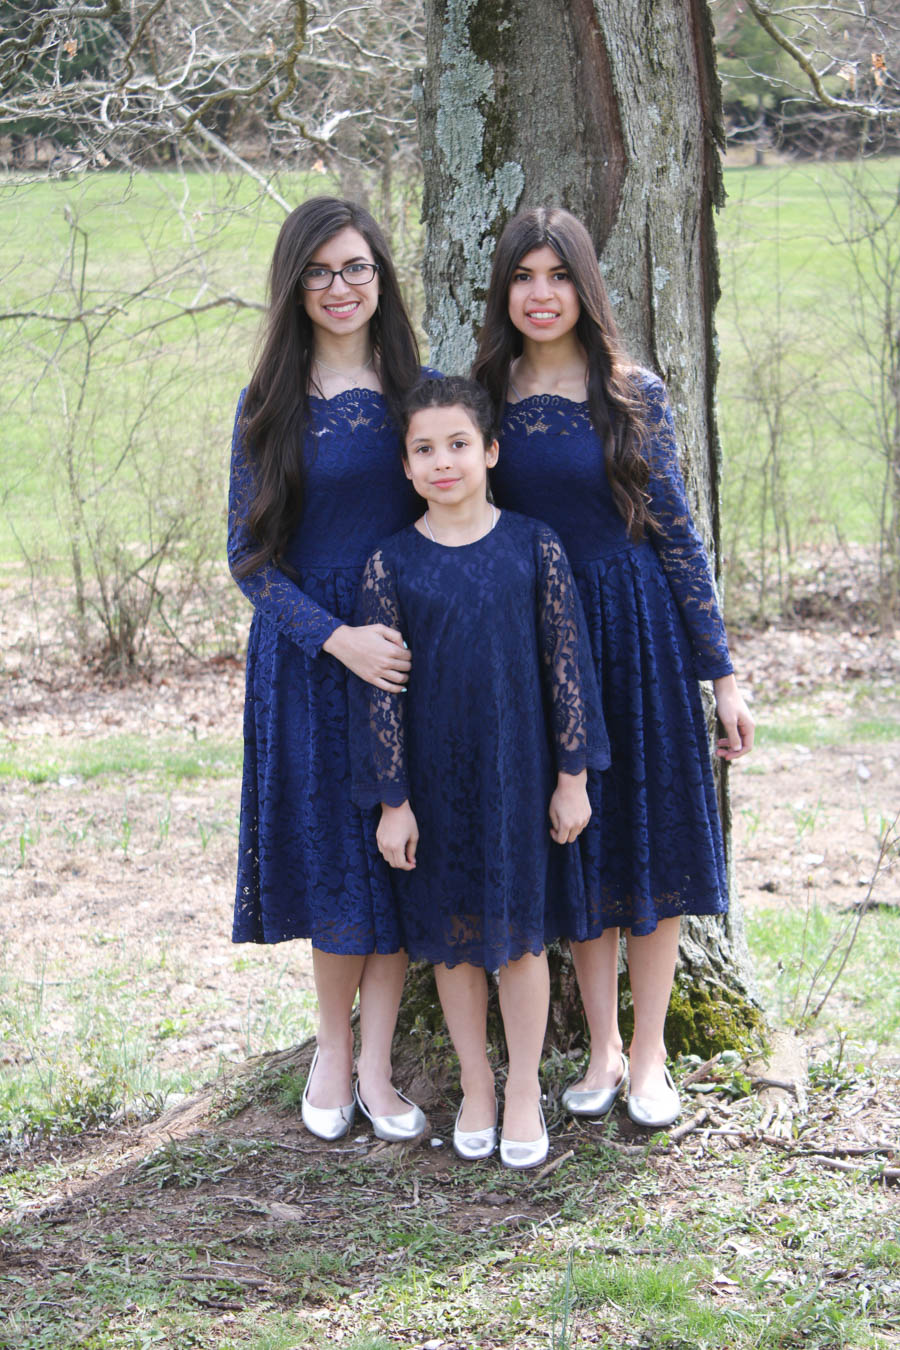
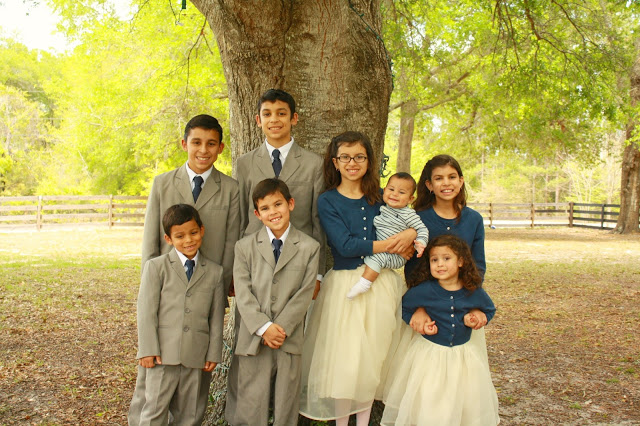
 My Wunderlist is full right now. Full of lots to do, Easter preparations, menus to make, shopping for food, sewing and gifts to finish, I still have to find ties for the boys to match with the girls dresses for our obligatory Easter pic (there is no way I am not going to get my pic… I do all the work and all I ask is for one or one hundred pics to cherish and look back on in the future) and of course, dyeing our Easter eggs.
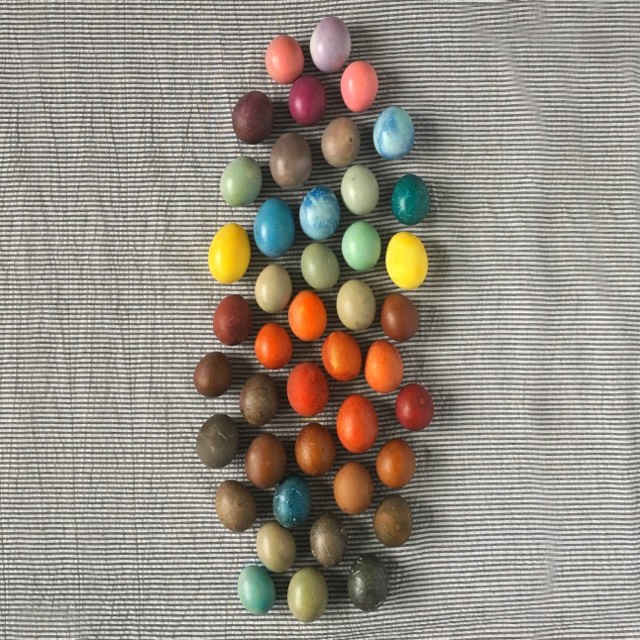
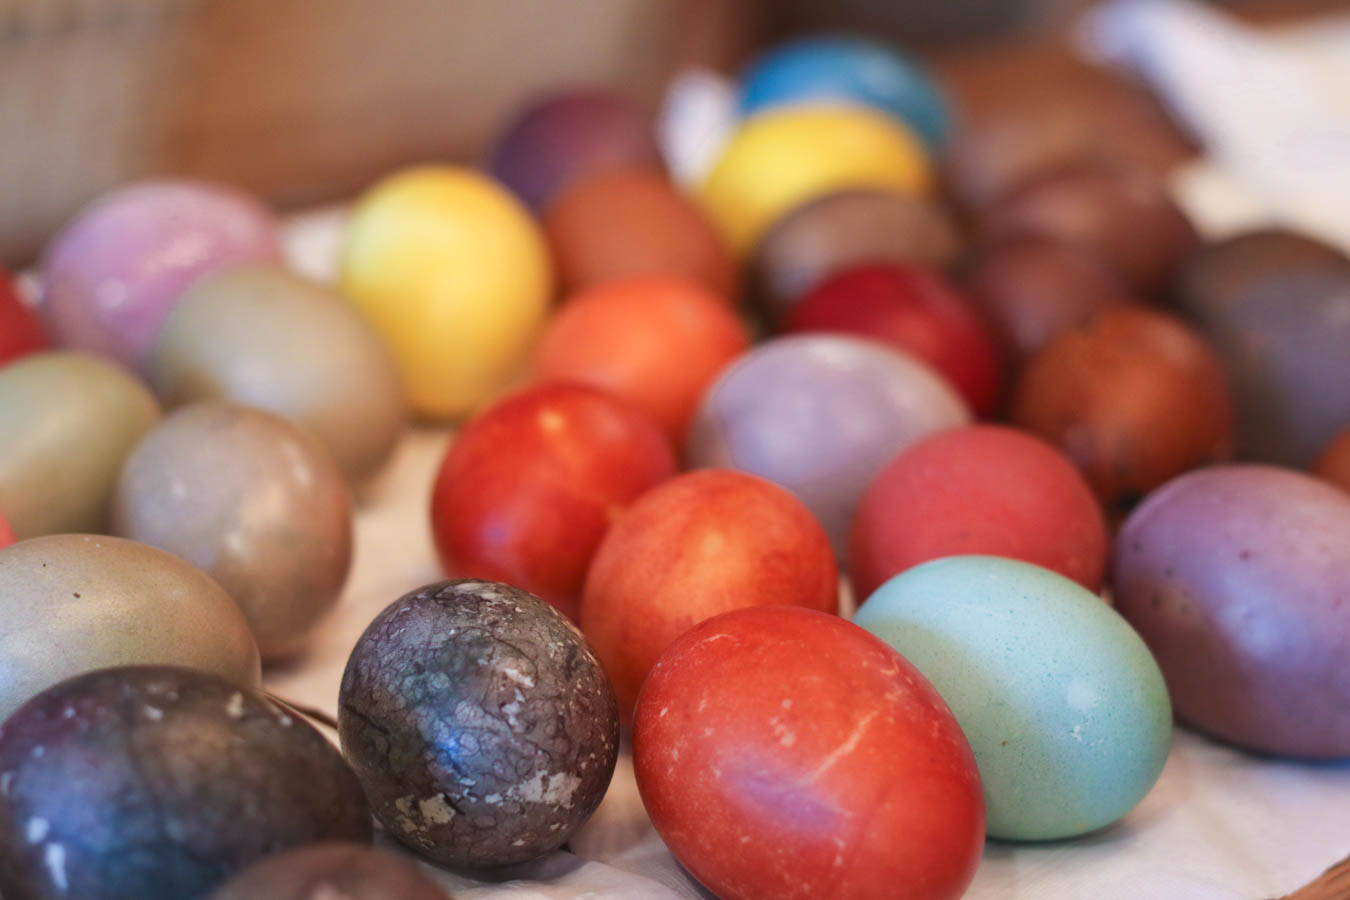
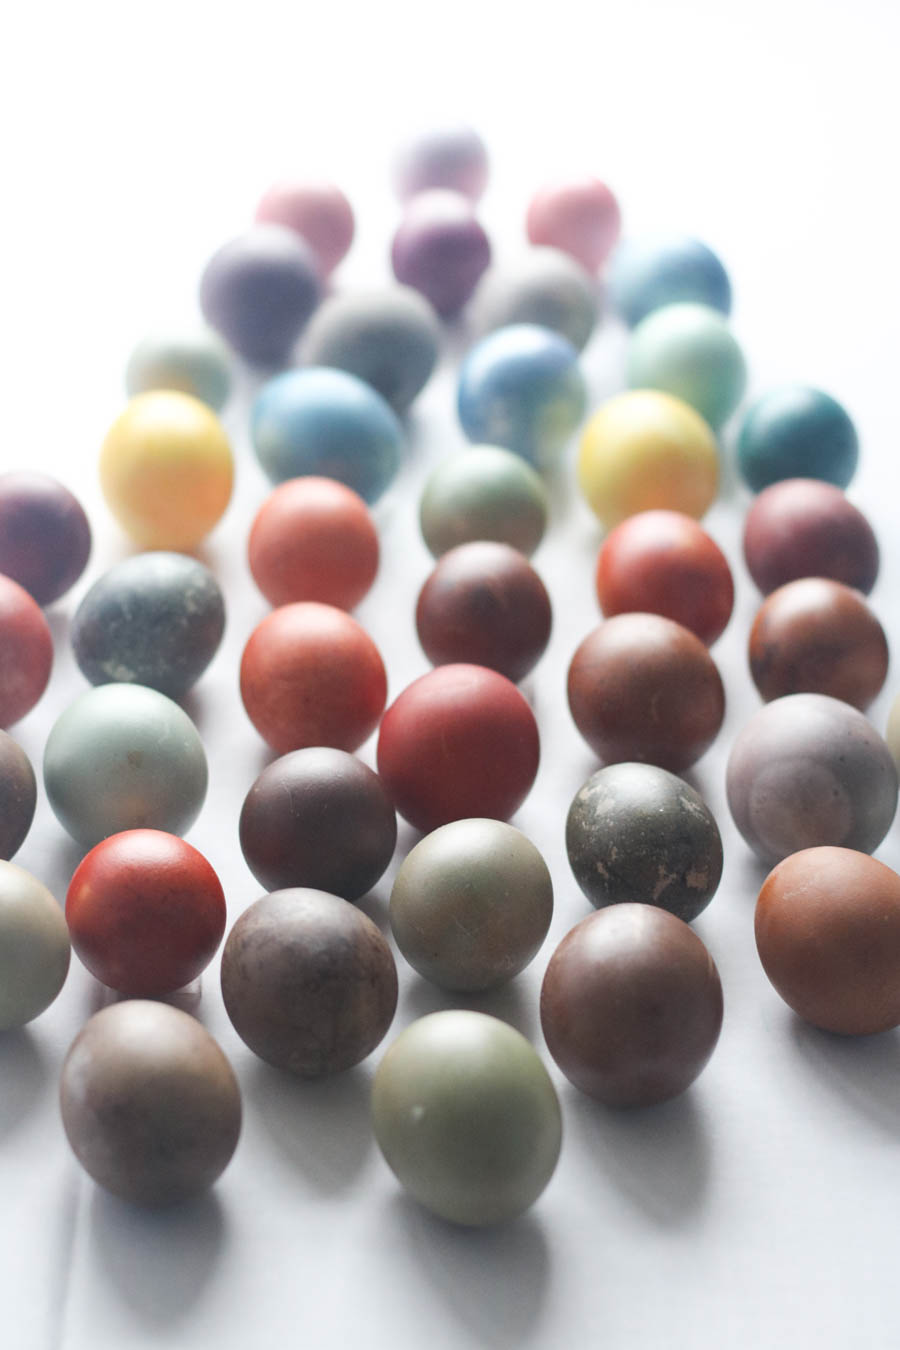
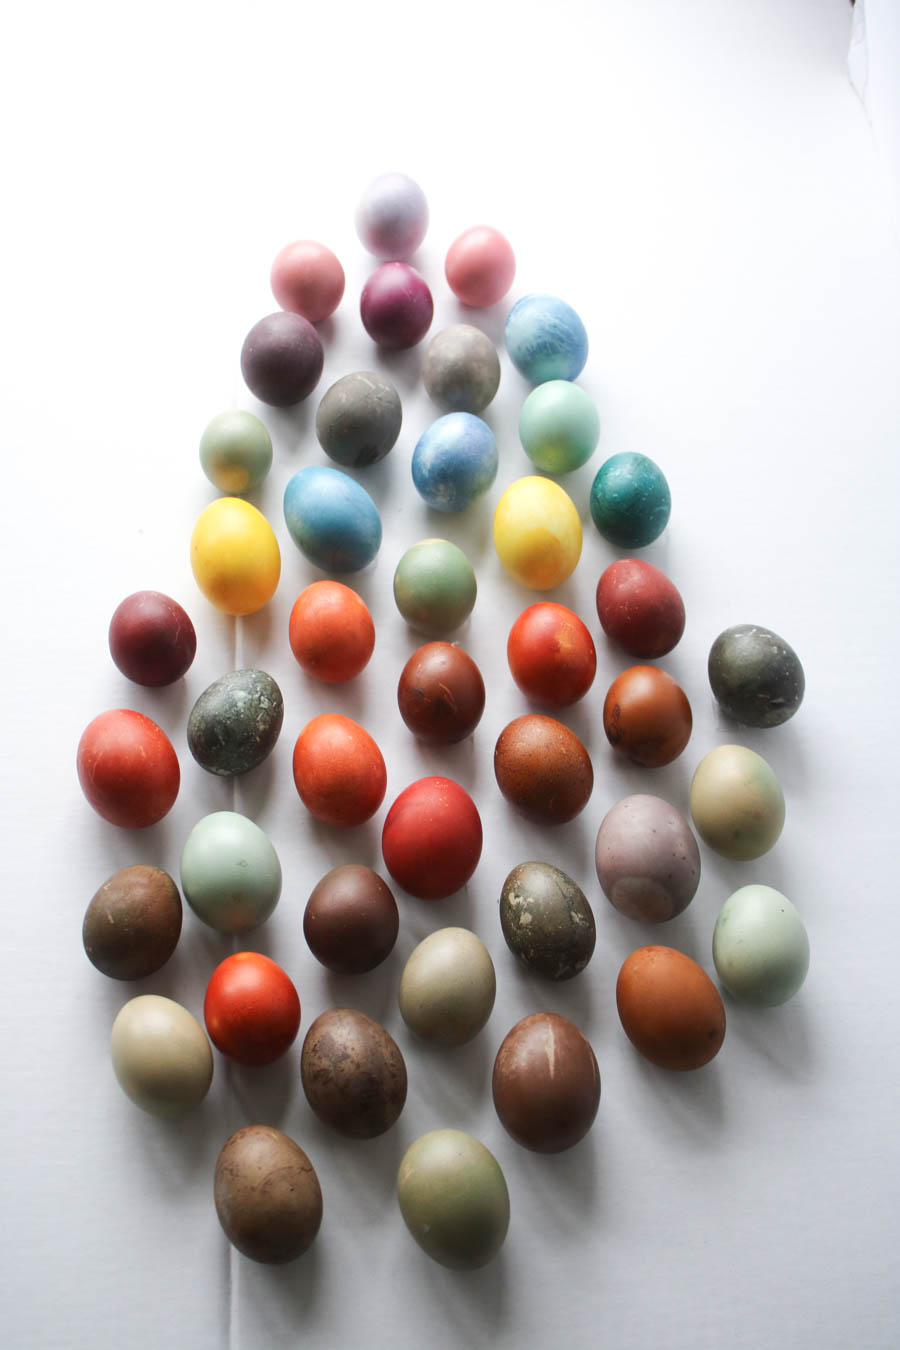
Like the rest of our life, I try to do things as simply and naturally as possible and our eggs are no exception. Actually, even if you aren’t yet pursuing a natural life, I bet you would love this activity. Dyeing eggs with natural dyes is a process. You don’t just dunk an egg and come up with consistent color quickly, no this is different. Every dye we make will make a different egg color depending on whether we added vinegar, salt or baking soda, how long we left the eggs in, if we boiled the eggs in the dye or just put them in to soak into cold dye. It is so fun and so unpredictable.
For each dye, I started with water and added the spice or plant and boiled it until I got the most color I could out of it. For some I added a few tablespoons of white vinegar to set the dye or salt, for some I added baking soda to affect the ph and change the color. Sound hard? I promise its not.
For each recipe I started with 4 cups water. Instructions for each color is as follows:
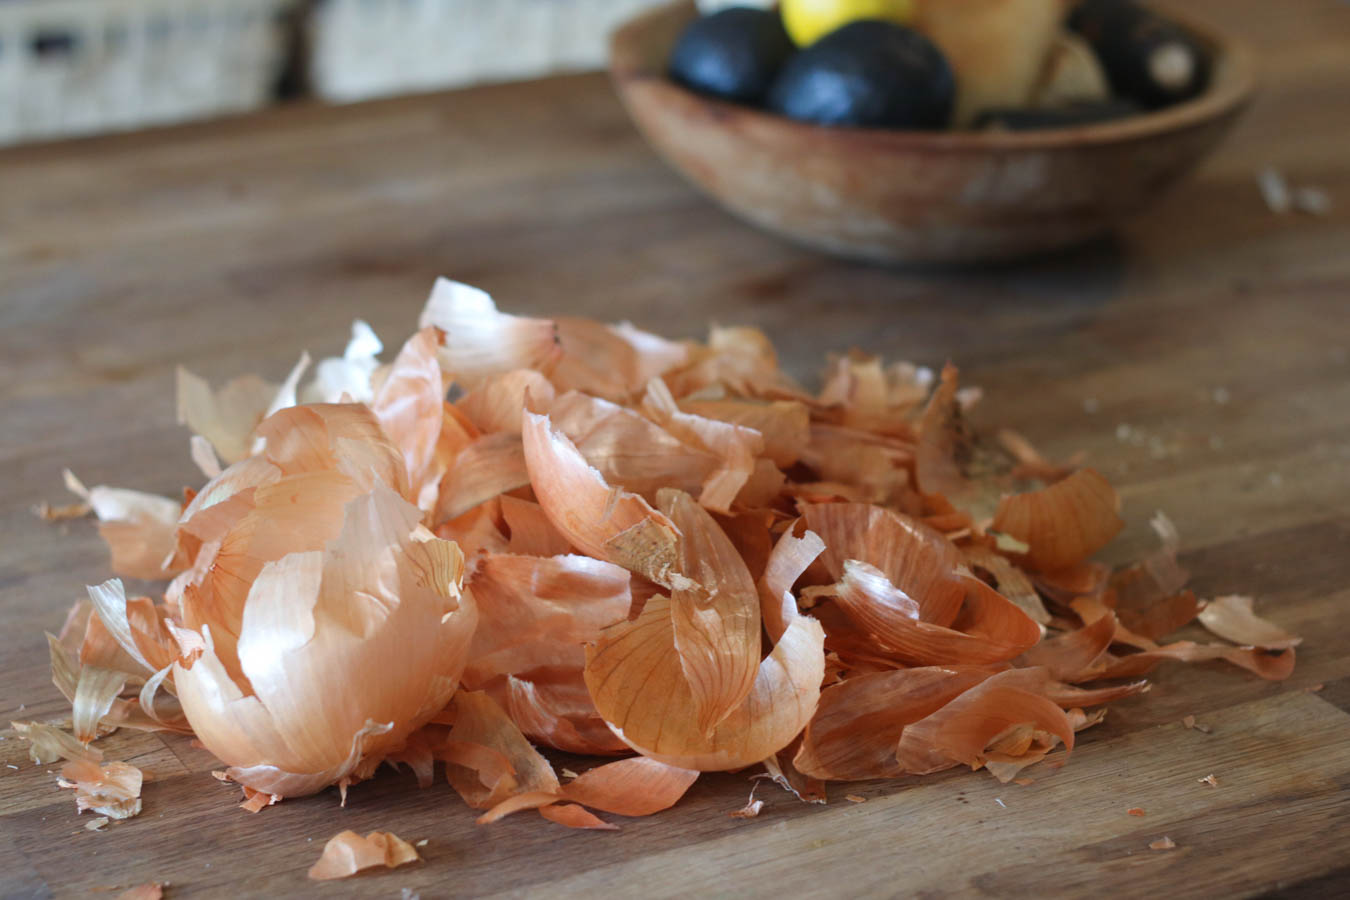
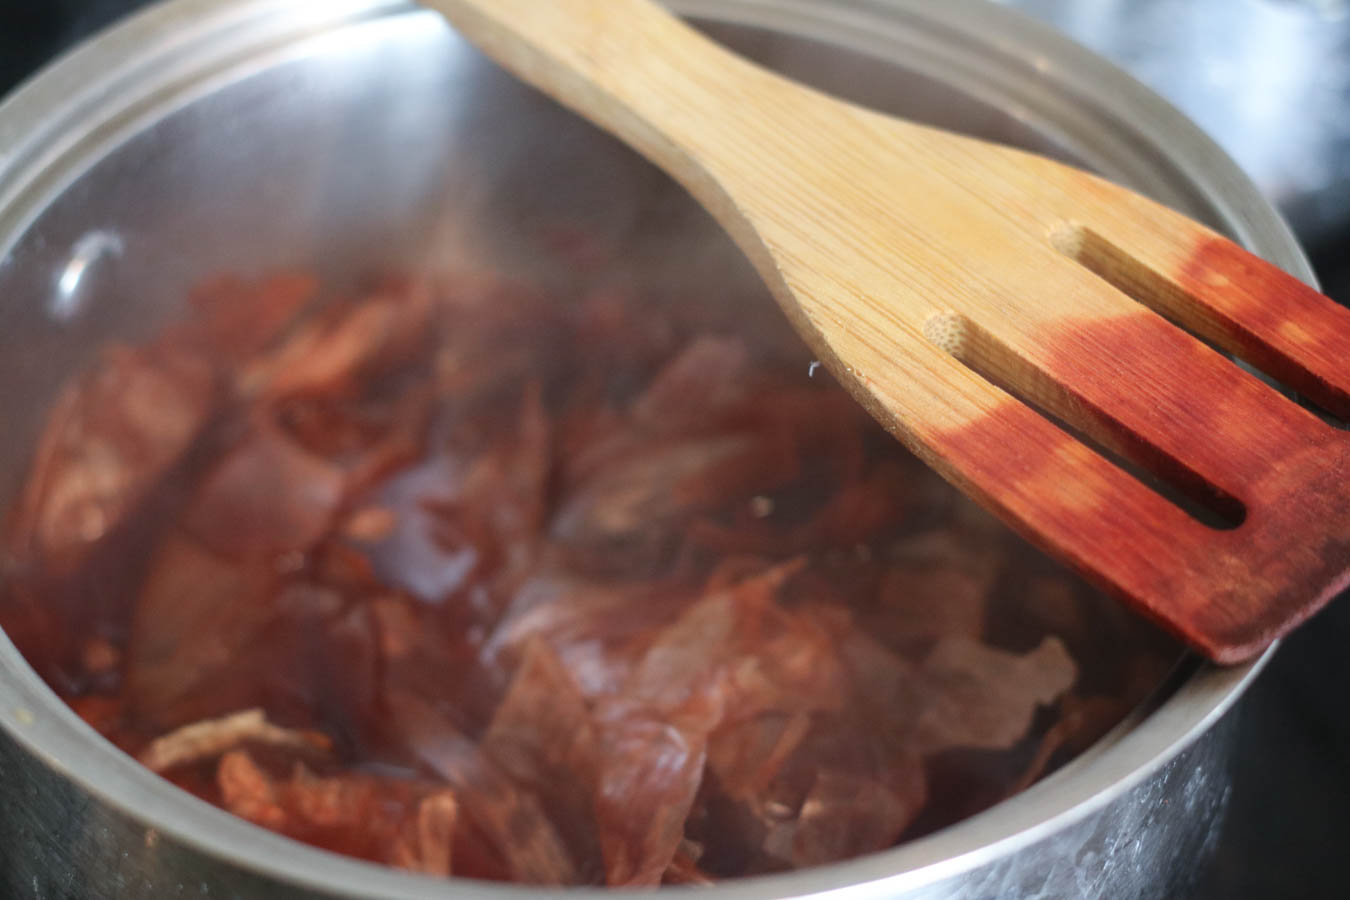
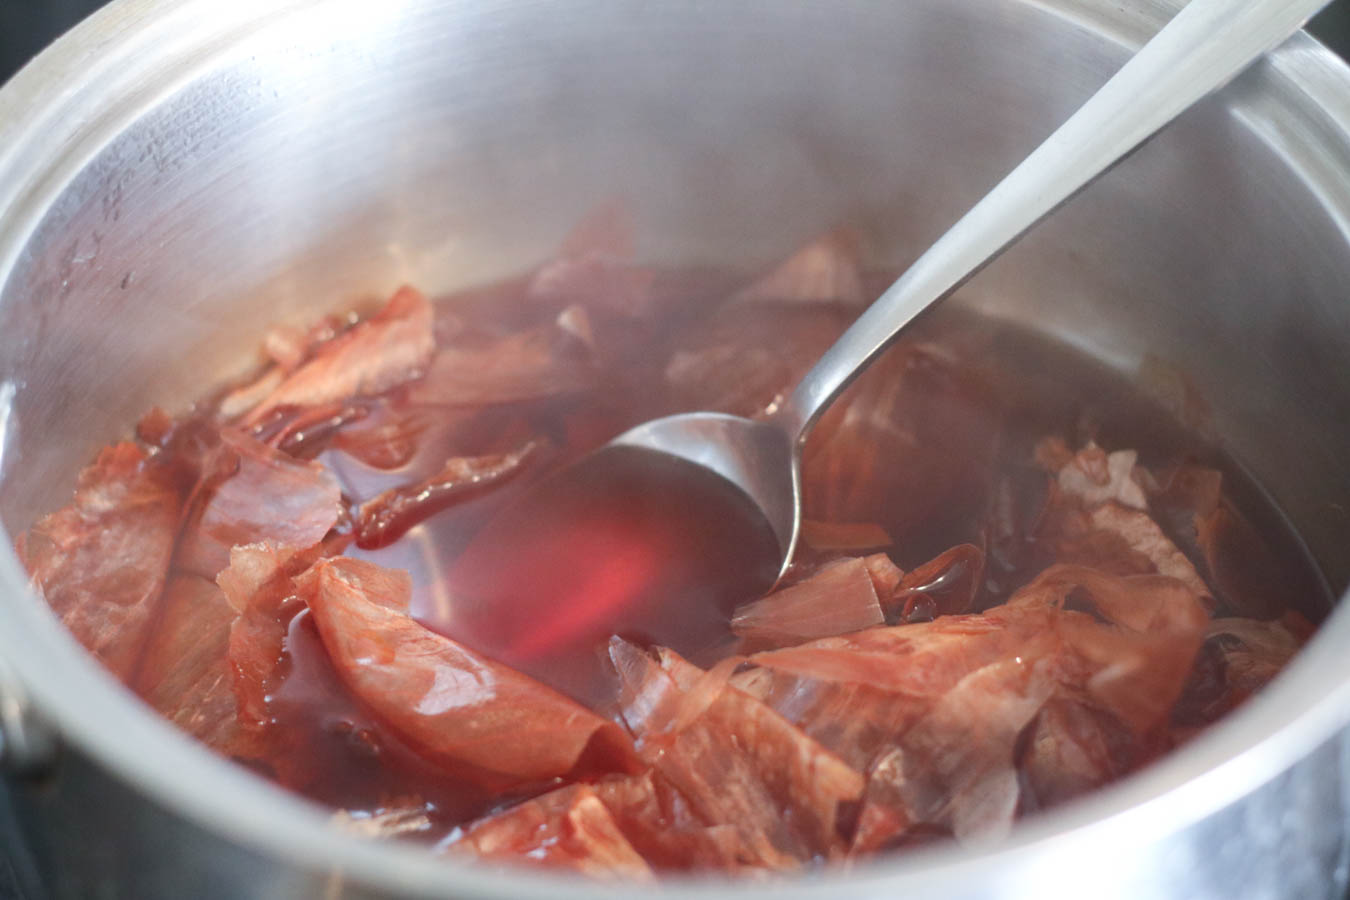
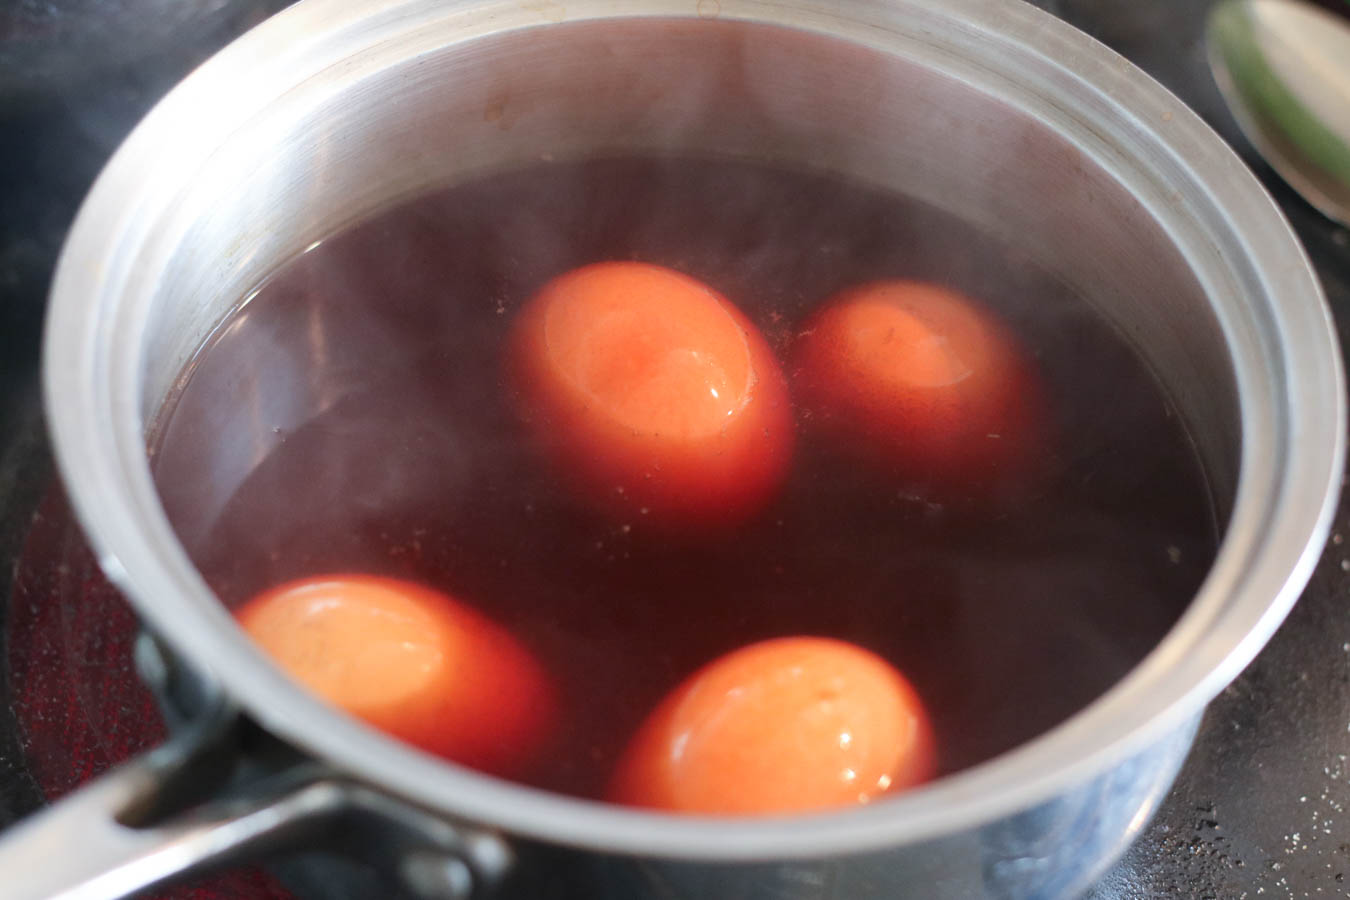
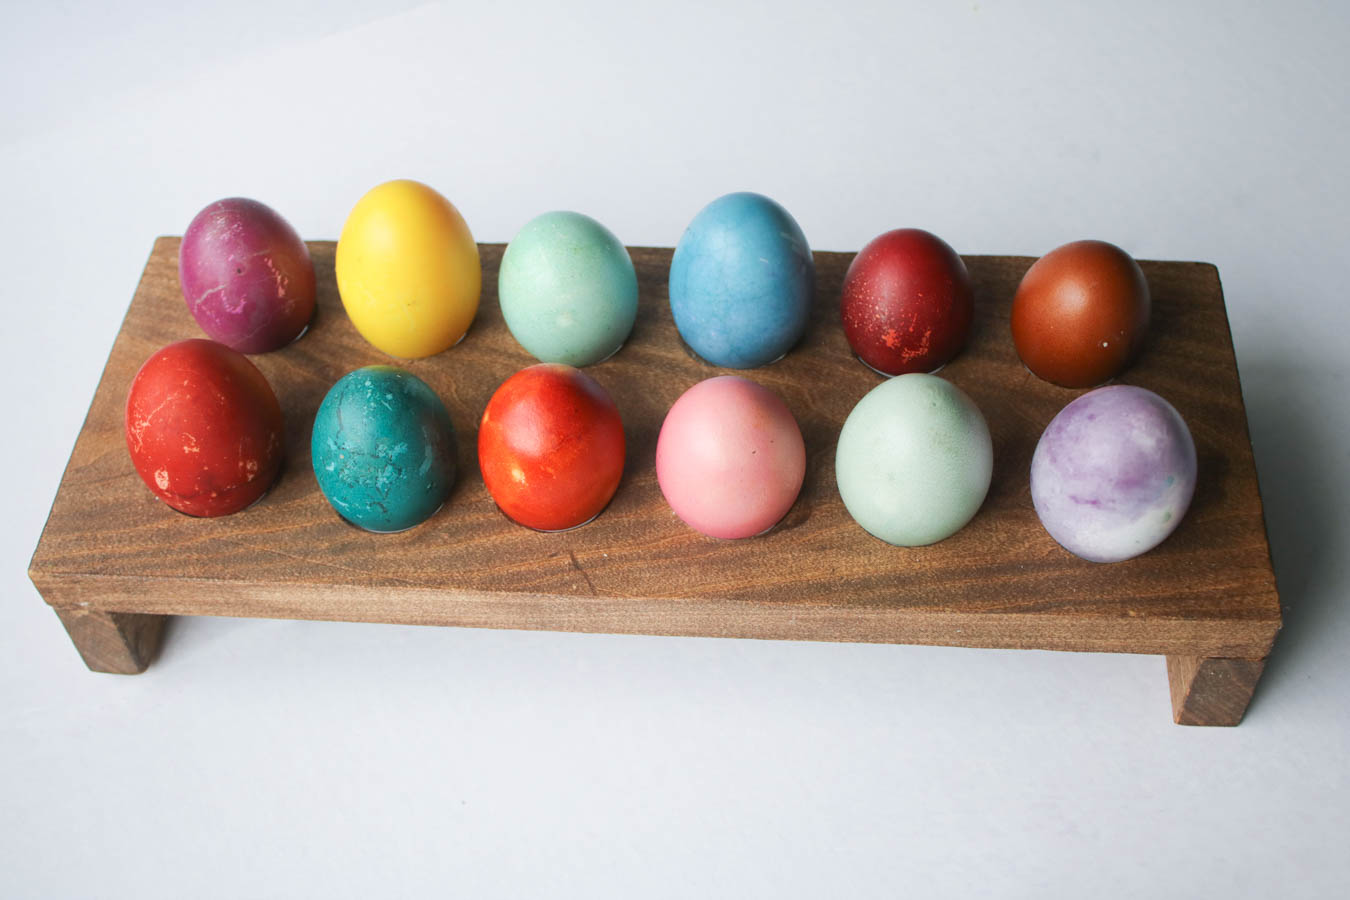
Dark orange/Burnt Sienna/orange : 2 cups of yellow onion skins, 2 tbsp white vinegar, 4 cups water. Put the onion skins and water in a stainless steel pot and boil until the water is a deep orange. Add vinegar. Strain out the peels and either boil the eggs in the dye or put the dye in a jar and soak eggs in it. The longer you leave it, the deeper the color so you can make a big range of colors by leaving the eggs for different times. Note: Use stainless steel spoons and pans to do your dyeing. Notice how my bamboo spatula is now the same color as my eggs where it sat in the dye for just a few minutes.
Purples: You can use beets, blueberry, blackberry, raspberry and I’m sure there are other plants that will produce purple. I did a cup of blueberries in 4 cups water and added 2 tbsp white vinegar. I also did the same with beets and I soaked some eggs in one and then the other to get a deep deep purple.
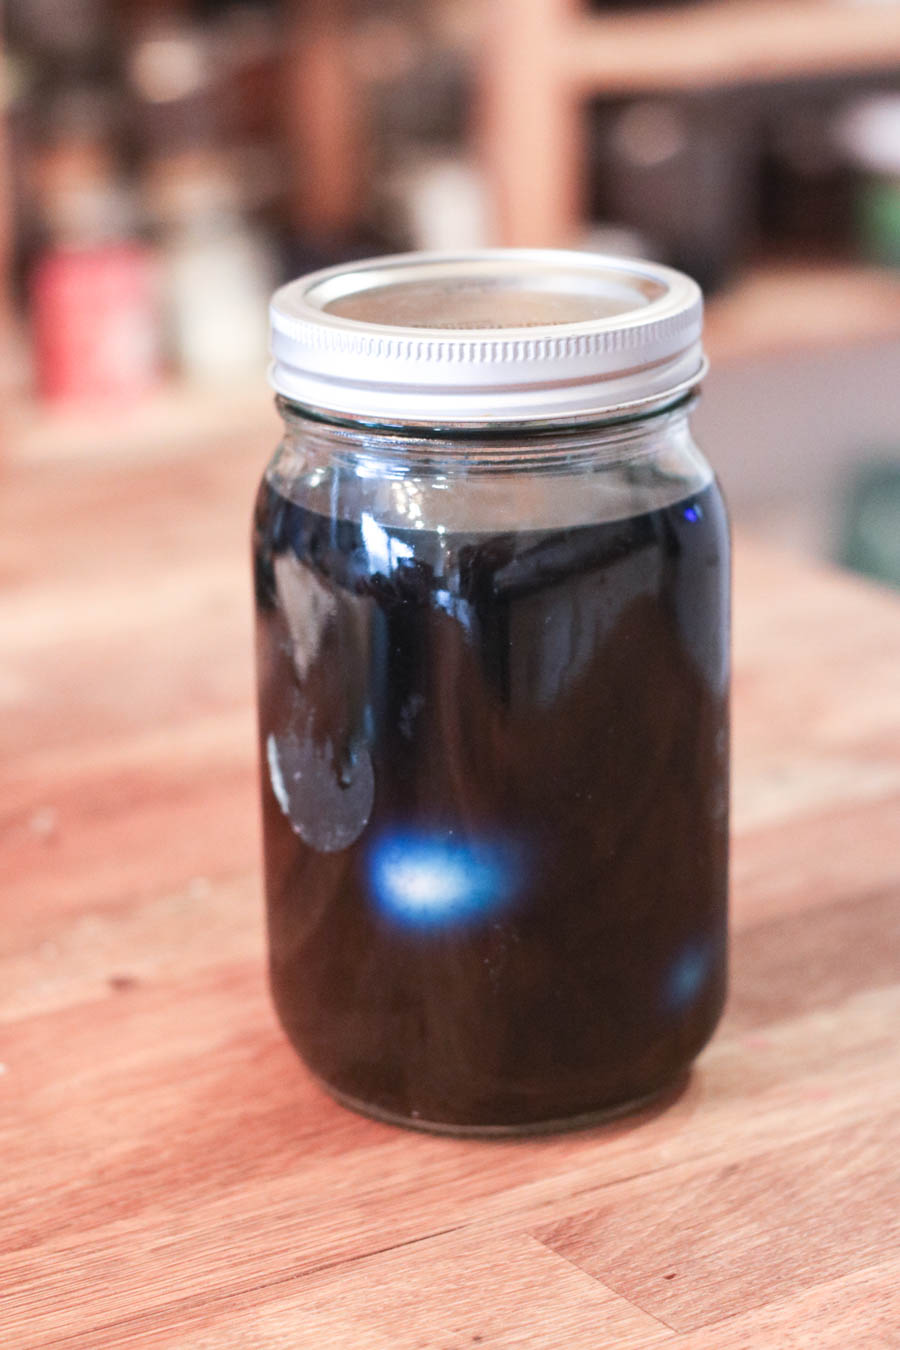
Teal/blue: Cut half a head of red cabbage into chunks. Boil in 4 cups water. I soaked a few eggs in just the cabbage juice which made a light green, I also soaked some eggs in the same dye that I added vinegar to overnight and made a bright blue and then I added salt to it and made the most beautiful teal
Brown/dark brown: I added a cup of ground instant coffee to 4 cups water and boiled it until the coffee was all dissolved. I soaked eggs for a few hours and got brown, over night made very deep dark chocolate.
Yellow: I added 2 tbsp ground turmeric to 4 cups water and then soaked eggs in it for just one hour and pulled out very bright yellow eggs.
If you like pastels then you don’t need to soak your eggs for very long but I love vibrant, deep colors so I soaked some of mine over night.
We spent the day and part of the morning talking over our dye pots and just enjoying the process. This is such a great activity to do with your kids. There is also a bit of science since you are dealing with colors, plants, ph and how different additions change the ph which changes the color.
I did take a little coconut oil and rubbed and shined each egg after they were dry and they look so pretty. I think I will keep these eggs in a bowl until next year. Did you know that once an egg is fully boiled, you can just leave it on a shelf and the inside will just dry up into a little pebble? They don’t stink and you can keep your beautiful eggs for as long as you like. Just make sure to over boil them just in case. I think a bowl of my beautiful eggs on a table will be a great and happy reminder of this spring and Easter but first I have to convince my kids that they don’t want to eat my favorites.
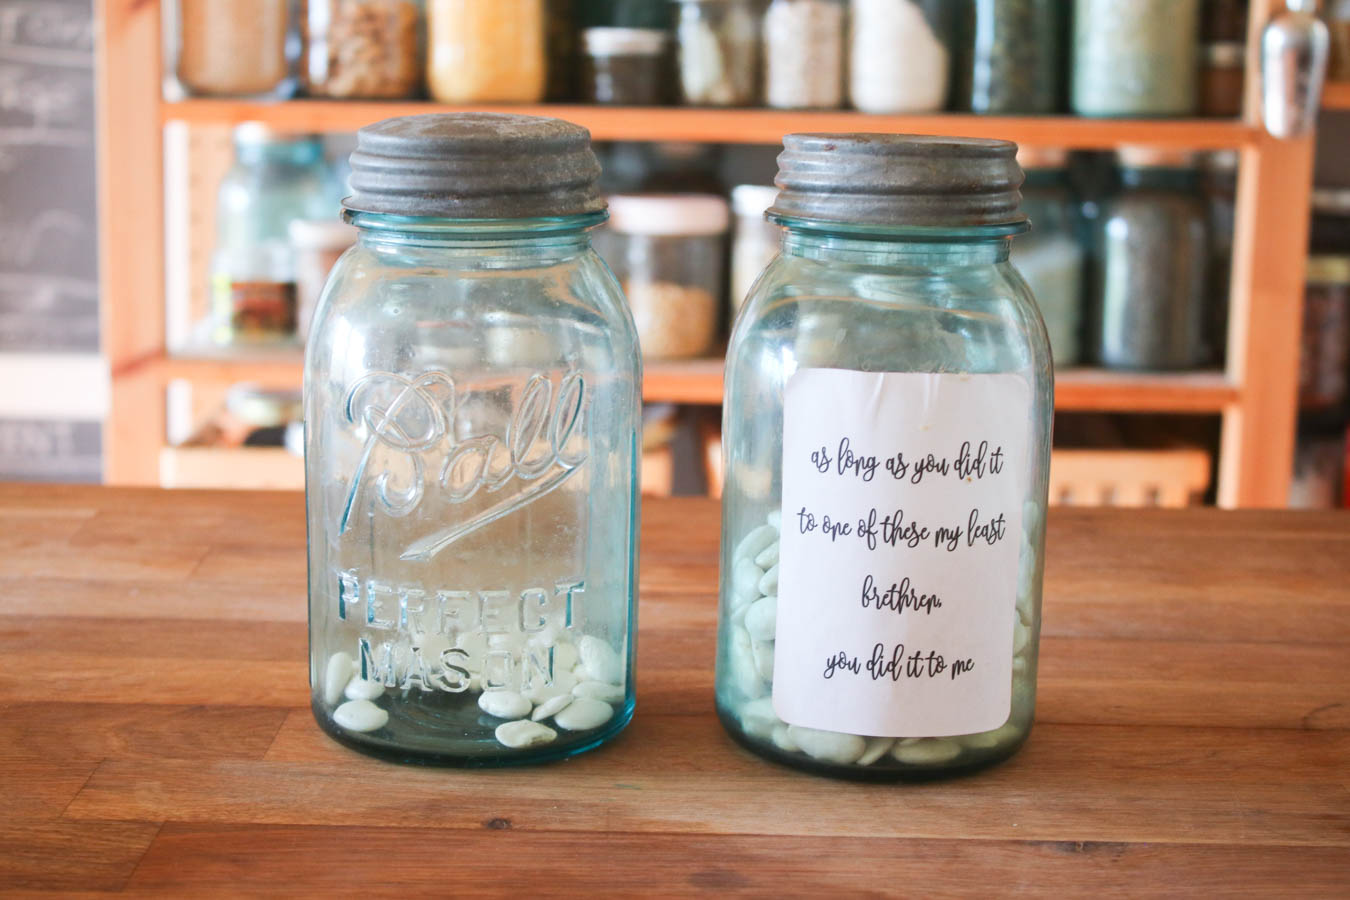
I think today I will tackle the rest of the handmade gifts or perhaps ice the Easter cookies (ooh would you like my recipe?). Some gentle reminders to my little ones to continue doing good for others to fill our Lenten jar because Good Friday is coming very very soon and our soup is dependent on their good actions. Honestly though, I think someone may be putting the beans into the wrong jar because everyone keeps saying that it doesn’t seem like its getting any fuller despite them putting beans into the jar… perhaps its my Mateo… I guess I better investigate haha. If you have no clue what I am talking about then you probably have never seen this post but here is more info.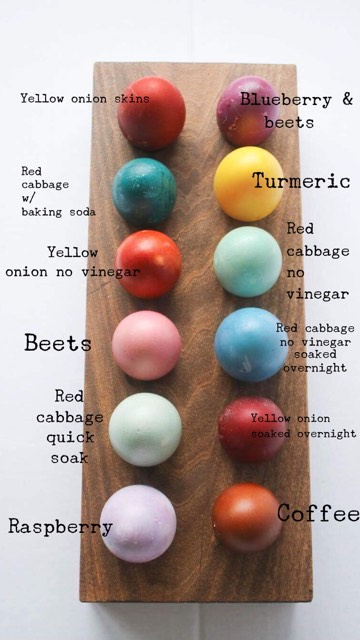

Thank you for reading and spending time with me in this space of mine. If you would like to see more of our daily happenings, follow me on Instagram by clicking here. We cherish our readers and love to hear from you so leave a comment 🙂