Sorry for being M.I.A. the past few days. After I bought a new battery for my laptop, the cord went too and I had to order it which only took 2 days by the way. I had taken my laptop to the guys at the Geek Squad and they helped me figure out what was the problem but the cord they sold was $90!!! I got one on Amazon for $8 plus shipping…oh yeah!!
So back to blogging. Today is Monday which means another make it yourself project.

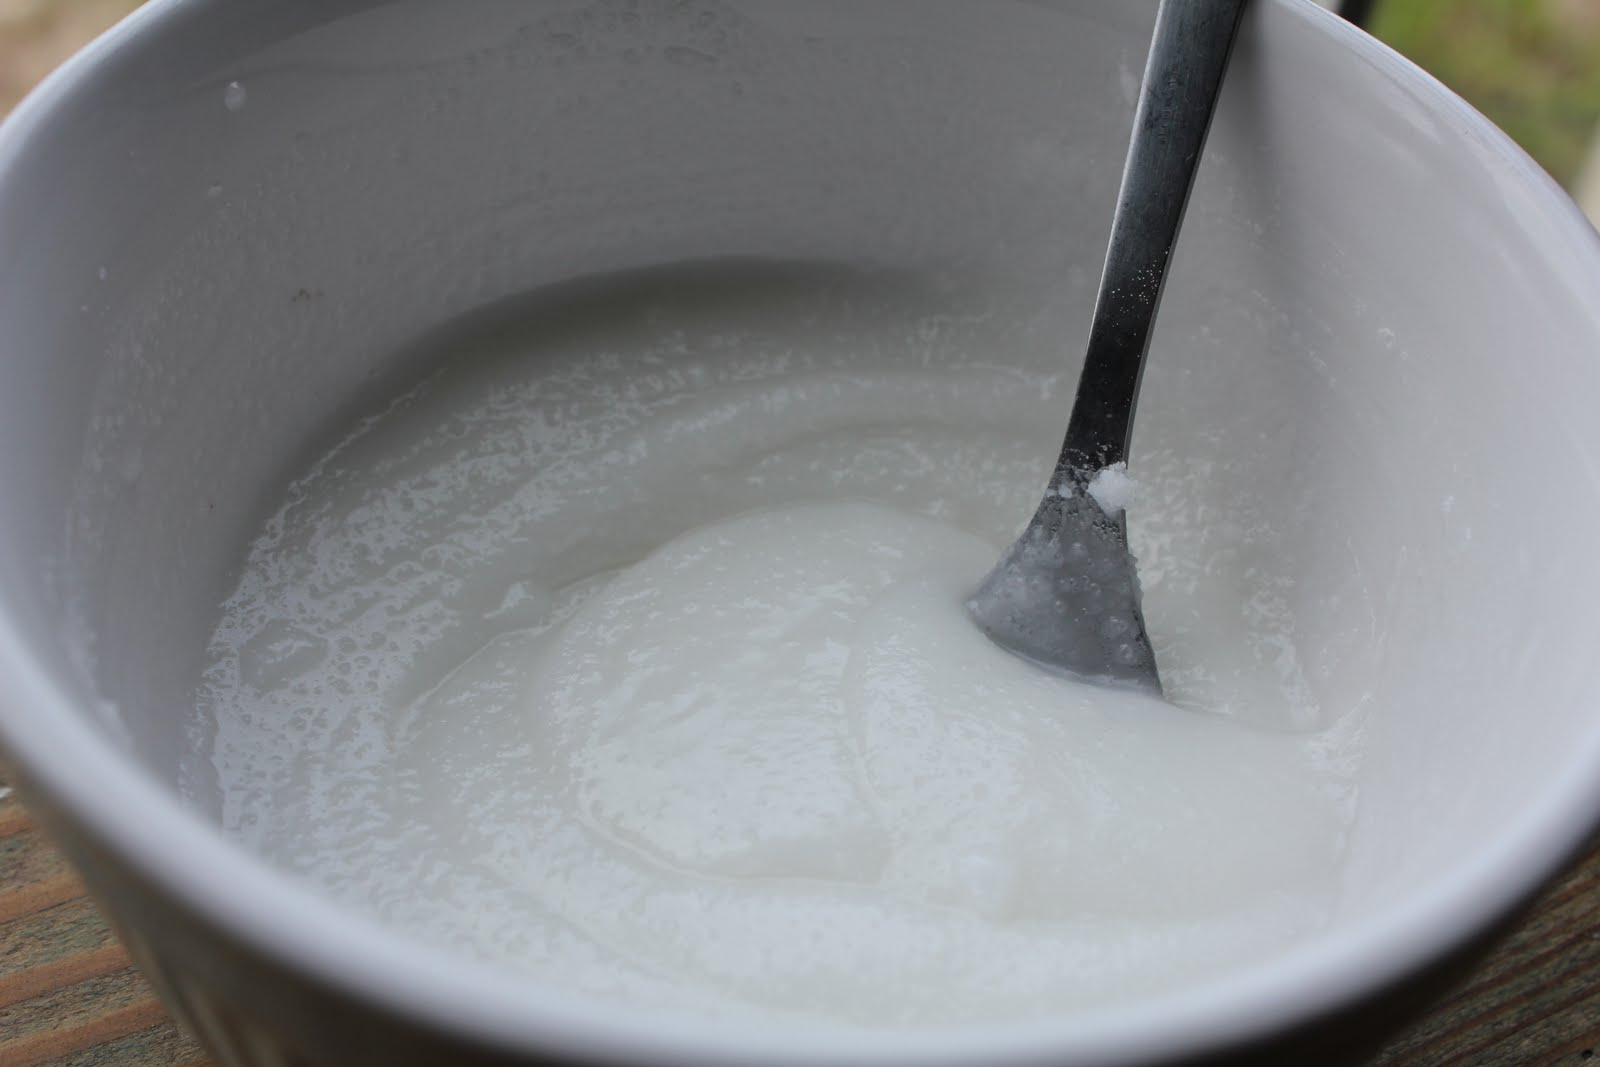
We have been using homemade toothpaste for 5 years now and let me tell you, once you get used to it, it is hard to go back to the super strong and chemical laden stuff they call toothpaste at the store. NOTE: PLEASE, I did say please, IF YOU POST MY RECIPE TO YOUR BLOG PLEASE, DO NOT TAKE CREDIT FOR IT. IT HAS TAKEN ME YEARS TO PERFECT AND I AM SHARING IT WITH YOU out of love!
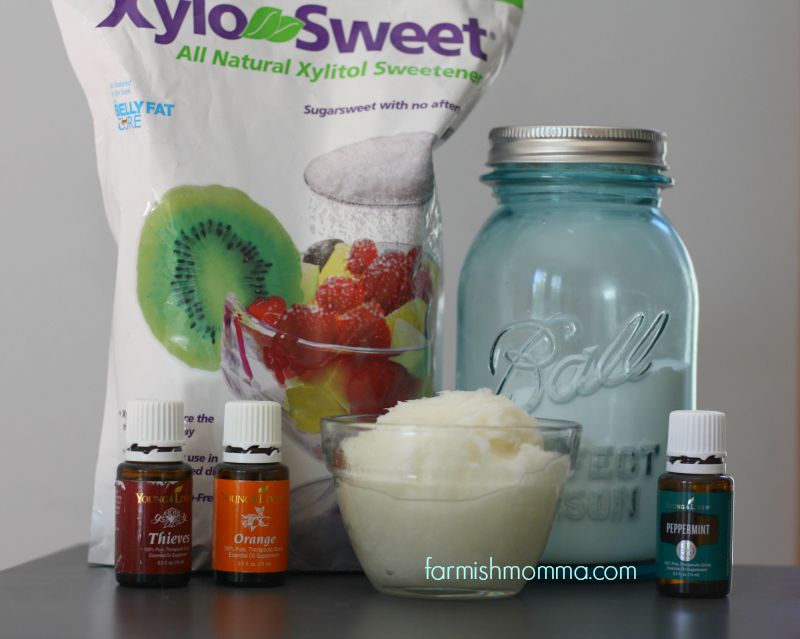
Most of these ingredients you should have in your pantry already, if you don’t, go out and buy them! Baking soda and coconut oil have sooo many uses and who doesn’t have peppermint essential oil in their cupboard, lots of stuff you can use that for too. If you are using them for lots of other things around the house then the only thing you have to invest in is the Zylitol which will last you about a year or two and costs about $8.00 making this tooth paste good for your mouth and your pocket.
What you need:
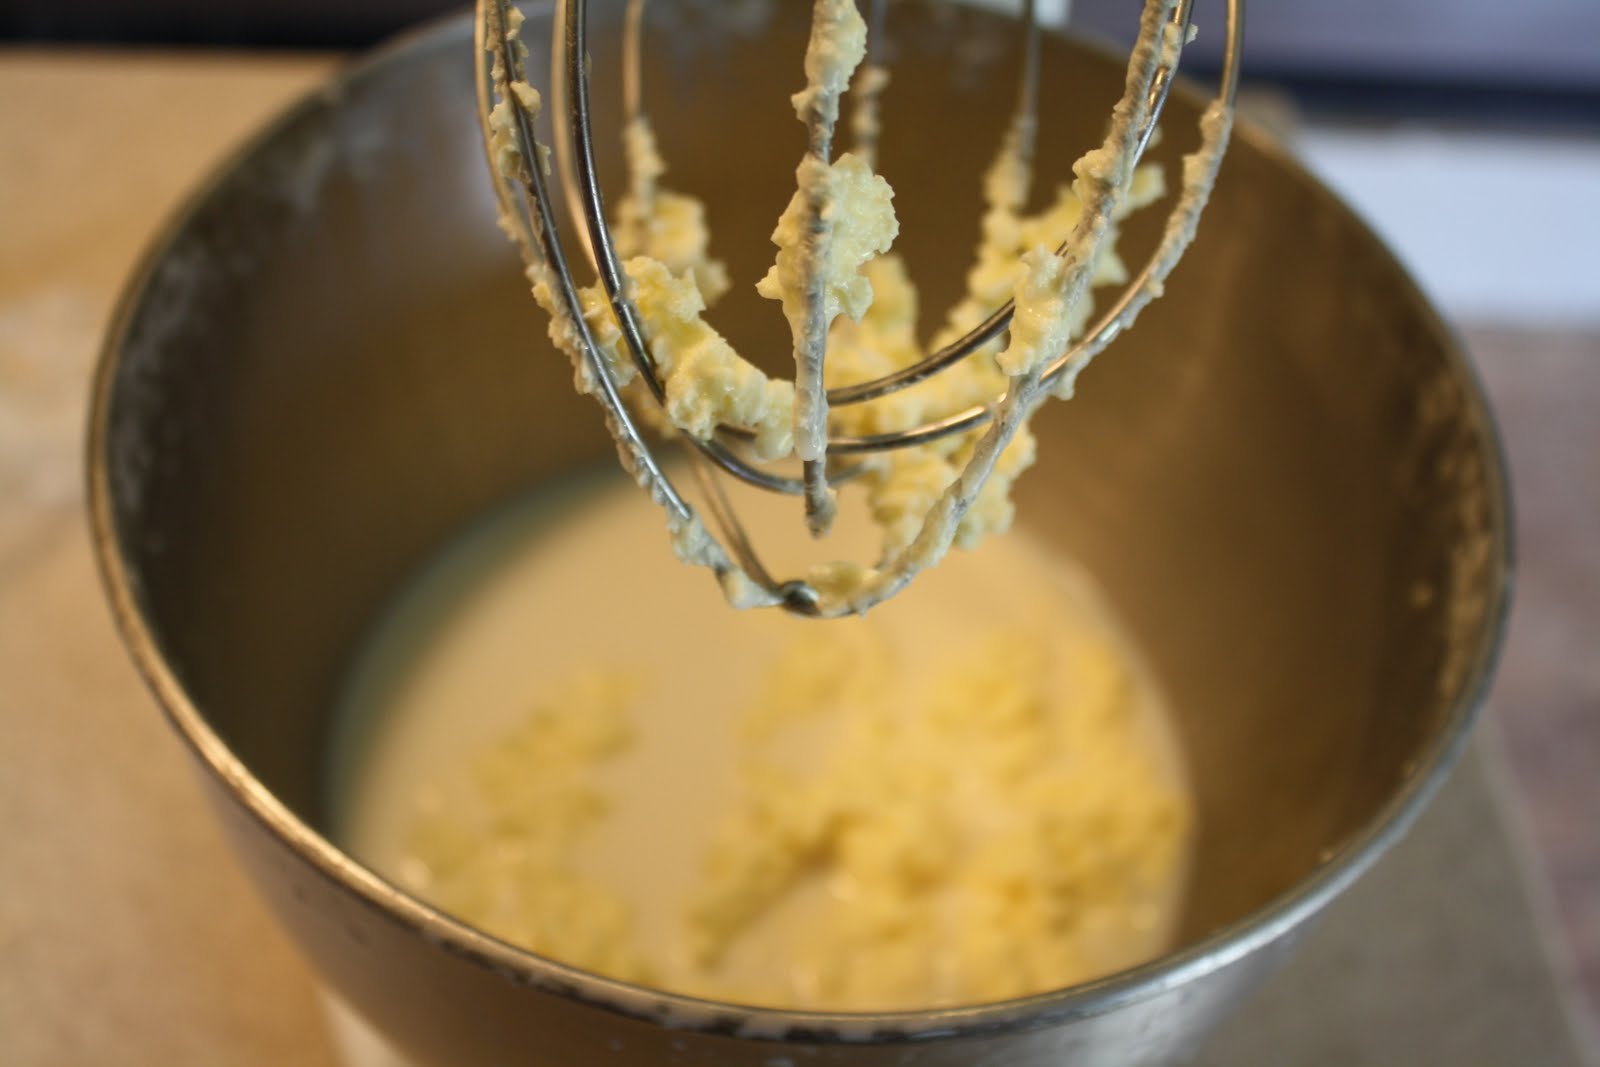
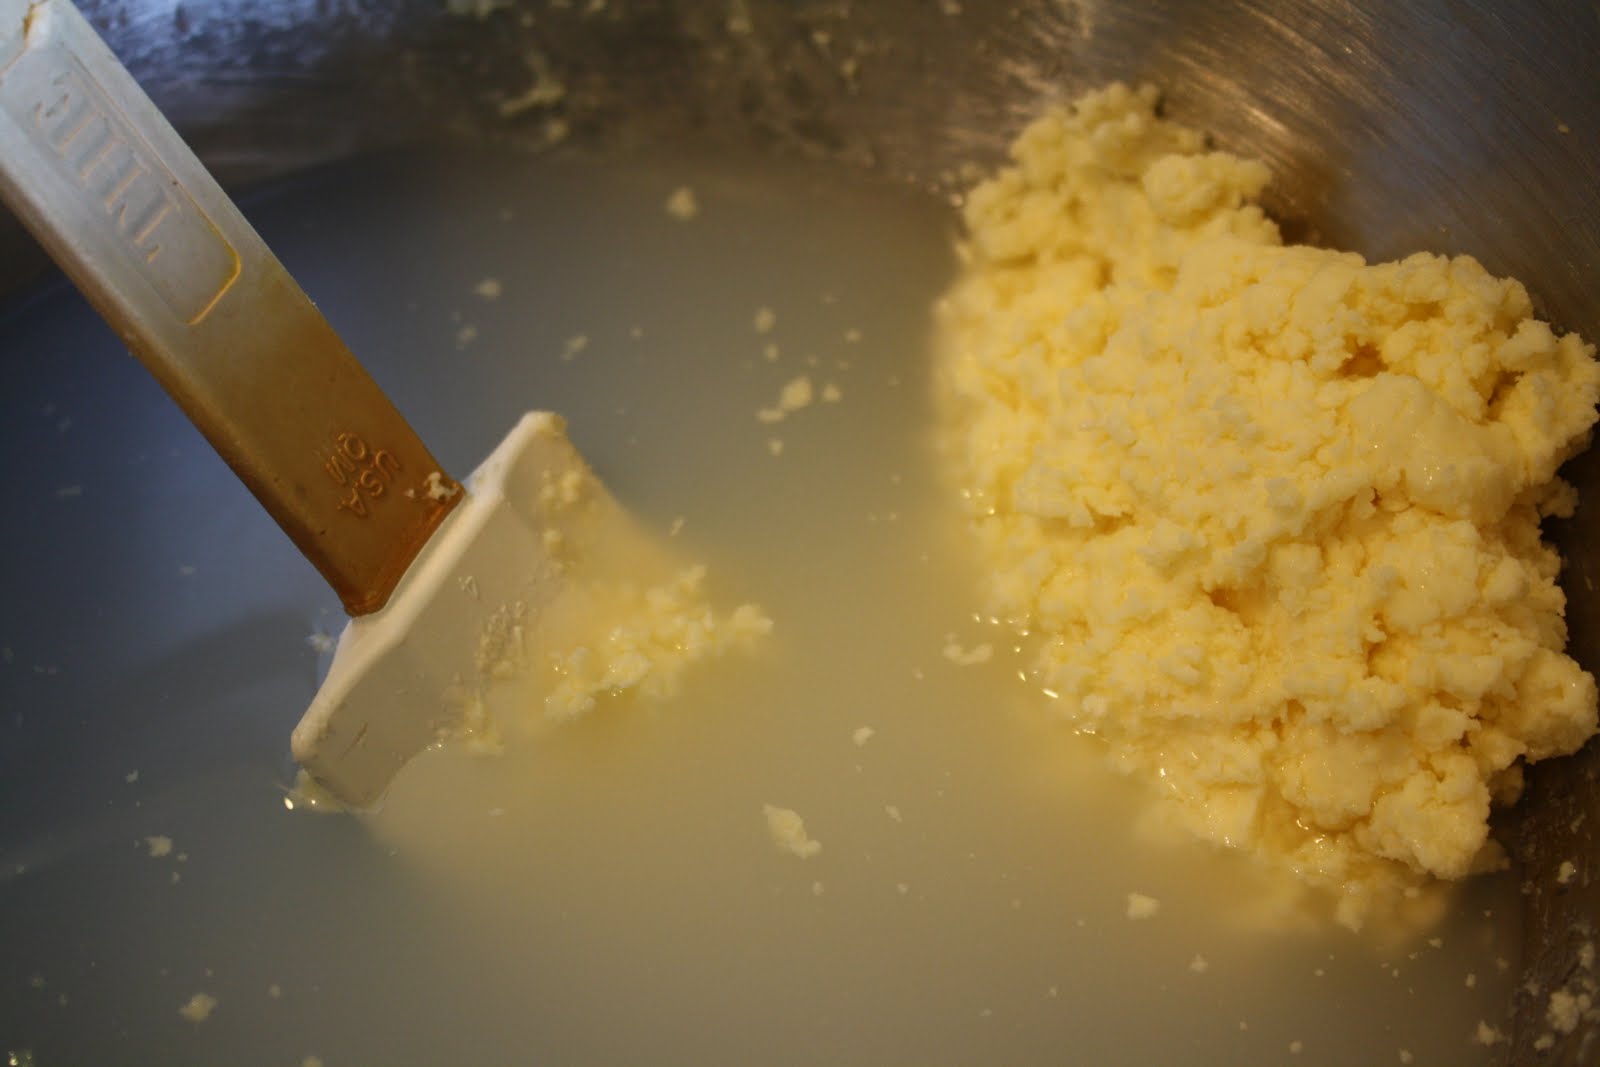
-8 tbsp non-aluminum baking soda (I use Bob’s Red Mill)
-4 tbsp organic coconut oil (warm it to make it liquid)
-10 tsp Zylitol powder (a natural and good for your teeth sweetner) we put it through the Vitamix to make it a powdered sugar before adding it but we used it straight out ot the package for many years without anyone complaining.
-6 to 8 drops Peppermint Essential Oil unless you don’t need mintyness in which case you could use another oil or just leave it out all together) This girls needs some minty in the mornin’. Just saying! You could also put orange essential oil in your toothpaste. Orange helps to brighten your smile. You could also make a Theives version for keeping gums and teeth as healthy as possible. (NOTE*** If you use essential oils in your body and care products please use one that you have done your homework on.)
-Something to keep your tooth paste in like a mason jar or bottle.
*Edit* Many of you have emailed me about the saltiness of this toothpaste. You can add as much zylitol as you feel it takes to make this sweeter. The zylitol does not dissolve right away so you will feel it in there. As I noted above, you can put it through your food processor or grinder to make it a fine powder. We spent years brushing baking soda, salt and peroxide so the saltiness does not bother us. I have received emails saying they added up to 10 tablespoons of zylitol to make it sweet enough, again…up to you*
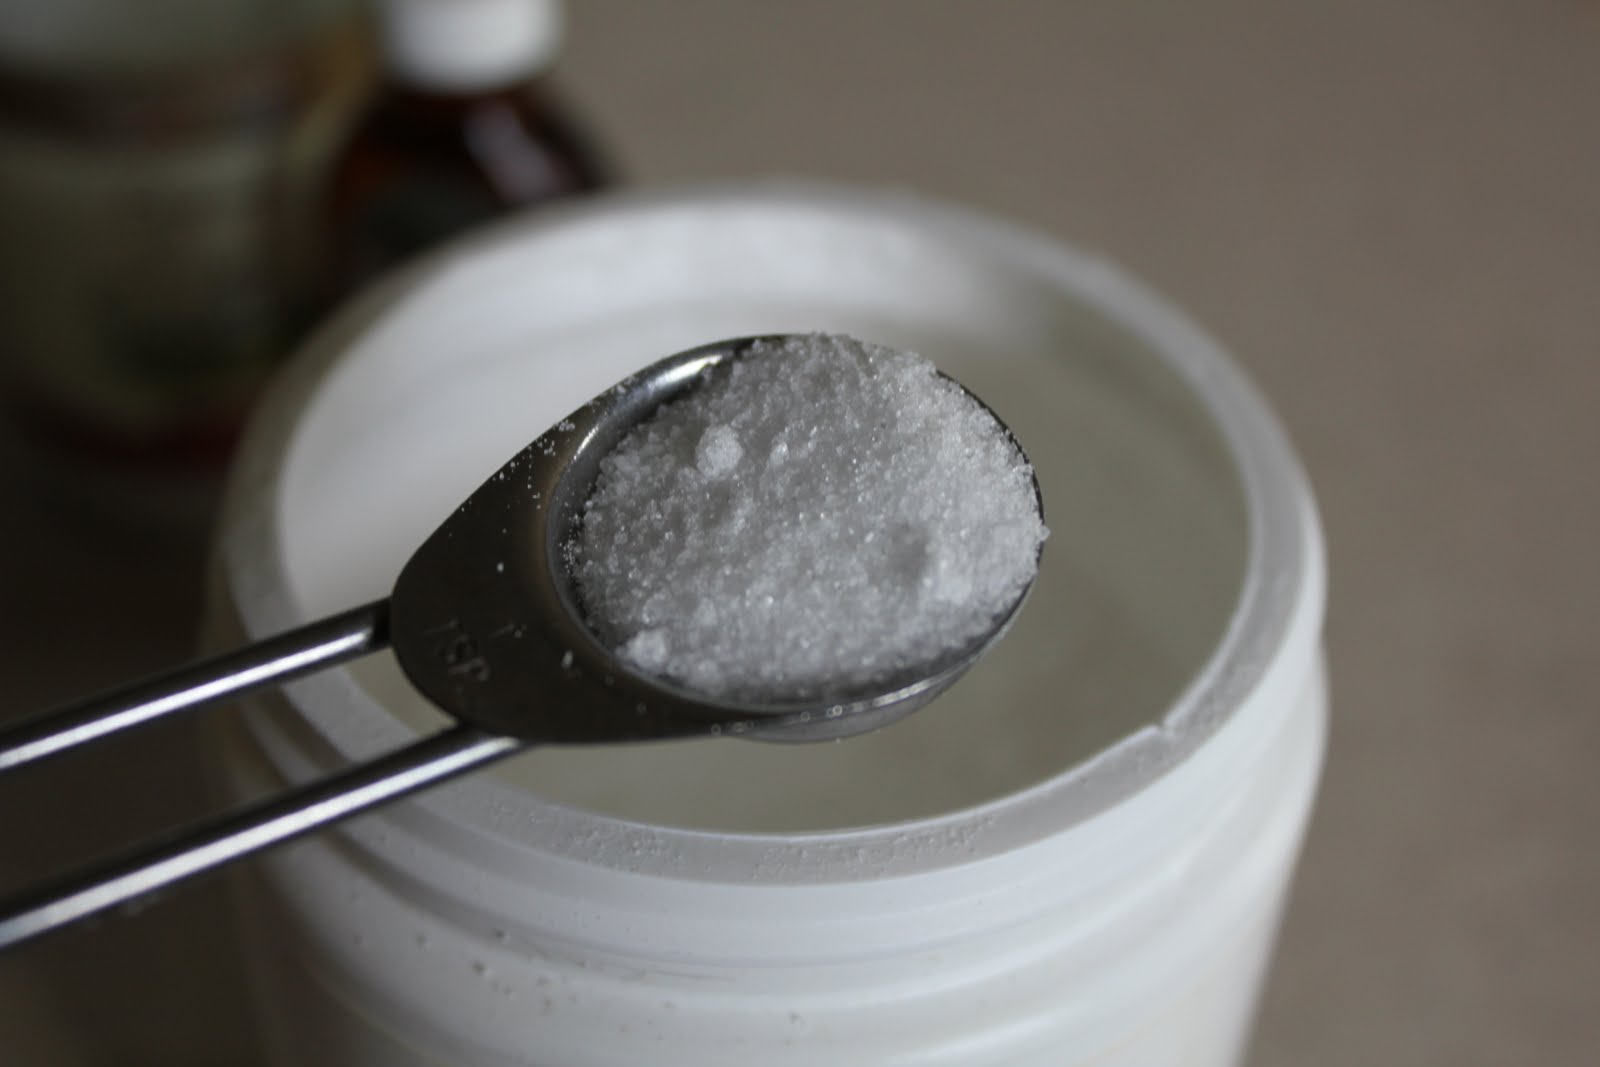
Zylitol looks just like sugar doesn’t it. It is also very sweet and has a cooling action in your mouth
Whanna know what is in your toothpaste? Most probably toxic fluoride, glycerin, petroleum dyes, sweeteners, sodium lauryl sulfate, unsafe preservatives and lots of other harmful ingredients that actually damage your teeth and health! Most tooth products use glycerin as its base (glycerin causes the solution to be thick instead of runny.) Glycerin dries out the pulp of your teeth and causes sensitivity in the teeth. Glycerine is in all tooth pastes and so sticky that it takes 27-30 washes to get it off. Teeth brushed with any toothpaste are coated with a film and CANNOT PROPERLY REENAMELIZE. Our teeth were they healthy were designed to re-enamalize while we sleep but since they are coated with stuff we put there at bedtime to keep our teeth clean and healthy they cannot.
Test it for yourself, go to your local organic store and take 10 or 20 minutes to pick up every natural, organic, or regular toothpaste. Everyone will have glyrcerin in it. The owner of our local store was sure that could not be correct but she was surprised. These companies use fluoride to re-mineralize the teeth caused by the glycerin, and potassium nitrate to soothe the nerves. Flouride is also a very toxic substance, it is a known nerve poison, and most amazing causes cavities. Hard to believe, just do some research and you will quickly find it to be true. (phew, I am glad I got that off my chest! I wrote this 4 years ago and see my notes all the time reminding me that I have not shared this with anyone) Procrastinators are the most well intentioned people I know.
OK so I am now stepping off my soap box and returning you to your regularly scheduled program.