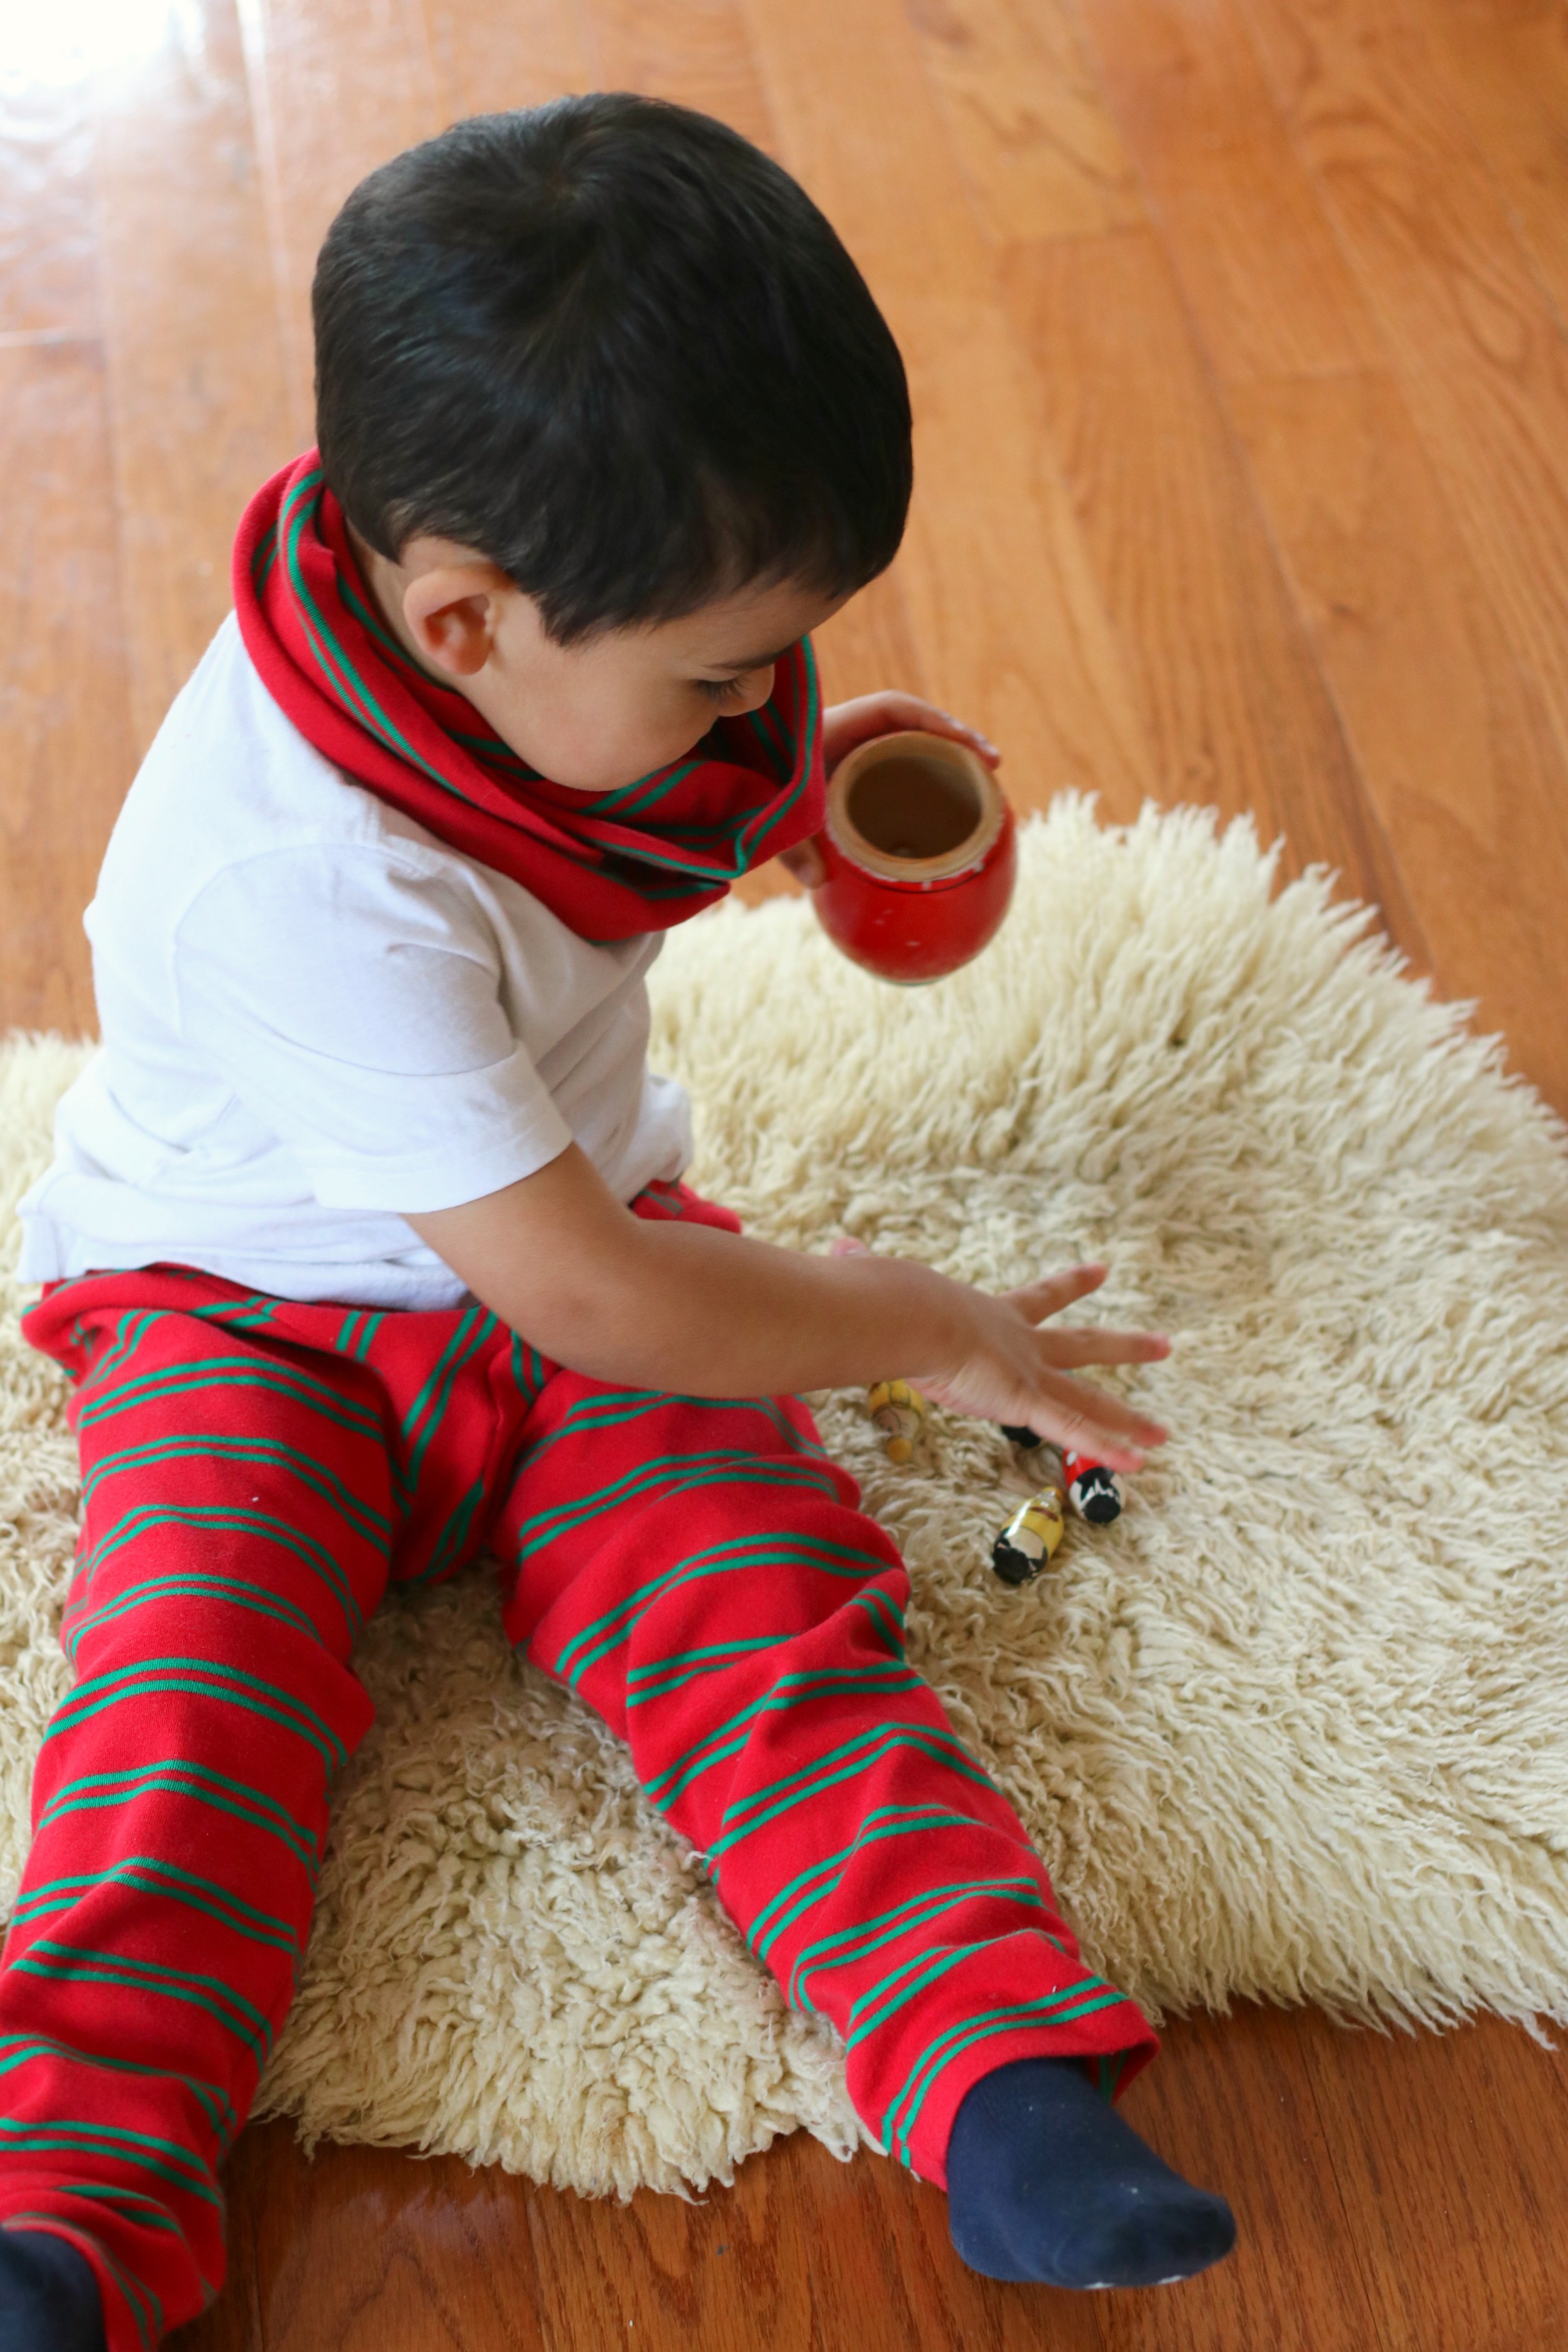
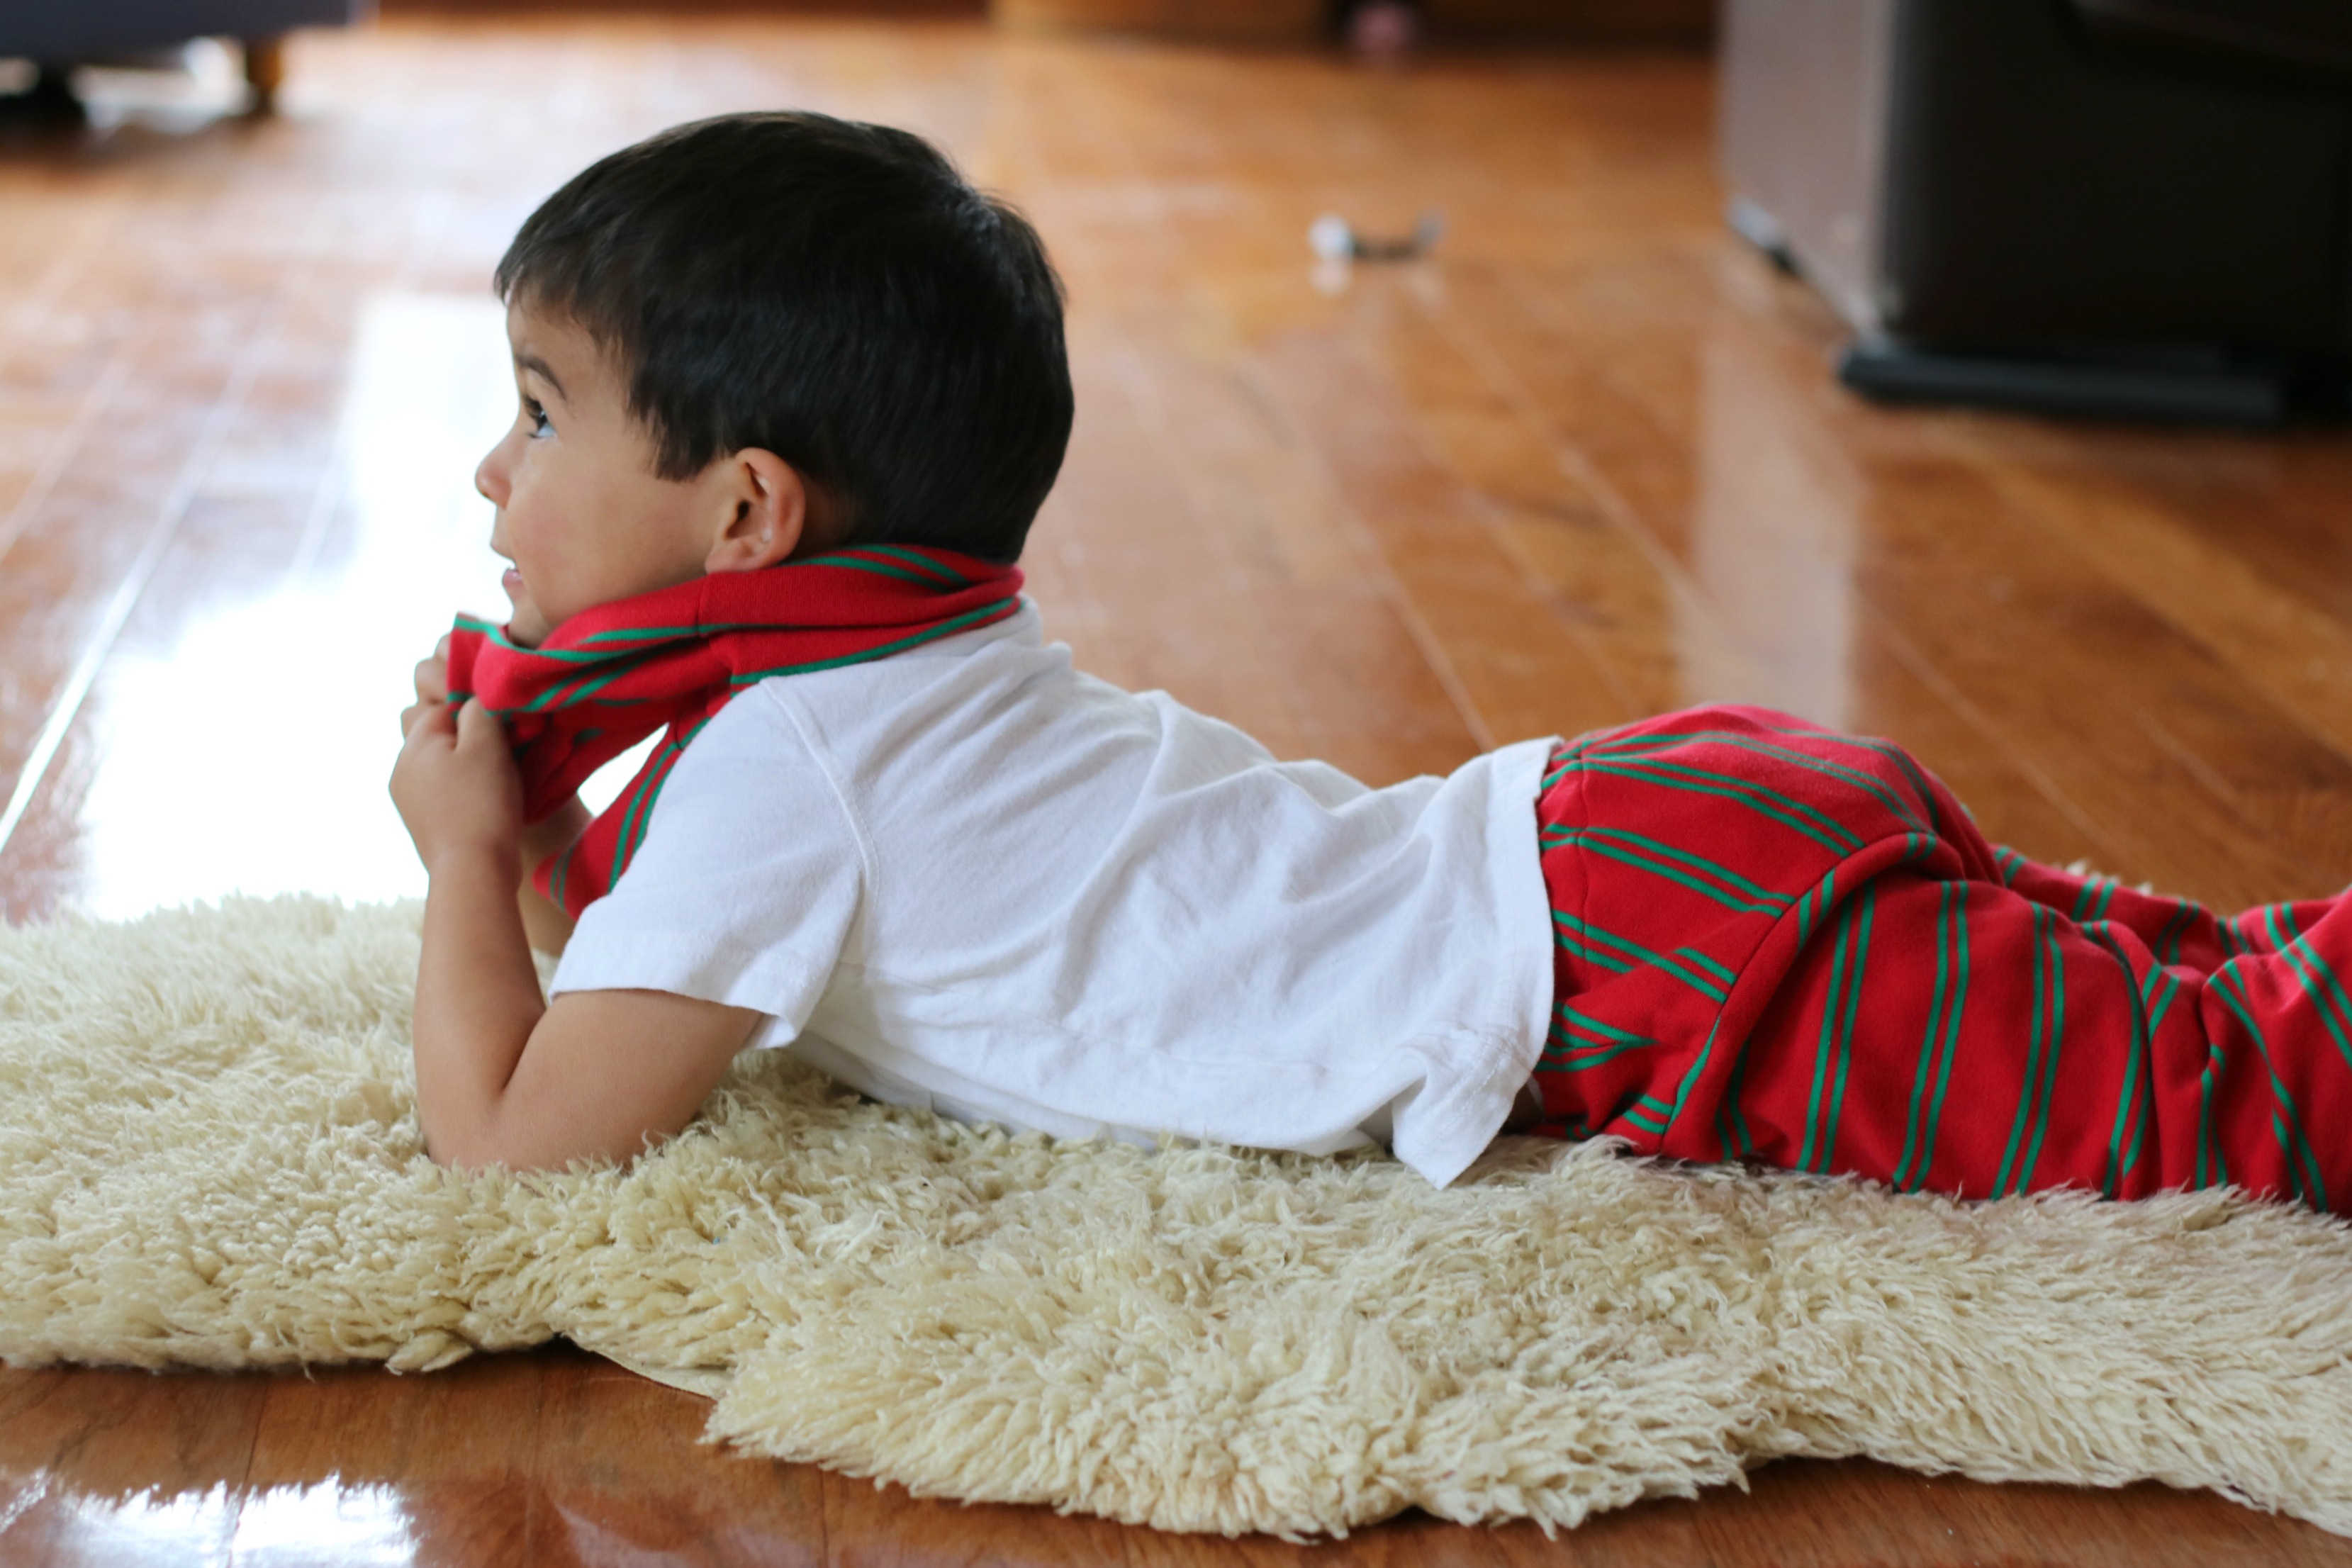
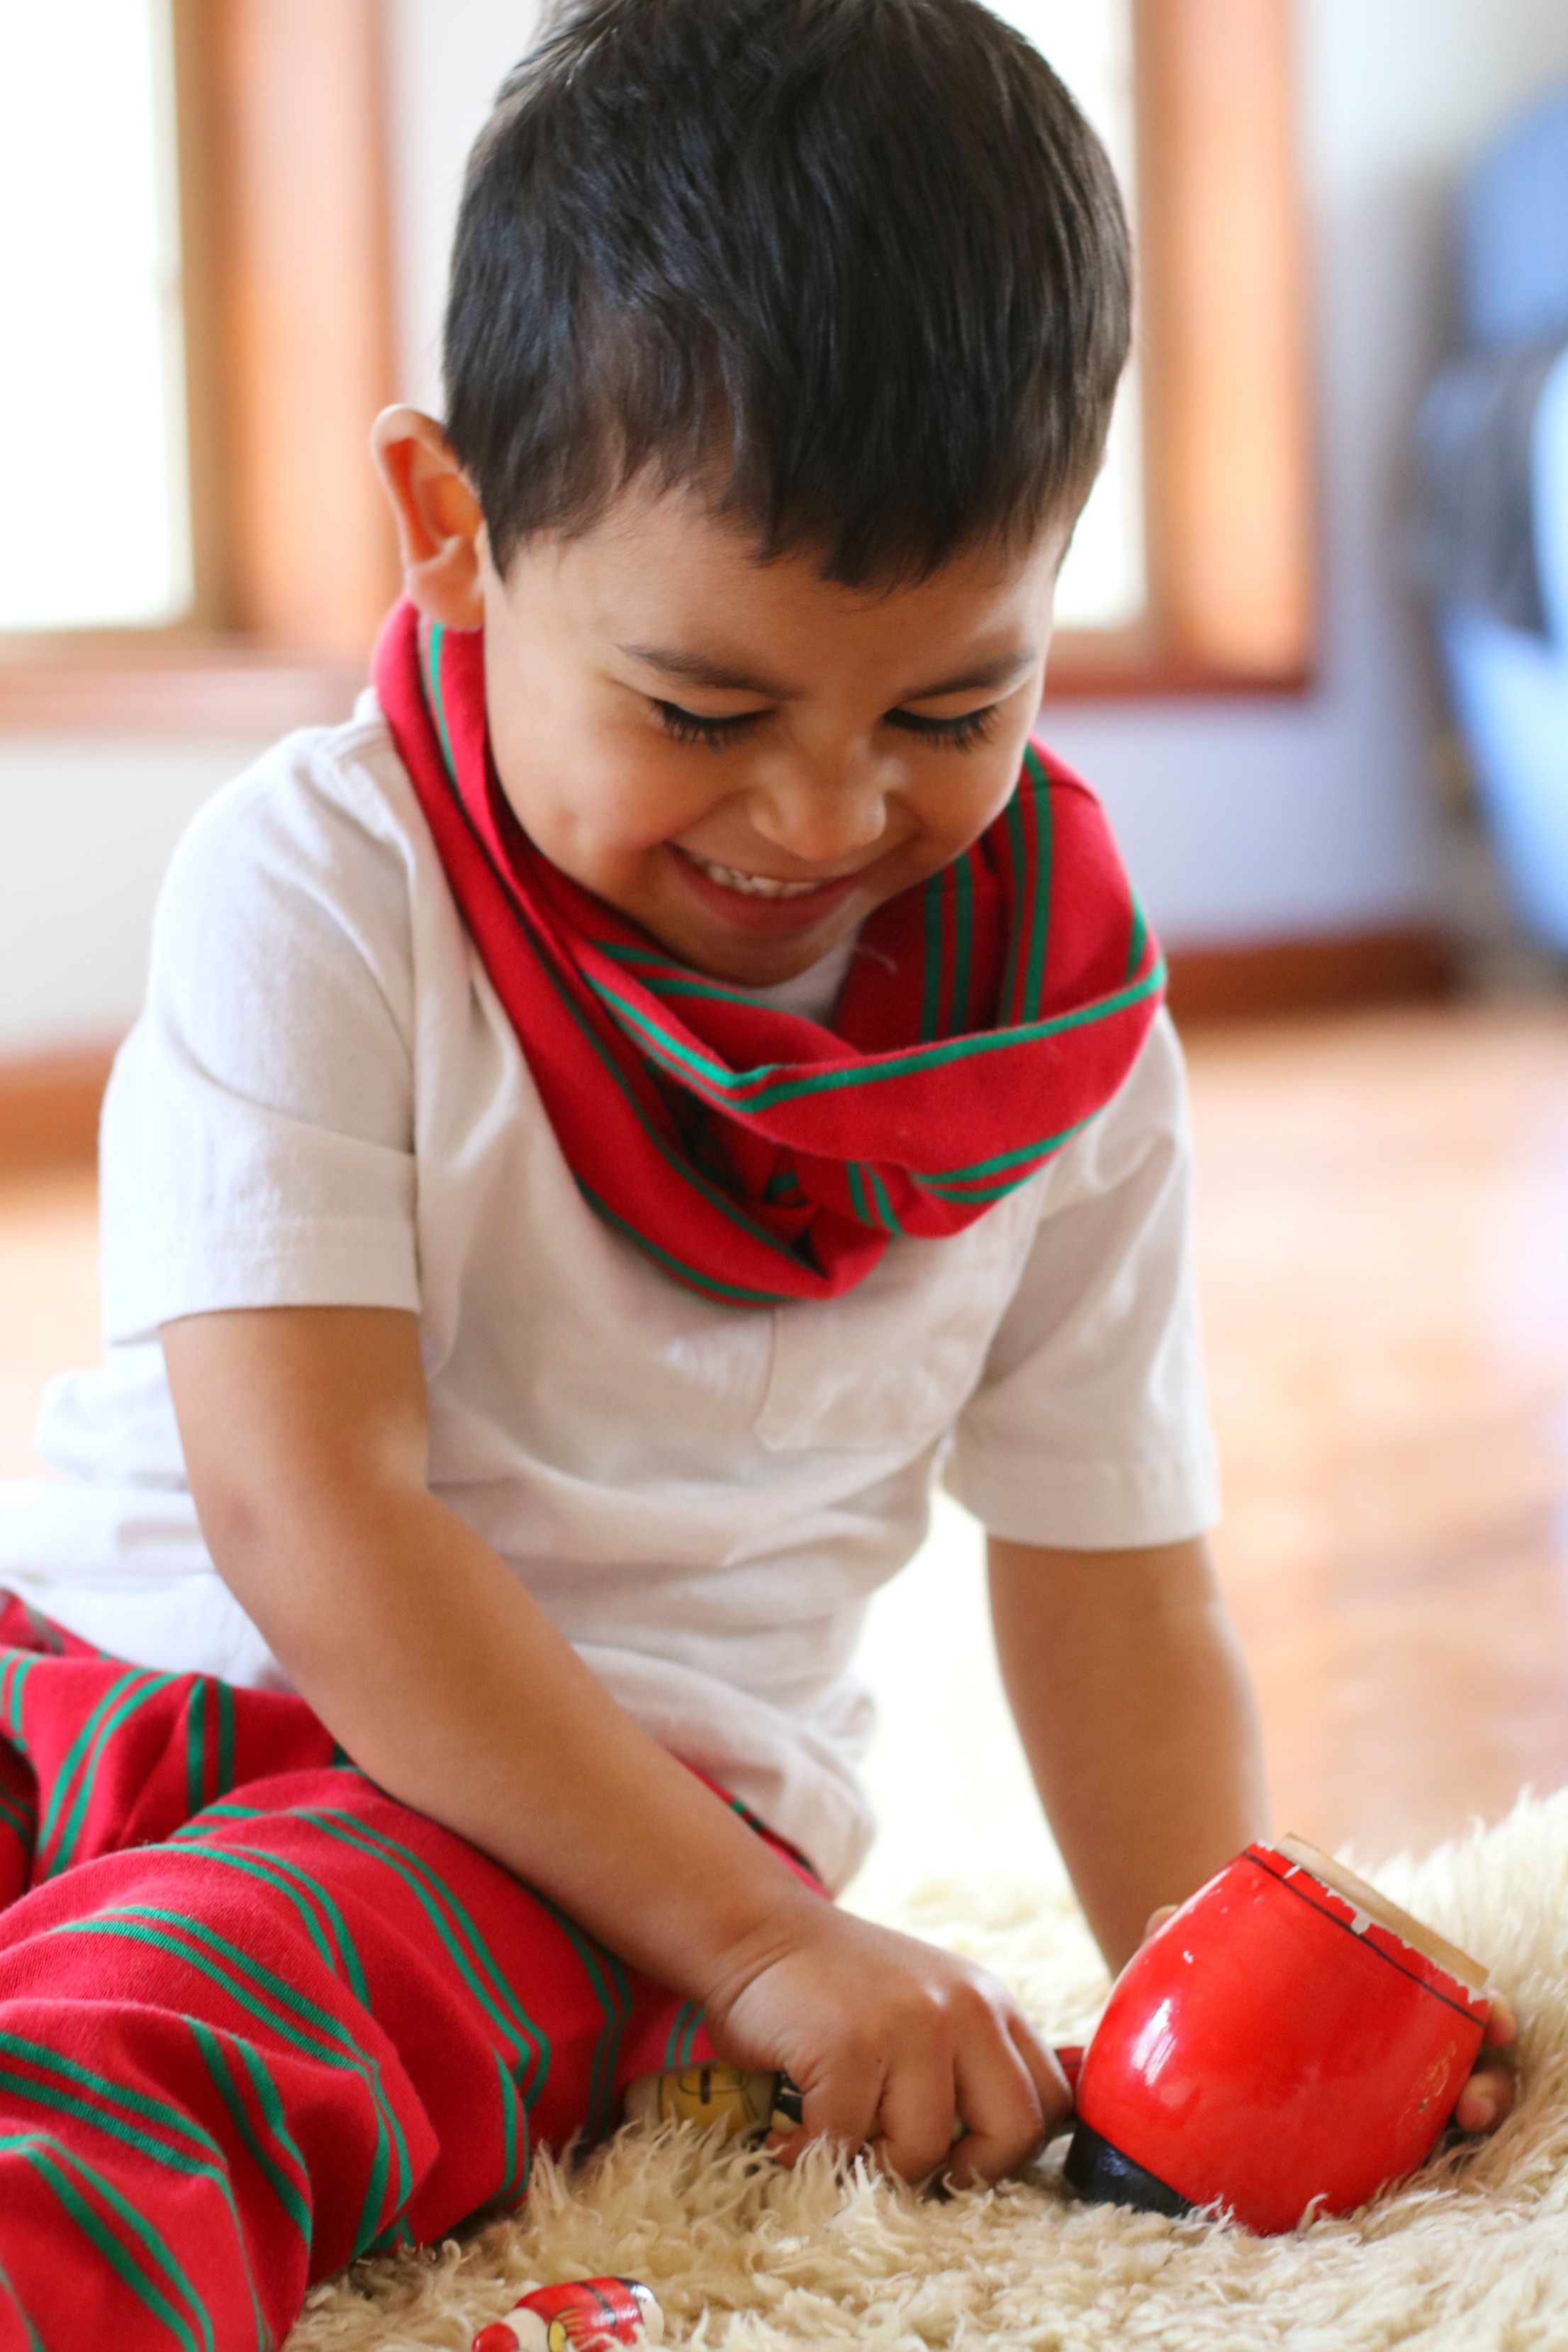
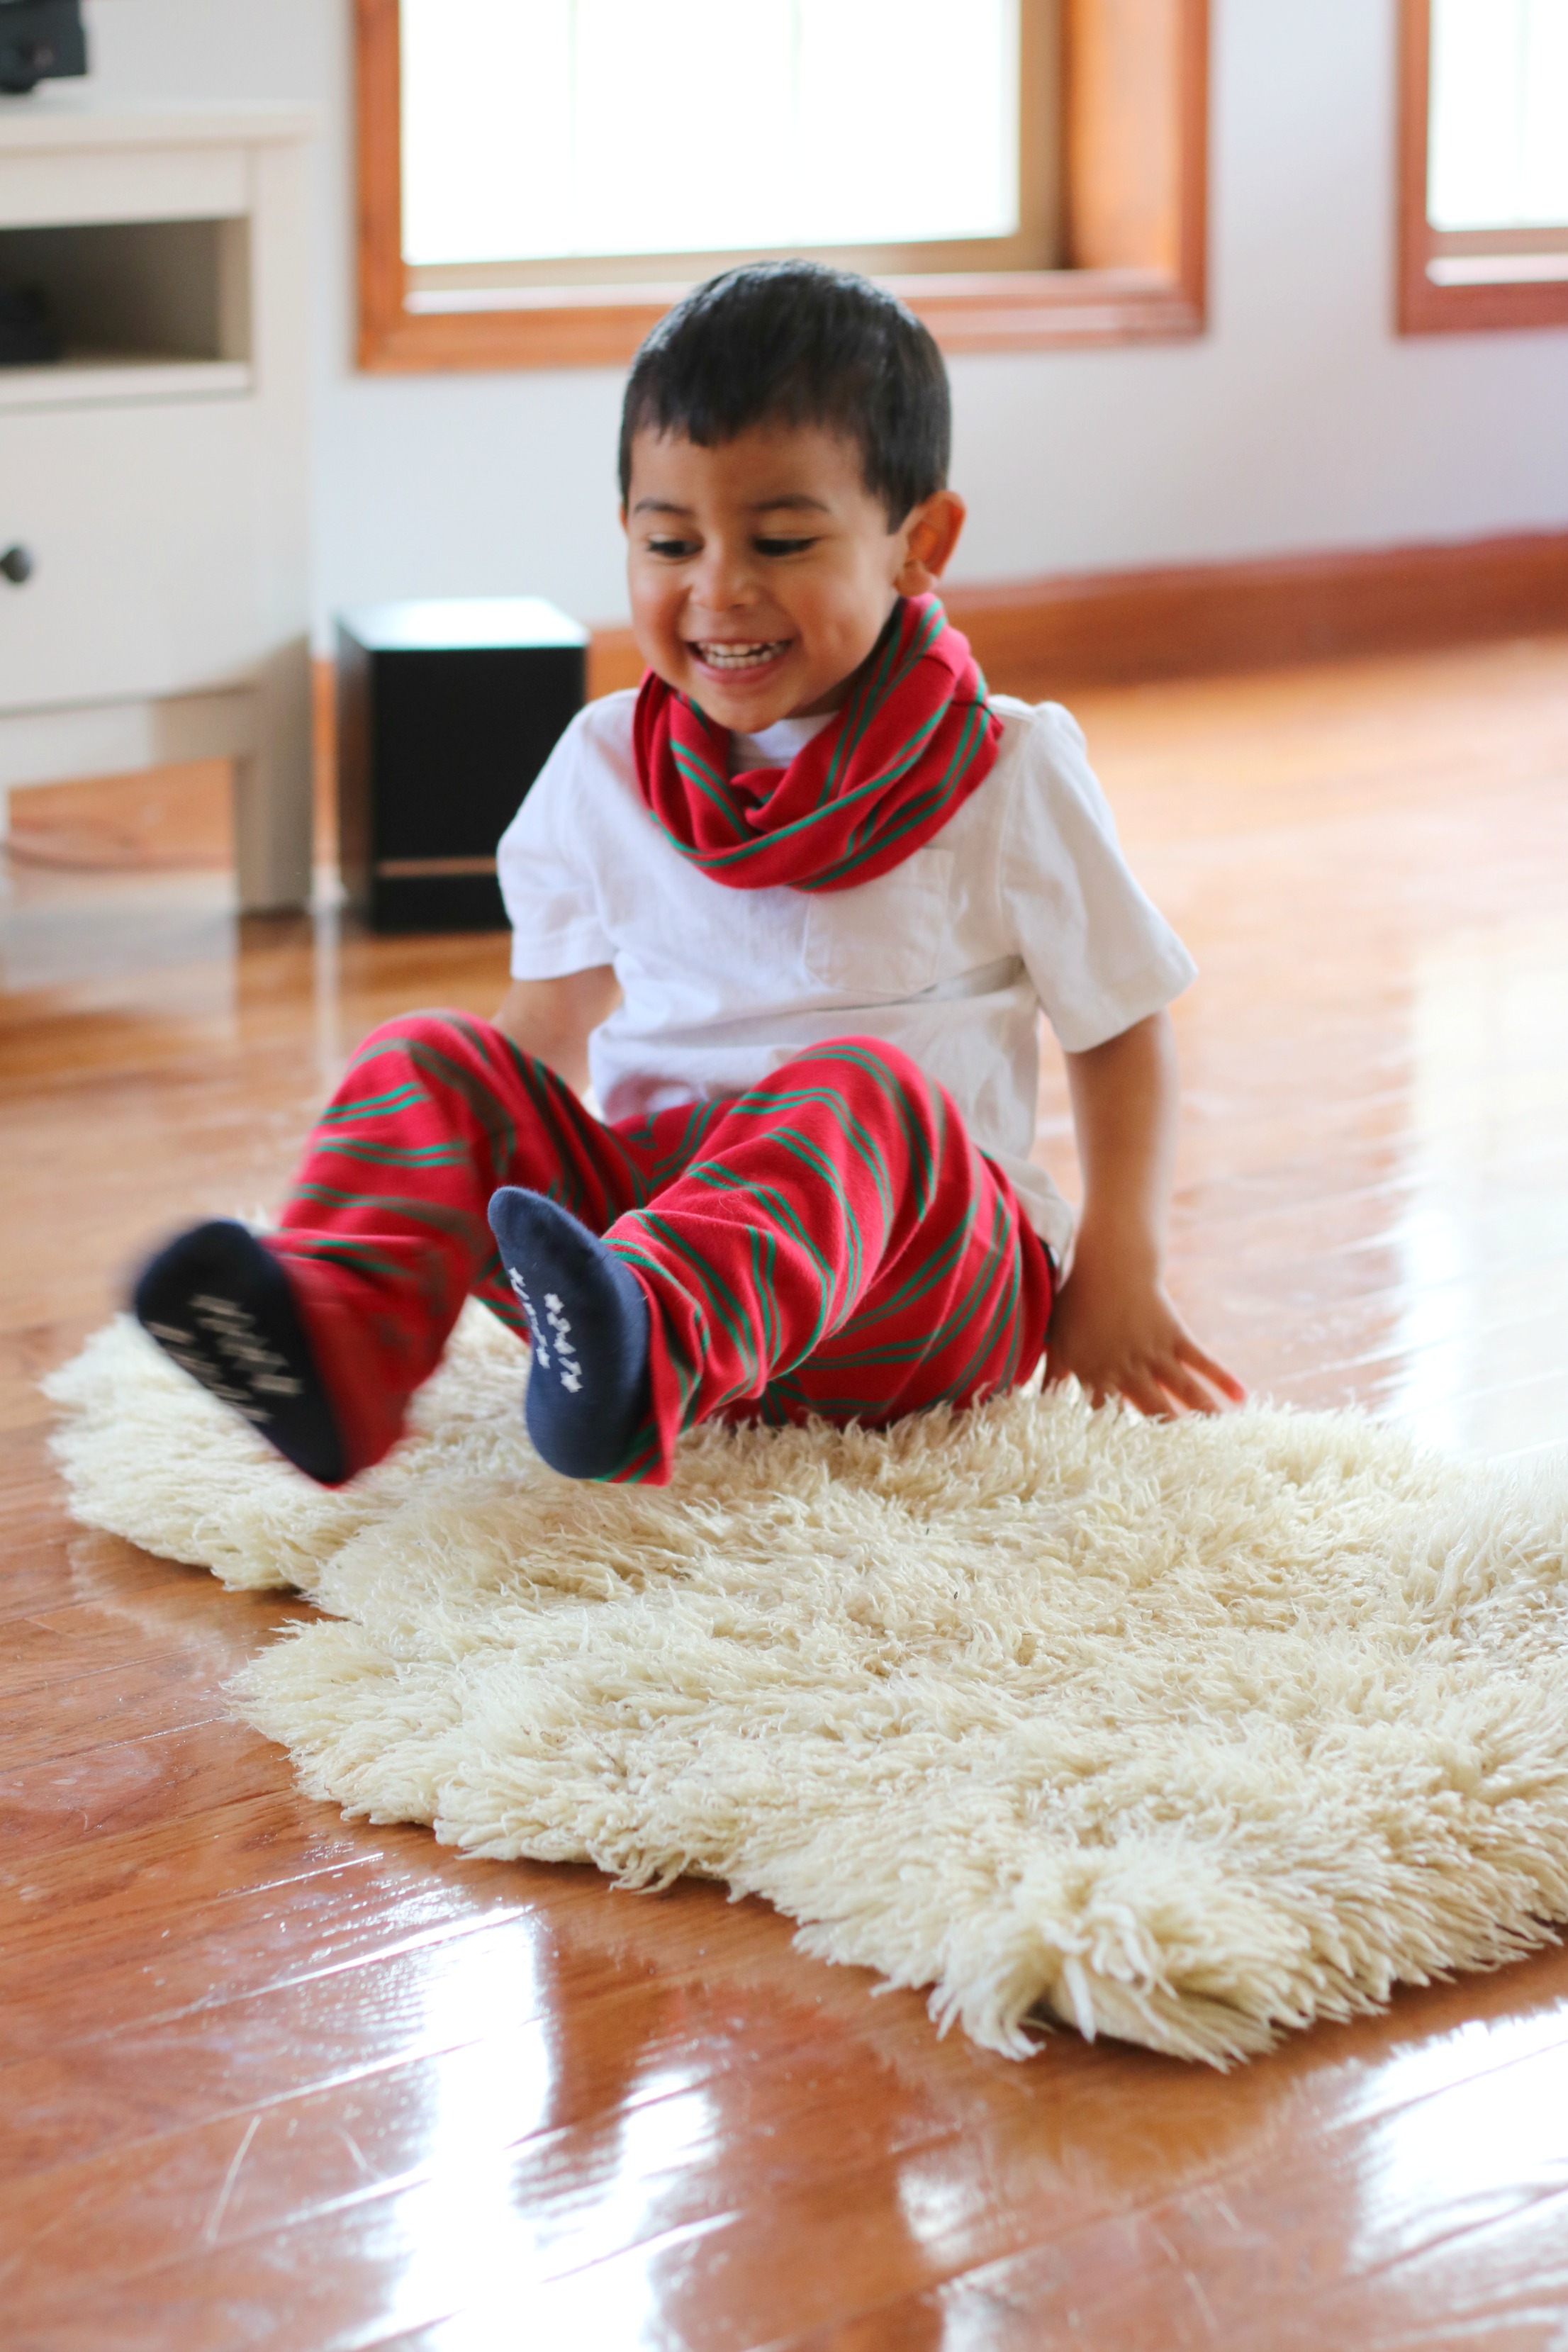
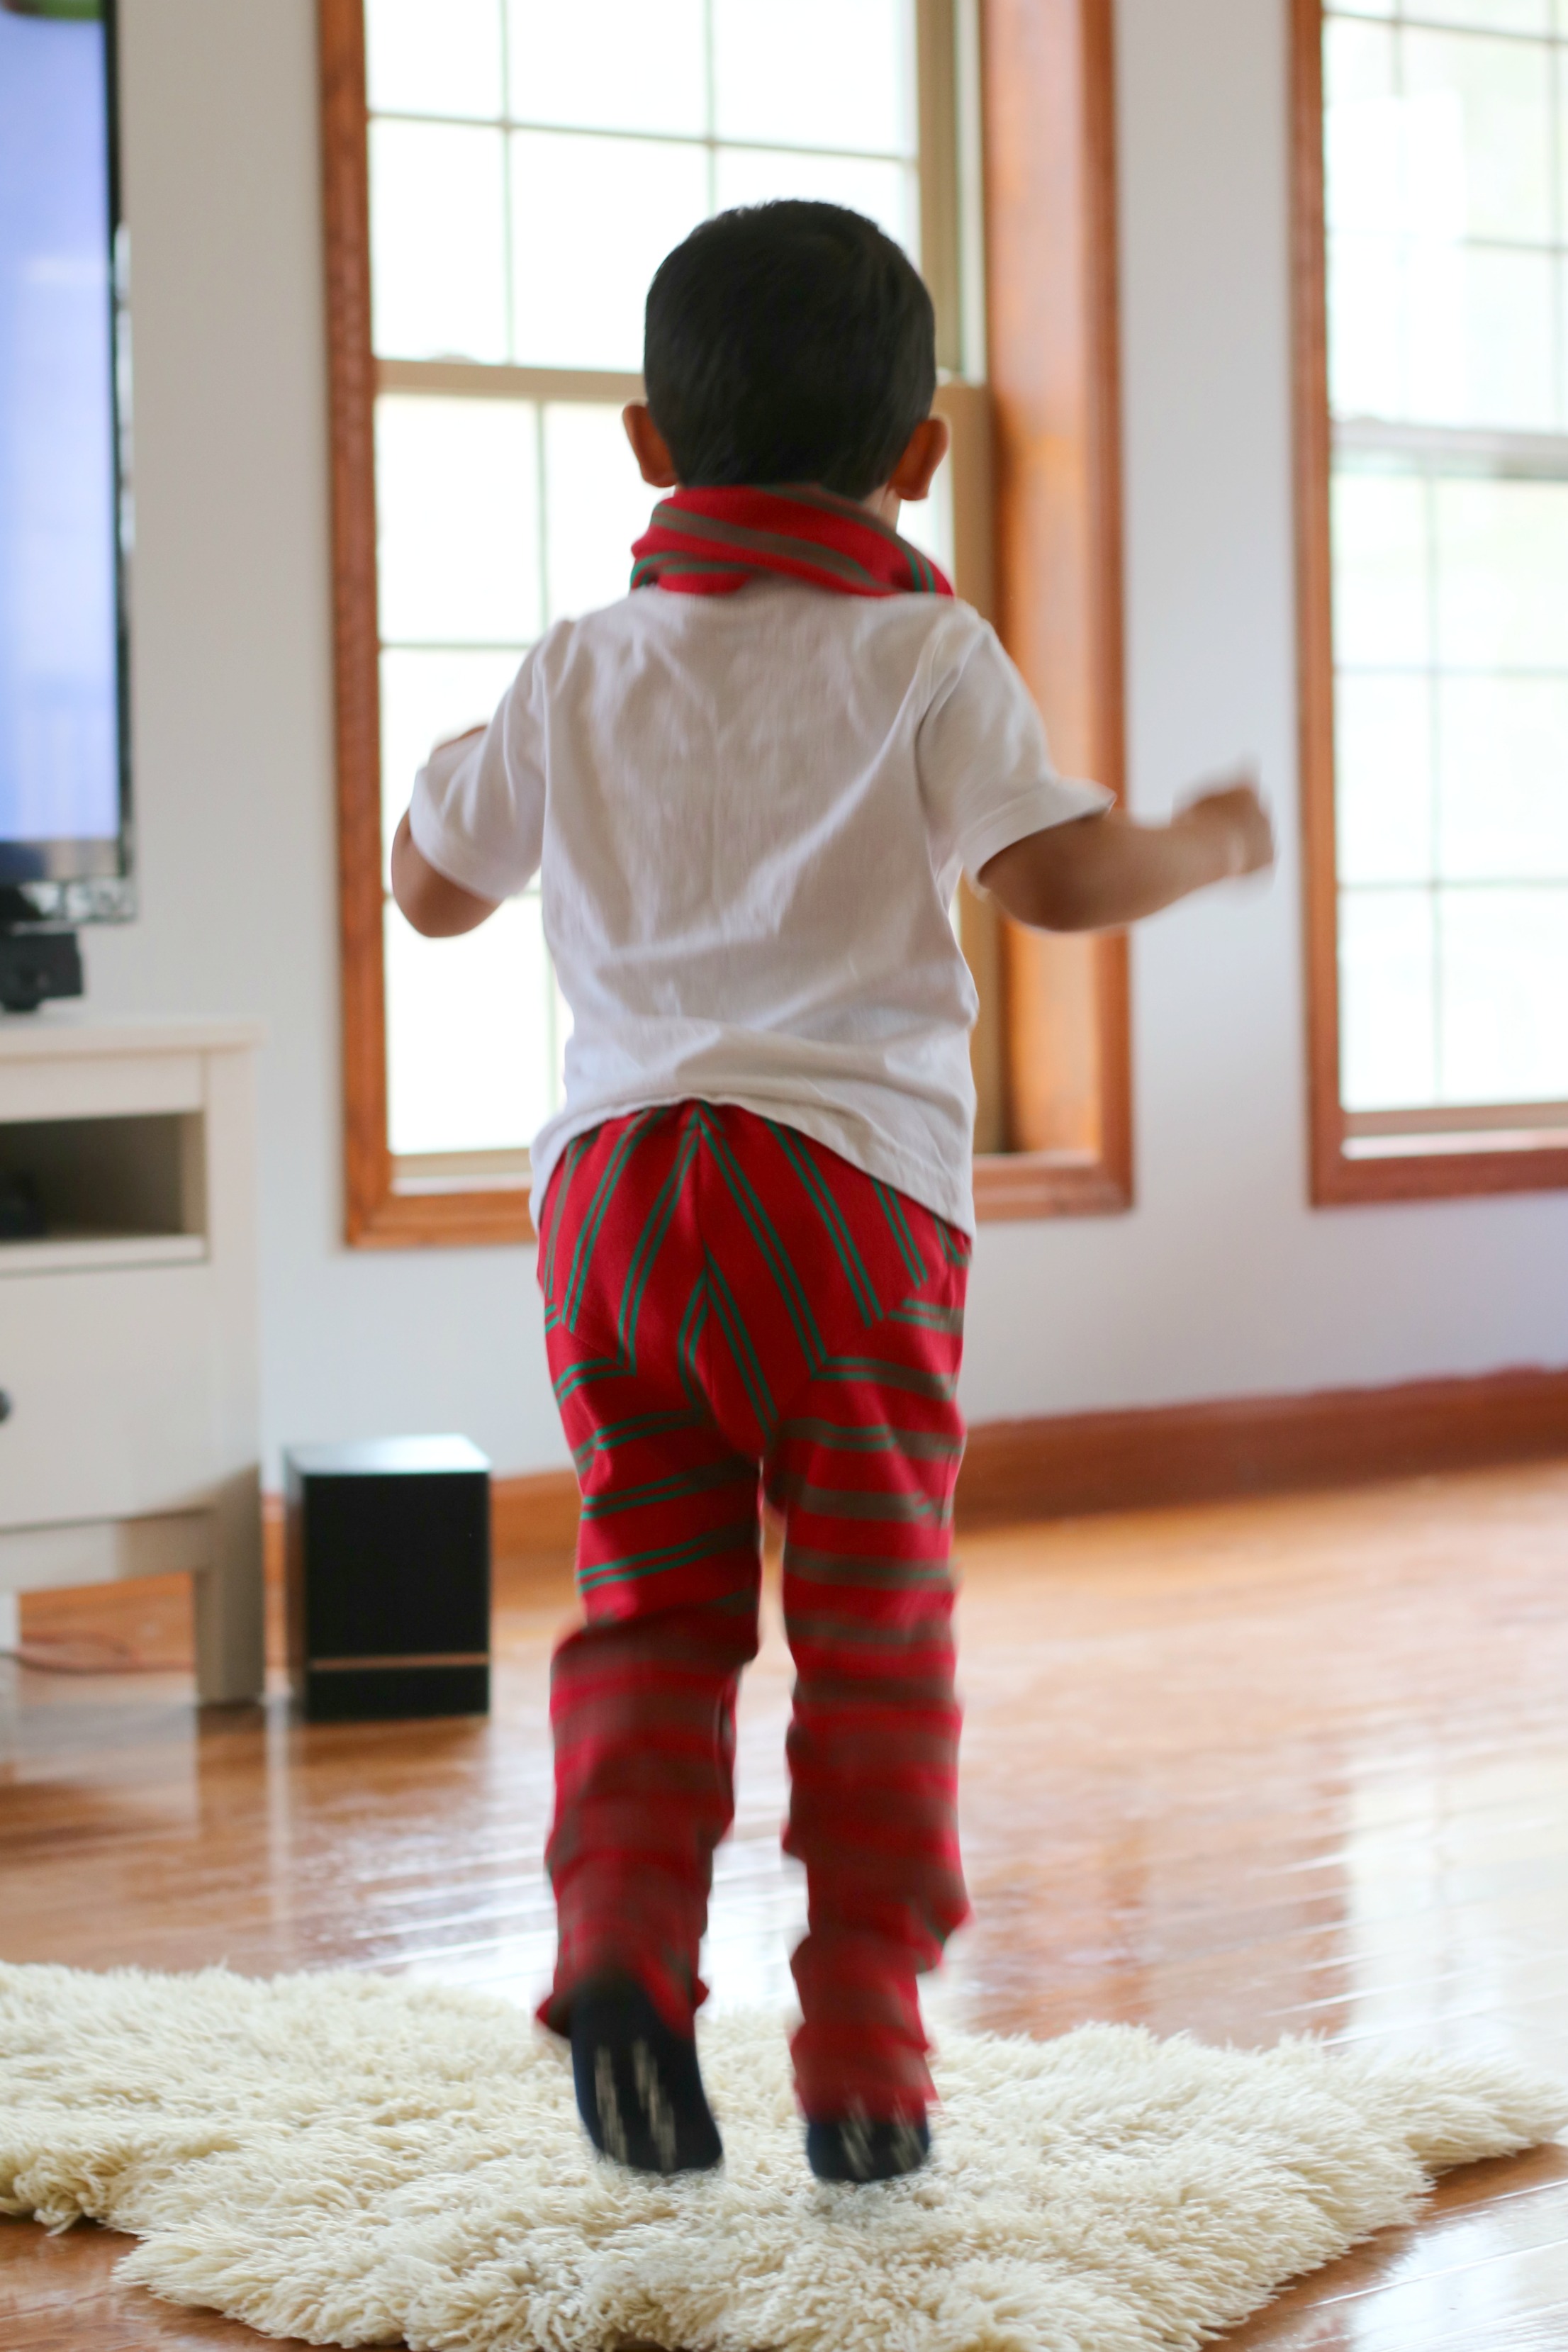
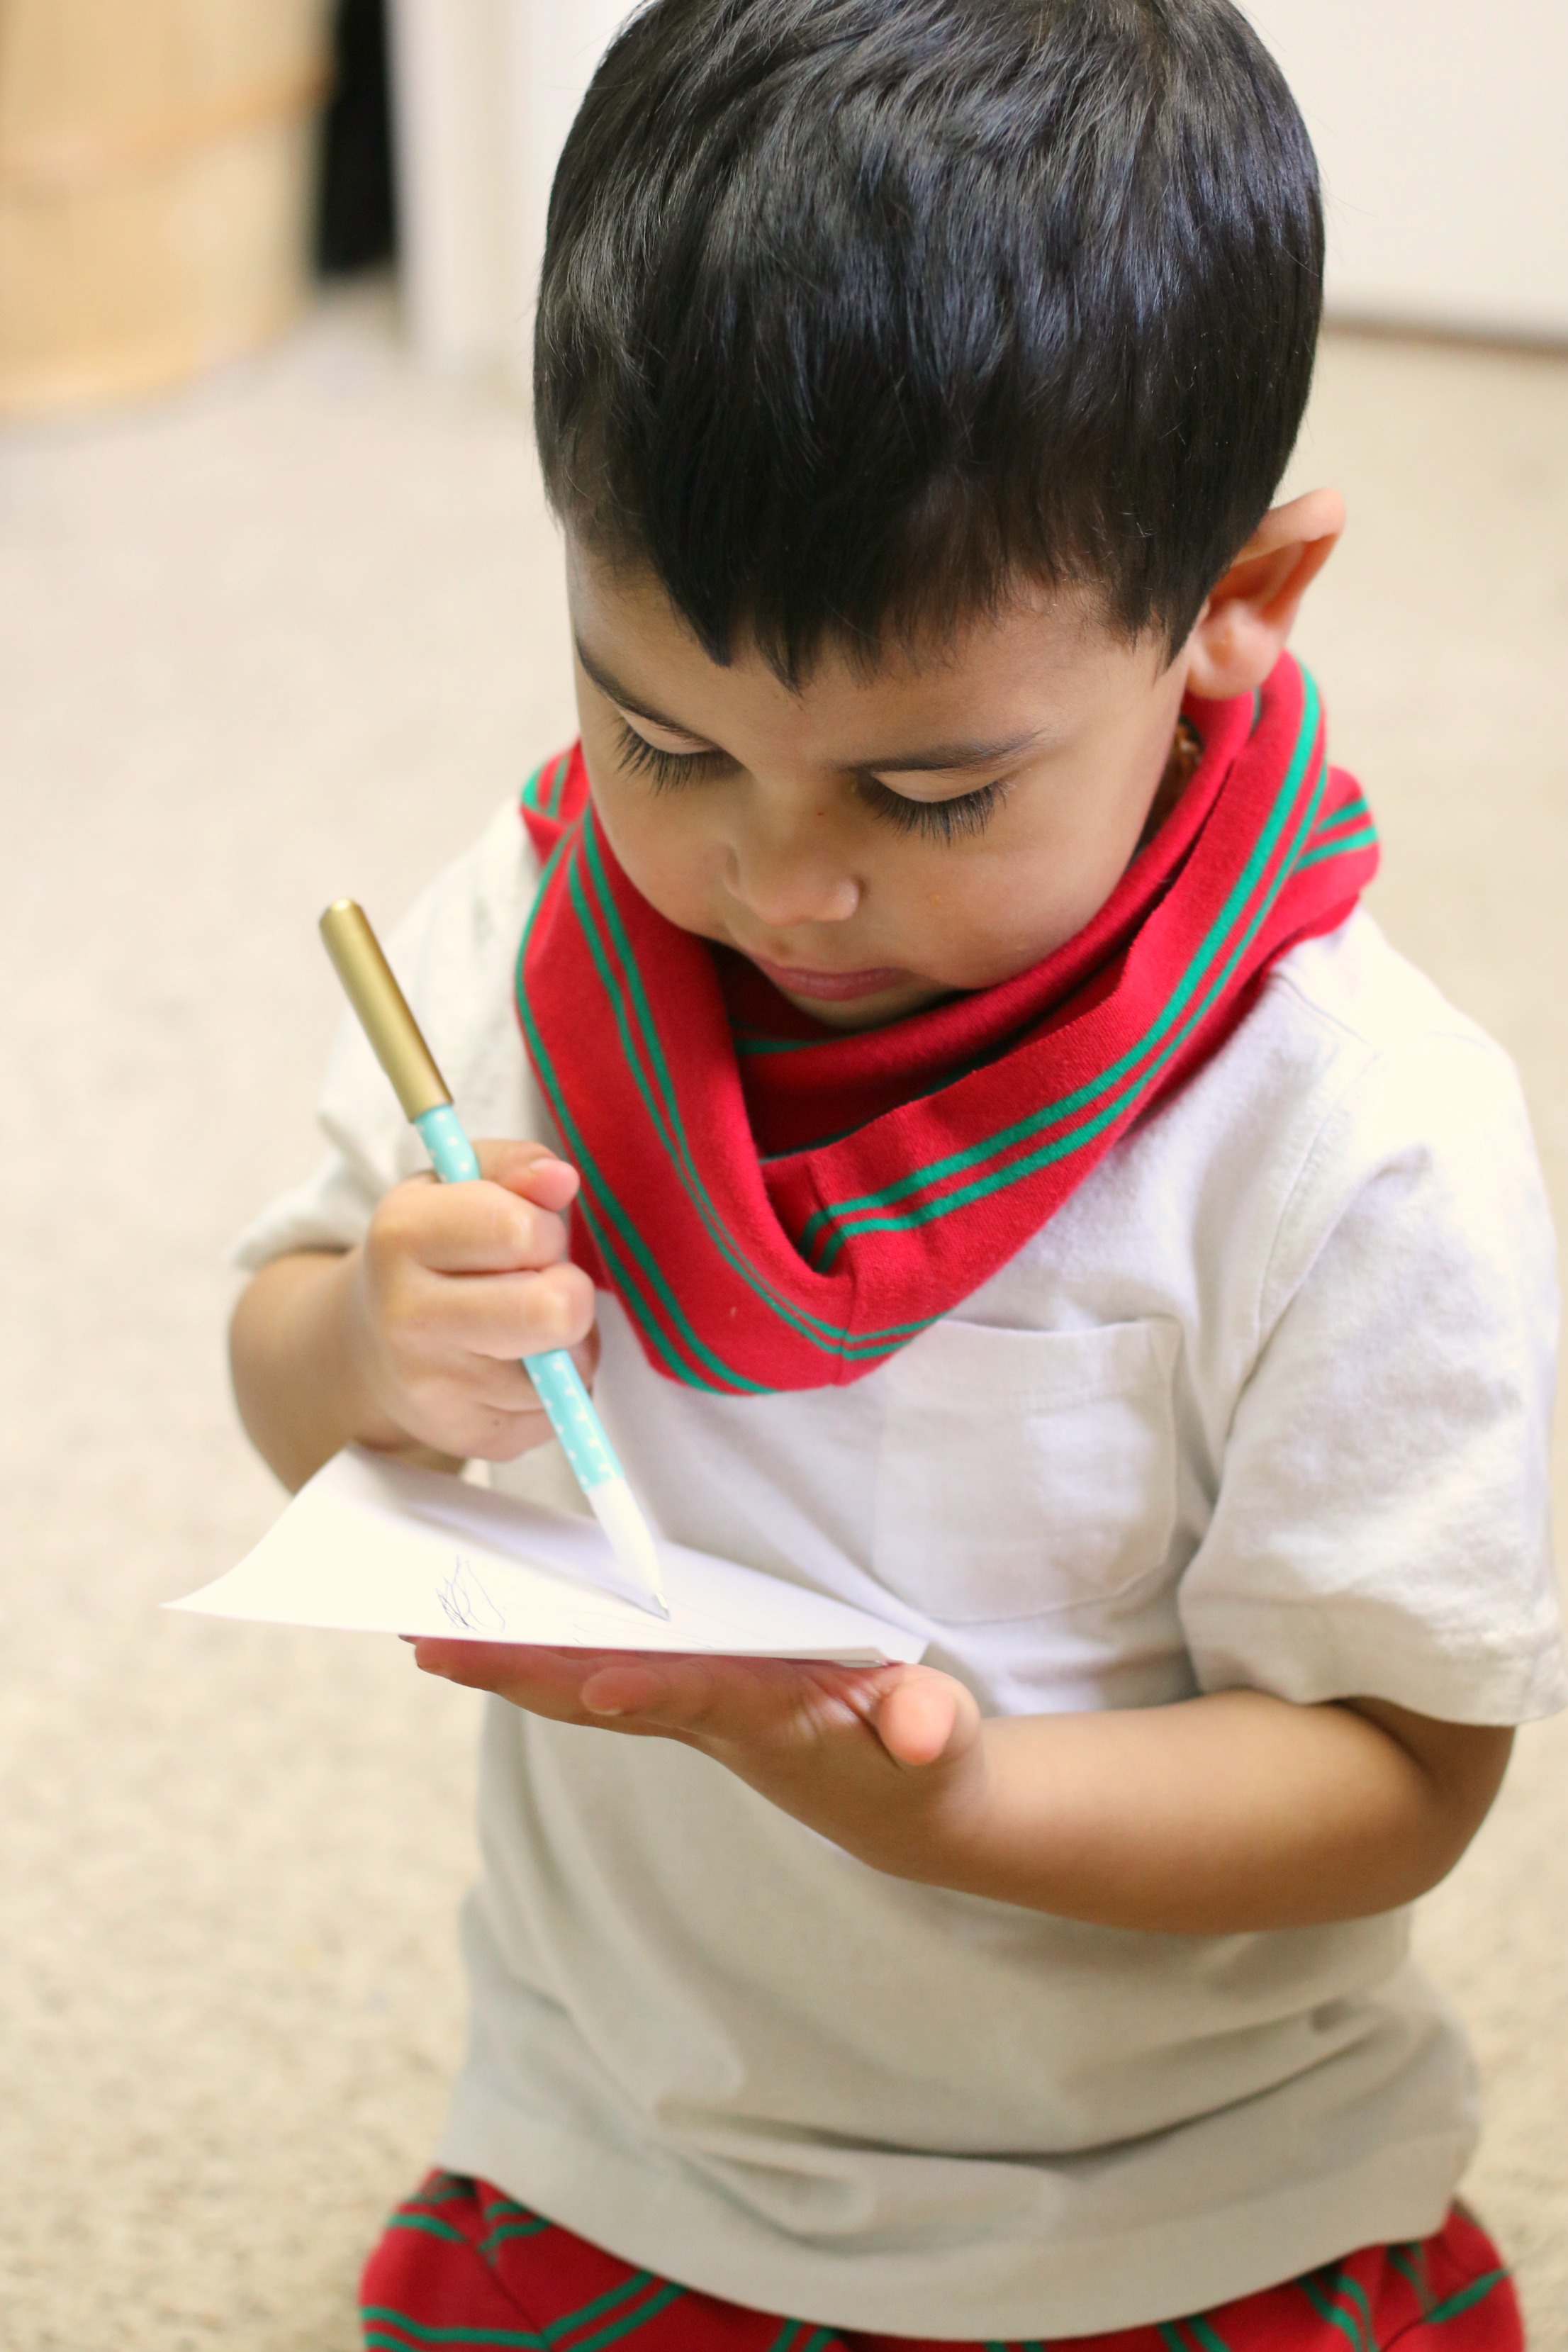
This little boy of mine. He is a little whirlwind. Never tires of running here and there. Keeping him still seems impossible one second and then he decides to snuggle with one of us and chill for hours or remembers that Pooh Bear the movie is a great way to spend an afternoon. He is scared of nothing and I pull him off of counters or ledges constantly. My poor little mommas heart with this boy, I feel as if it is always jumping to the rescue but he just keeps going like its no big thing. He, like me, cannot wait until the warm day of spring come so he can just live outside. It’s our thing ya know. Winter is not his idea of fun and neither are pants most days. His Farm Boy pants (remember these?) won’t keep him warm and tight pajama pants are not his favorite. Today we woke to snow. Another day inside except for sap collecting and his little legs need to be covered, even if he thinks its not such a great idea.
I decided to make him a loose pair just like his Farm Boy pants and recalled an organic long sleeved shirt sitting in my pile of clothes to reuse. I found this shirt in one of my usual thrift store digs and it is buttery soft plus organic. It was also such a steal at .99. Since he is still not potty trained, I made them roomy to fit his diaper and when he potty trains, if that ever happens, it will just be comfy and loose.
A few friends have commented to me for the last year that they miss seeing tutorials here so here is a quick one to make some easy baby pants. Really, these take 20 minutes and your are done.
30 Minute Toddler Pants from a Long Sleeved Shirt
These are quick and great for last minute like when you just realized that all suitable pants are looking too small.
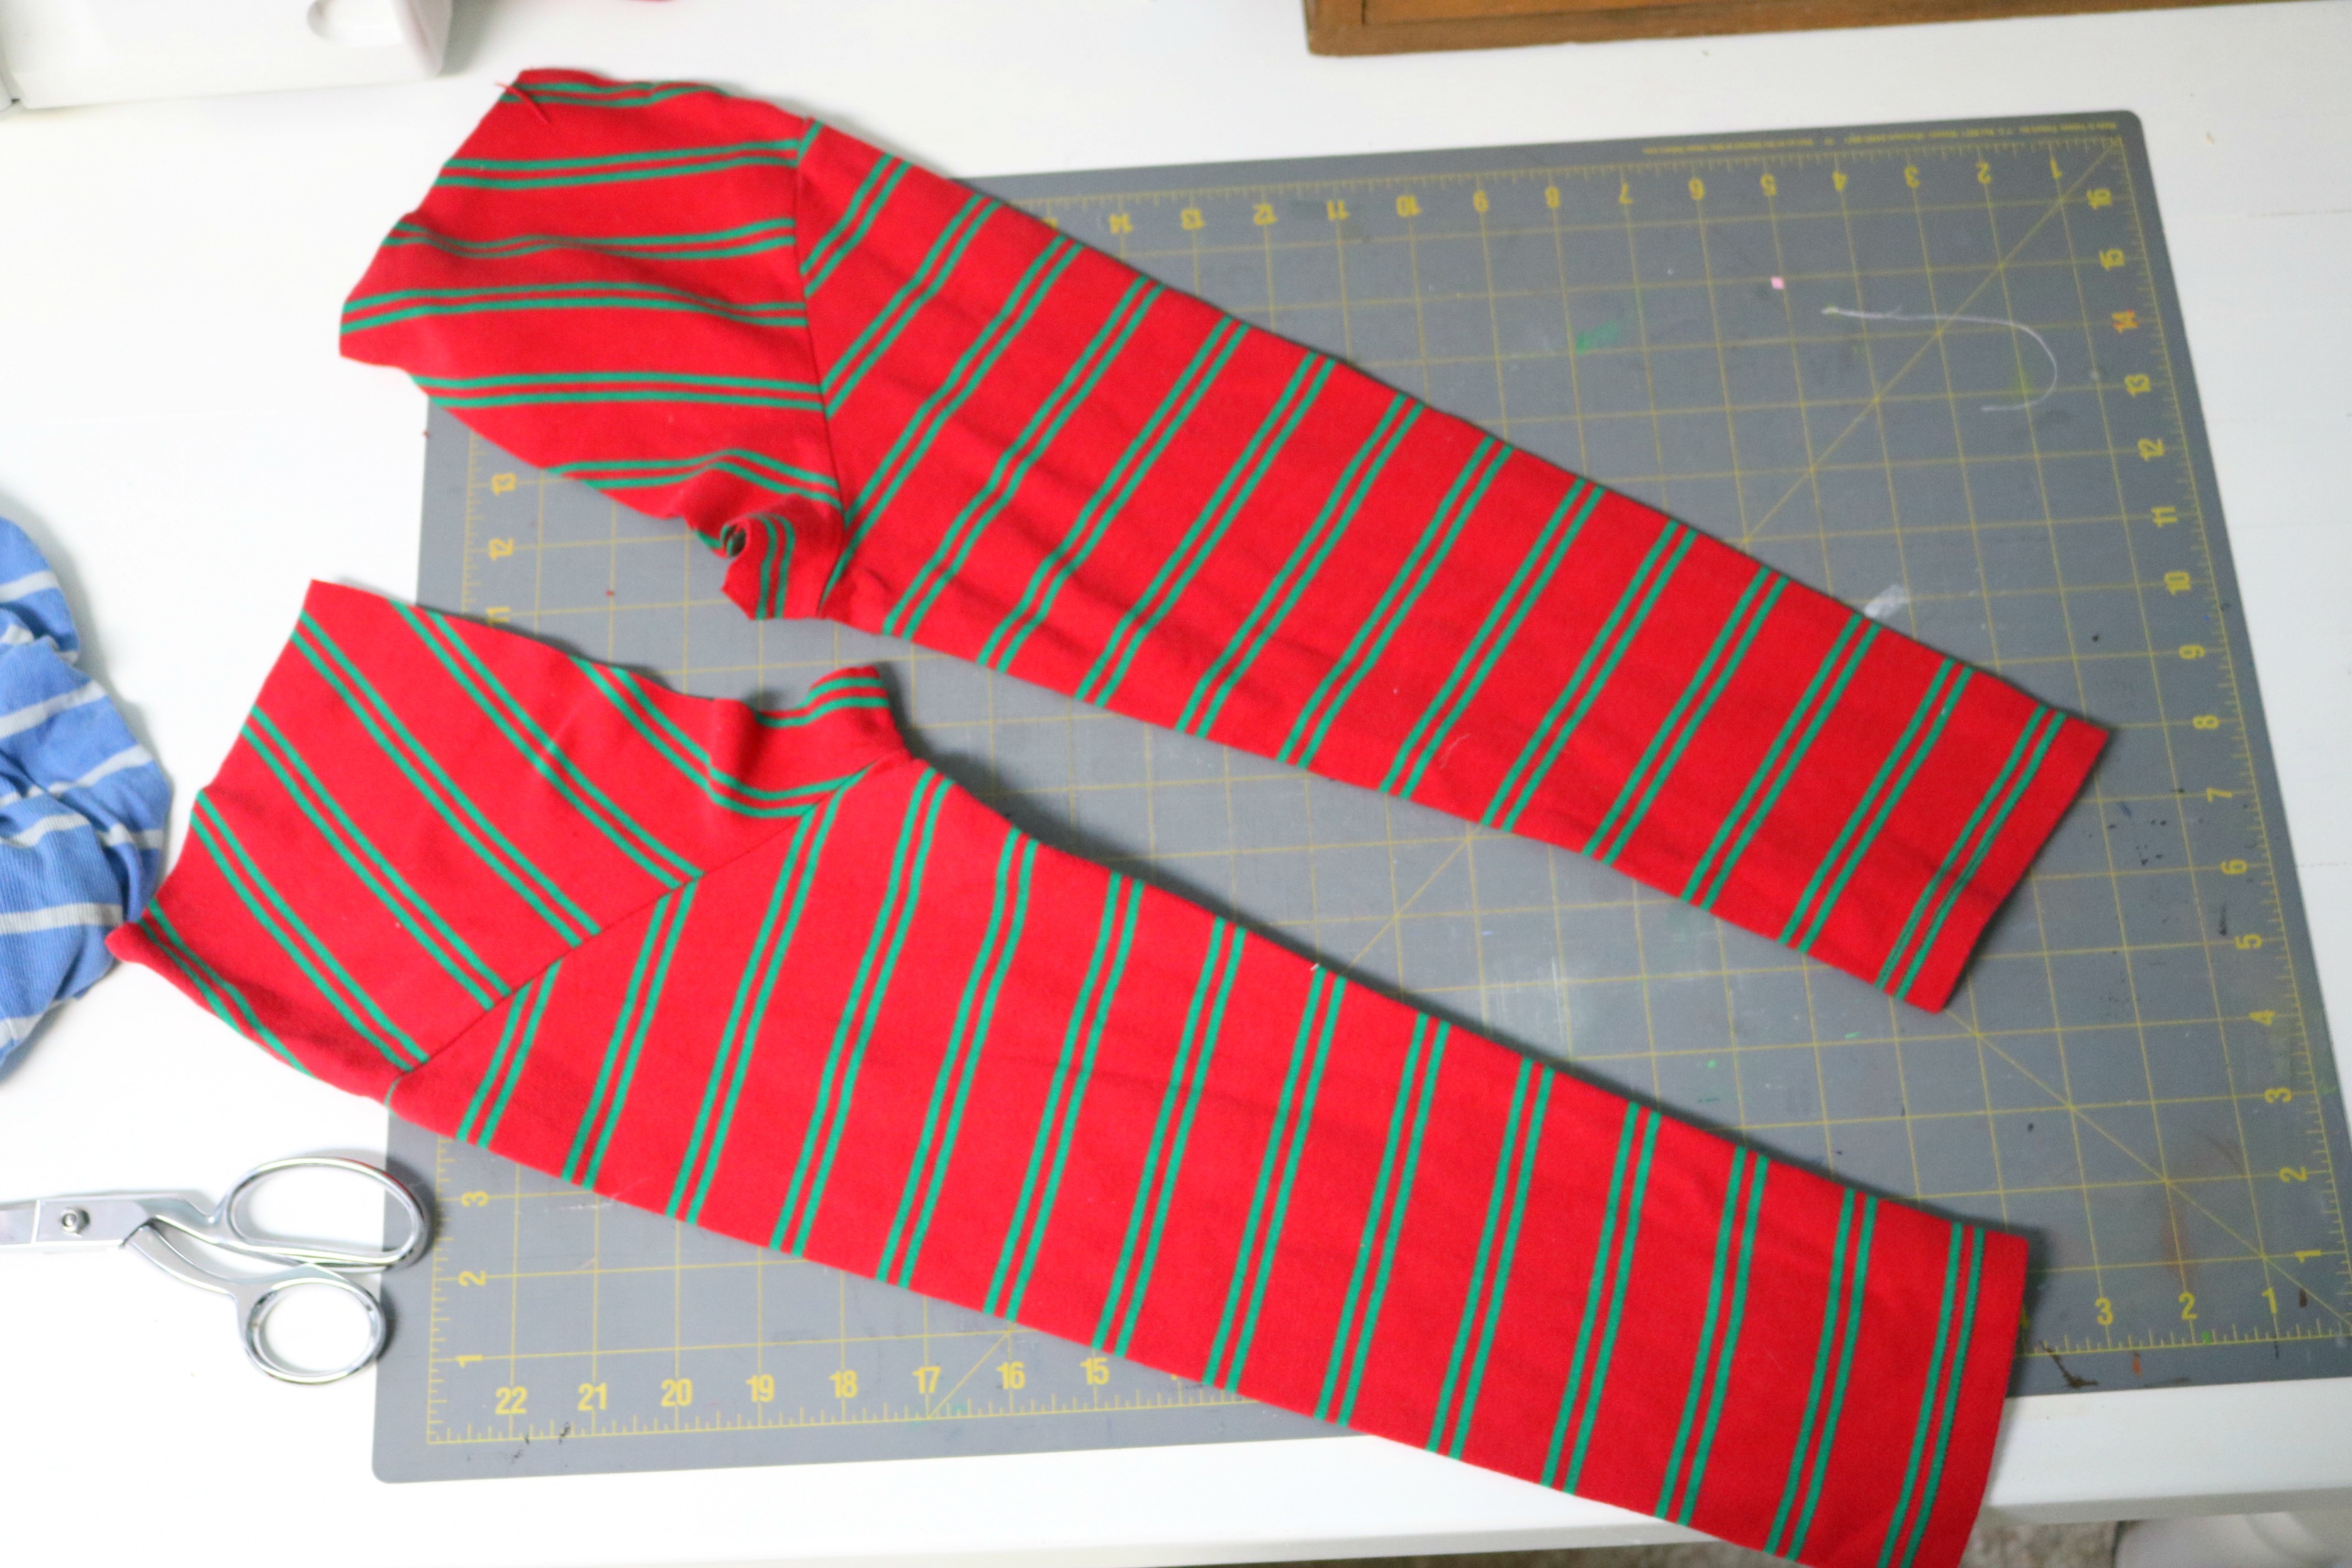
Cut off the long sleeves. Because Mateo is 3 now I have to cut more than just the sleeve but if you have a little one then just use one of their pants now as a template and cut at that length. By using a ready made shirt, you take advantage of the hem already being done for you. I love saving time and sewing steps.
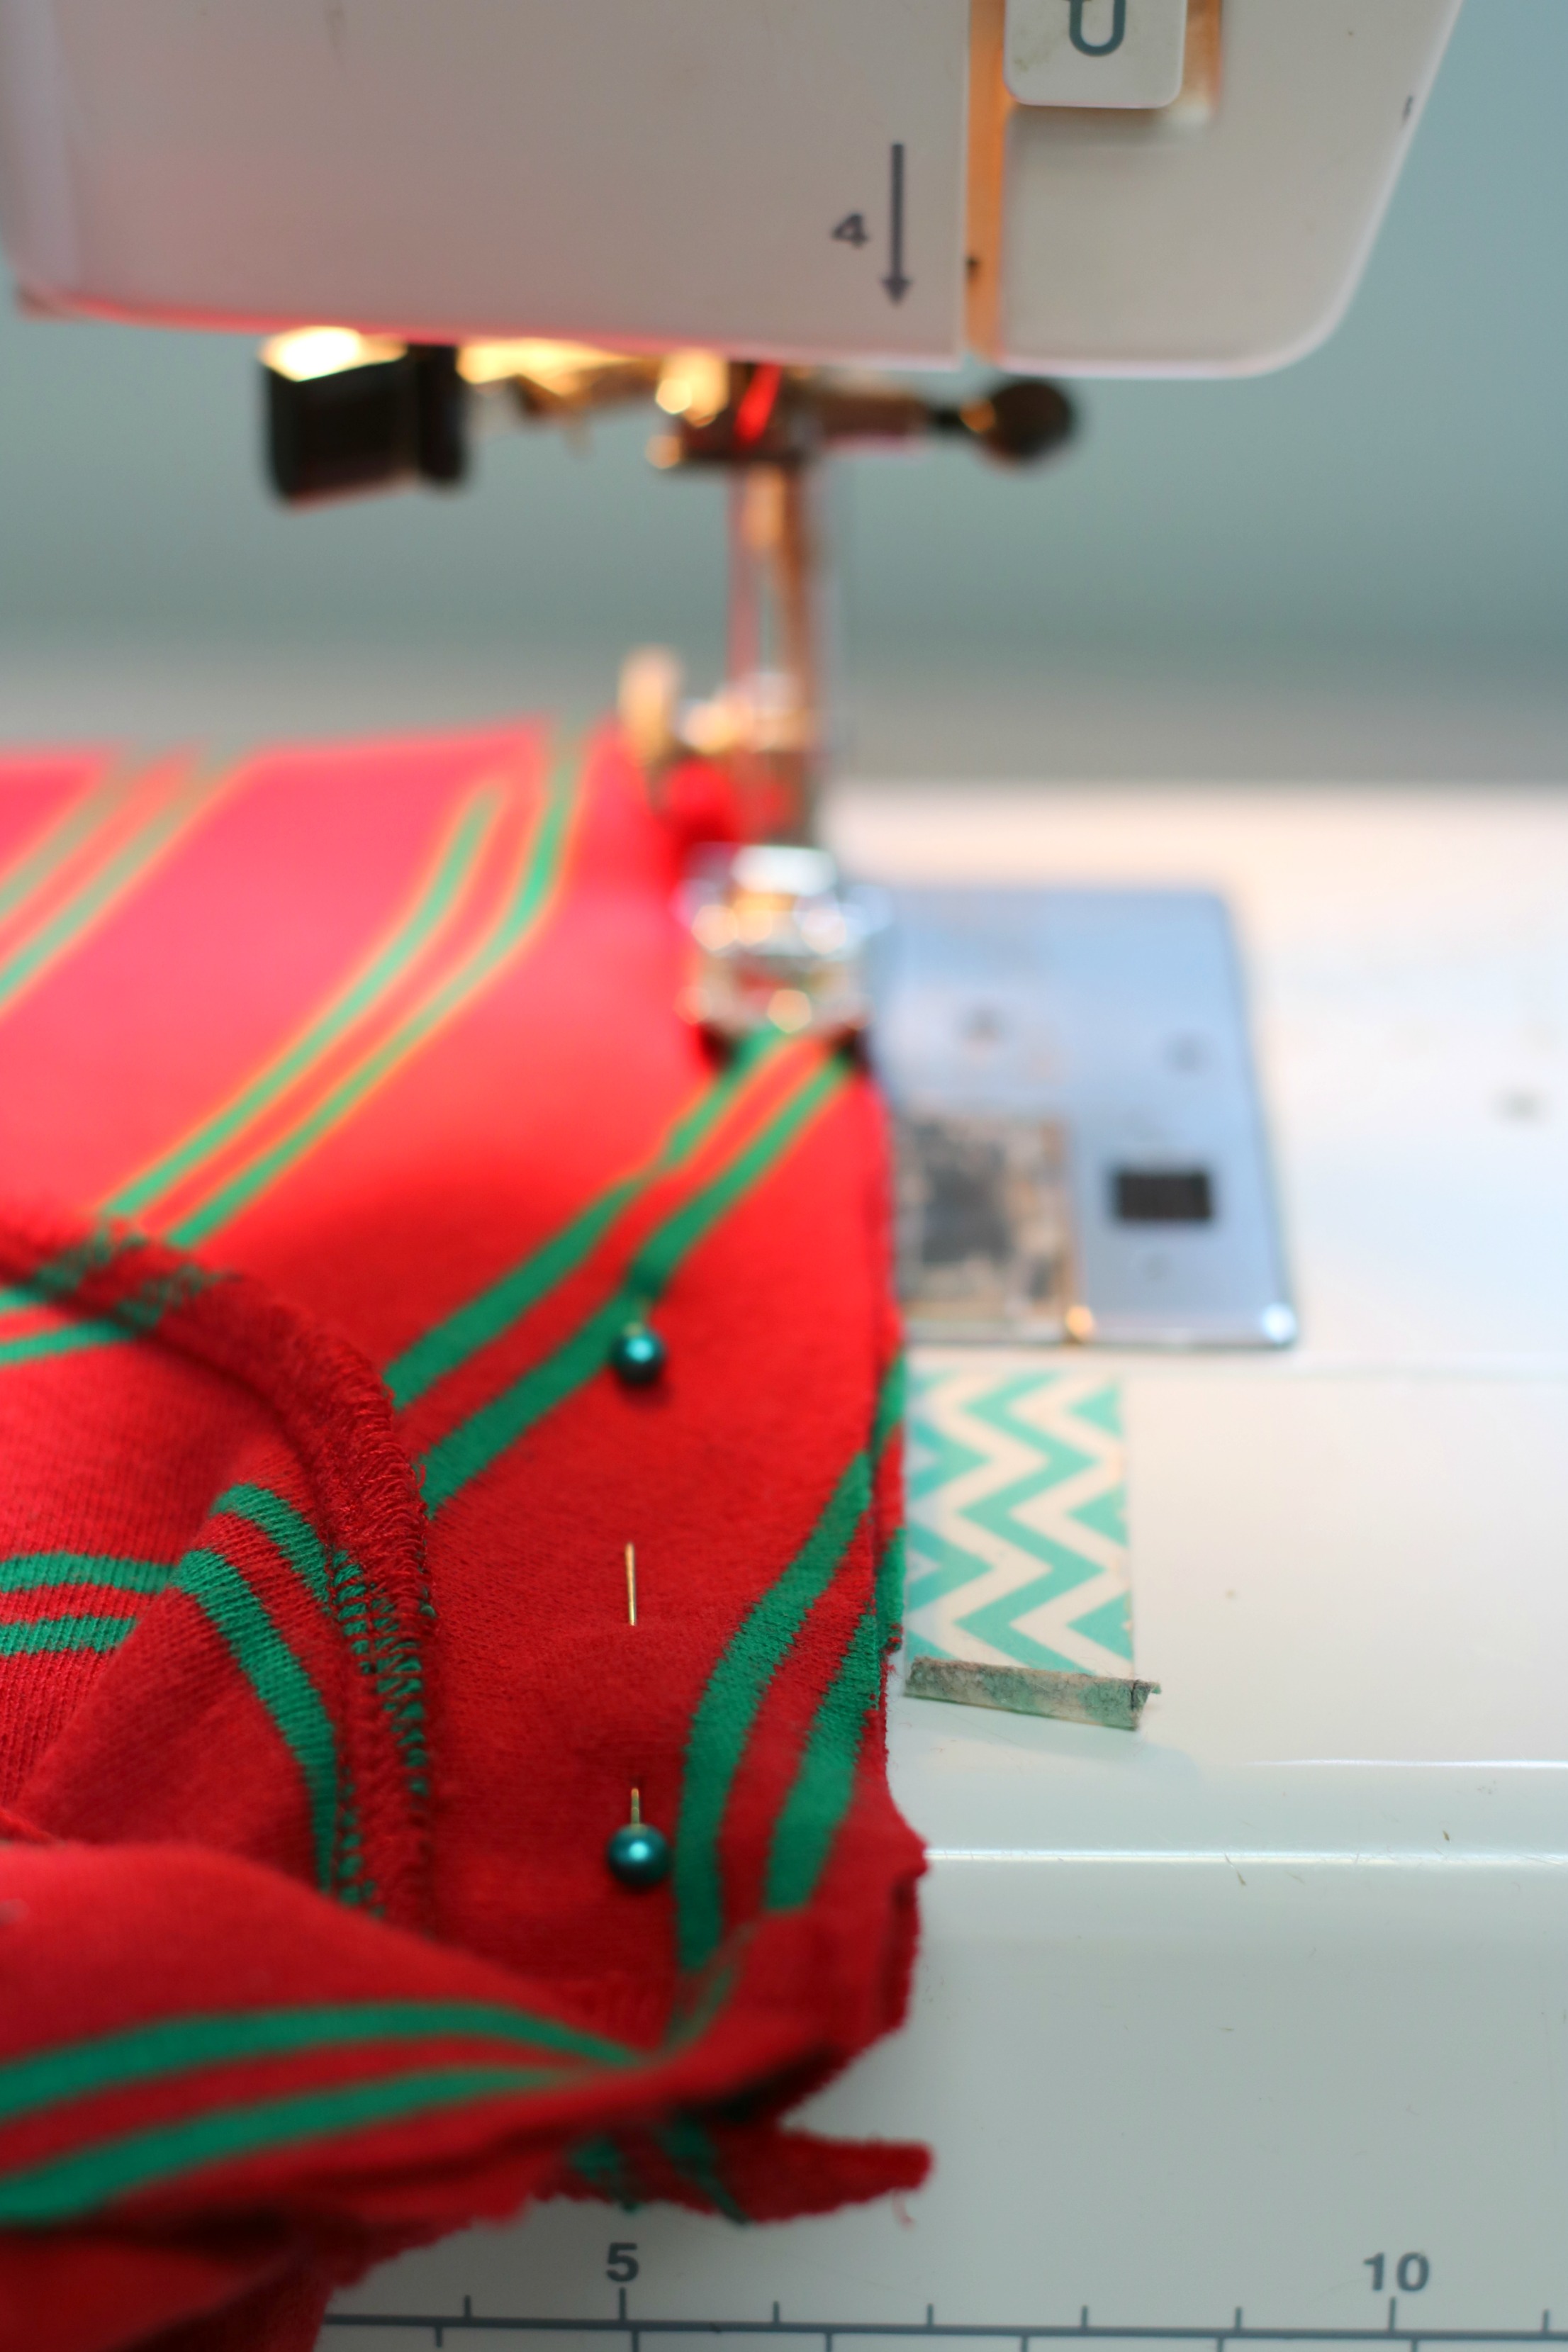
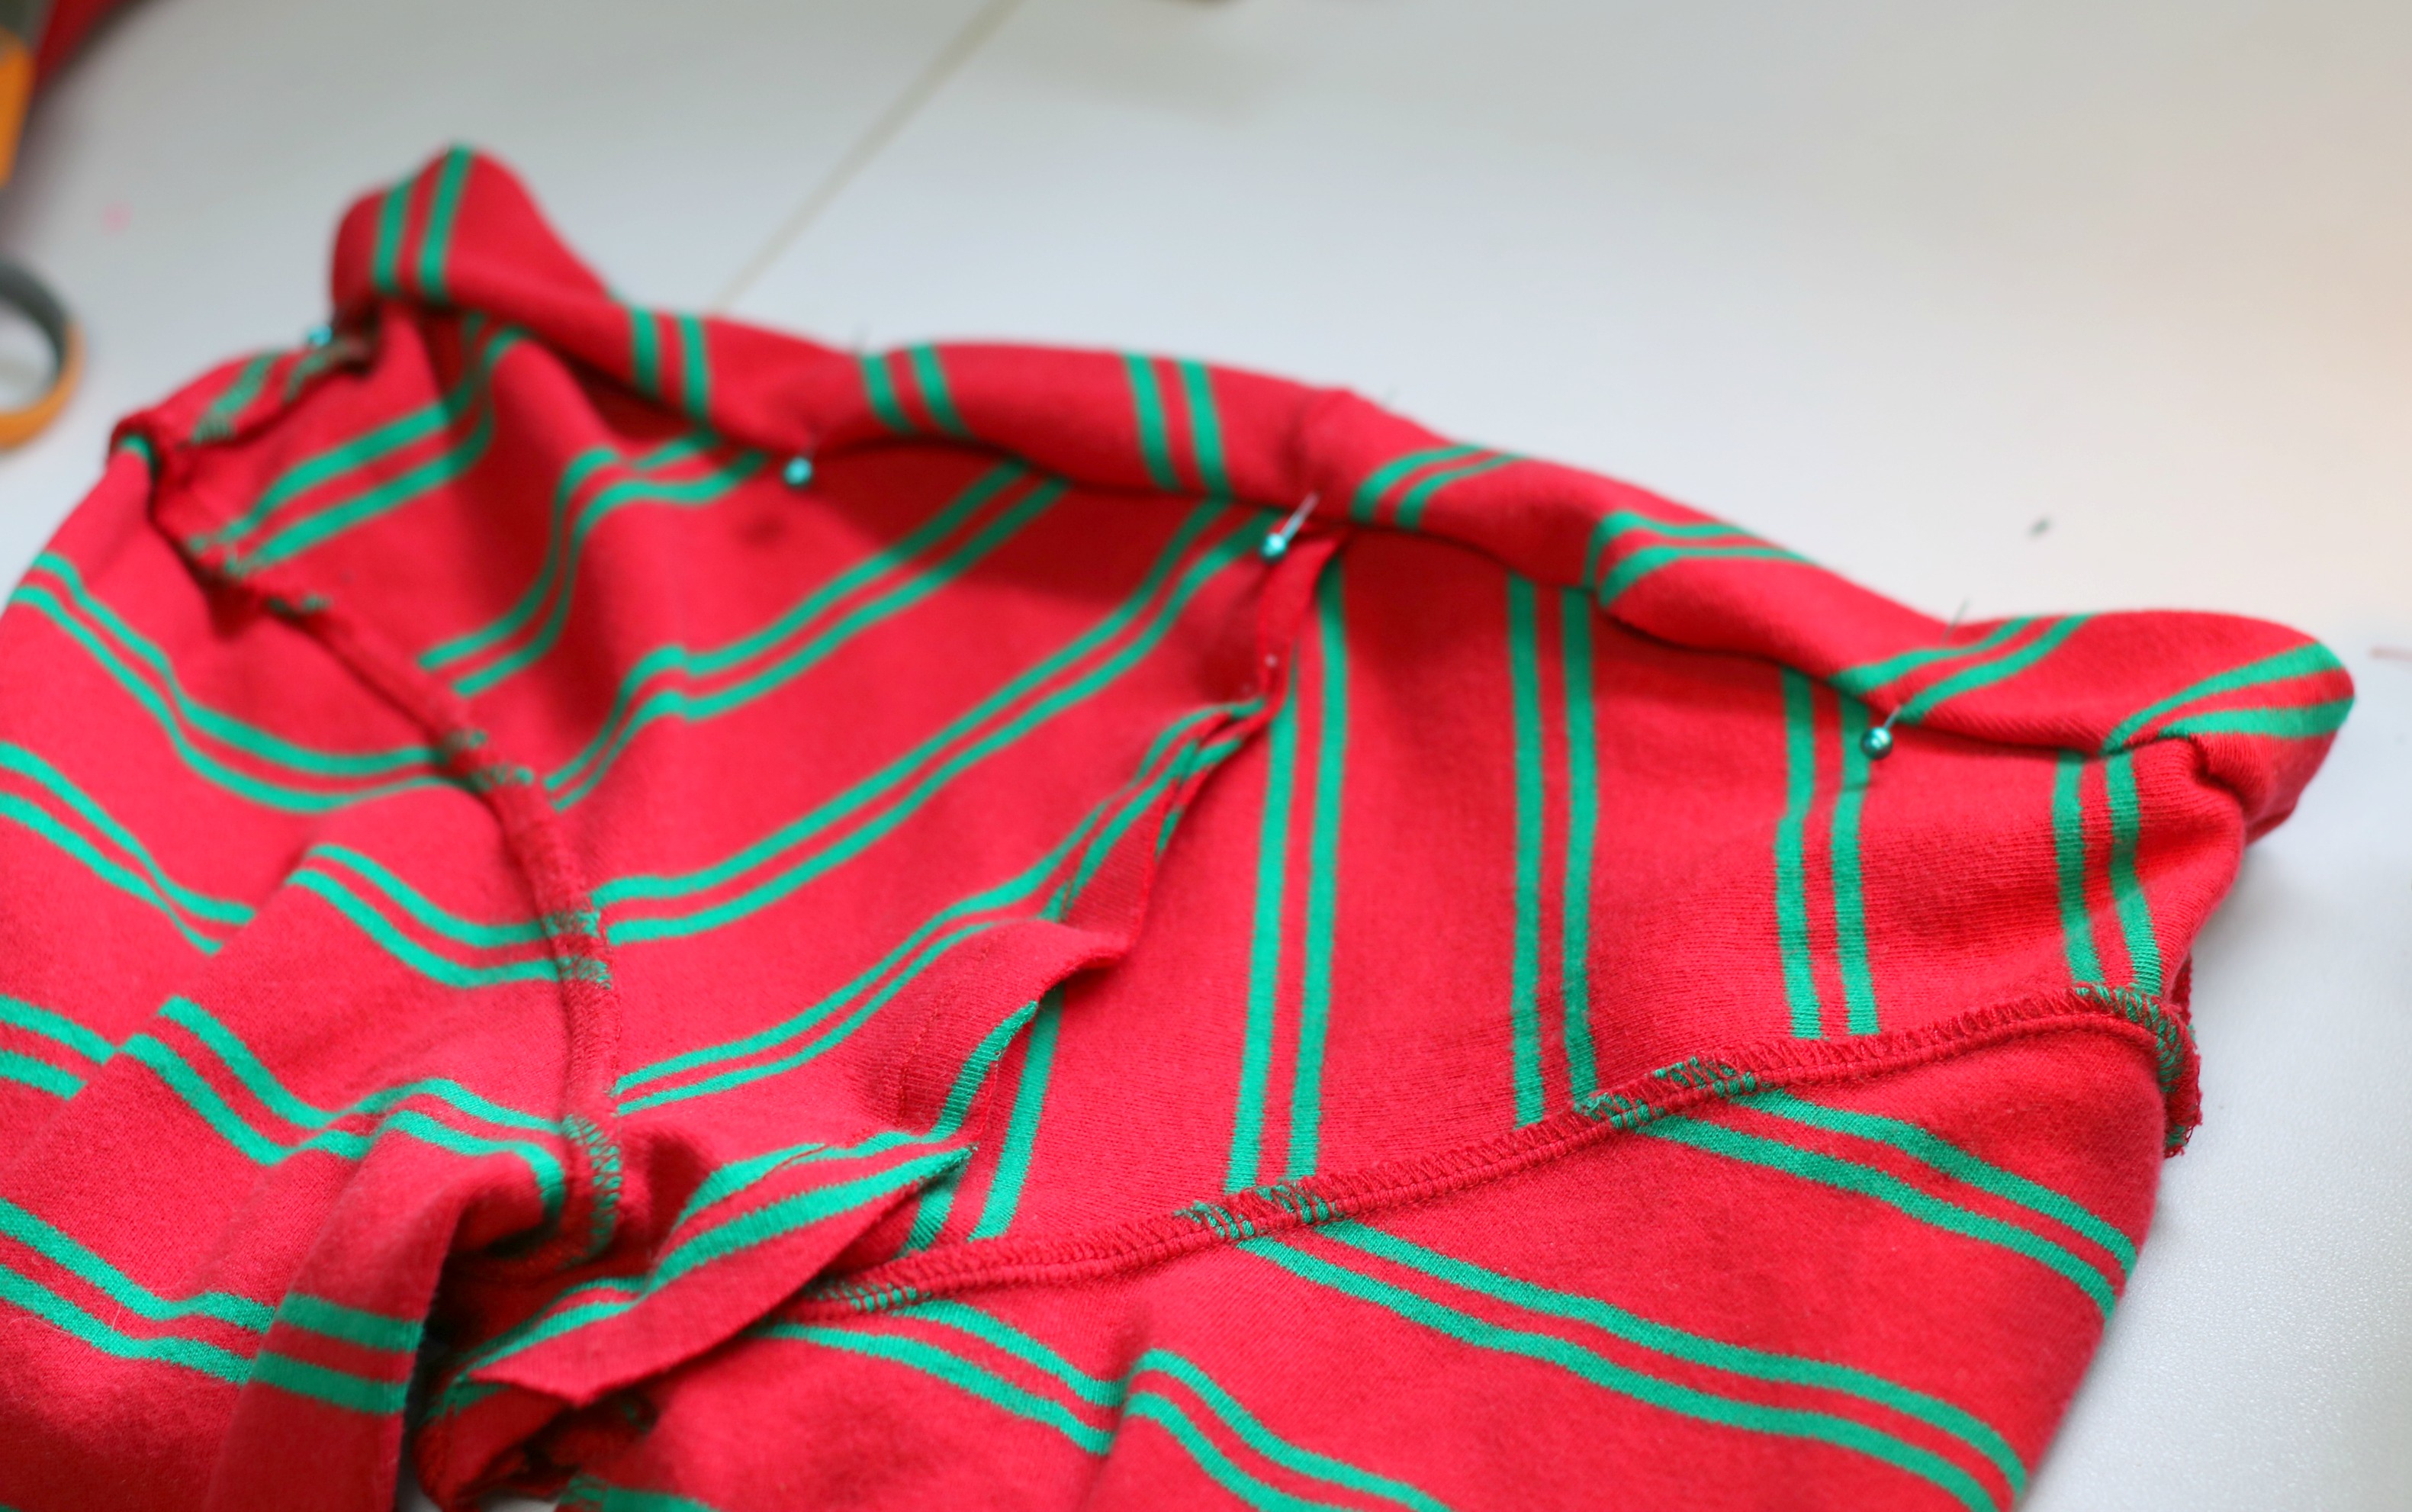
Next, turn one of the sleeves inside out and insert inside the other one so that right sides are touching and stitch along the edge like my messy drawn on stitch line in the picture

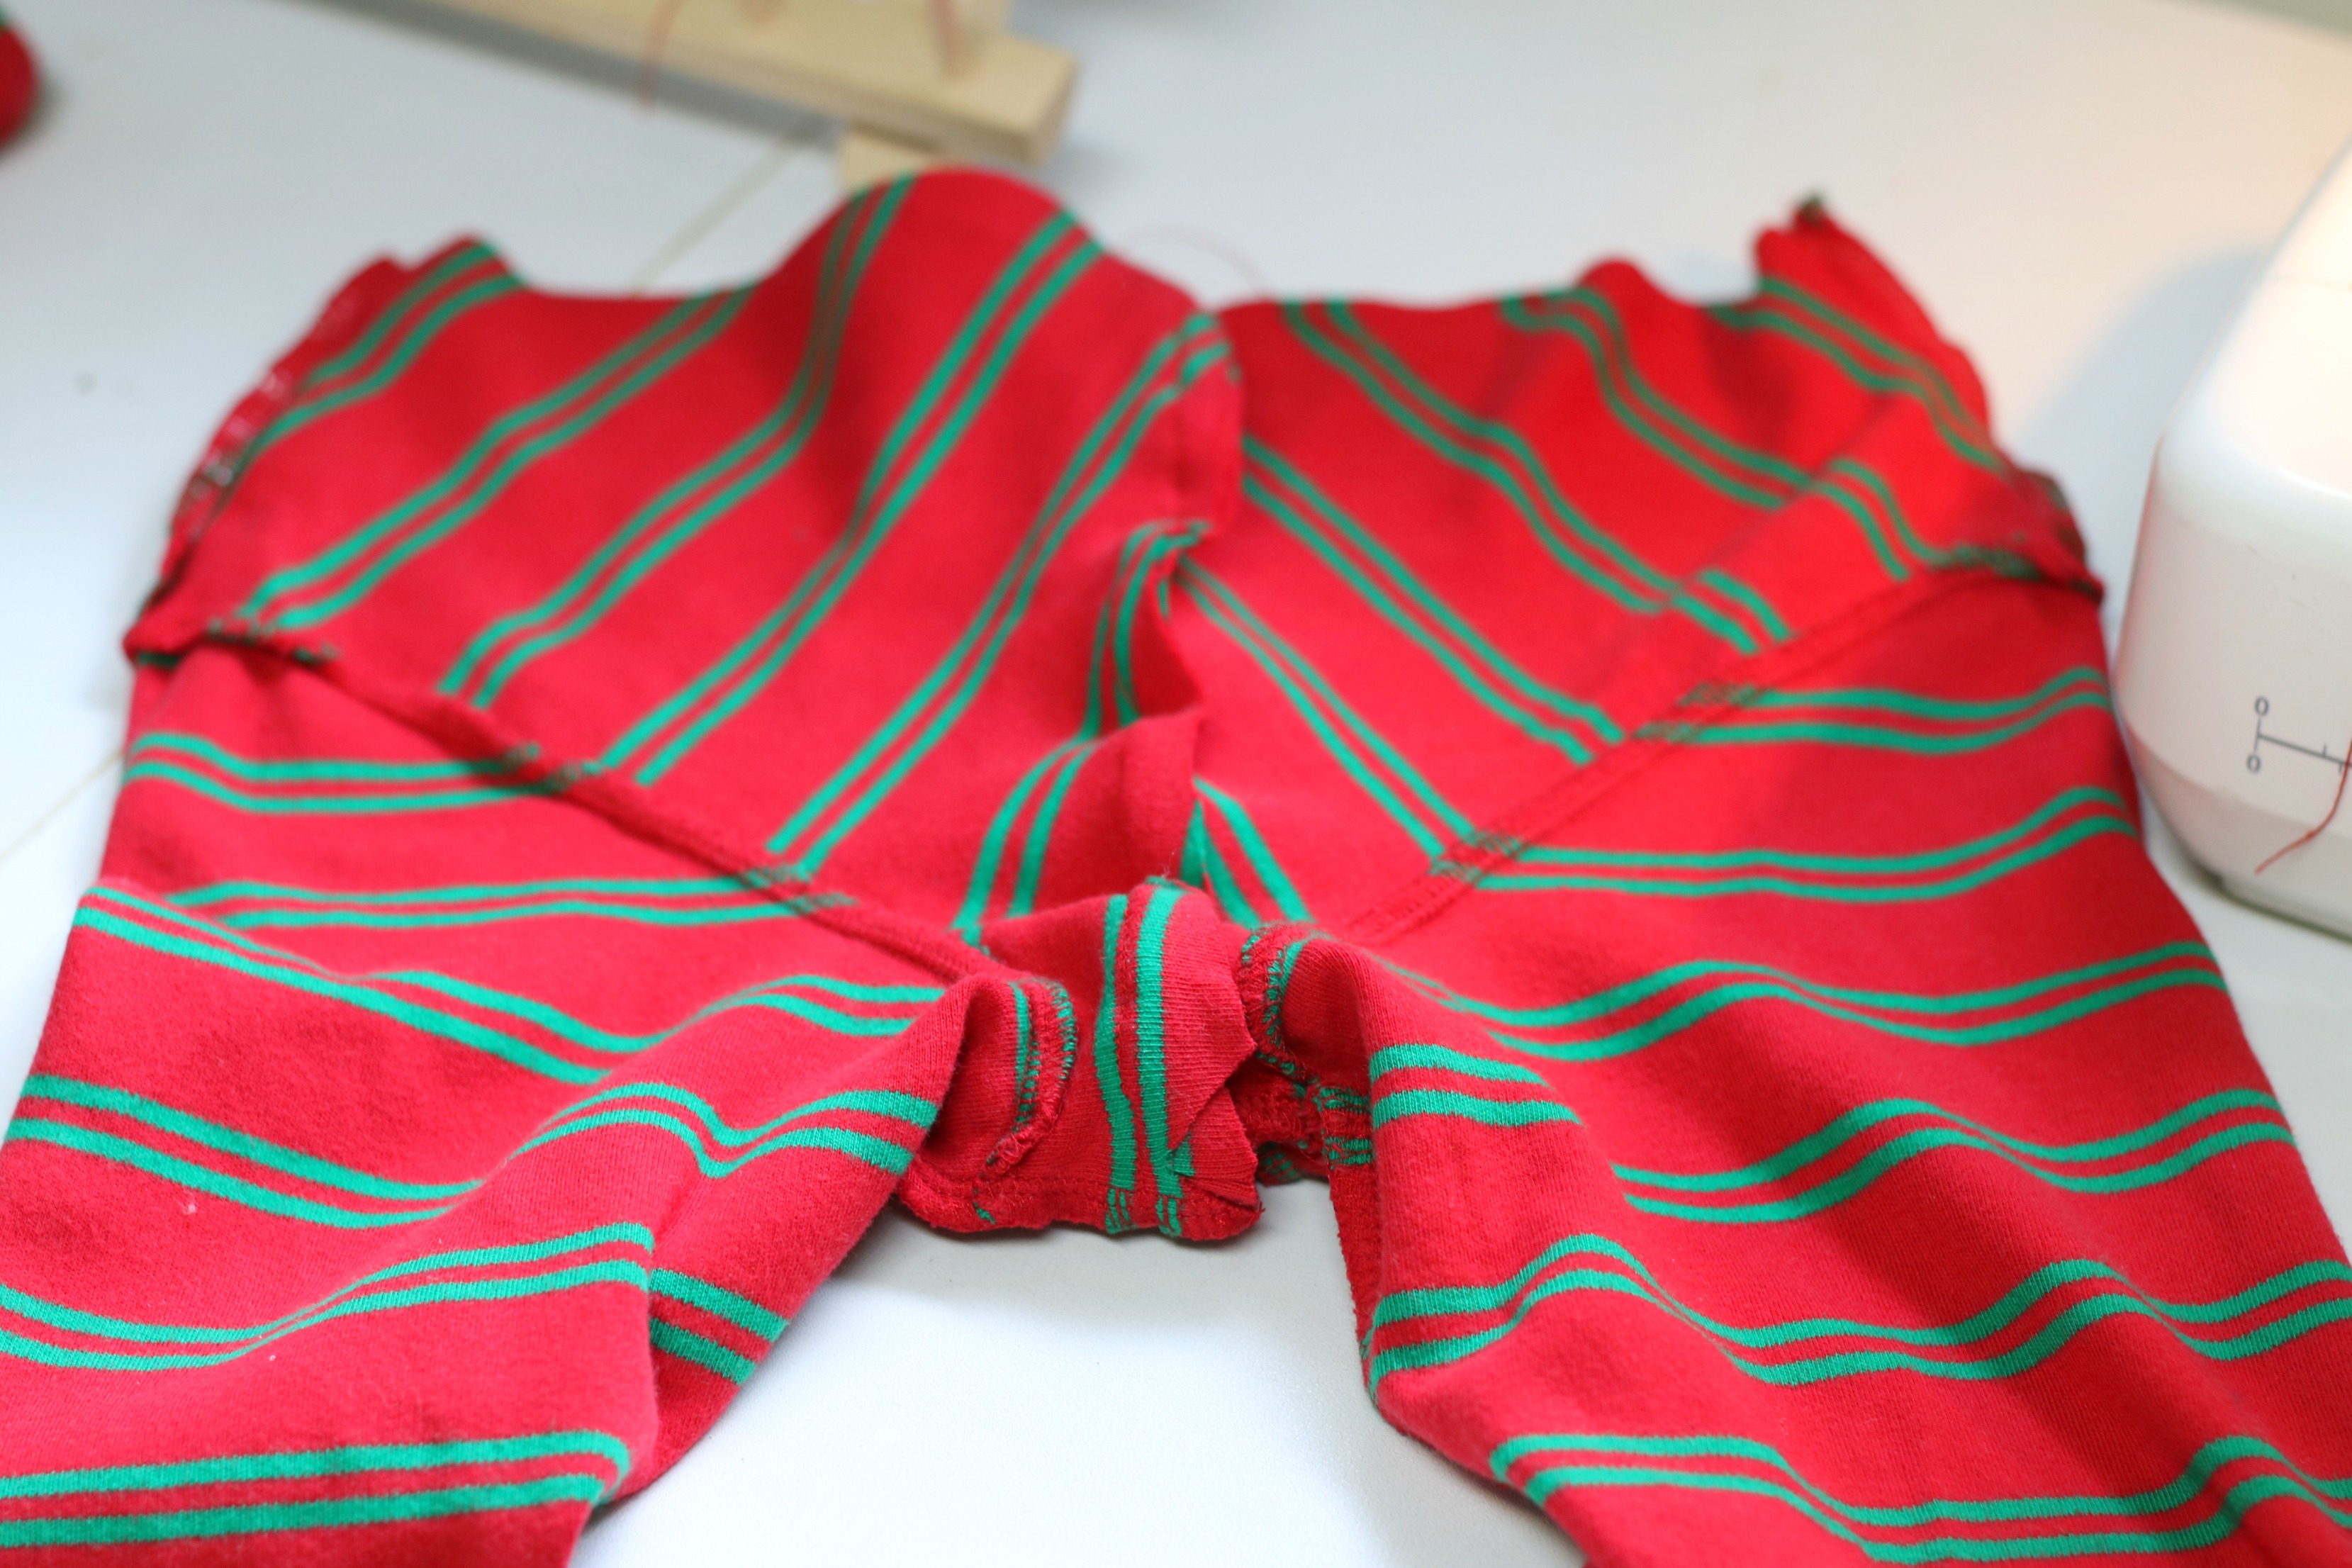
and now you have pants but no waist
Fold down the fabric and then fold it under one more time to make a waist casing and pin all around to hold in place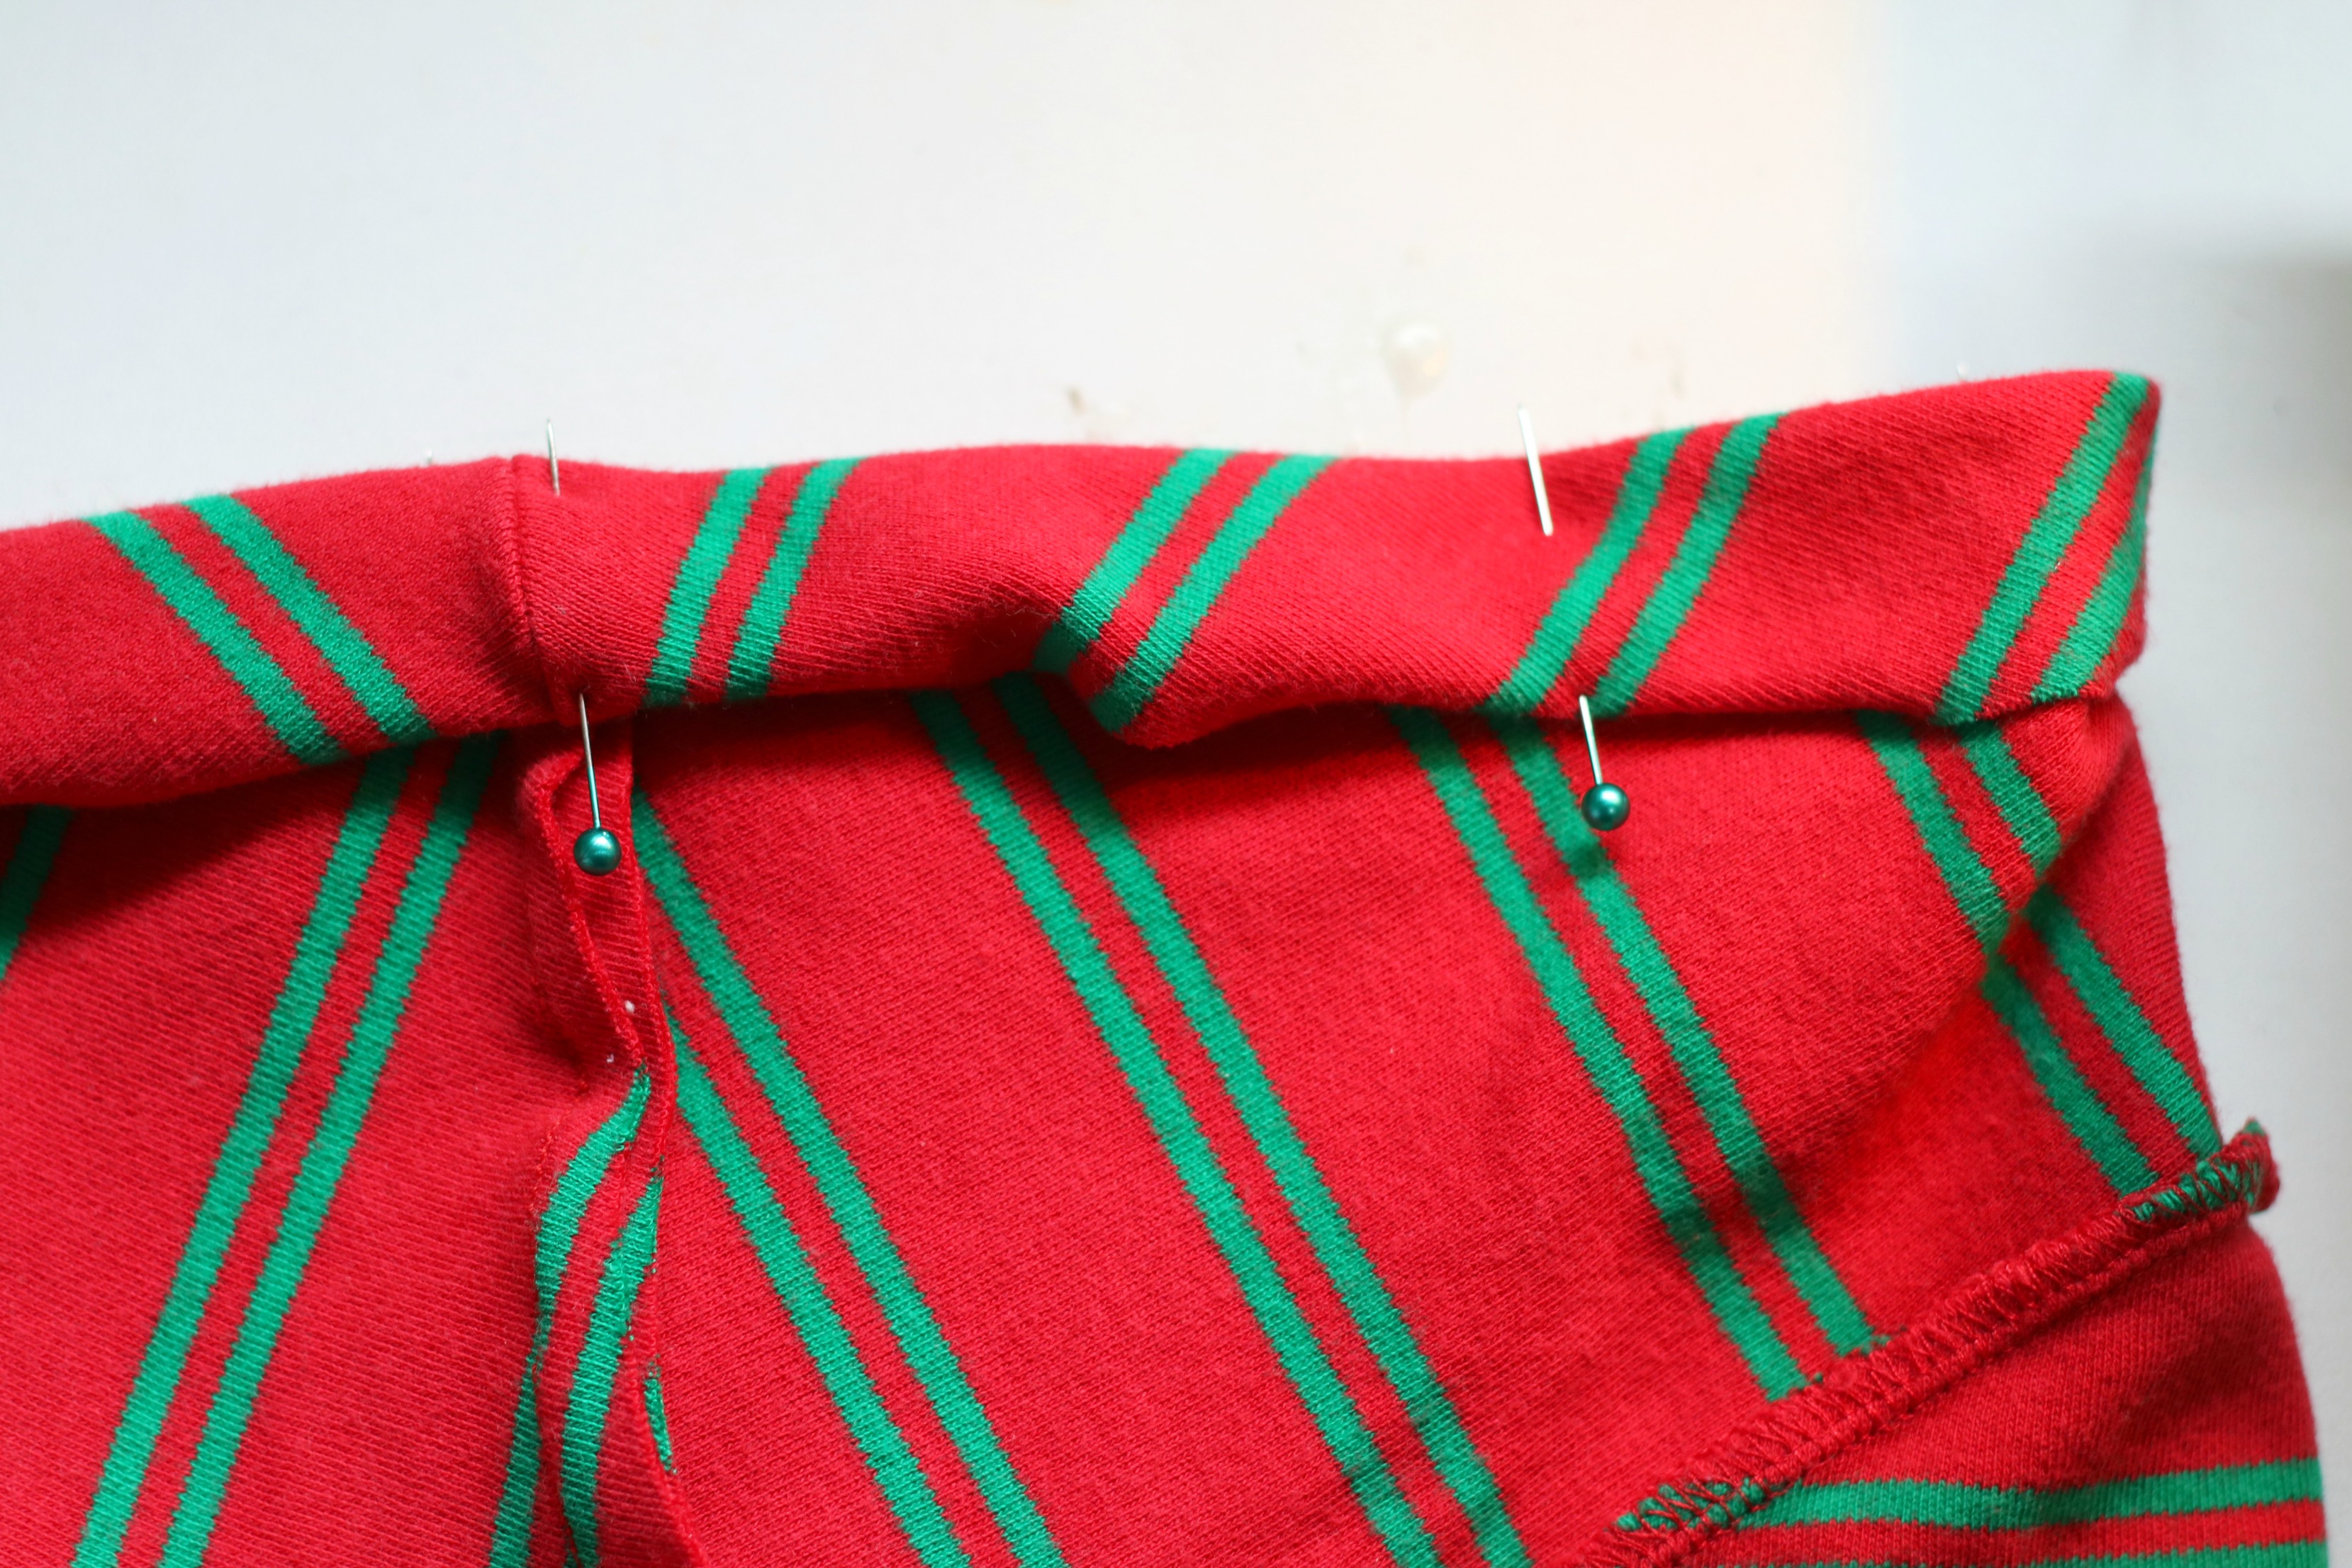
sewing waist casing closed but leave a space at the end open,

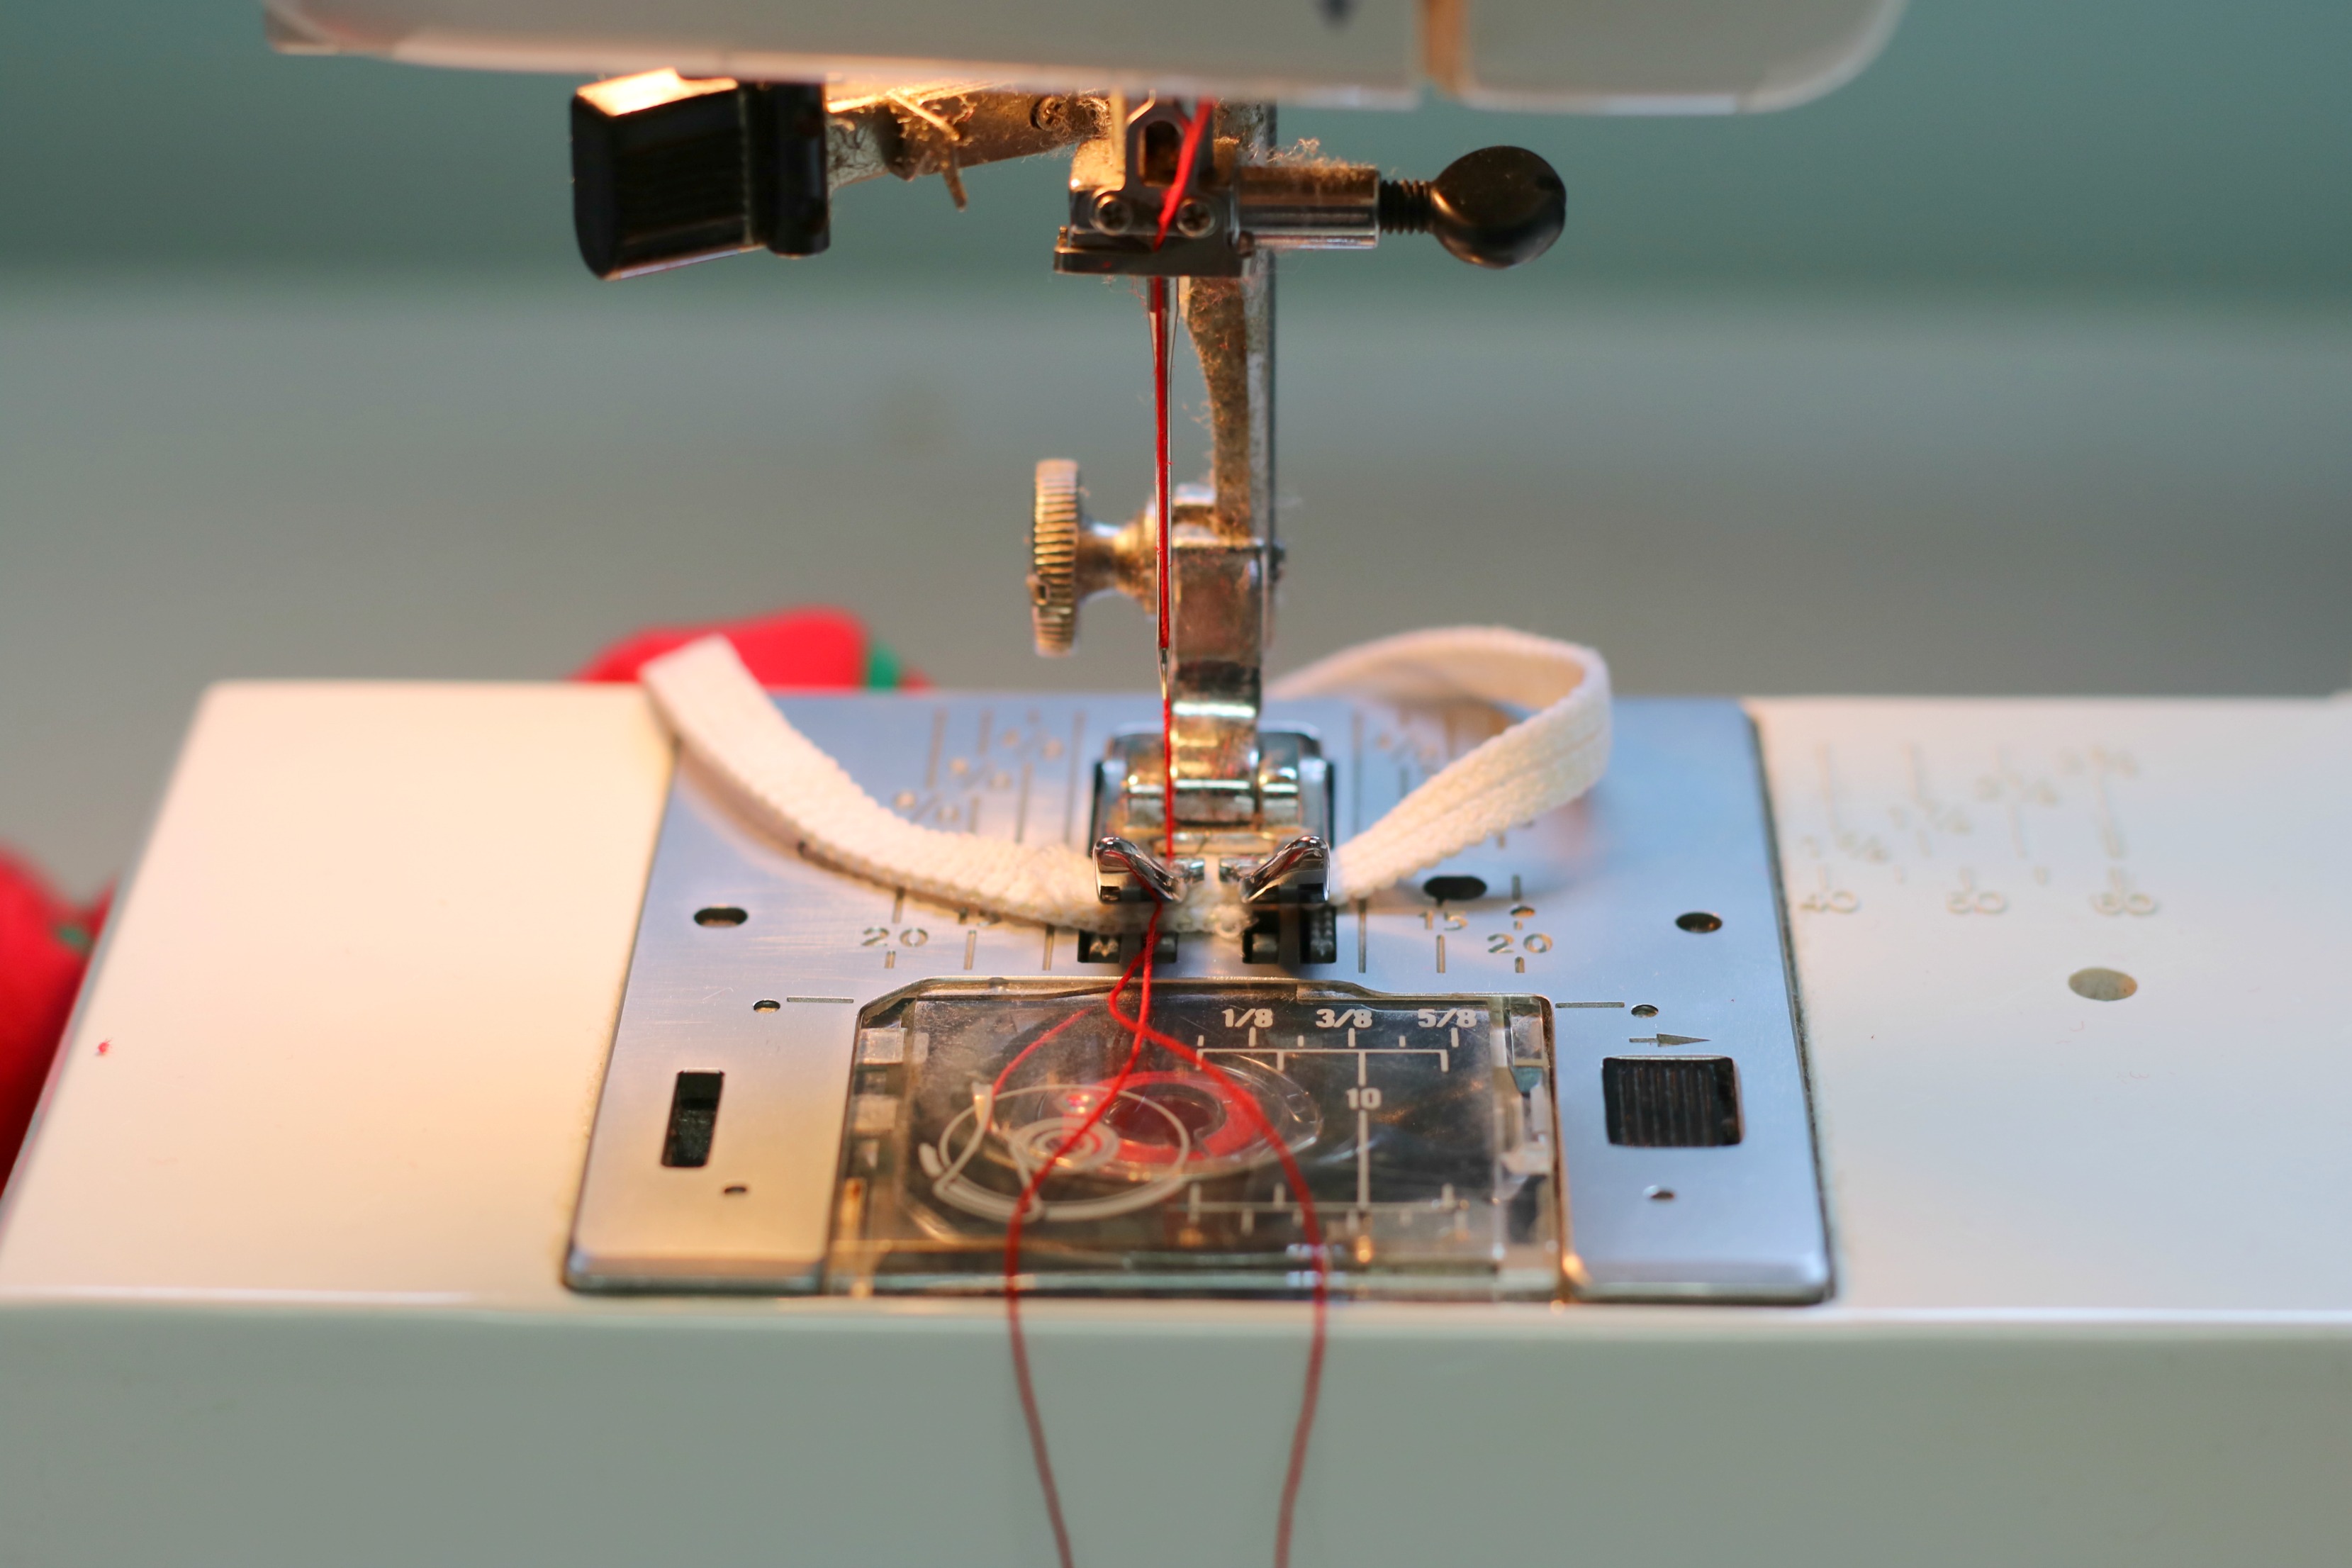
next find some elastic. Do you save elastic like I do? In this pic I see lots of elastics saved from clothing and a few bed sheets (so much elastic in those bottom sheets)

I have a fancy elastic pulling tool but I still prefer a good old fashioned large pin. Pin it to the end and insert into the casing, working it through the whole way until you reach the opening again. At this point I usually pin both ends of the elastic together so I don’t risk losing either one back into the casing in the next step.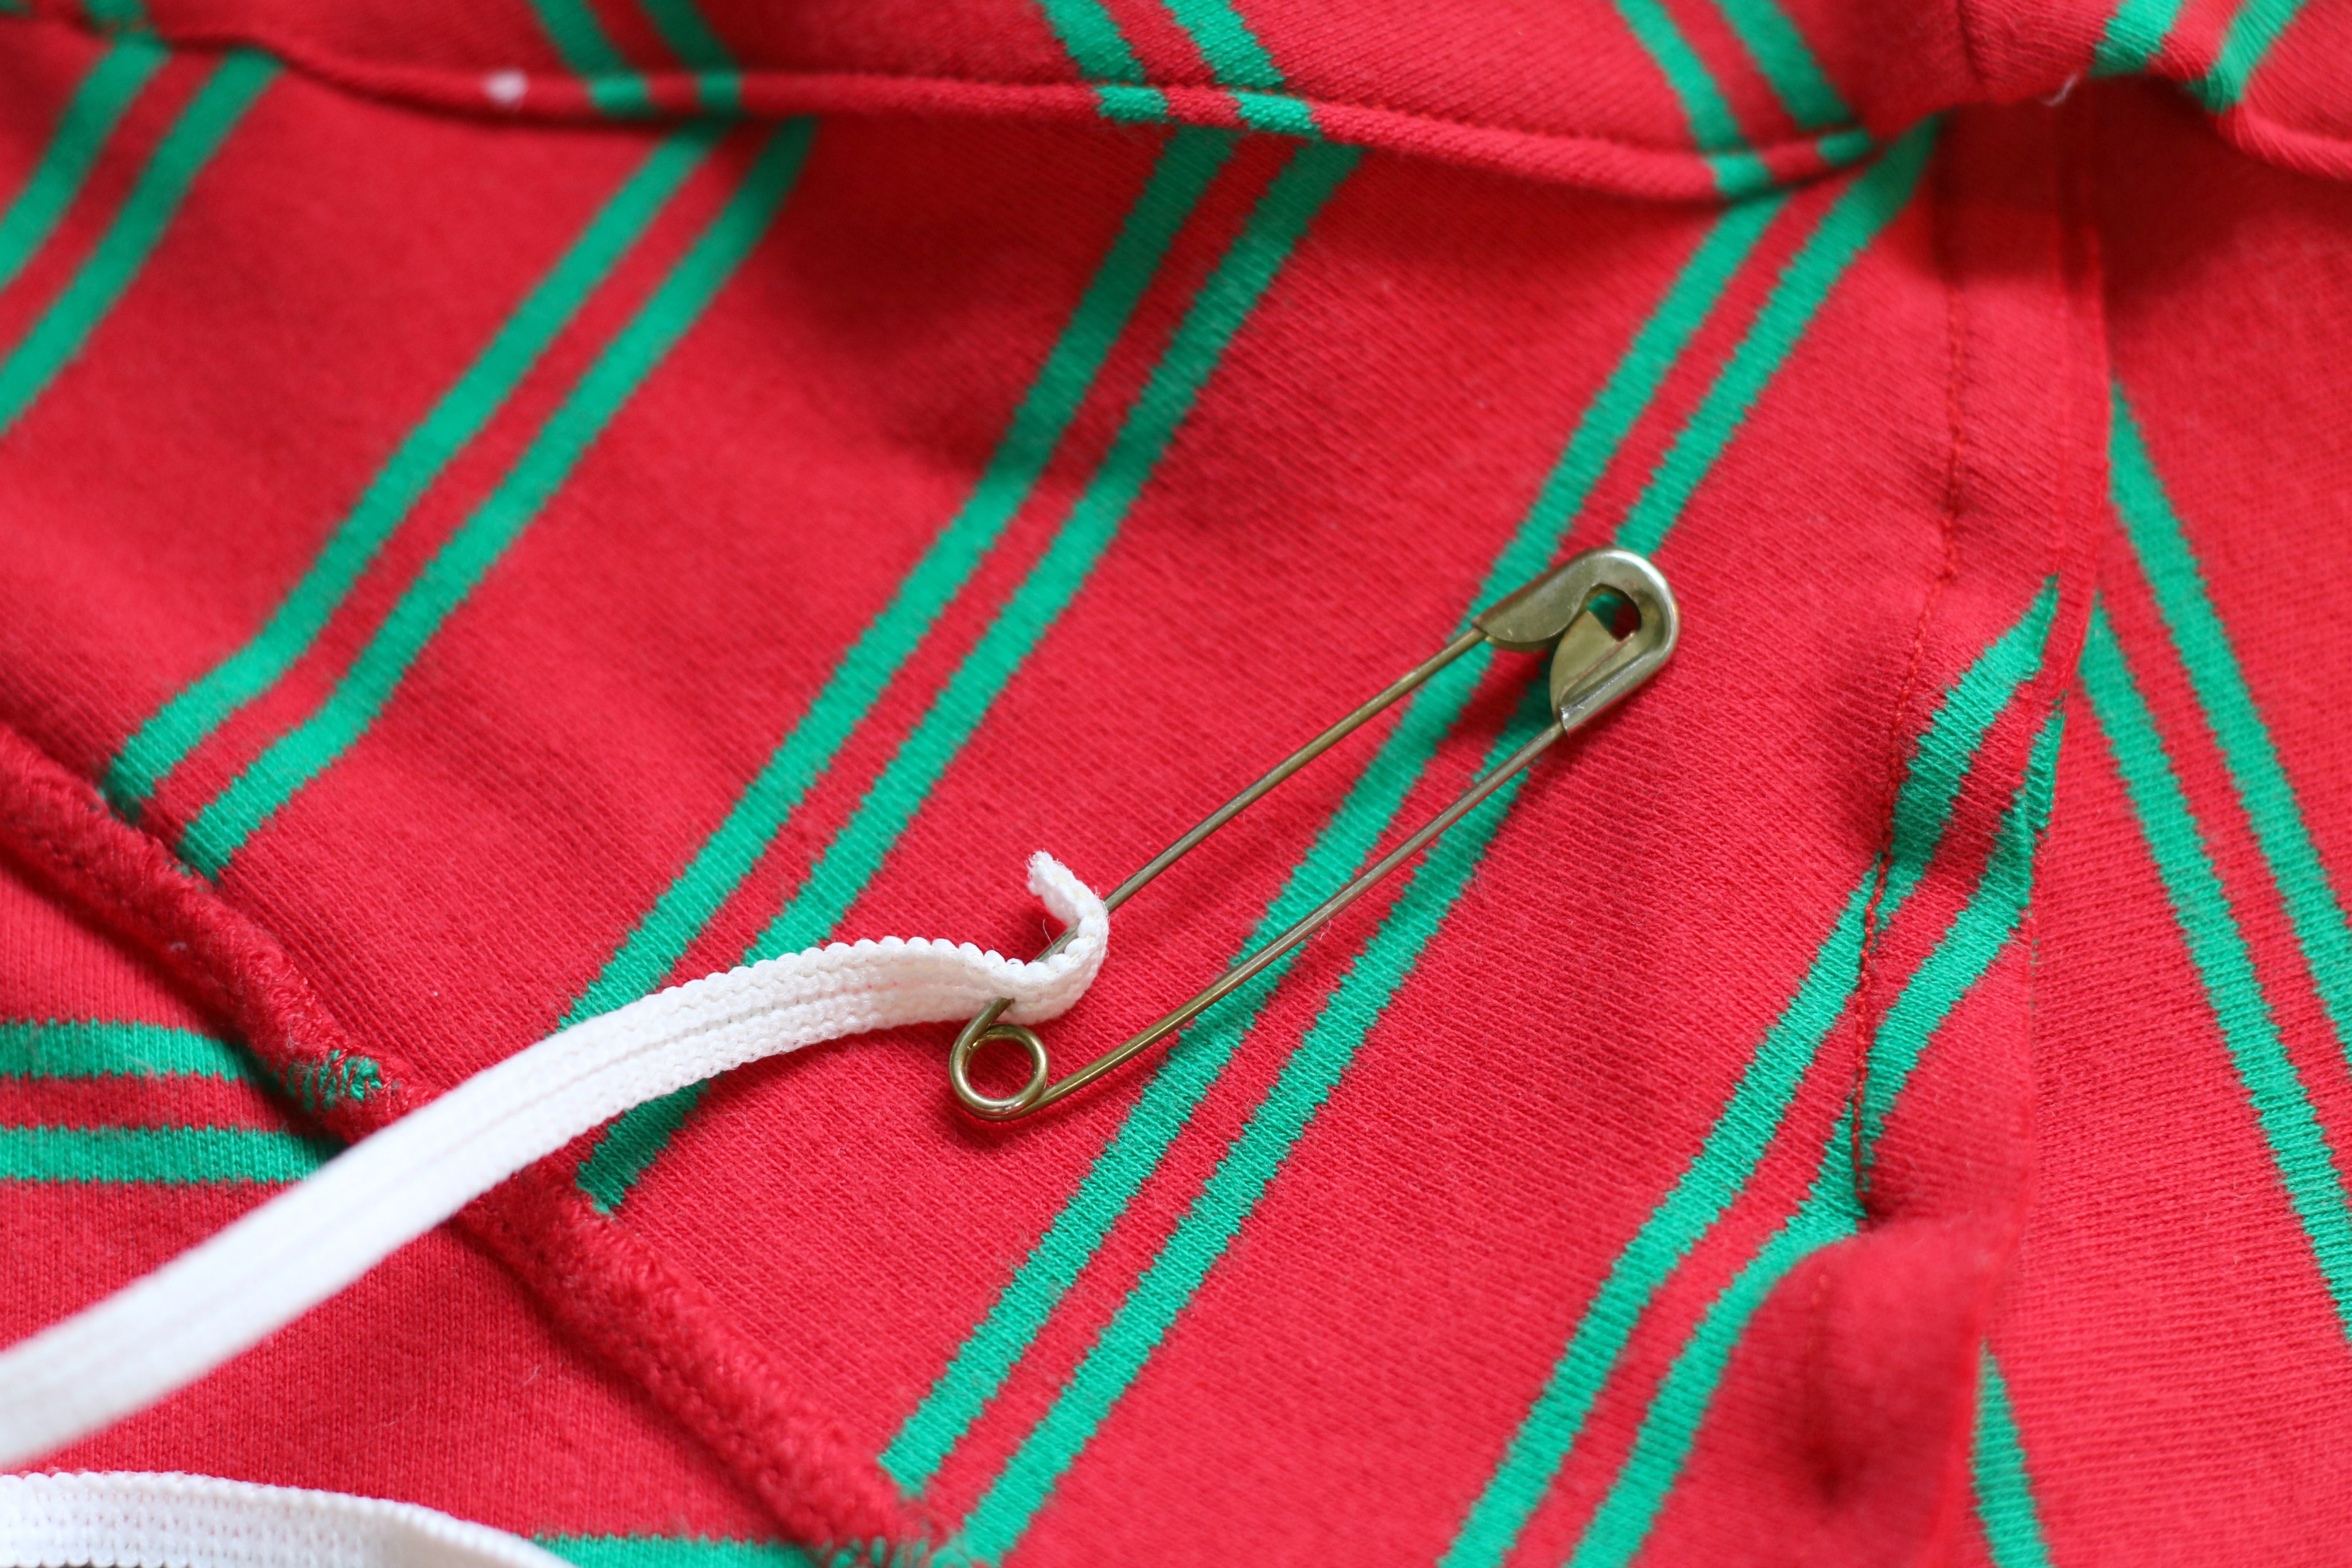
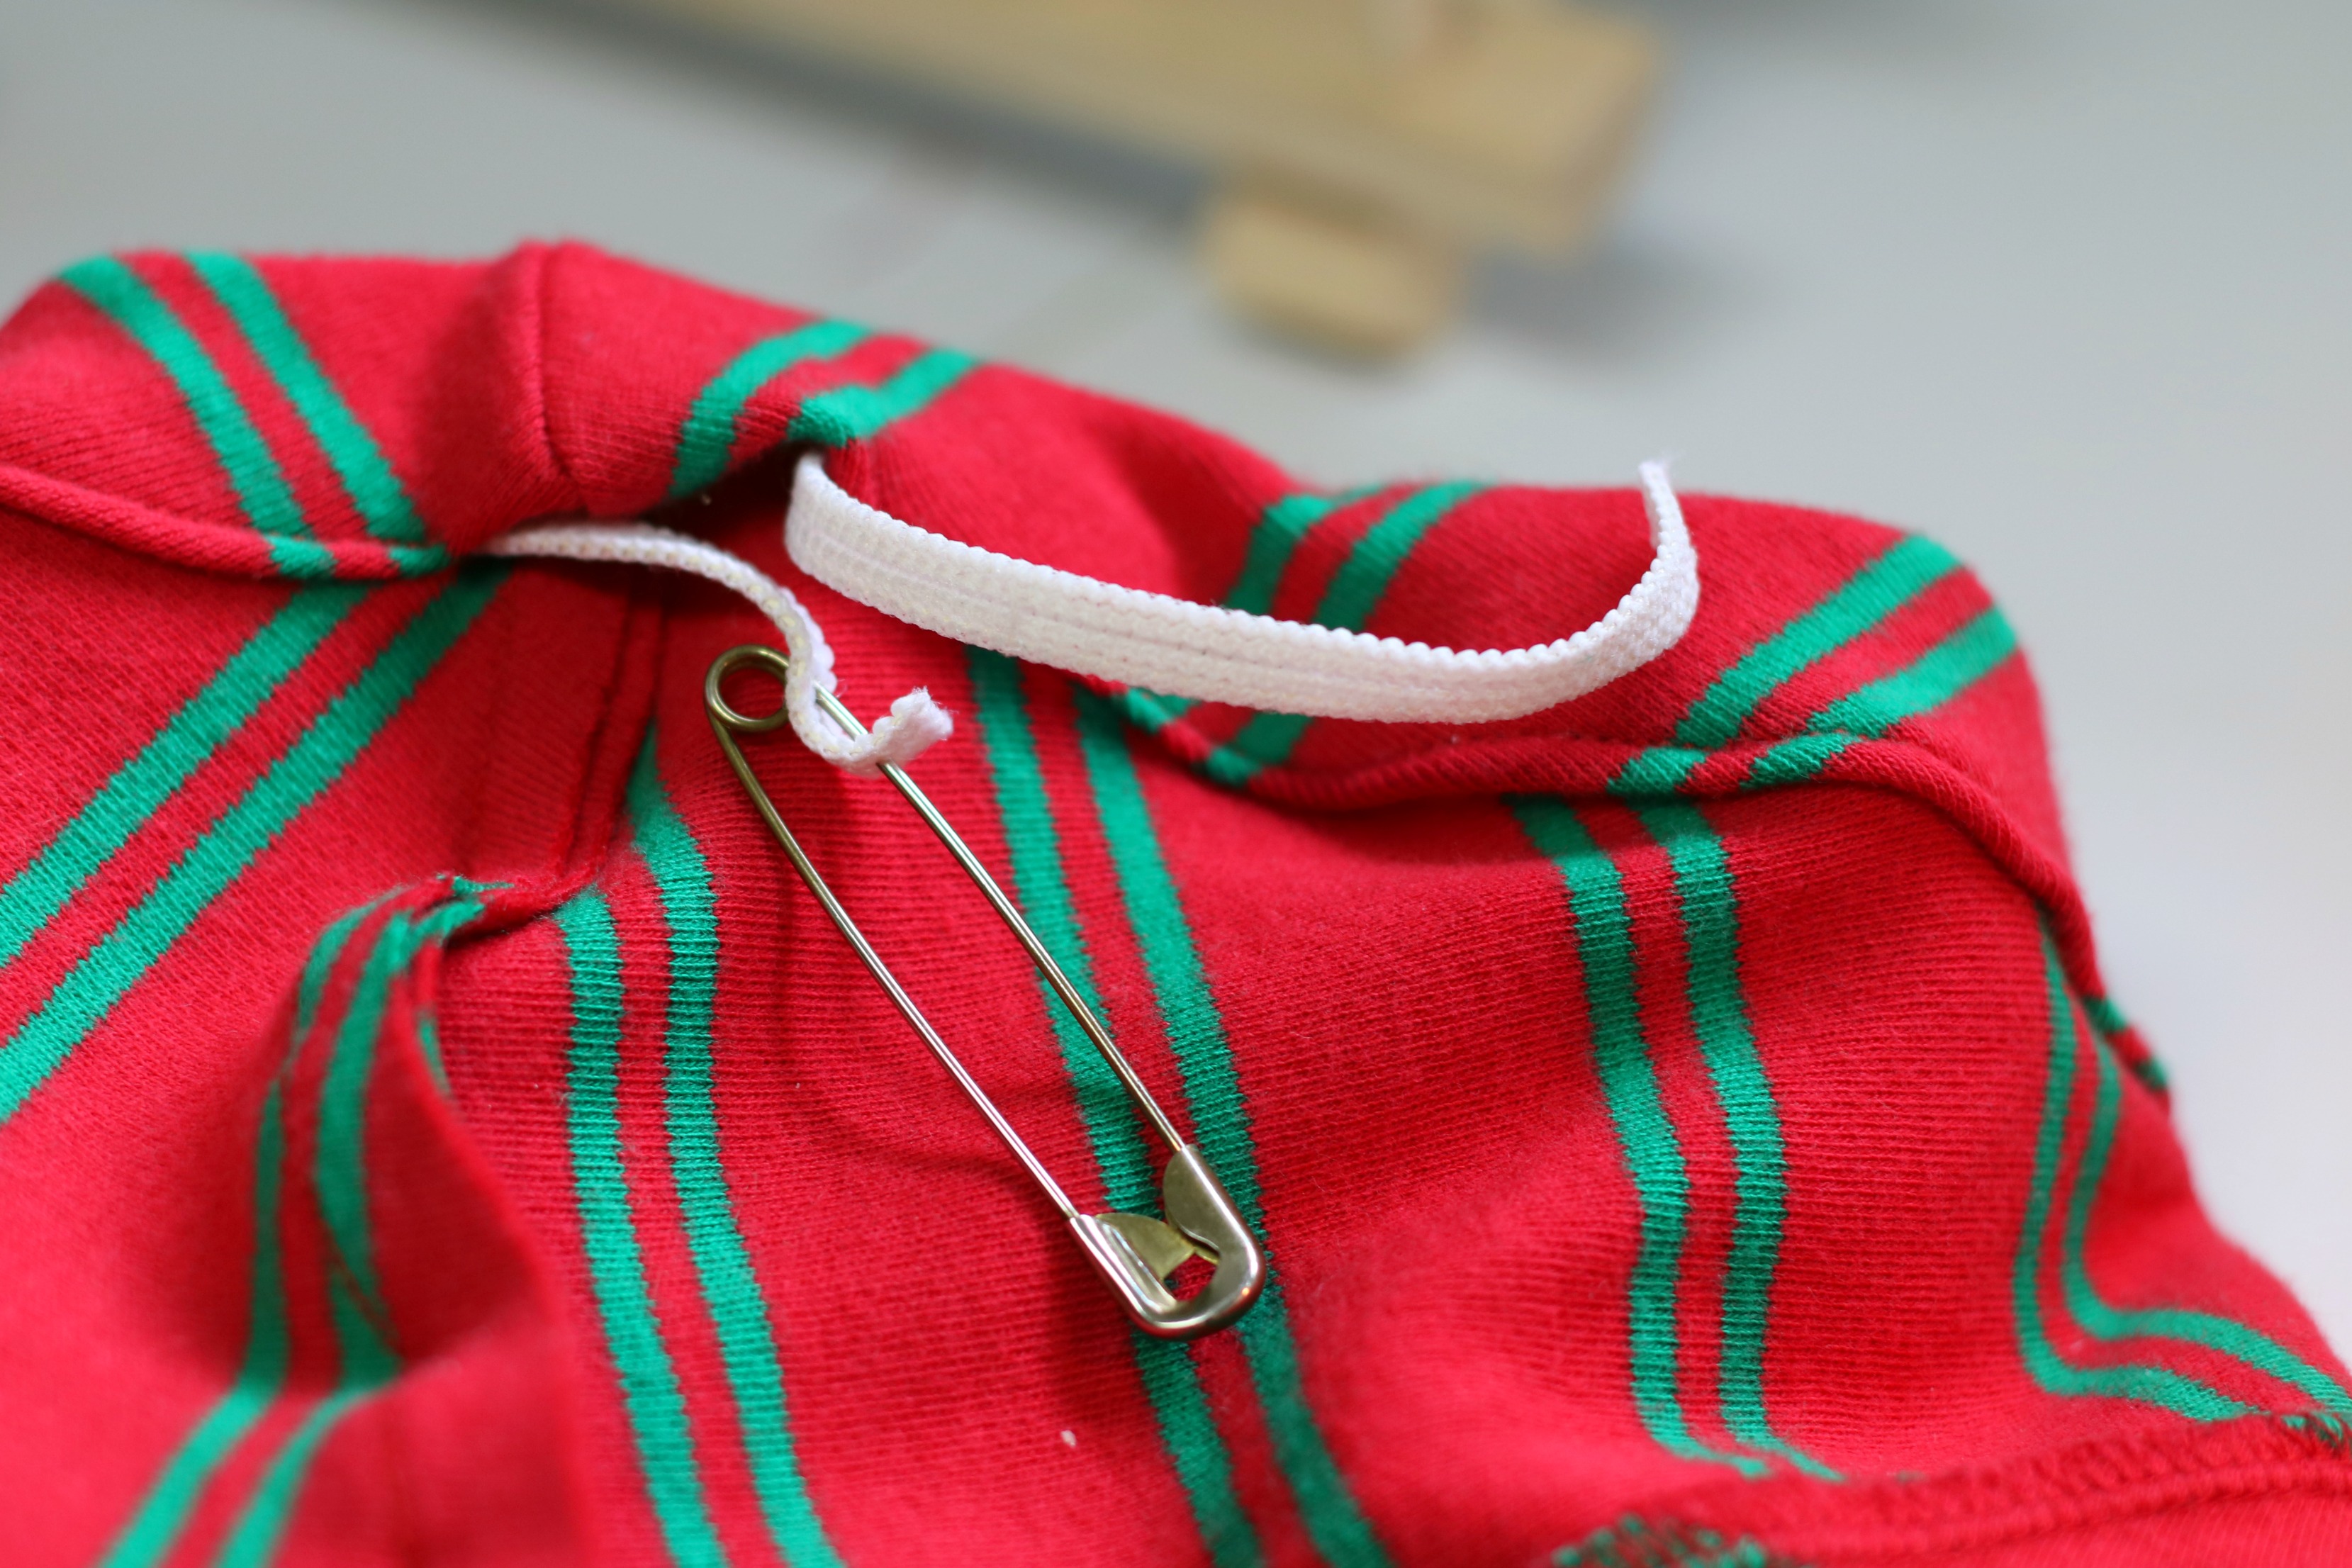
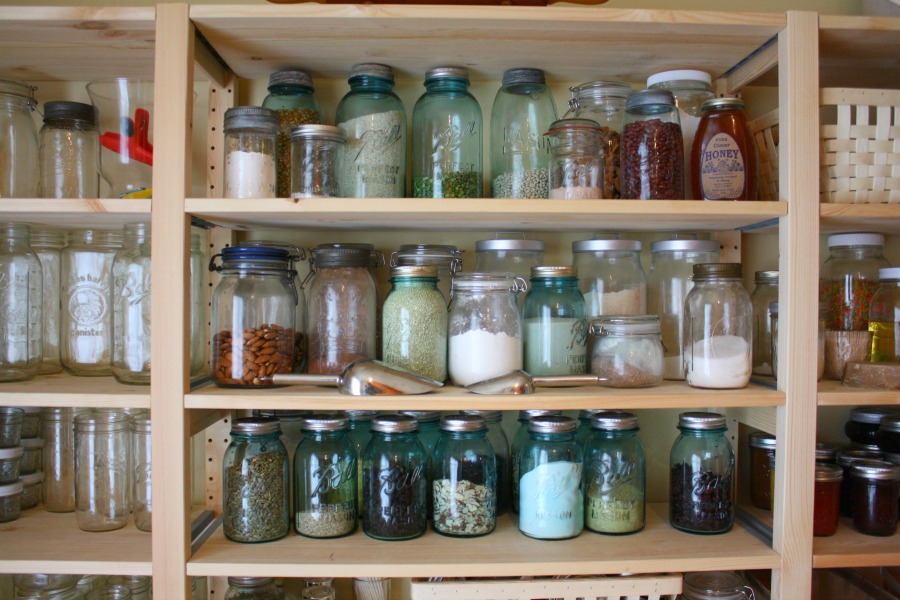
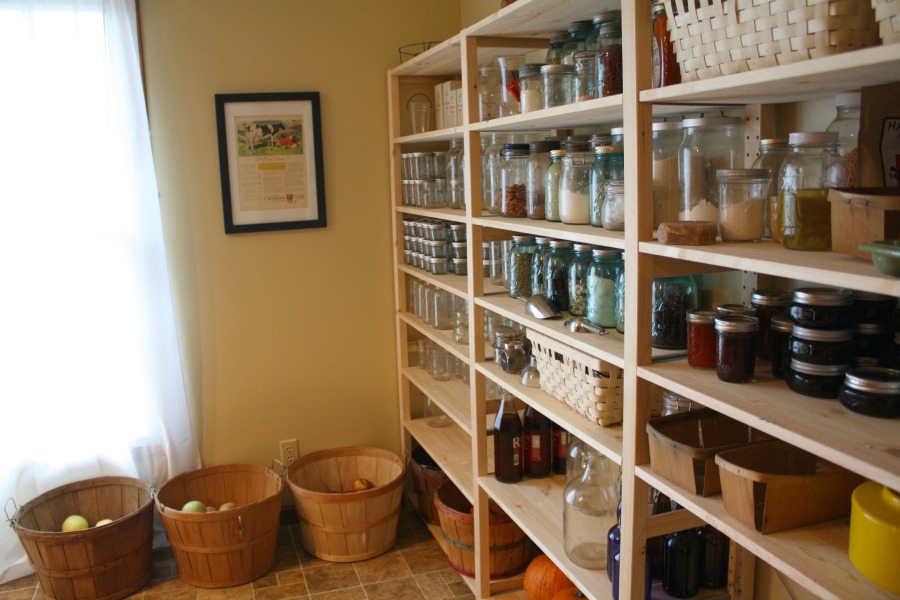
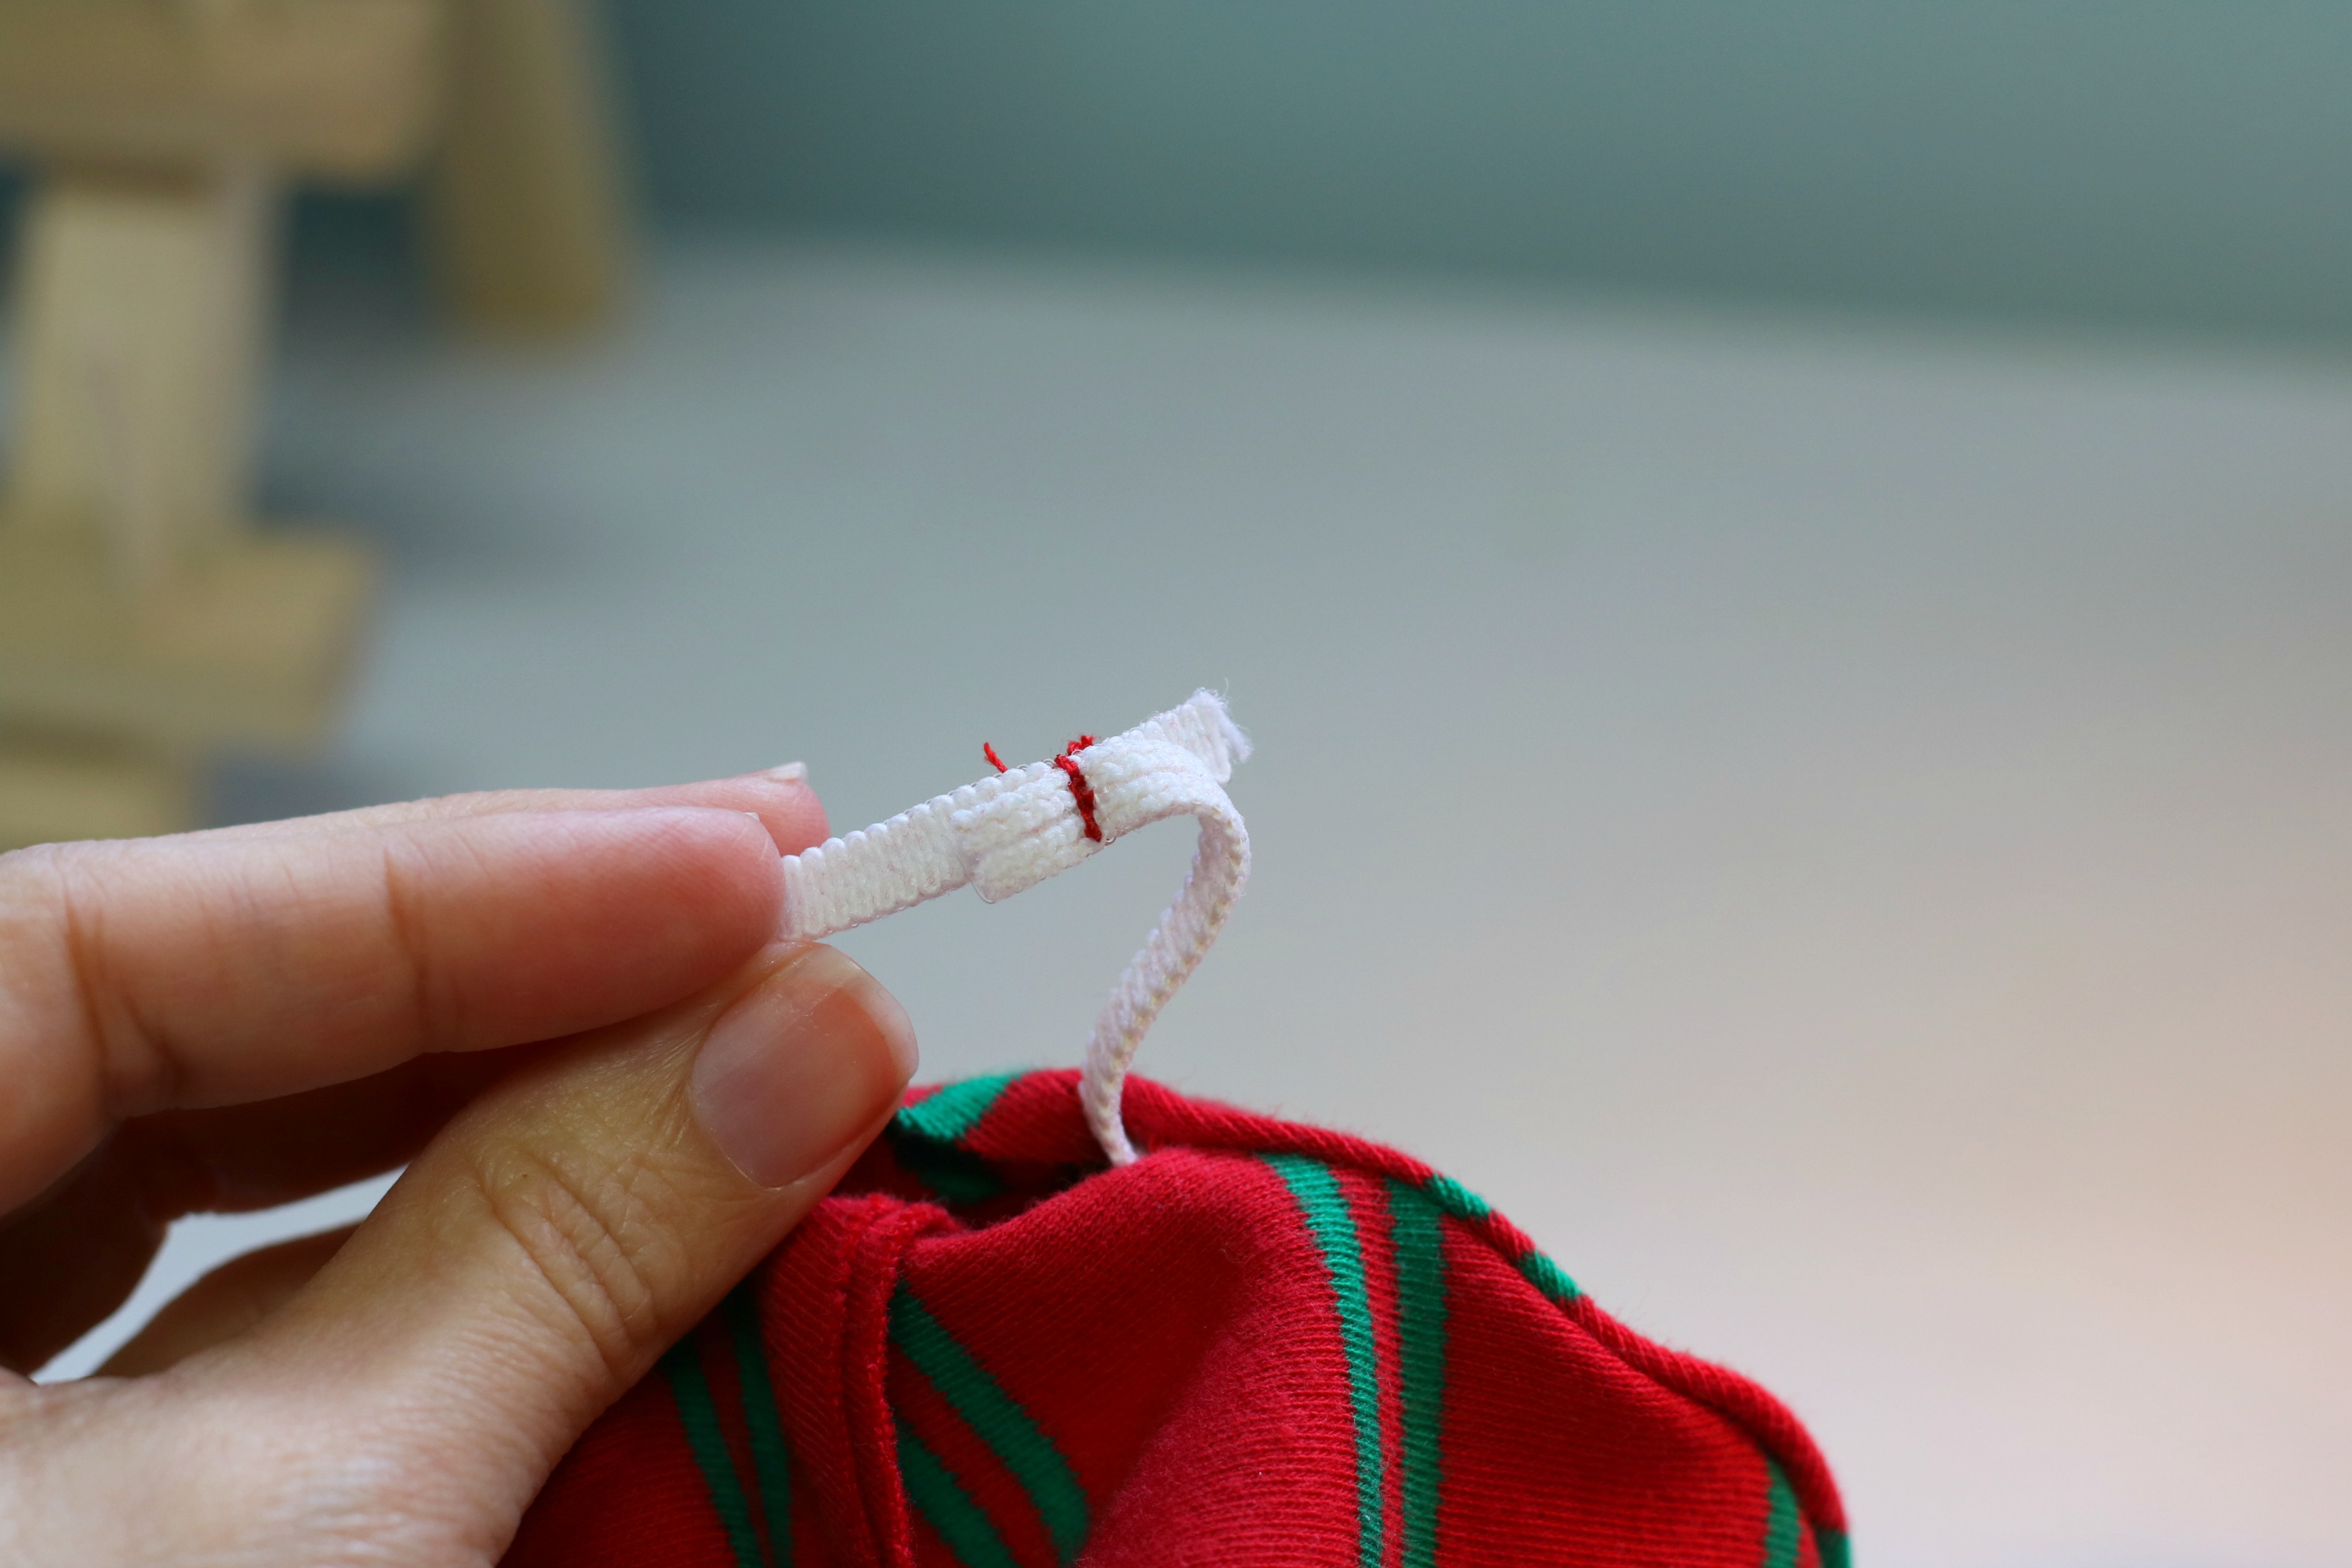
Now its time to track down your little one and try it on them. Hopefully, they didn’t get a kitchen stool and eat all your dried cranberries from the pantry shelf. Oh they didn’t? Well good… Adjust the amount of elastic needed to make the pants fit snug but not tight and sew the ends together. I overlap one end over the other and sew back and forth a few times
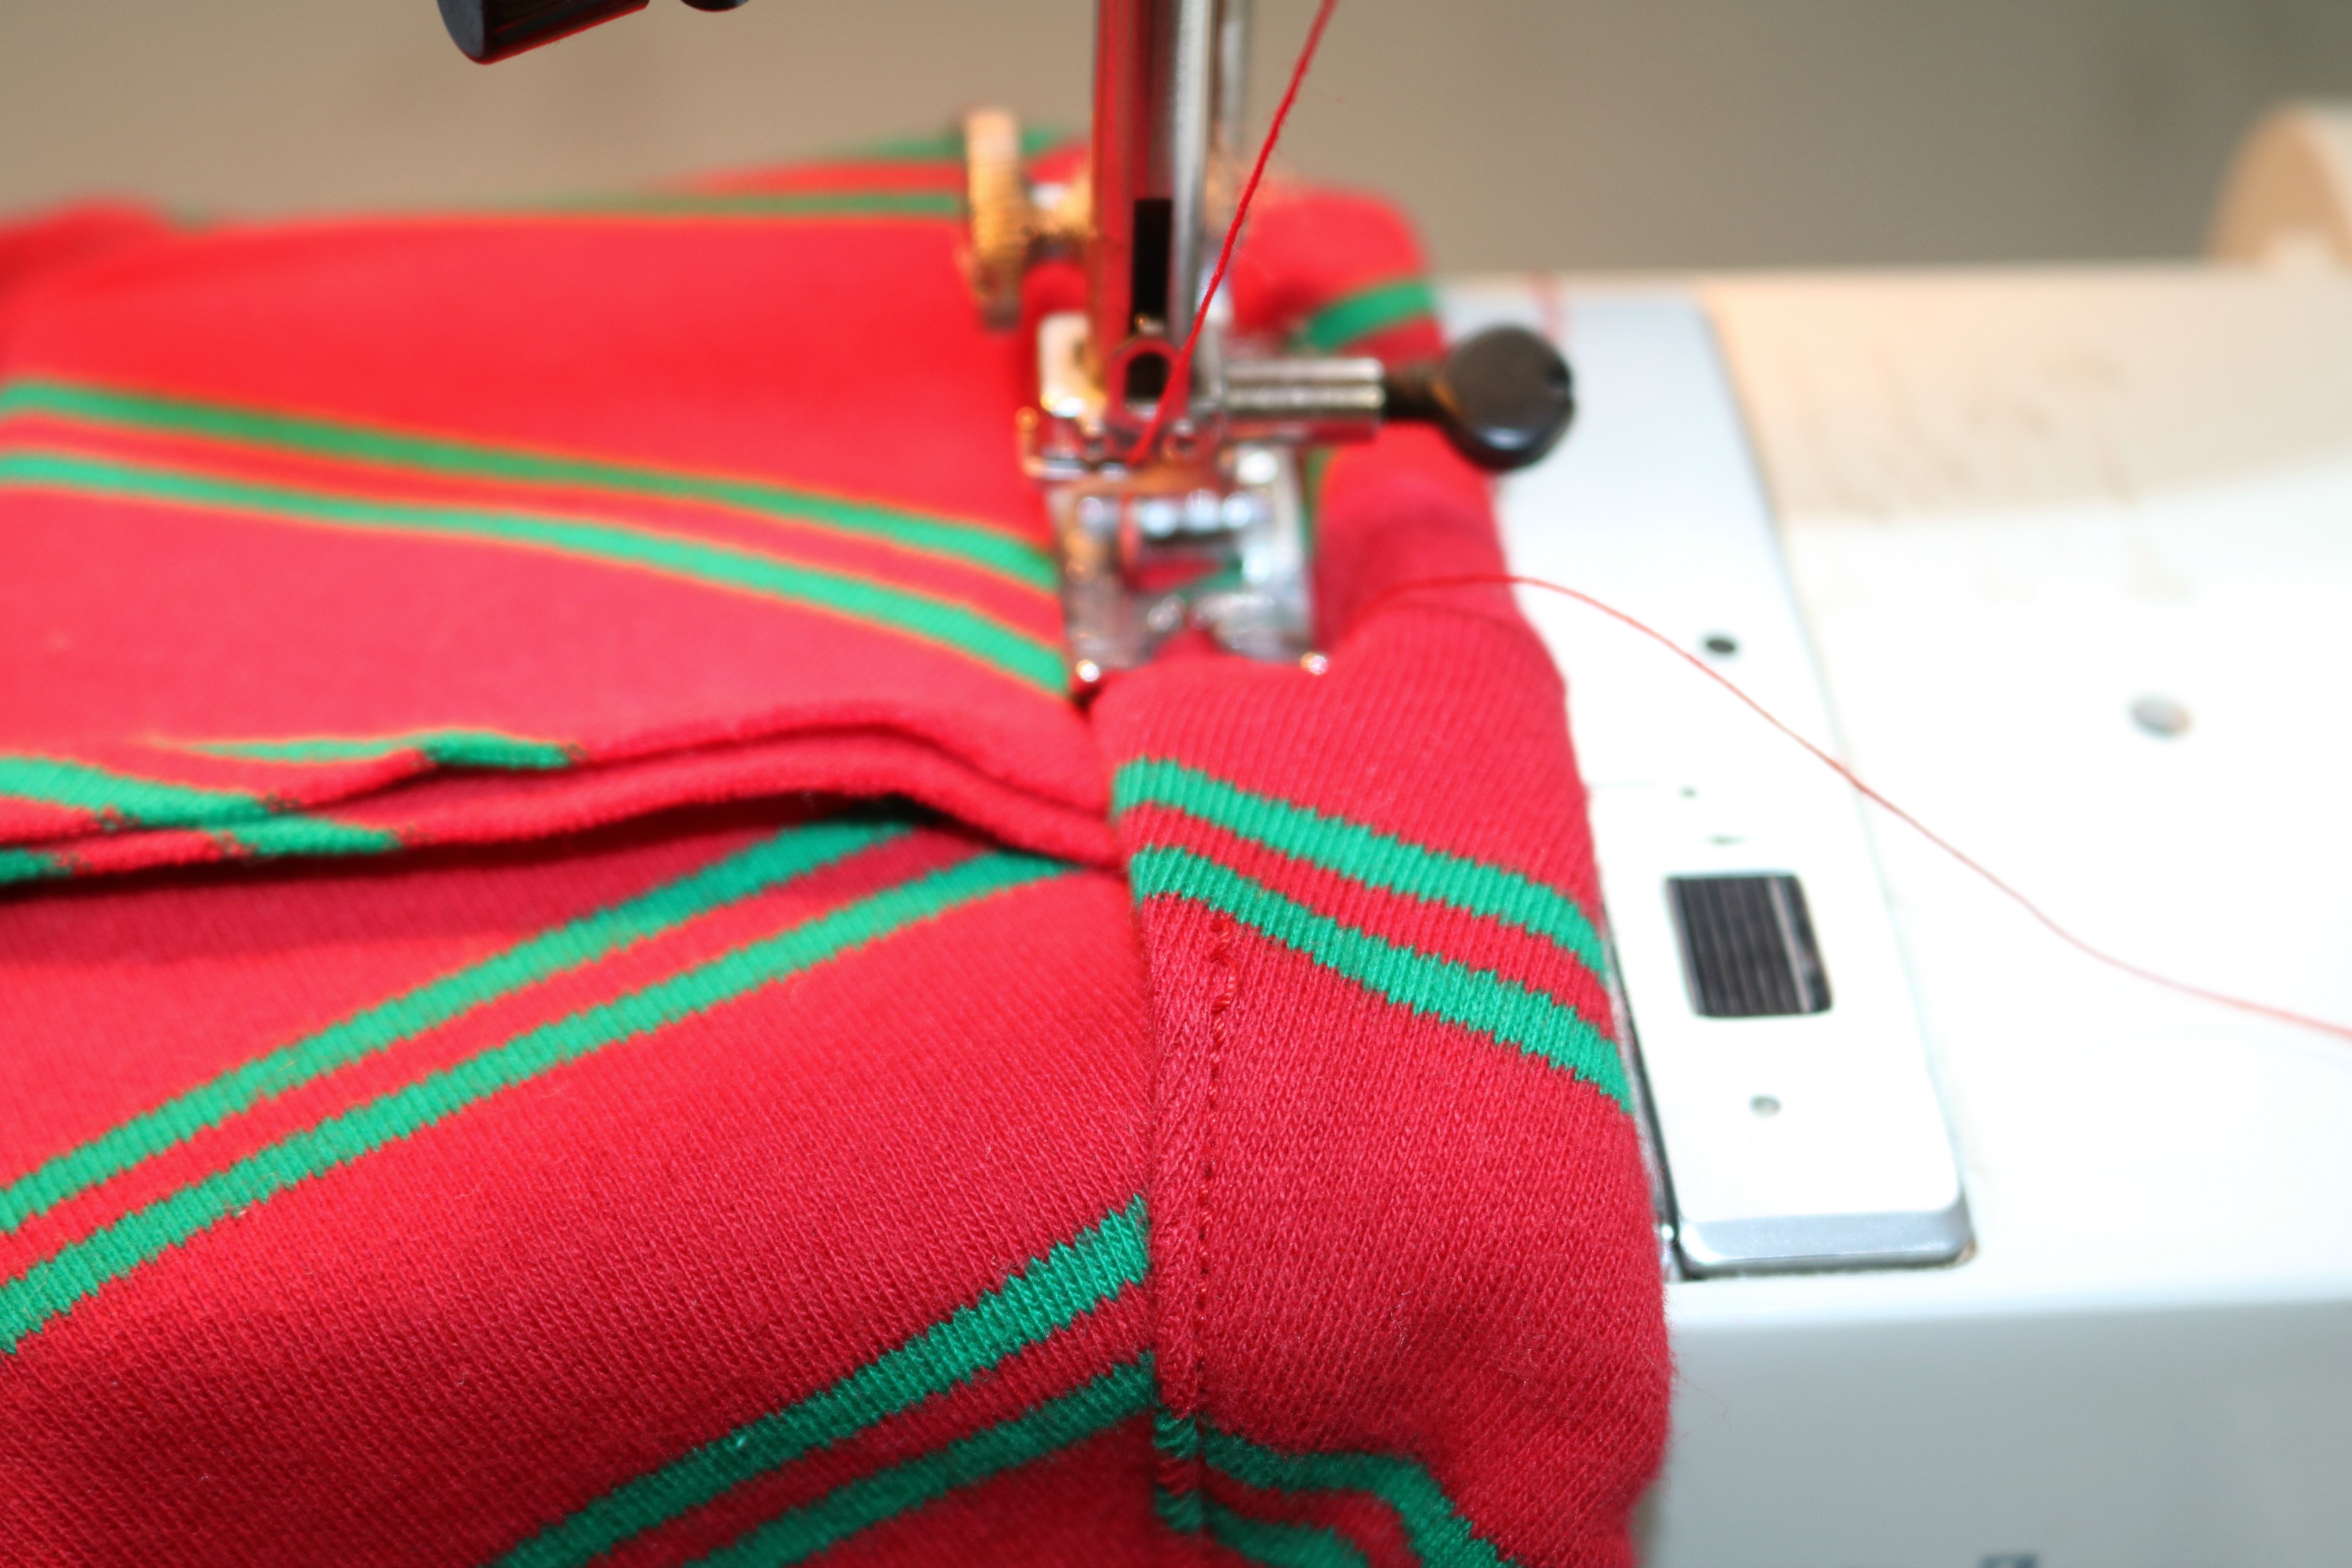
and now it’s time to close that casing up and we are pretty much done! Just trim all strings that need to be trimmed and sit back and smile.
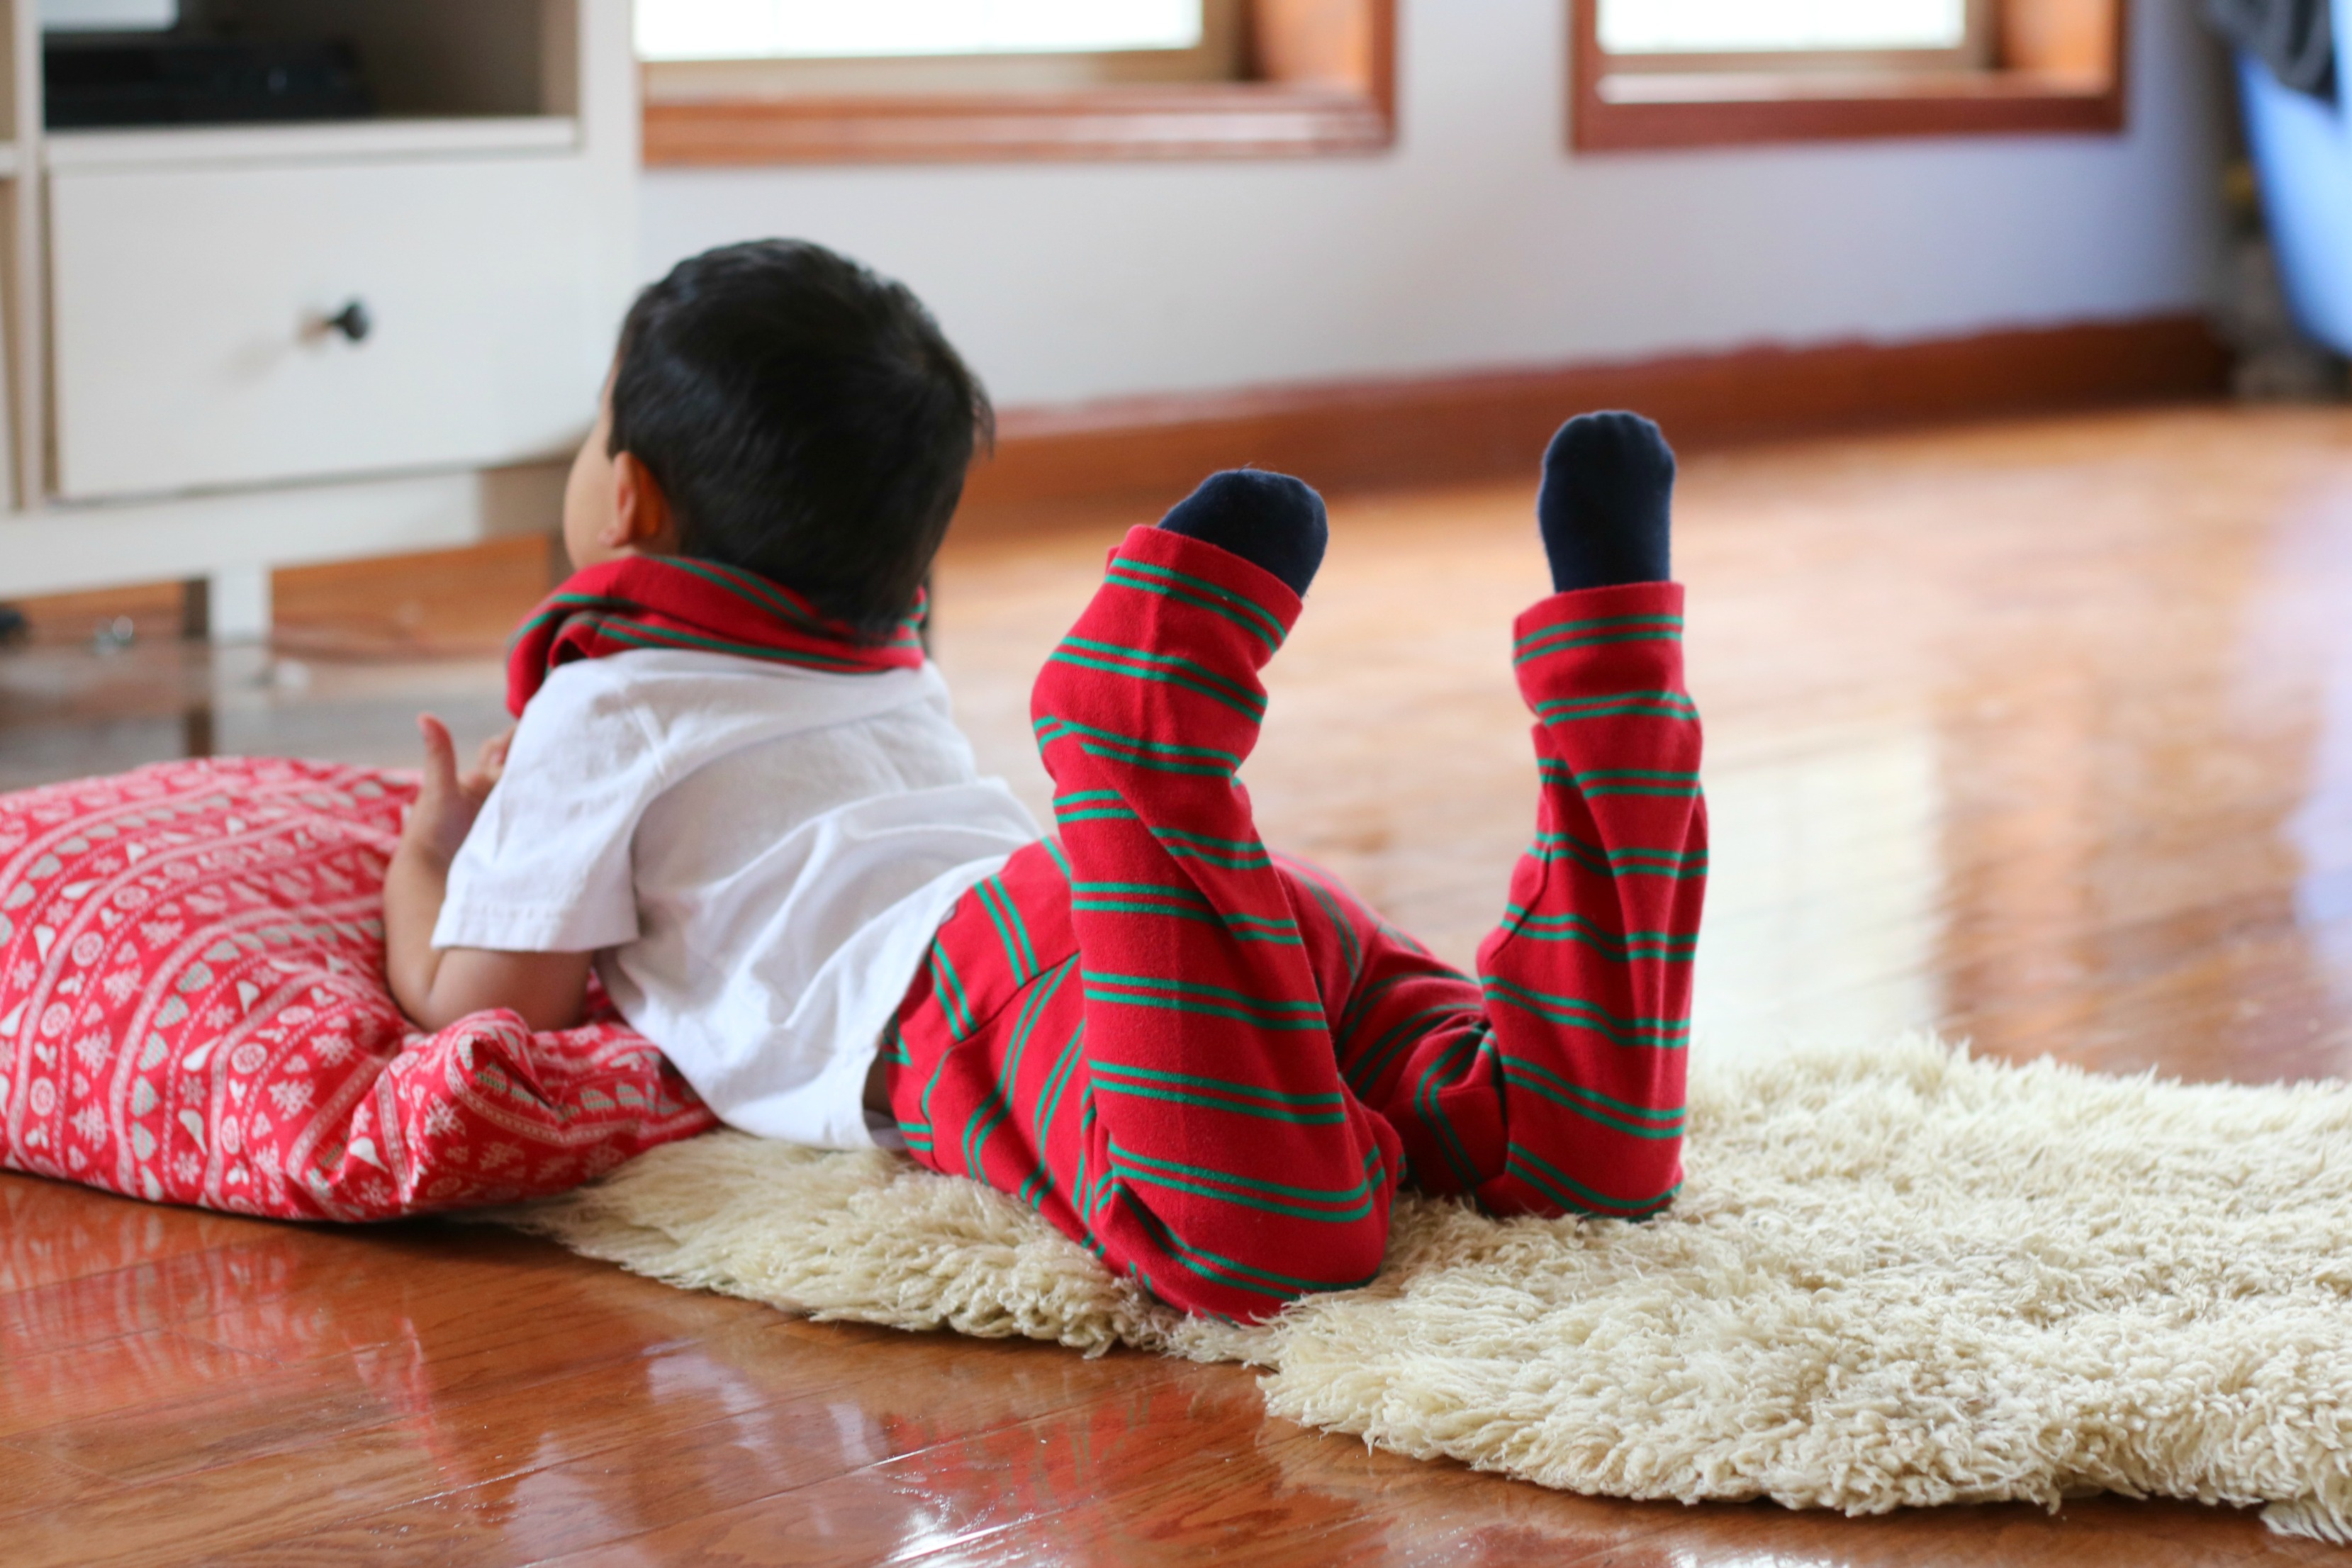
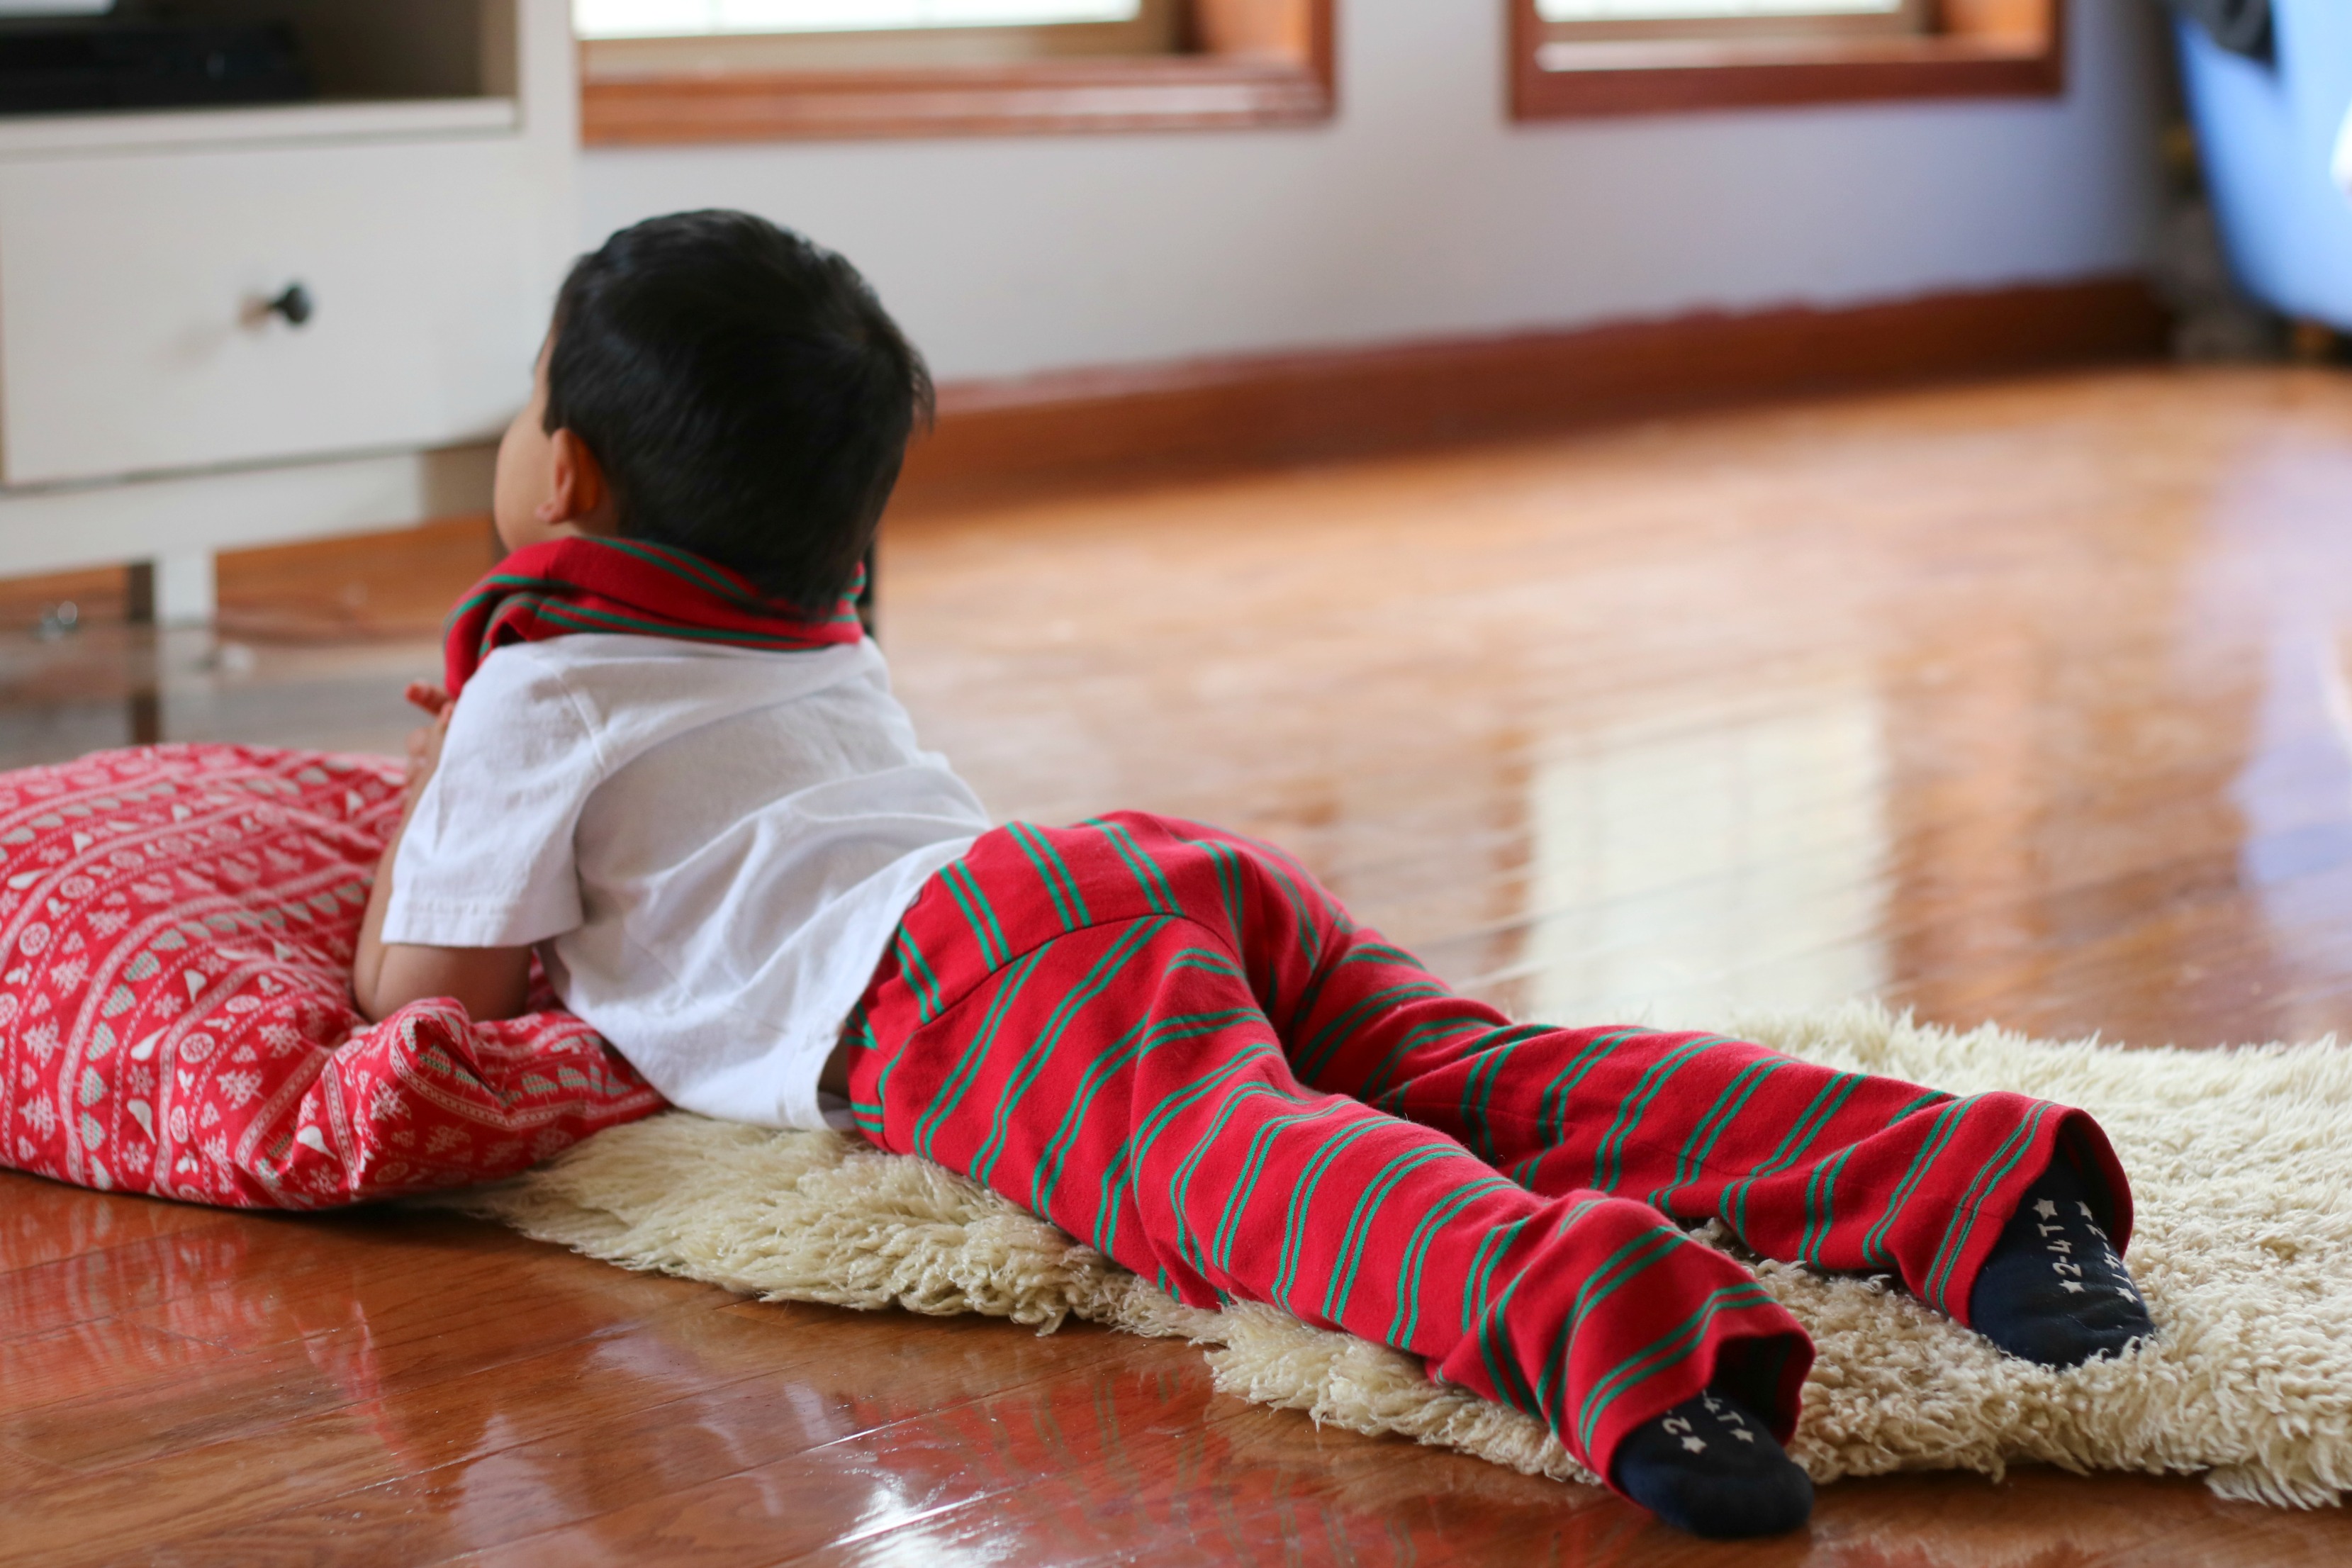
and there you have it. Soft pants that will keep little legs warm so they can move even faster. If I left anything out or you have a question, just post it in the comments 🙂