Archive | Tutorial RSS feed for this section

Make it yourself Monday: Butter tutorial

So I am starting a new thing on Mondays.  The little things we really can make for ourselves which no one knows how to make anymore…Make it yourself Monday. I decided to start with butter because I happened to be making some.

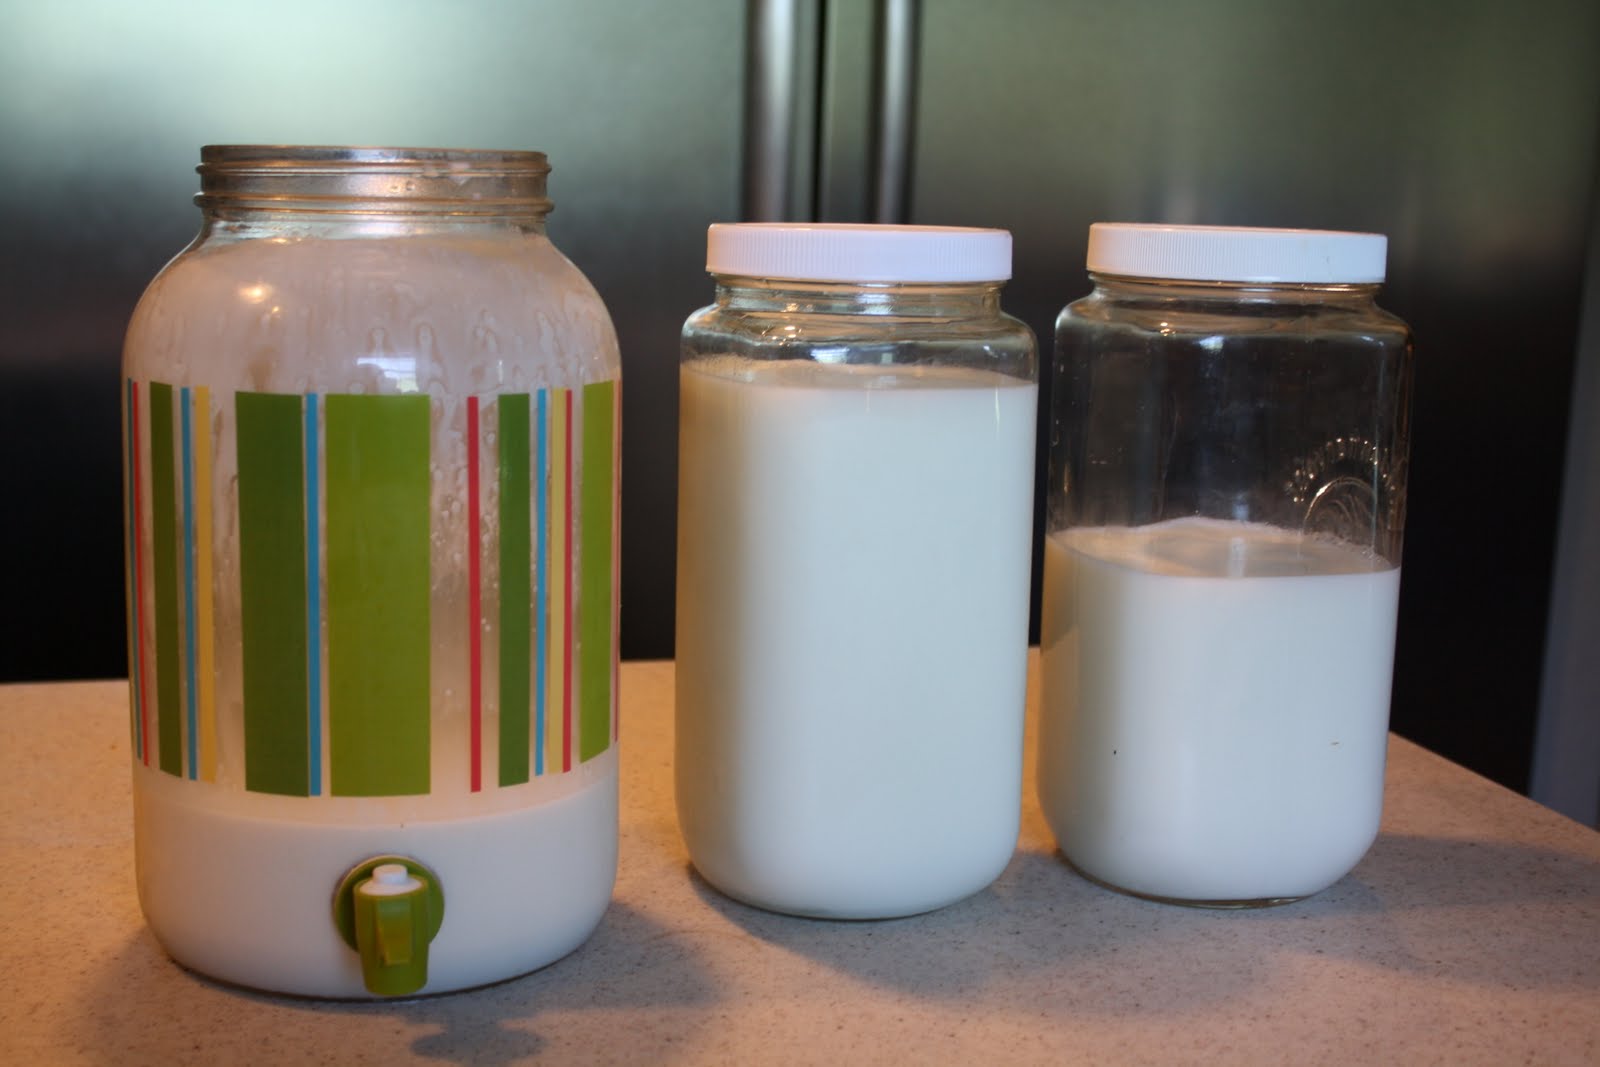
This is seriously so easy!  You need only one thing…raw milk!  OK you could go to the store and buy some cream but  digress.

For starters,  you see the whiter stuff at the top of the milk, that is cream.  It is called the cream line.  This is what is turned into butter. Sorry if that is a duh. Now to get the cream to rise to the top you just put it in the fridge for 12 hours and viola it floats to the top.  Next we have to skim it off.  Here is my little trick.  I pour the fresh milk into a tea jar with a spigot at the bottom.  Then you just pour off the milk until you get to the cream and then stop.  Easy, told ya.

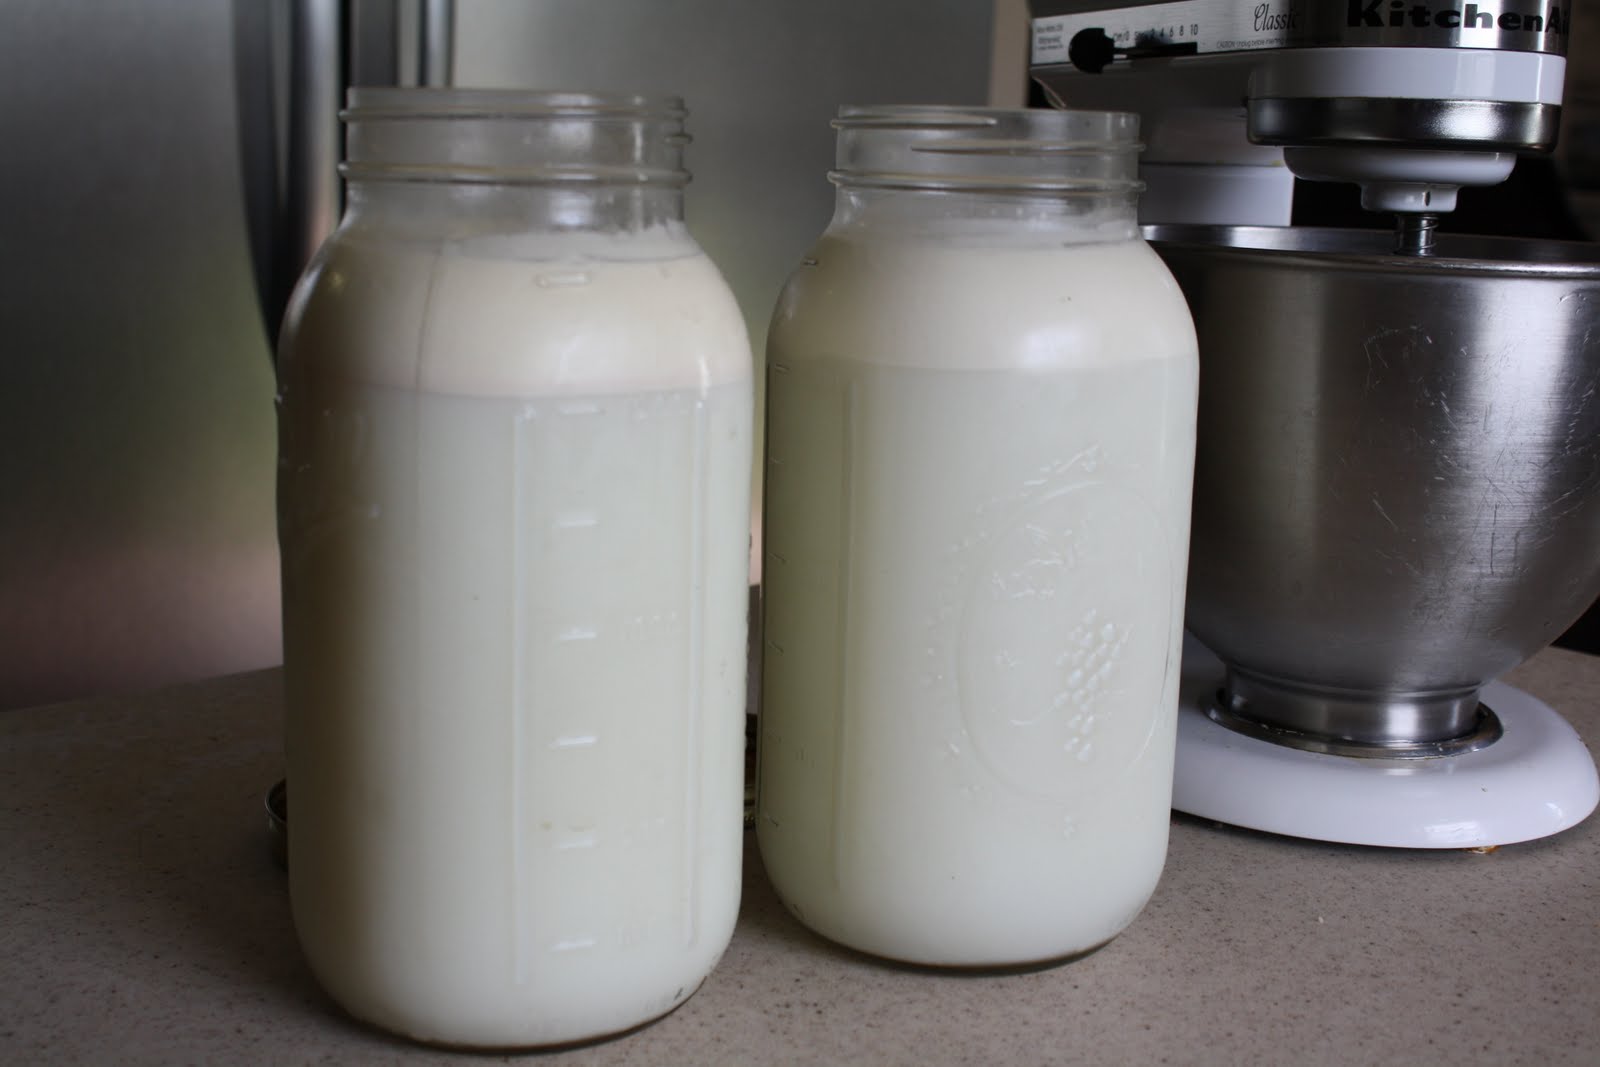
Pour your cream (room temp) into the bowl of your mixer.

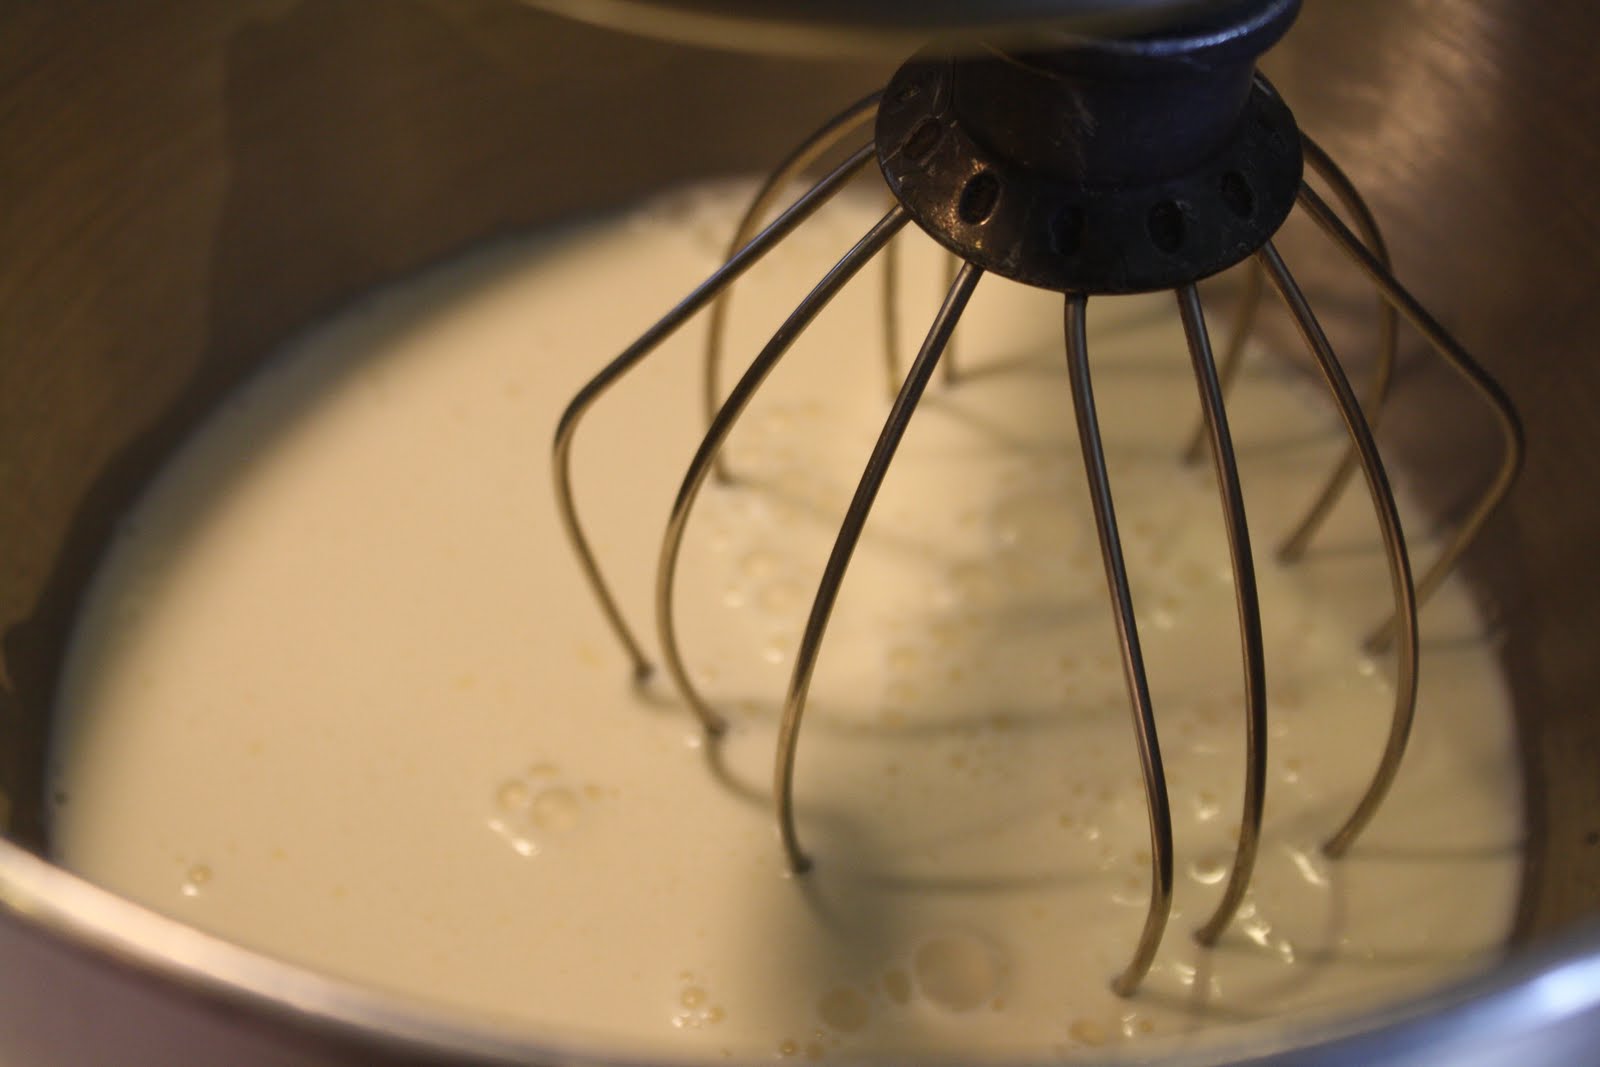
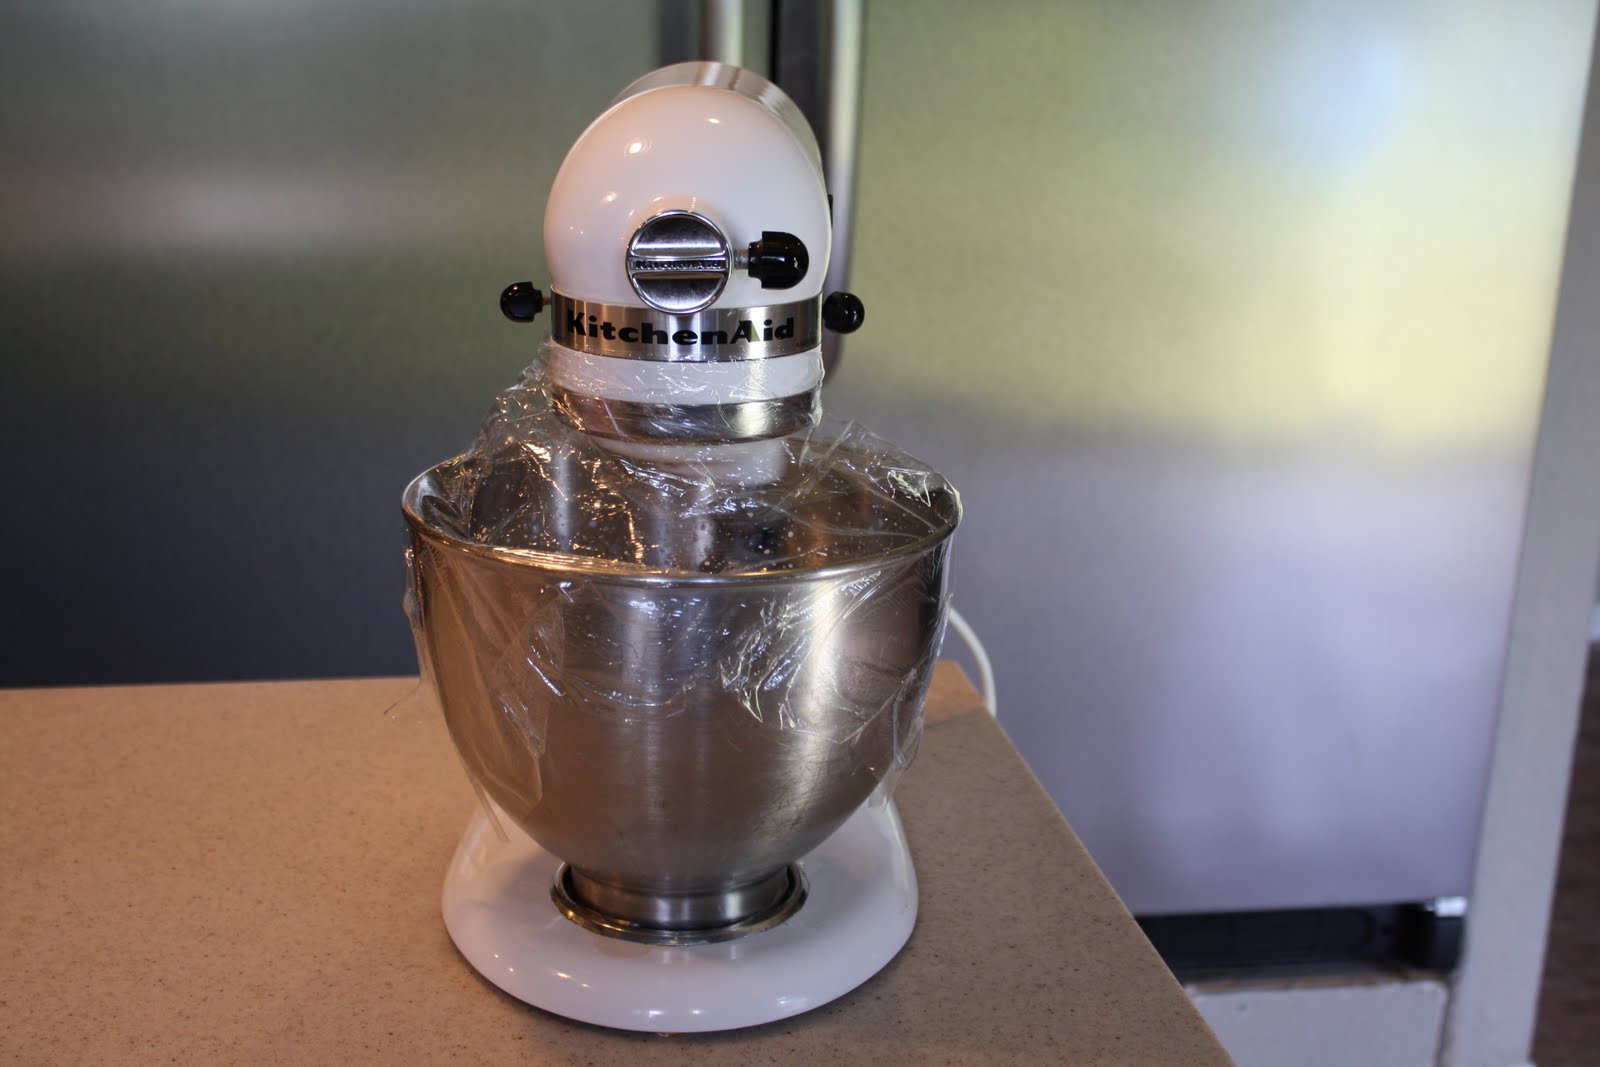
If you don’t have a splash guard you are going to want to put some plastic wrap around it or you will be bathing in cream. Start your mixer on medium and work it up to fast.  Let it mix on high for a few minutes and keep an eye on it.  I think this took about 3 minutes and

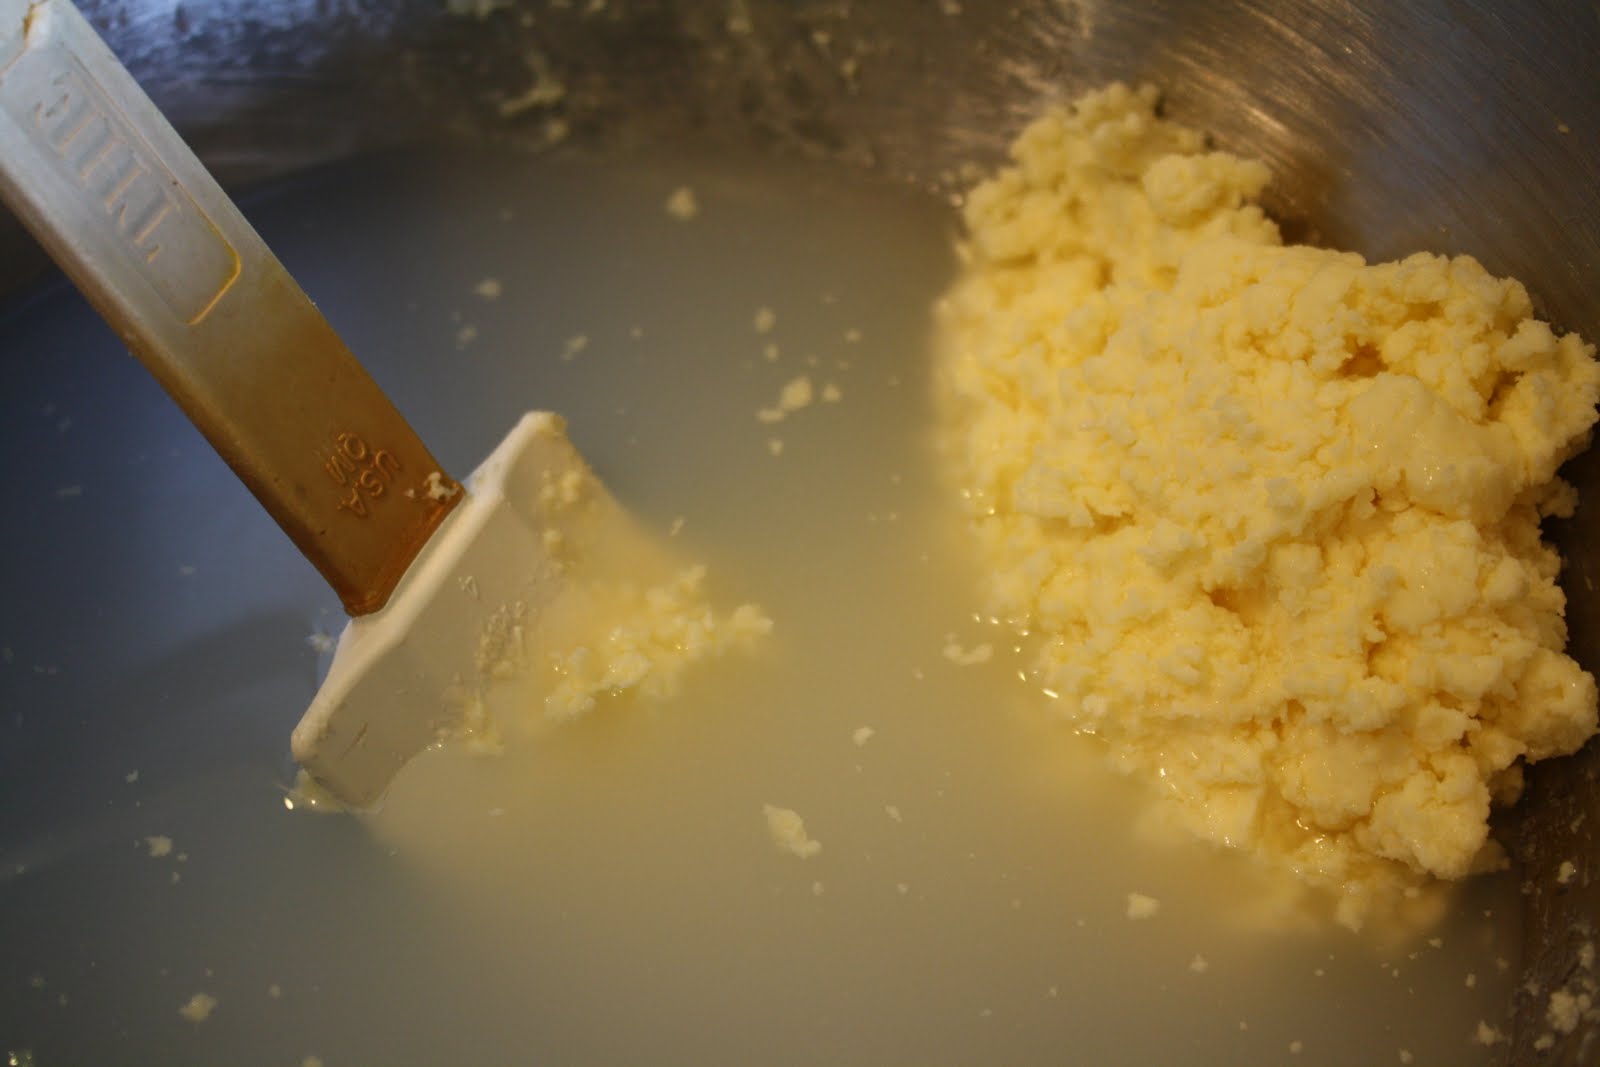
the fat started separating from the buttermilk.

when you see the cream look grainy, you are almost done.

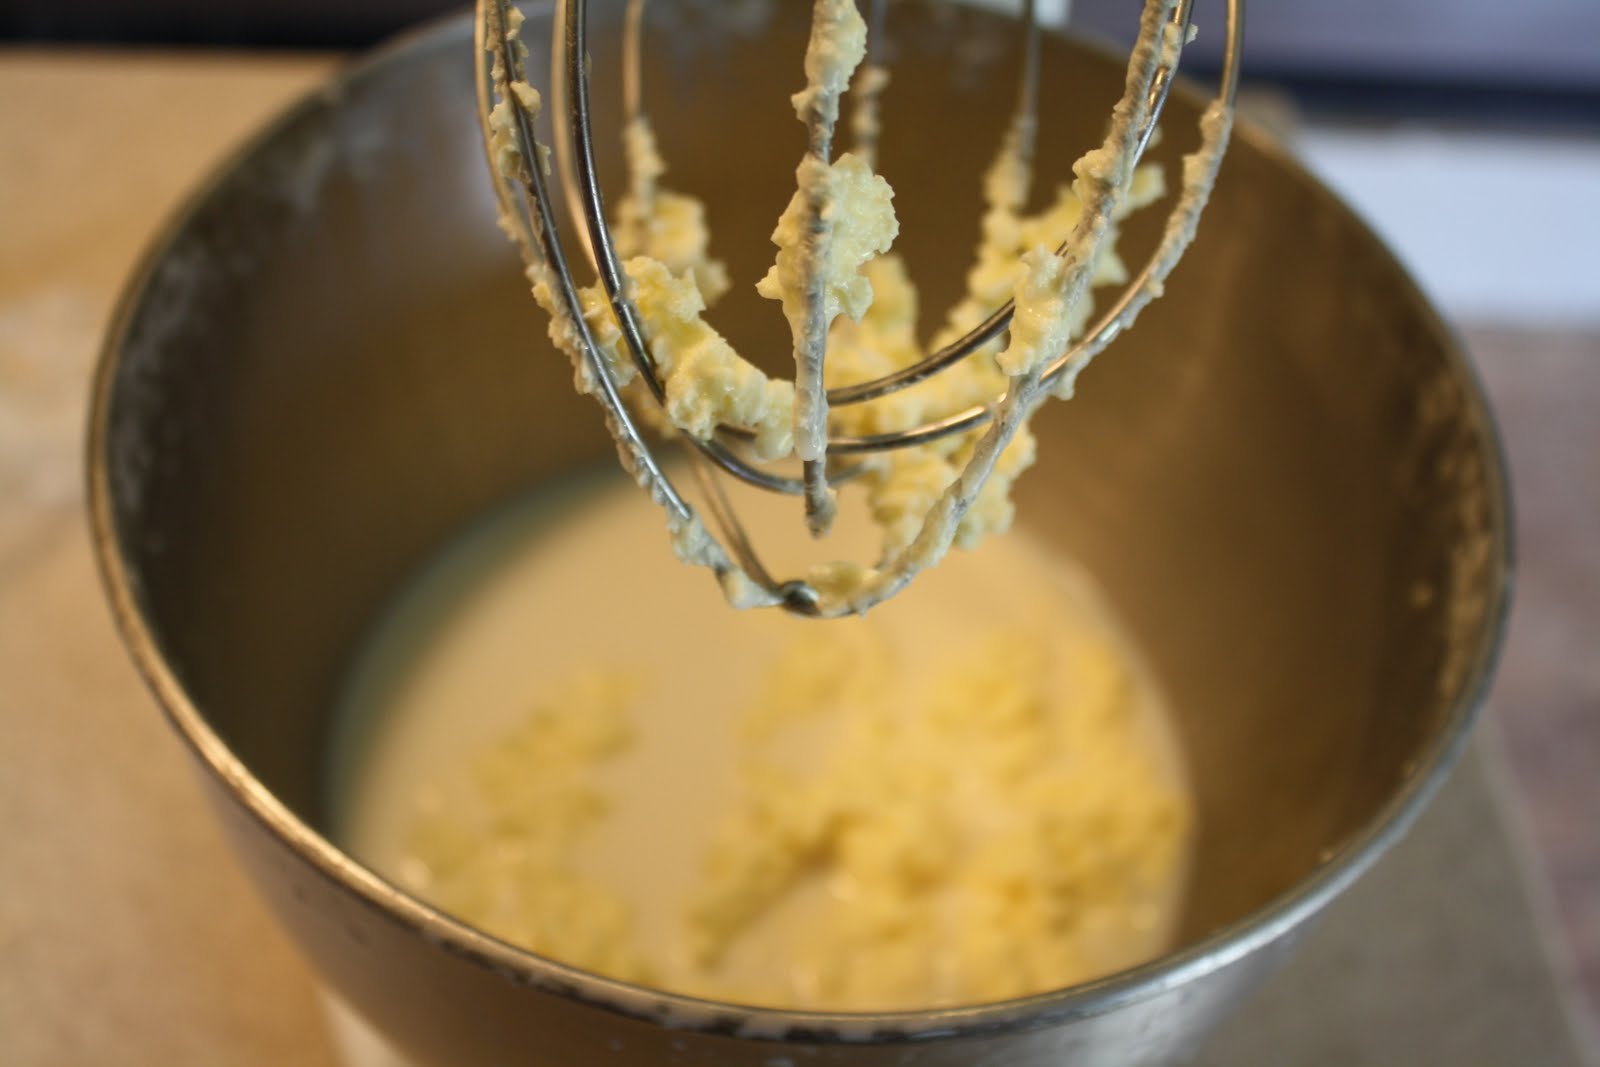
Now you have to pour the buttermilk off of the butter.  I took a spatula and just pressed all the butter to one side and then poured off the liquid into a container (don’t throw it away, I use it to make pasta, and pancakes).

Next we are going to wash the butter.  You are supposed to wash the butter to get the buttermilk out so it does not spoil too quickly. I don’t normally do this because the butter does not last long enough in my house to get rancid. Just pour some ice cold water into your butter and press the butter with your spatula to get any buttermilk out.  Pour the water off and enjoy your butter.

I promise to takes longer to get your purse, cell phone, find the keys and get in the car than to make your own butter.
Comments { 6 }

Easter peeps sunflower cake tutorial

If anyone missed me, I have been in bed with the flu for two days!!  Yuck!  I have not had the umph to get up and make anything else for Easter but I scraped myself out of the abyss this morning long enough to pull together a very simple little cake if any of you want to make it for tomorrow. This cake is very simple and quick to make.

Here’s what you need:
Chocolate frosting
Your favorite cake recipe
Chocolate chips (I used the big ones but the little ones would be even cuter)
15-19 chick peeps
Bake two 9 inch layers of cake.  Cool them completely.  Level your cakes by cutting off the rounded tops.  Put down your first layer and top it with a layer of icing.  Place your next layer on top, make sure it is level all the way around and ice the whole cake smooth.

 with a star tip, pipe a border all the way around

 now take your peeps and without taking them apart, place them on the edge all the way around.

                                      
fill the center of the cake top with the chocolate chips starting from the center of the cake going around and around to the edge

Enjoy, if you can’t bake or don’t want to you could also pick up a chocolate cake at the store and decorate it.   And now I am going back to bed!
Comments { 6 }