
I’ve never met a crafter without a stash of some kind. This year my goal is to use up all the craft supplies I have spent money on that are taking up mental and physical space in my life. 
Stash Bash : Make your own wooden buttons tutorial

As promised yesterday, if you have been wanting to put some cute wooden buttons on your projects but the cost is prohibiting you, here is a fast tutorial on my wooden buttons. These can be easily distressed, sanded to make them not look so perfect, stained polished and painted depending on the look you are going for. The best part is they cost pennies for each one. This is where I get them but I am sure there are lots of places to get them.
You will need:
wood circles whatever size you like
wood drill and drill bit the size you want the holes in the button to be
wood clamp
piece of scrap wood
pencil to mark holes


with a pencil, mark where the holes will be drilled
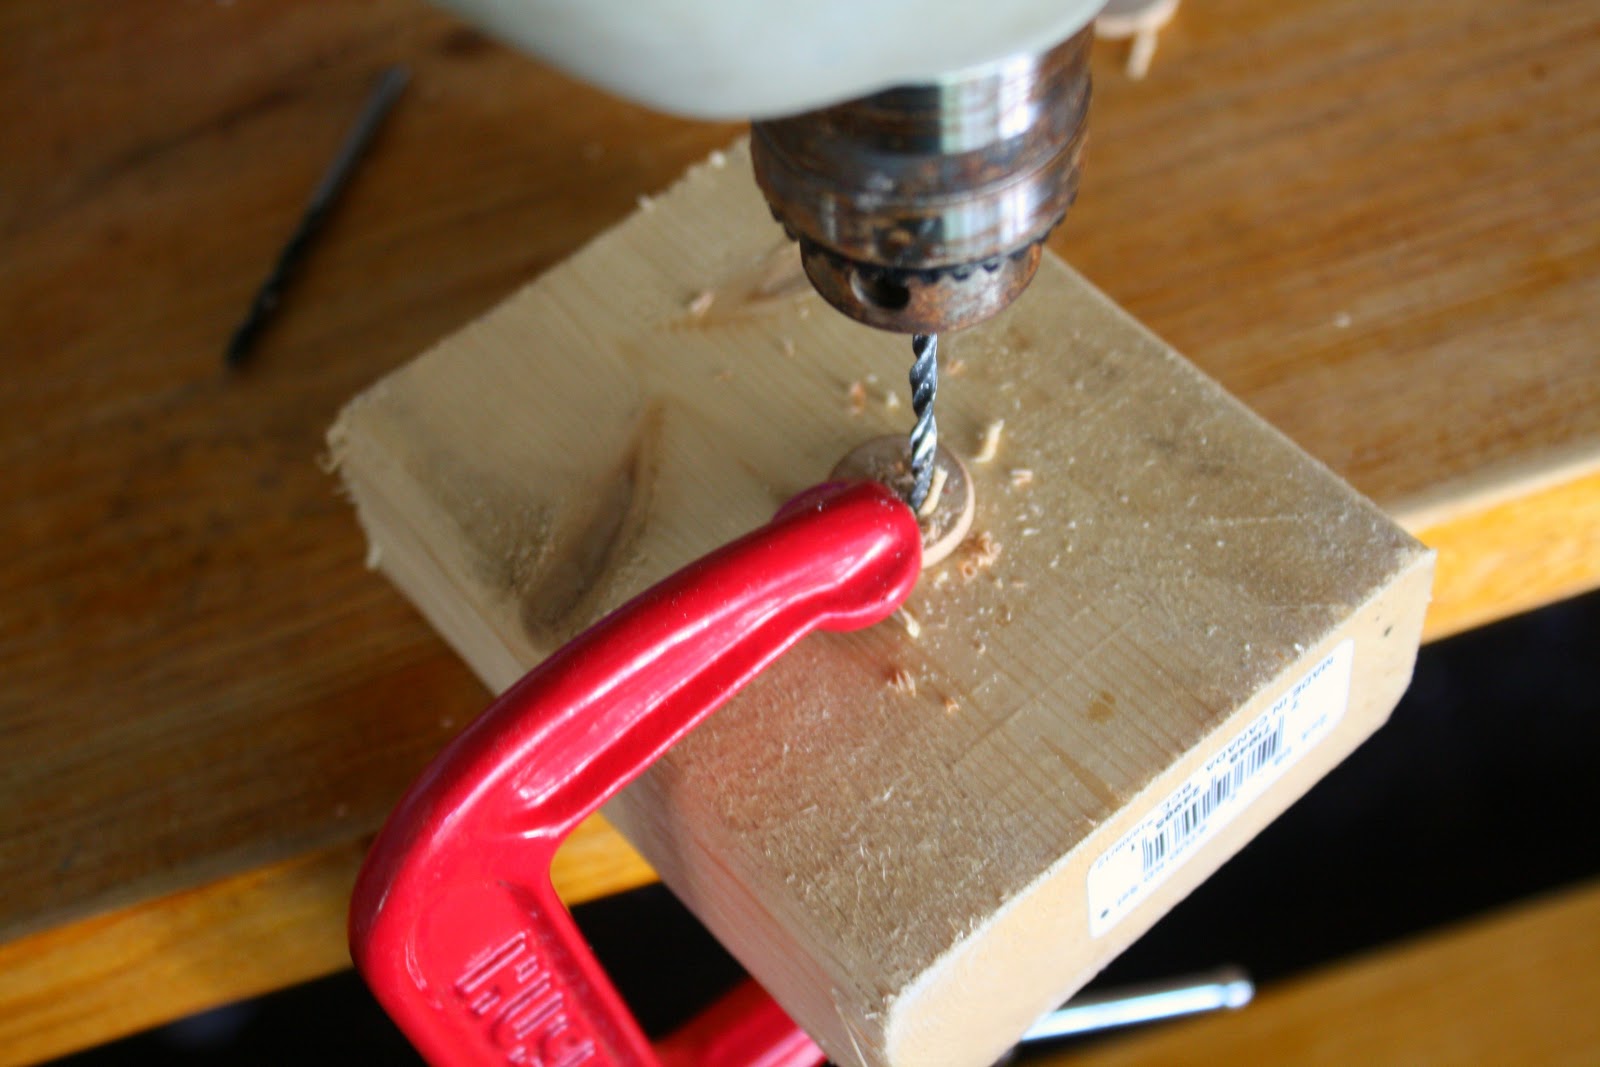
clamp the wood circle to your scrap piece of wood and drill through your holes
you can lightly sand the holes if you want to, I didn’t need to. Just brush off the buttons. At this point you could distress the buttons, stain or polish with a beeswax polish or just use them as is.

Enjoy your new buttons!!
So what have you been up to? I love to see what you come up with. I have added the Mr Linky to the bottom of this post for you to link up your Stash Bash projects.
Here’s what to do. There are no rules.
Just use what you have and try to not buy new supplies, unless you need it to
Take a
Subscribe
Subscribe to our e-mail newsletter to receive updates.
3 Responses to Stash Bash : Make your own wooden buttons tutorial
Leave a Reply to @Cortez Click here to cancel reply.


I Was Featured On Yummly

Wow. These are really nice wooden buttons. You have made them and drill them so well.These are looking so nice on the woolen clothes. I love your idea and tips.
I love this post.
all looks simple enough to me! Home DIY is one of my favourite hobbie! Going to give this a go now! Thanks for the how to images too.