
Tomorrow is my babies 2nd birthday. This morning I woke up with a crazy idea! I decided to try to make my Livie a Waldorf doll in one day. I have been wanting to make one for about 5 years and so I had some good fabric I could use for skin and lots of wool yarn and the rest I would improvise to make it as authentic as possible. I will share how I made the head as this is really the hardest part and you don’t really need a pattern. For the rest of the doll, I just used one of my own rag baby doll patterns but there are a few free ones out there.
I started at 1 PM after we got back from mass. Tomorrow I will post the pics of the finished doll as Livie opens her (hopefully I will finish).
Here are the items I have to make it possible:
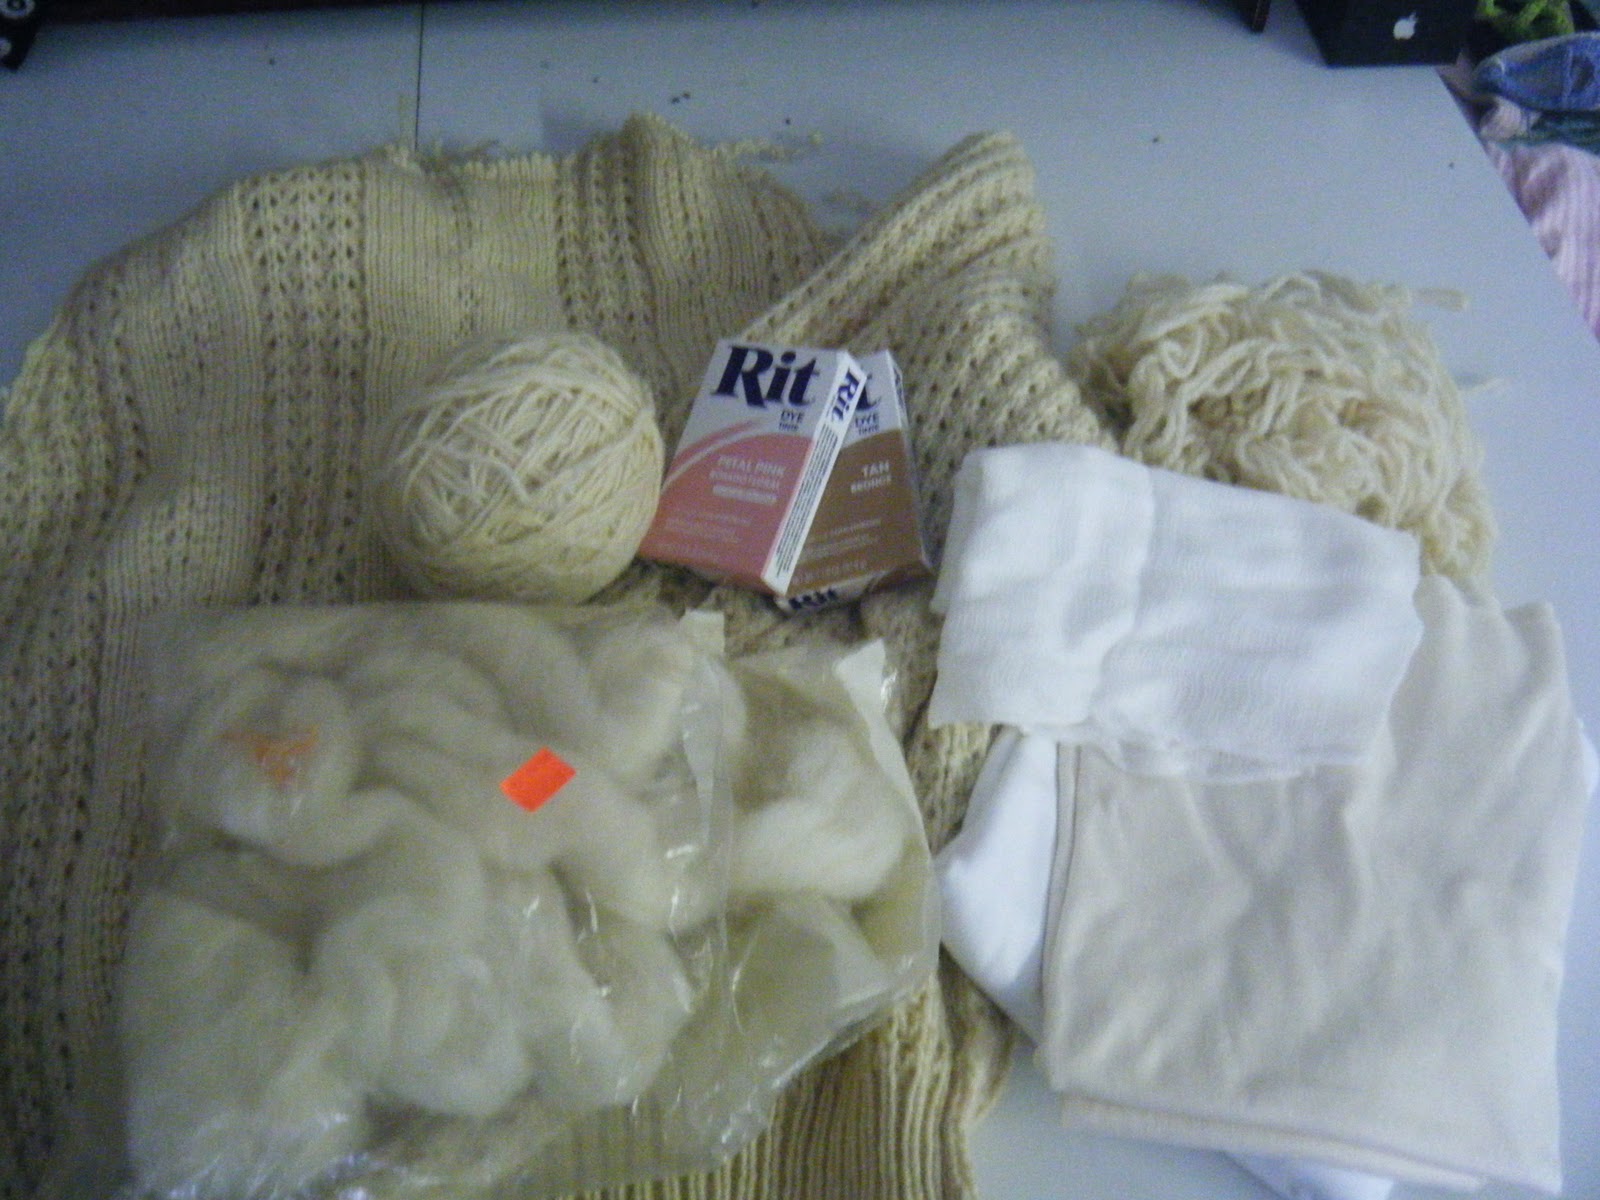
I will use wool from a thrifted wool sweater which I partly unraveled, some very good quality heavy cotton interlock white and beige, some tan and pink Rit dye, a bag of pure wool rovings which I found a few years ago at a thrift store for $1.50 (they probably had no clue what it was), cheesecloth, embroidery thread for eyes and mouth and a doll makers needle (it is super long), some strong cotton string (I used size 10 cotton crochet thread, because that is what I have).
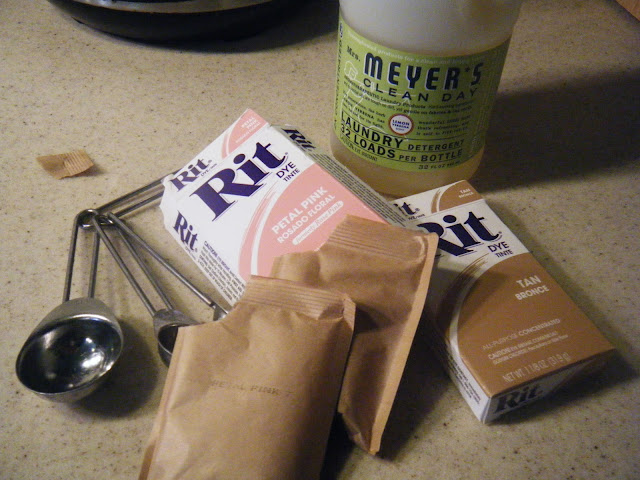
First step was to dye my fabric,used 1/2 tsp of the pink and a tsp of the tan in a big pot of water, a tsp of detergent and it said to use salt but the last time I did that my fabric got hard and this fabric is so buttery and baby soft that I did not want to chance it.
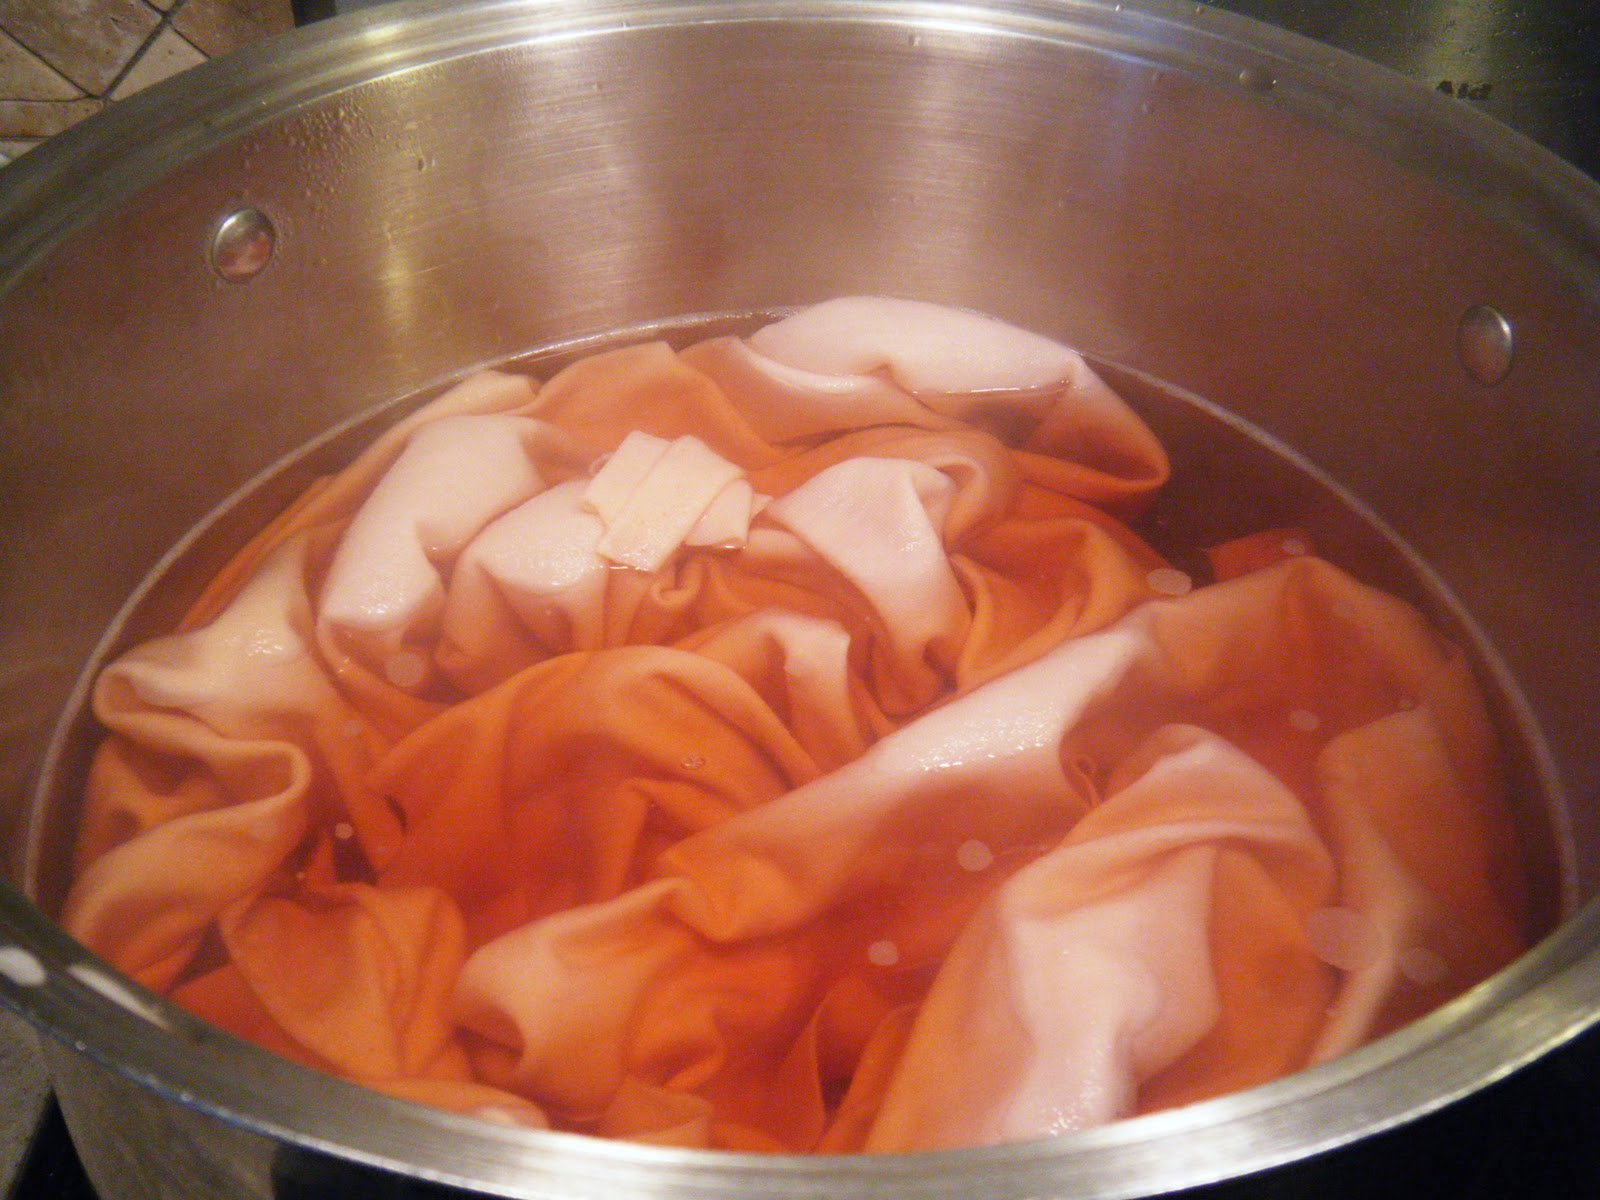
Get the water almost to boiling and then put in your fabric make sure there is enough room to move it around.
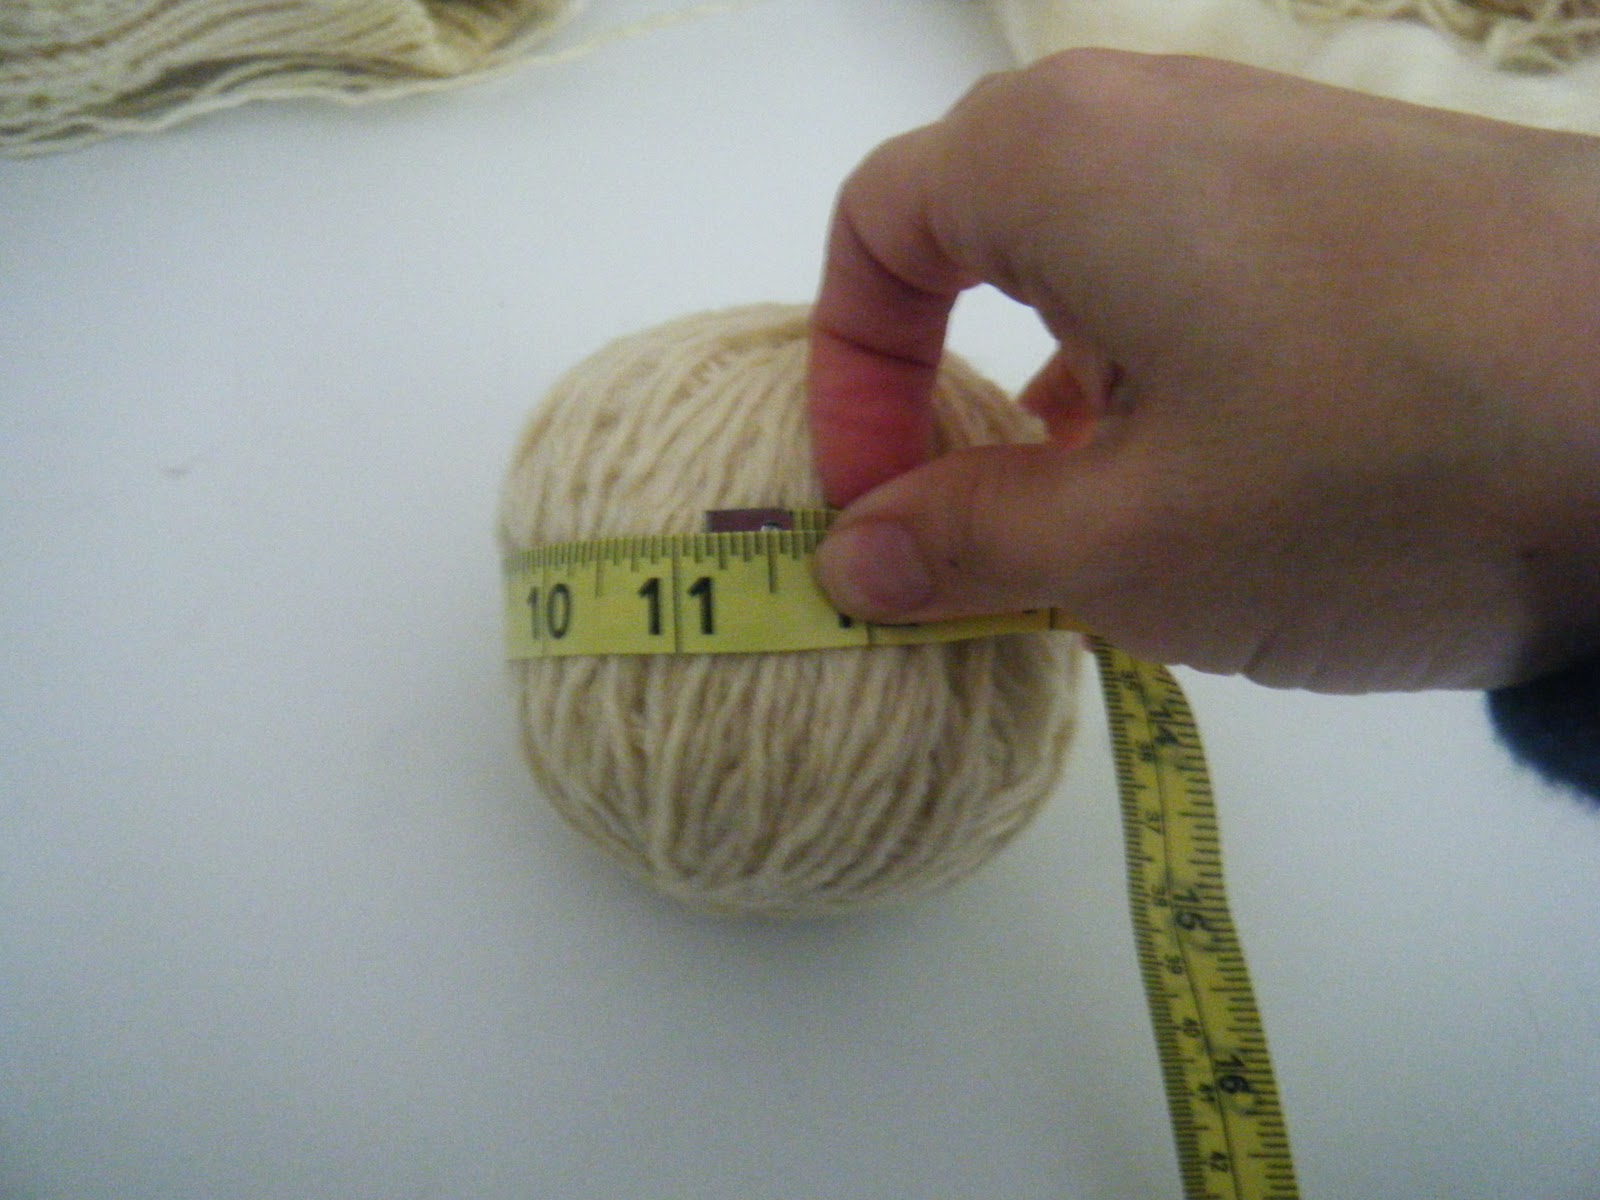
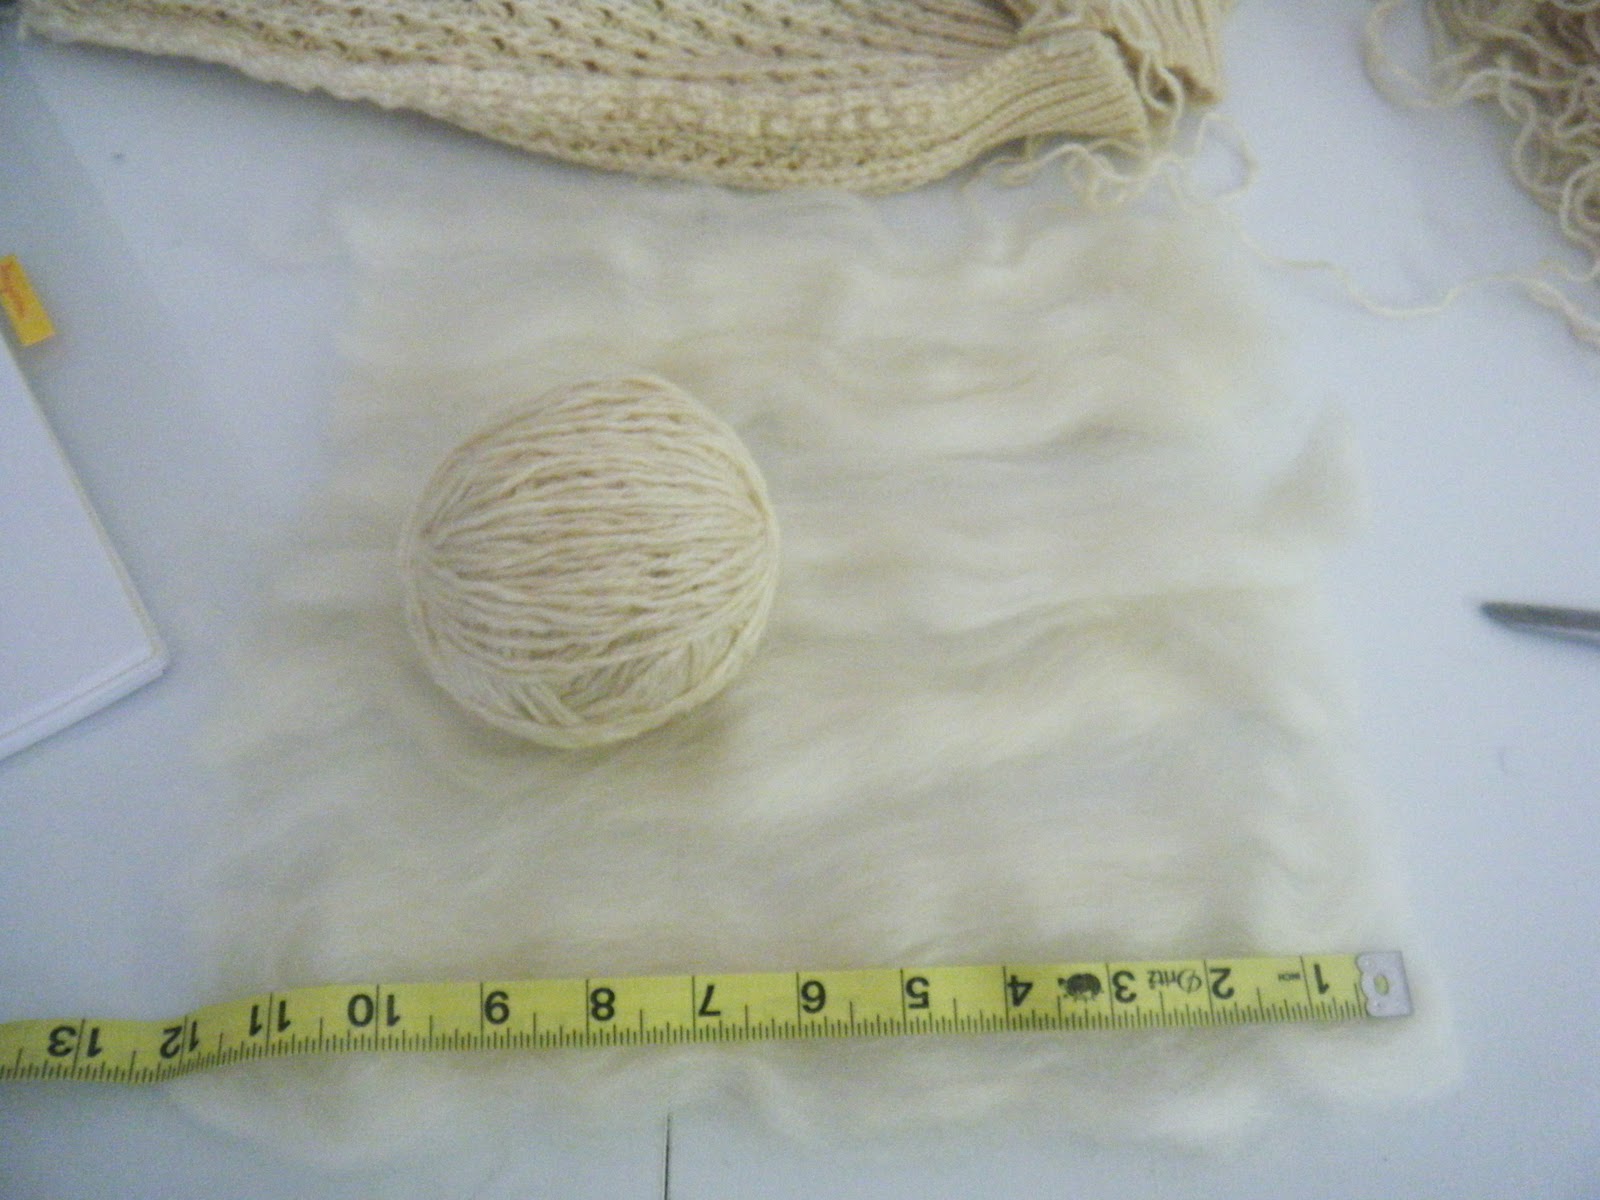
most Waldorf dolls are made by making a ball of wool to make a nice firm head. You must make a firm head or your dolls head will lack definition. Wool is expensive and this worked like a dream and is also made of wool so still authentic and easy. Just make a ball or wool yarn until it reaches 11 inches diameter. Make sure you wind your ball evenly to get it round.
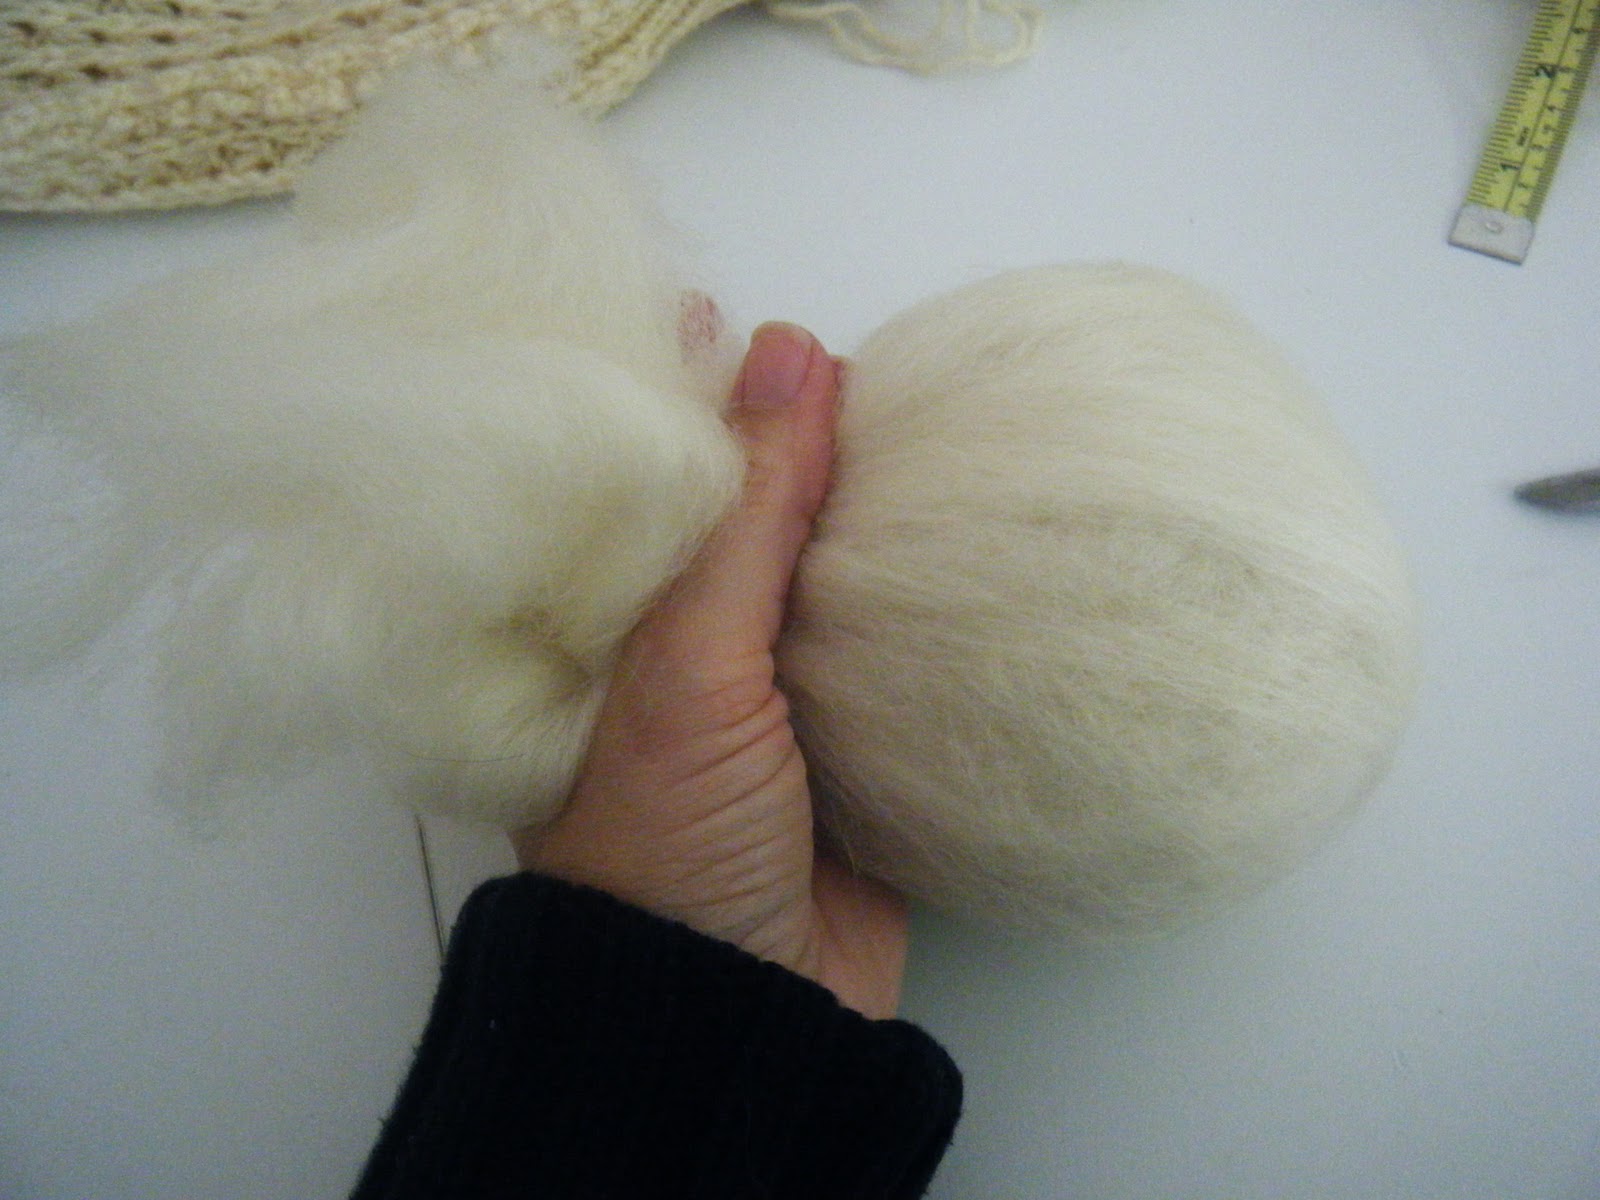
Next we need to pad your wool bad in order to get a nice smooth head. I layed out my wool roving in a 12 by 12 square, put my head in the middle and wrapped it pulling it tight around the wool ball.
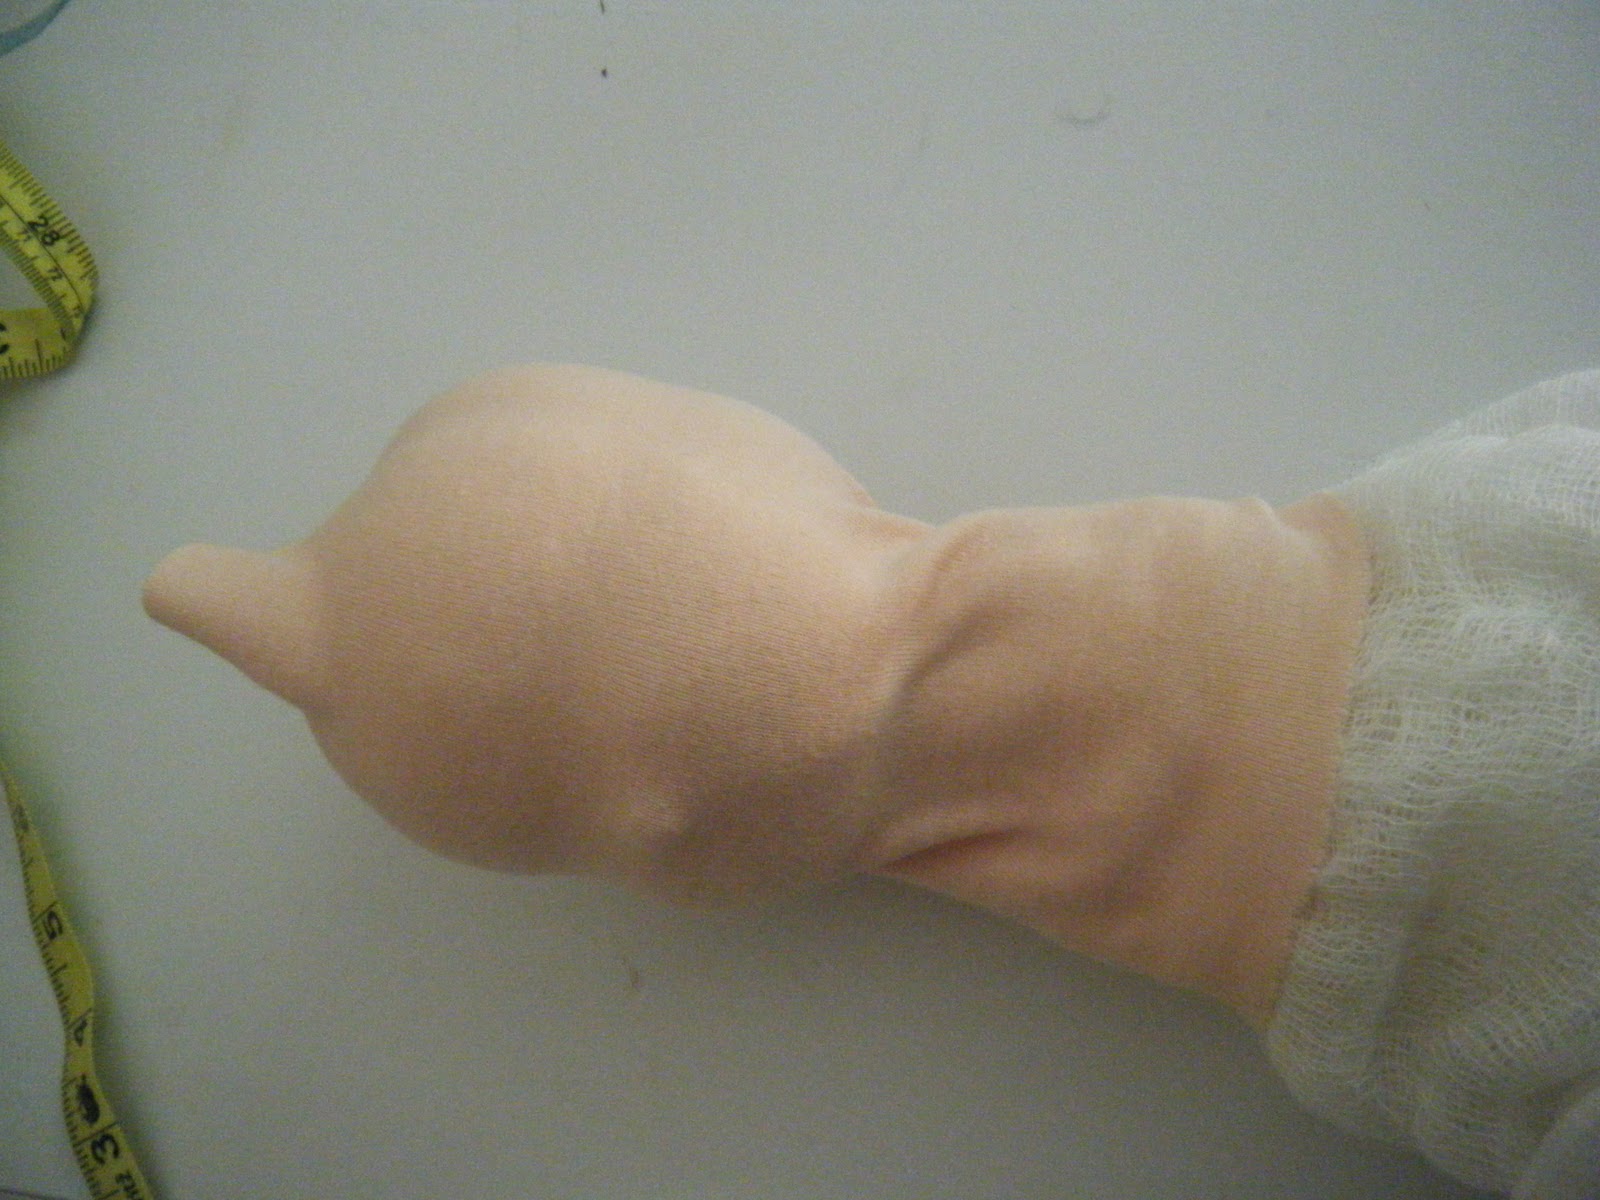
Next I took my cheesecloth which is two layers thick, wrapped it around to see how wide it has to be to go around and sew a tube that size. I ran a thread around the top and pulled it tight so now it looks like you have a cheesecloth sock.
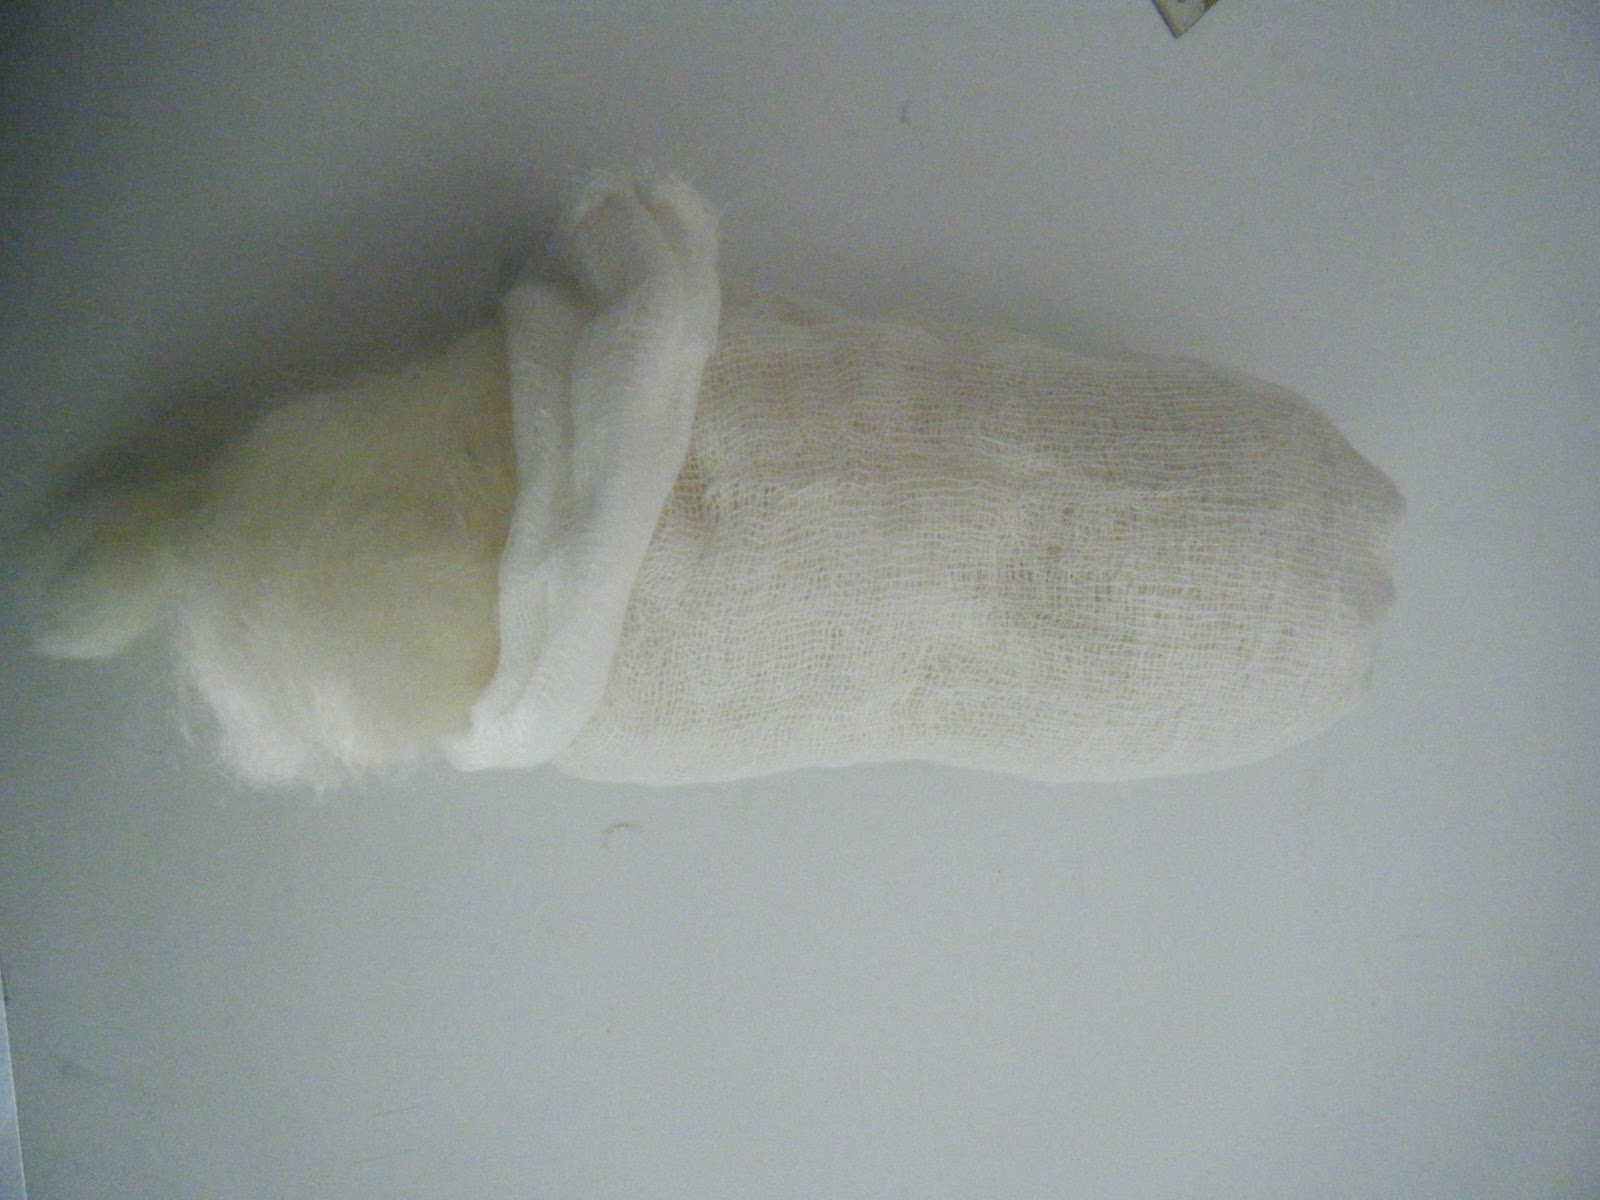
Stuff your wool into the cheesecloth sock.
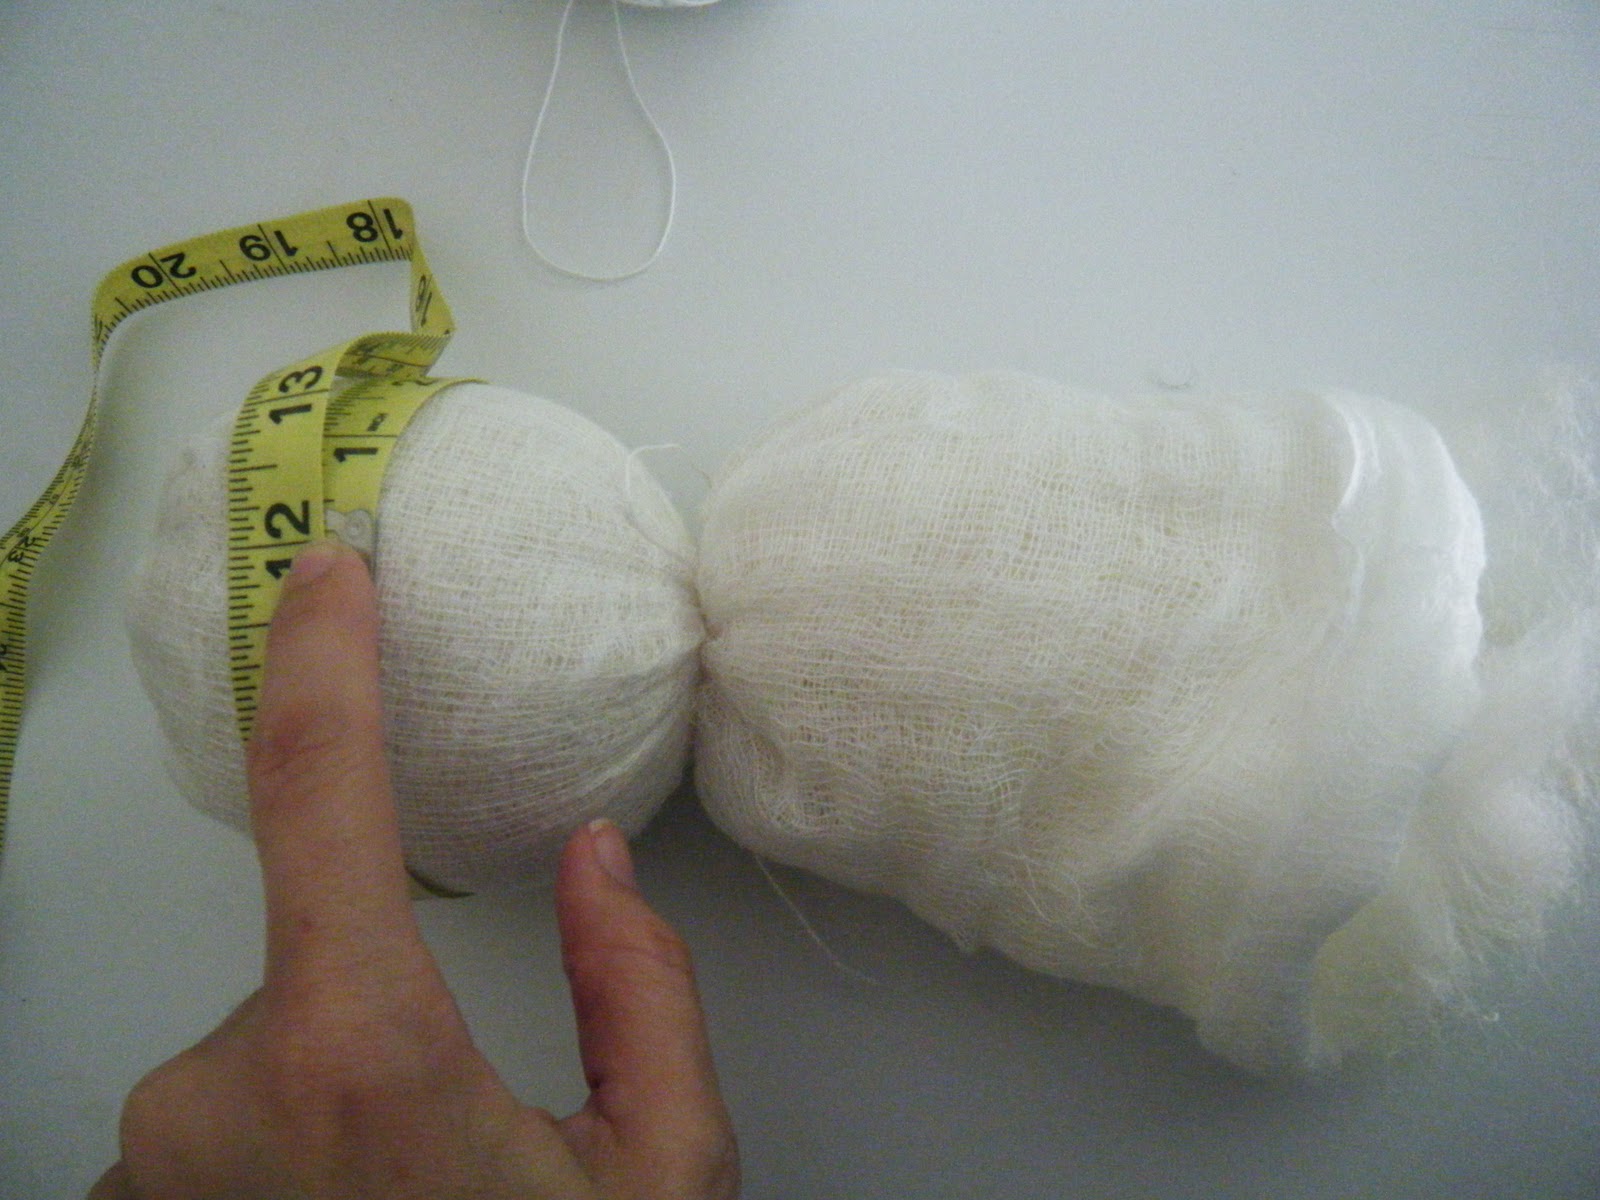
measure to make sure that your head now measures 12 inches around and then tie it off tight under the ball leaving the rest of the wool hanging underneath. This will be your neck ball which makes the head not wobble around later on.
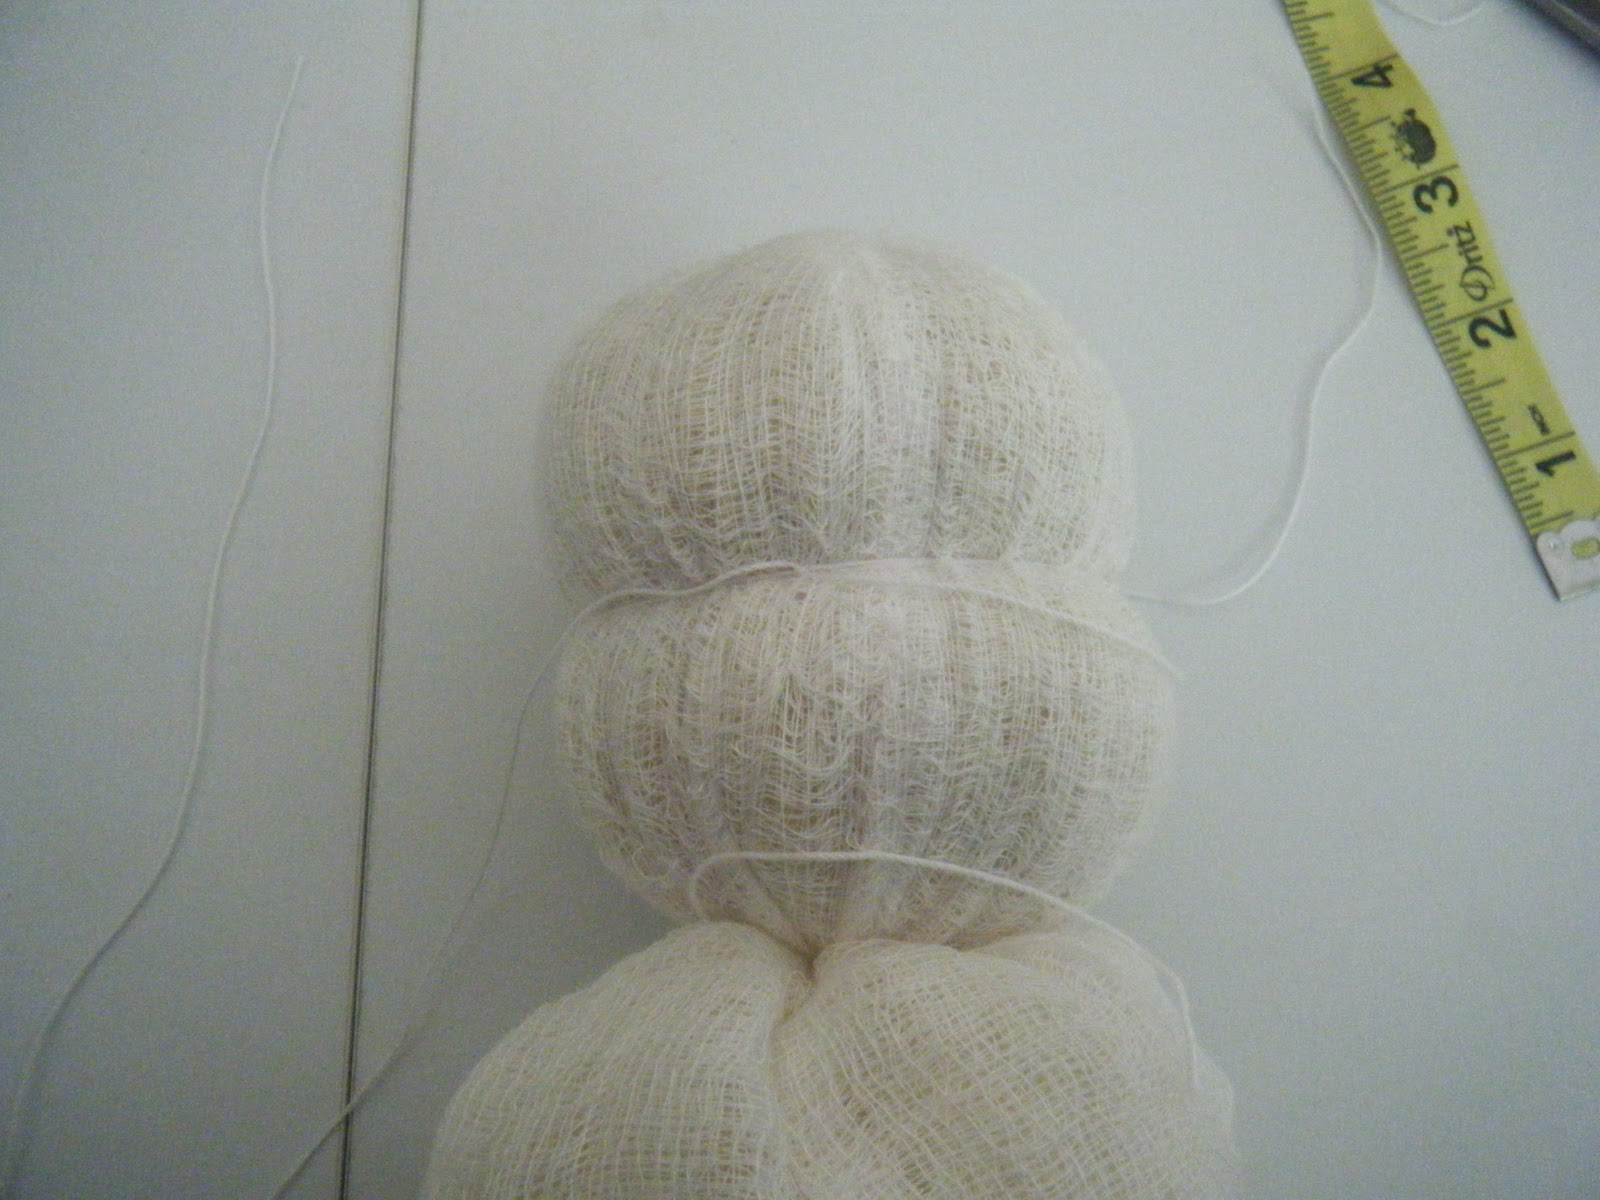
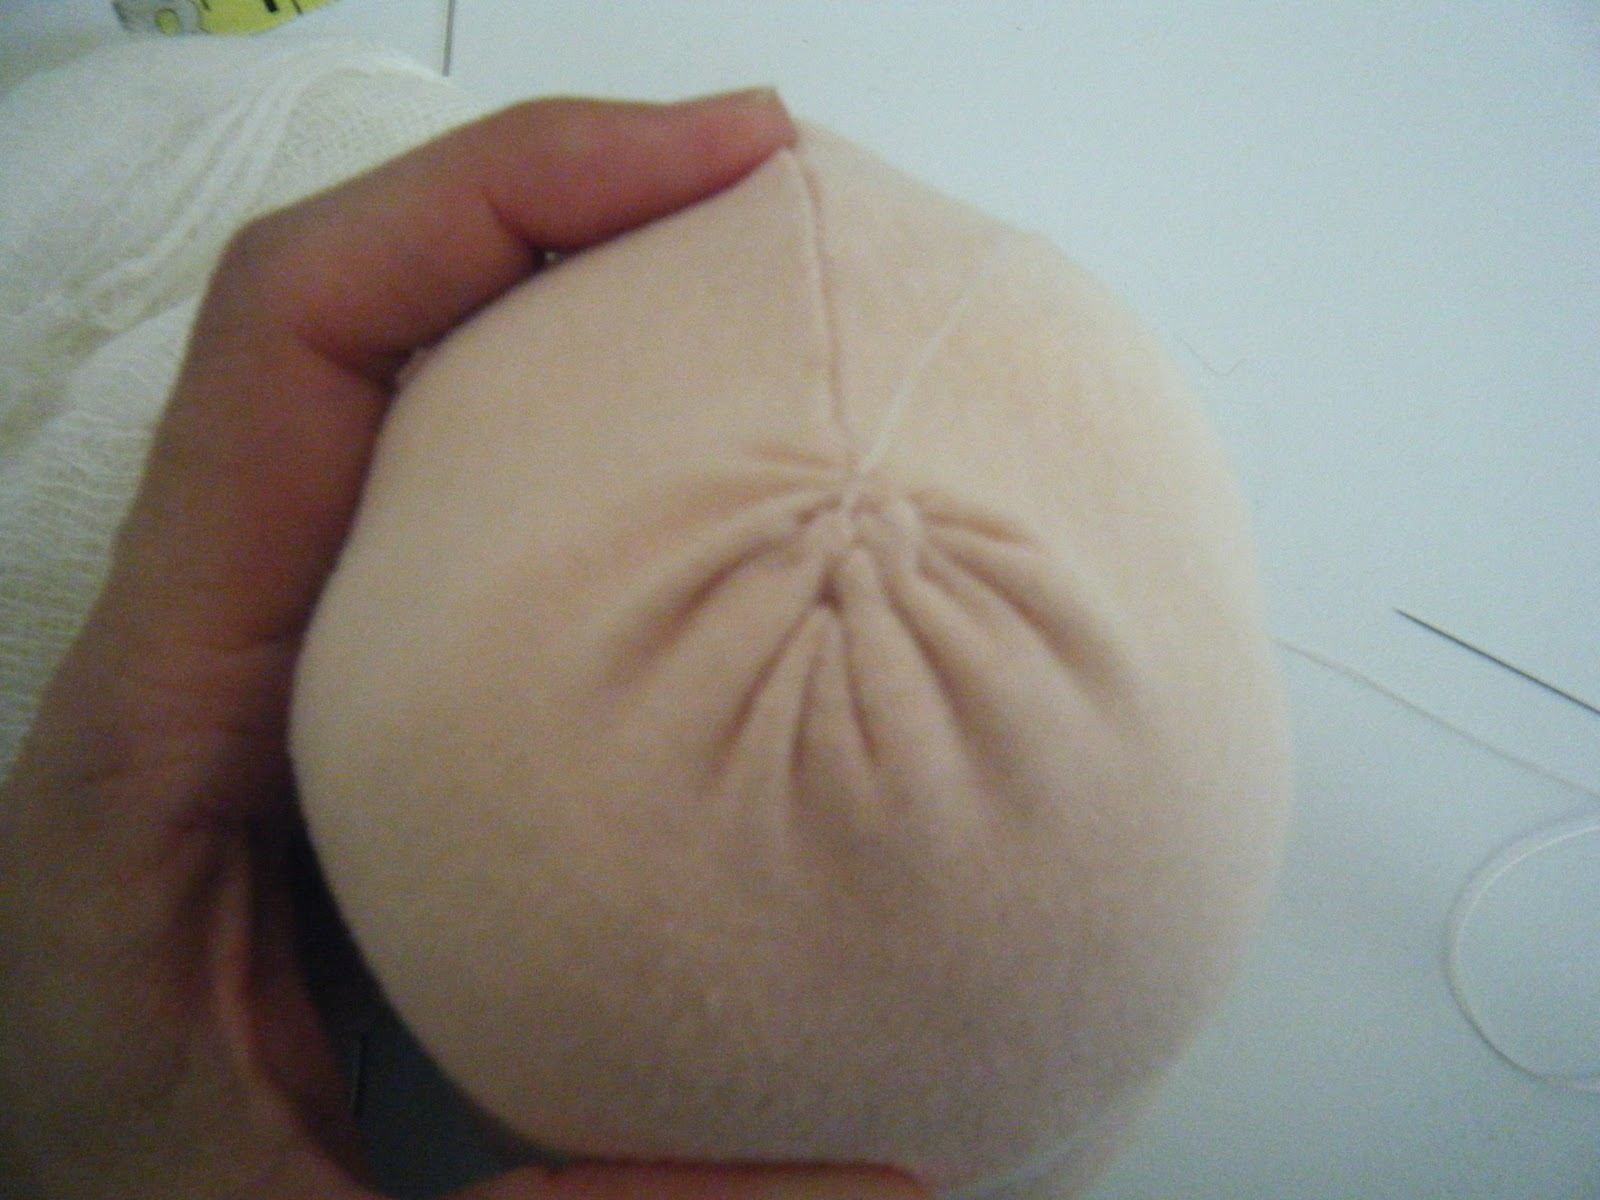
Now cut 30″ of your cotton string and tie around the center of the ball going around twice and tightening to make an indentation around. This is your eyeline and will also create the cheeks.
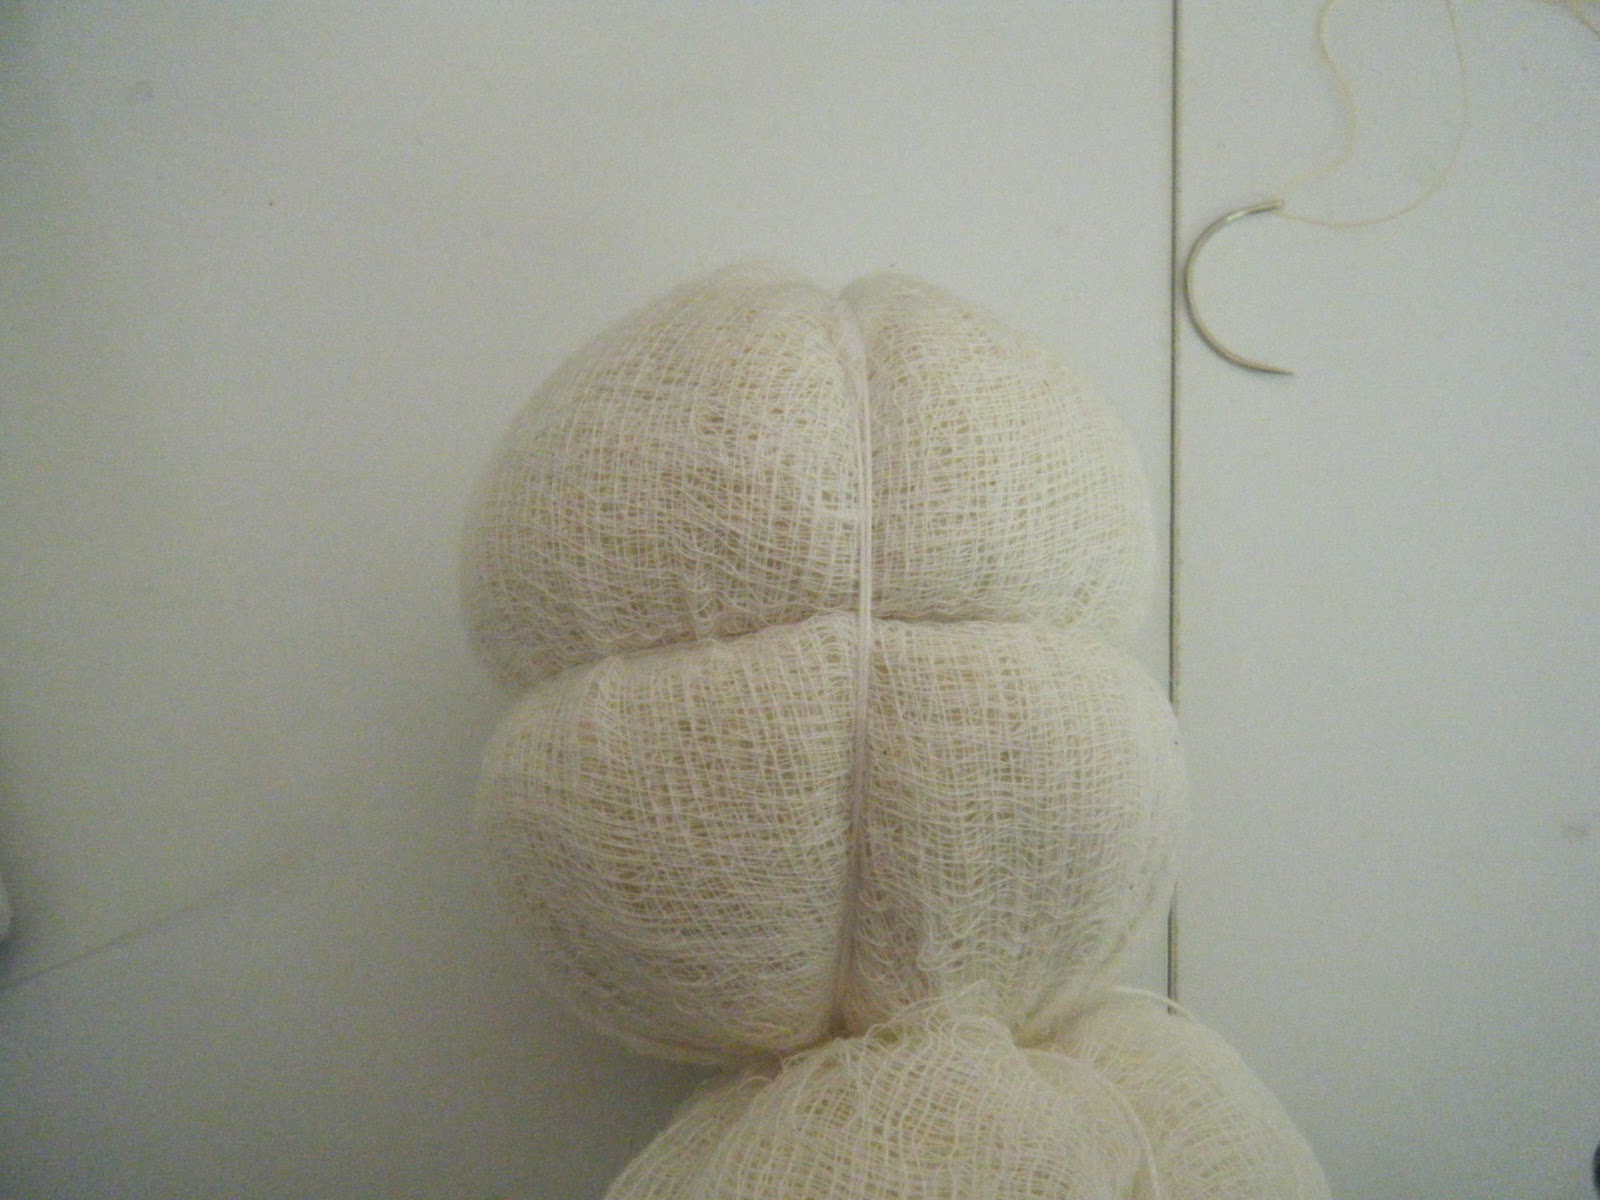
Next take more string, same length and tie around from top to bottom or from the top of the head to under the chin. Tie around twice and tighten but not as much as the eyeline to make an identation. If you are having a hard time tightening enough you can wet your string and try again. The wet string is easier to pull tight.
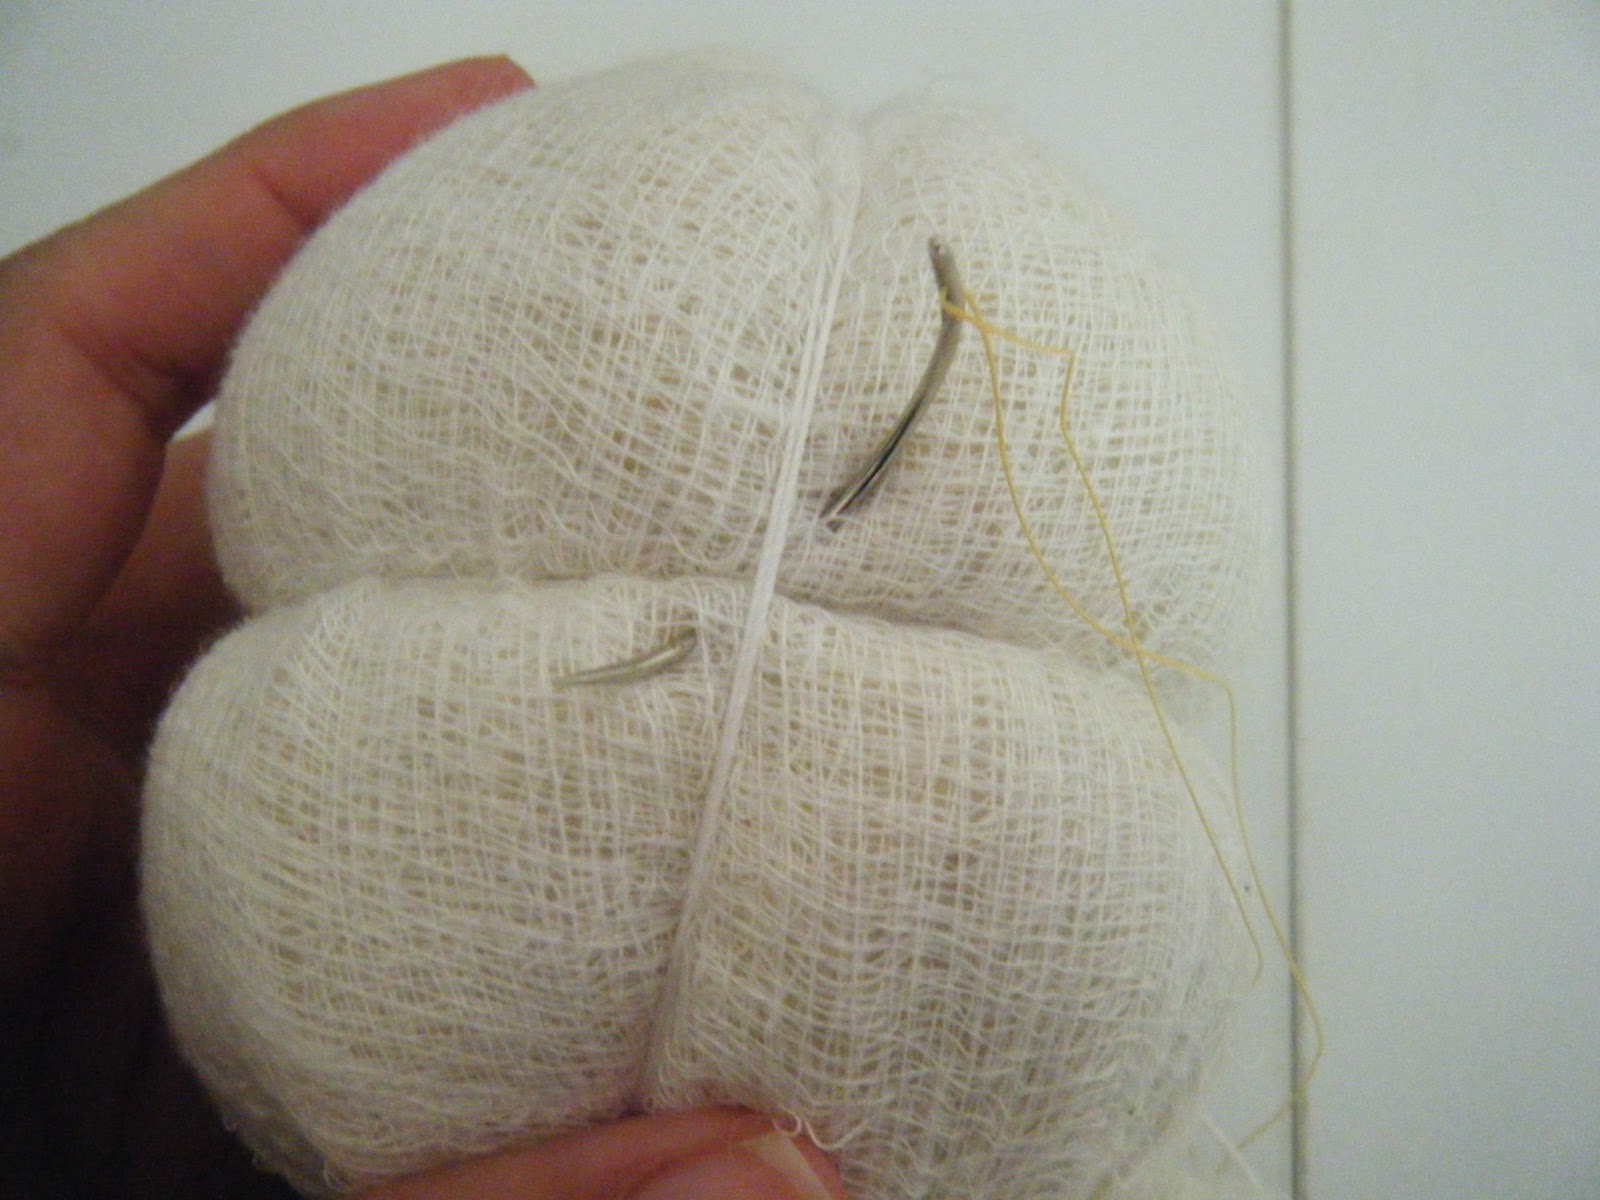
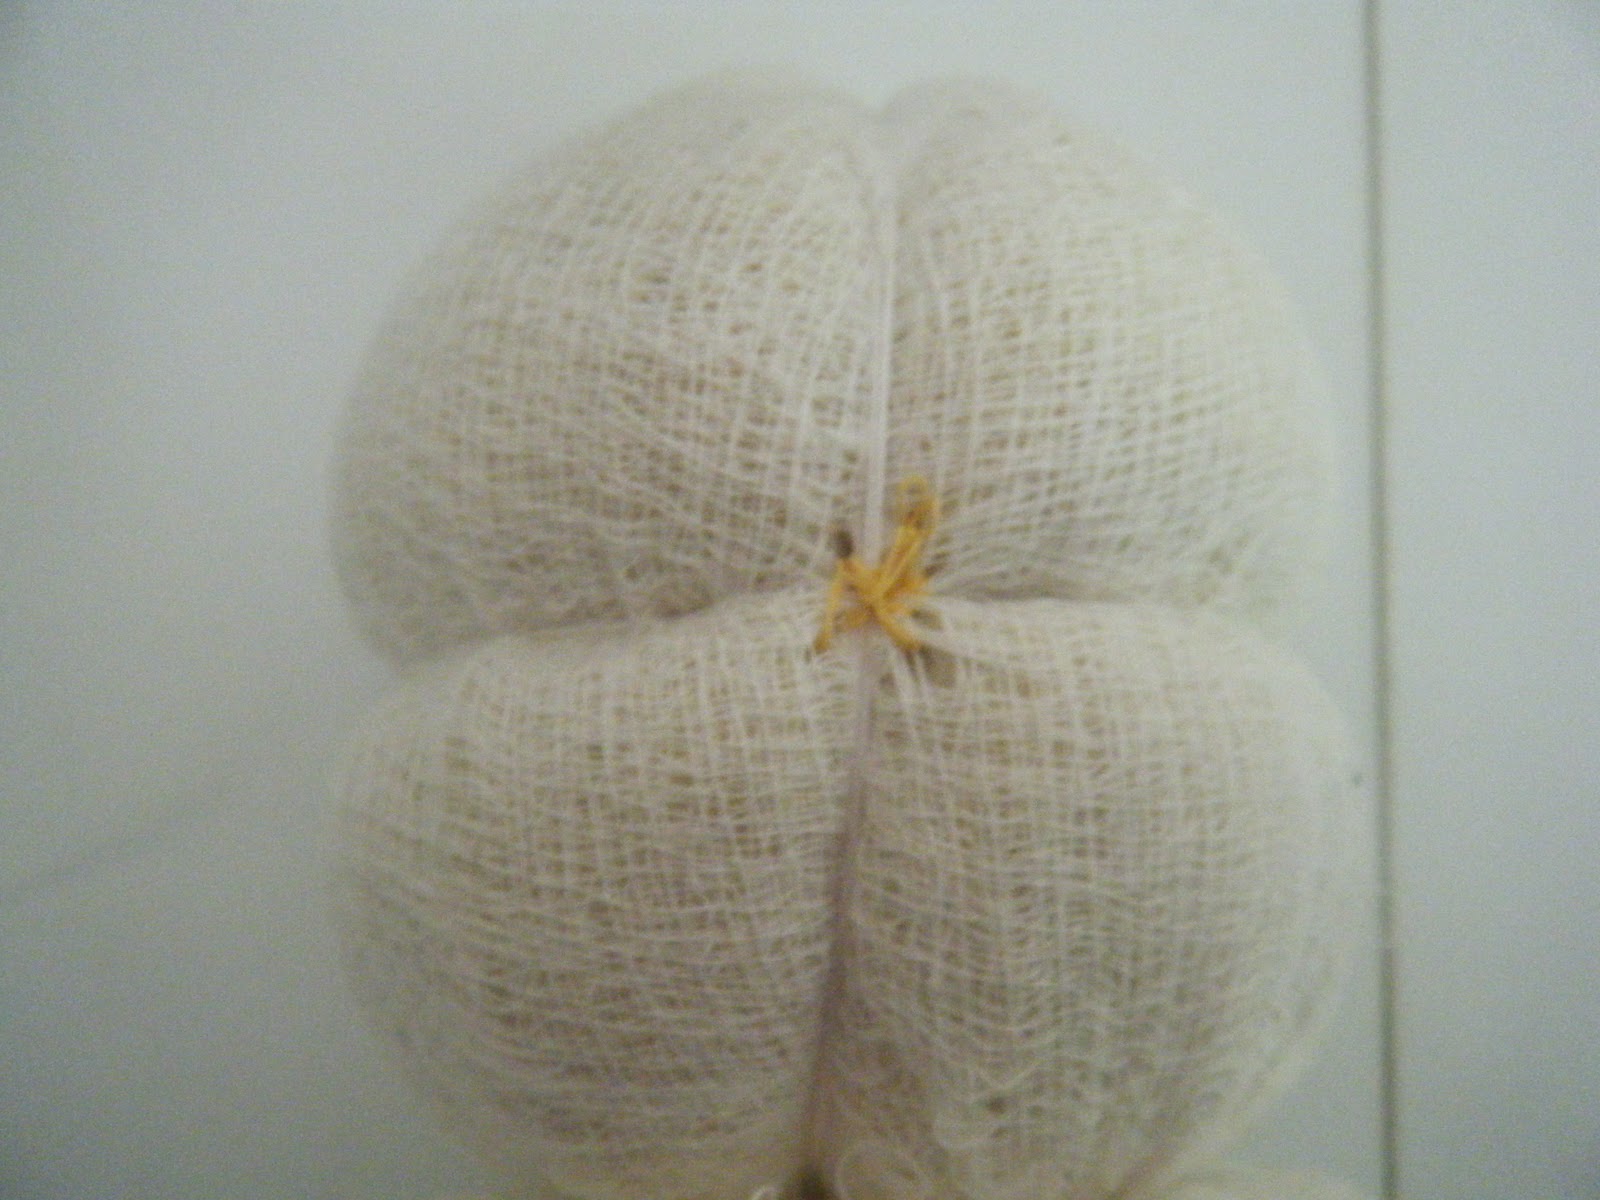
Turn your head to the side and find where the vertical string meet the horizontal strings and secure the points by sewing an x over them picking up a little bit of the wool underneath.
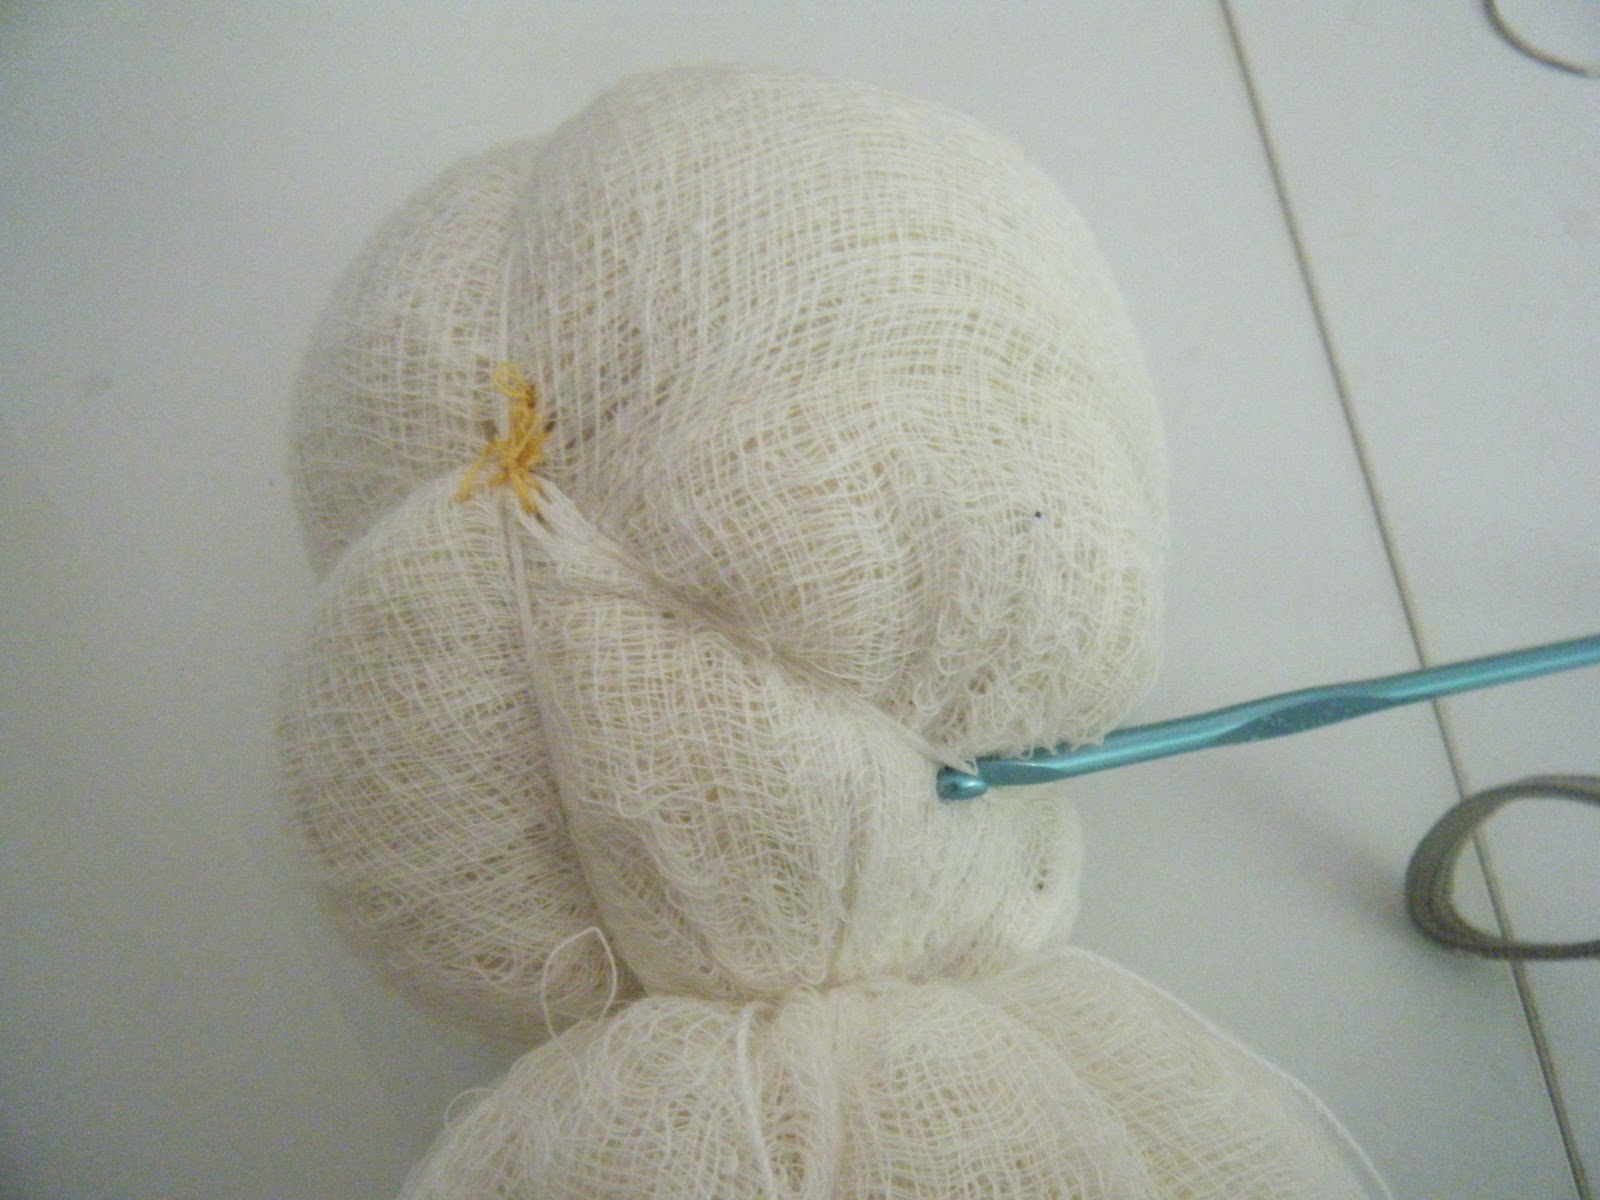

Take the string at the back of the head and pull it downward toward the back of the head. I used a crochet hook to gently push and pull it downward. Secure it with a few stitches.


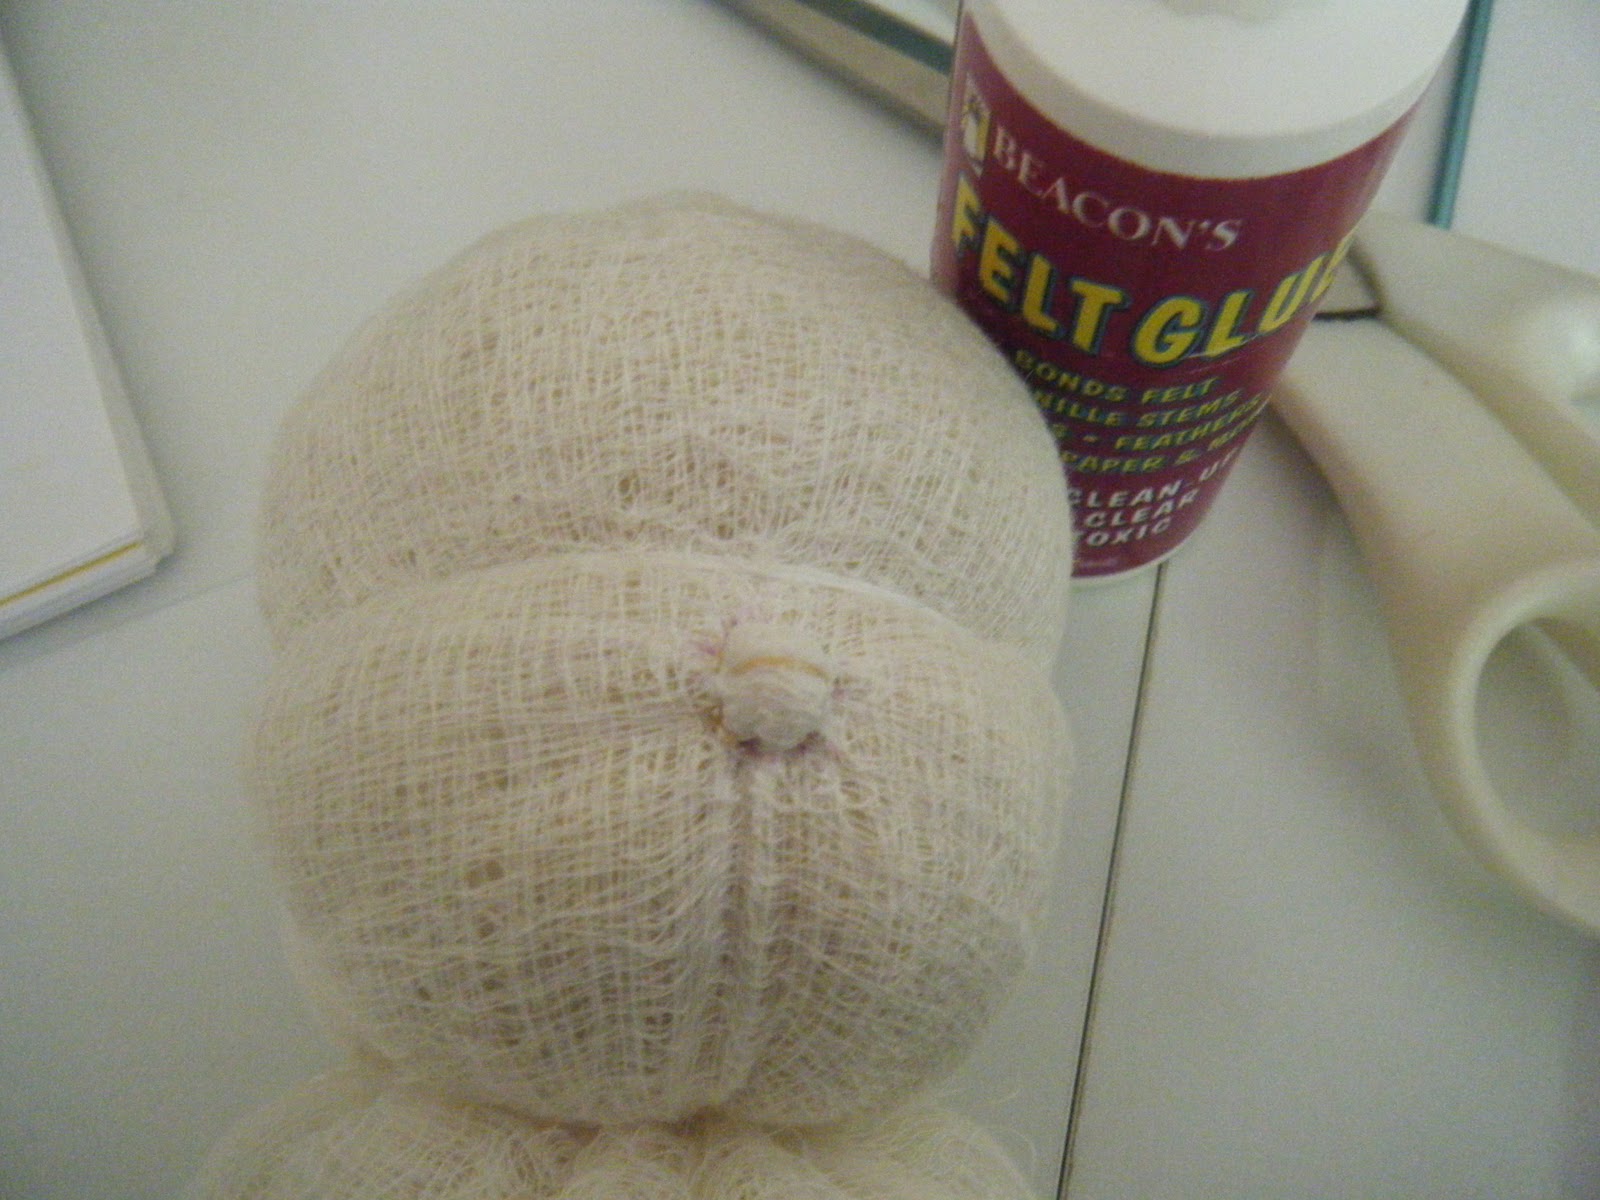
If you want your baby to have a nose (not all Waldorf babies have a nose) just draw a circle where you would like your nose. With thread and needle make stitches around the nose in a clockwise circular pattern like this. Start at 3:00 put your needle in across and come out at 9:00. Move to 10:00 and come out at 4:00, pull gently, Move to 5:00 PM come out at 10:00. Move on to 12:00 and so on, repeating the pattern until you go all the way around. Pull your thread and the wool will draw up into a little ball. Put a little glue to hold the shape of the nose and let it dry.
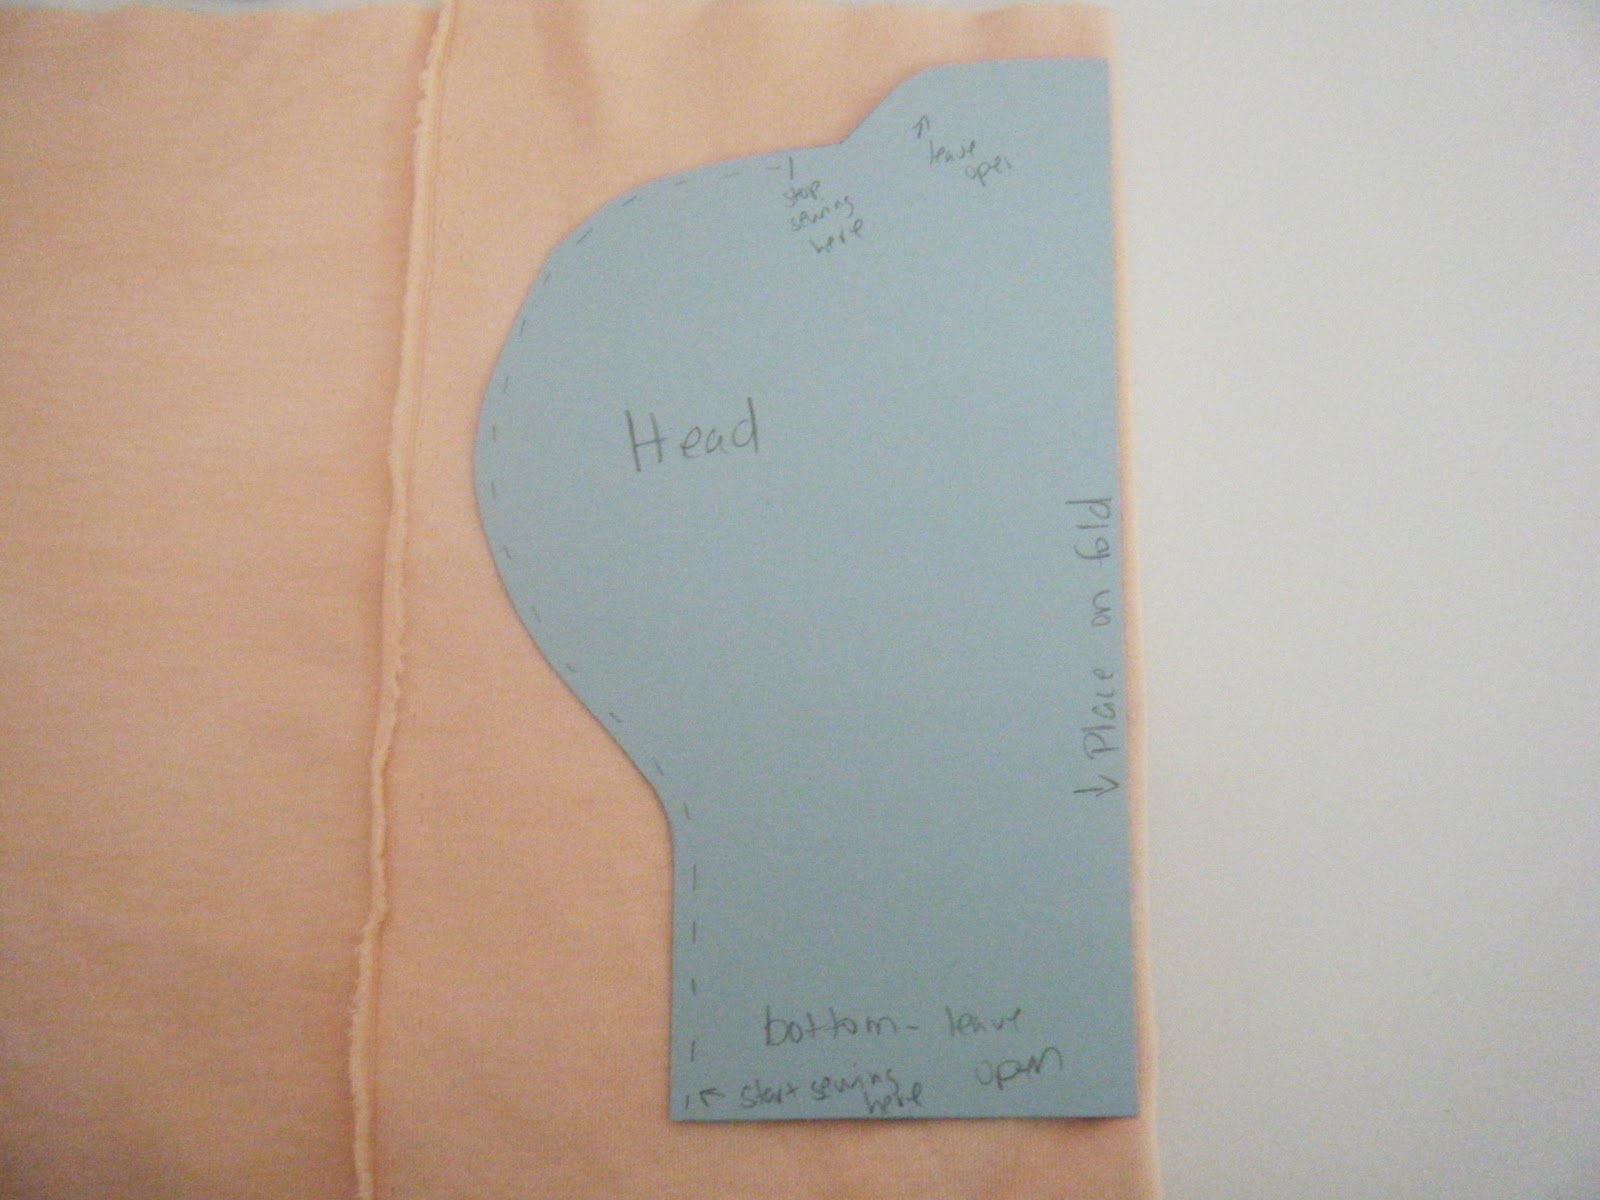
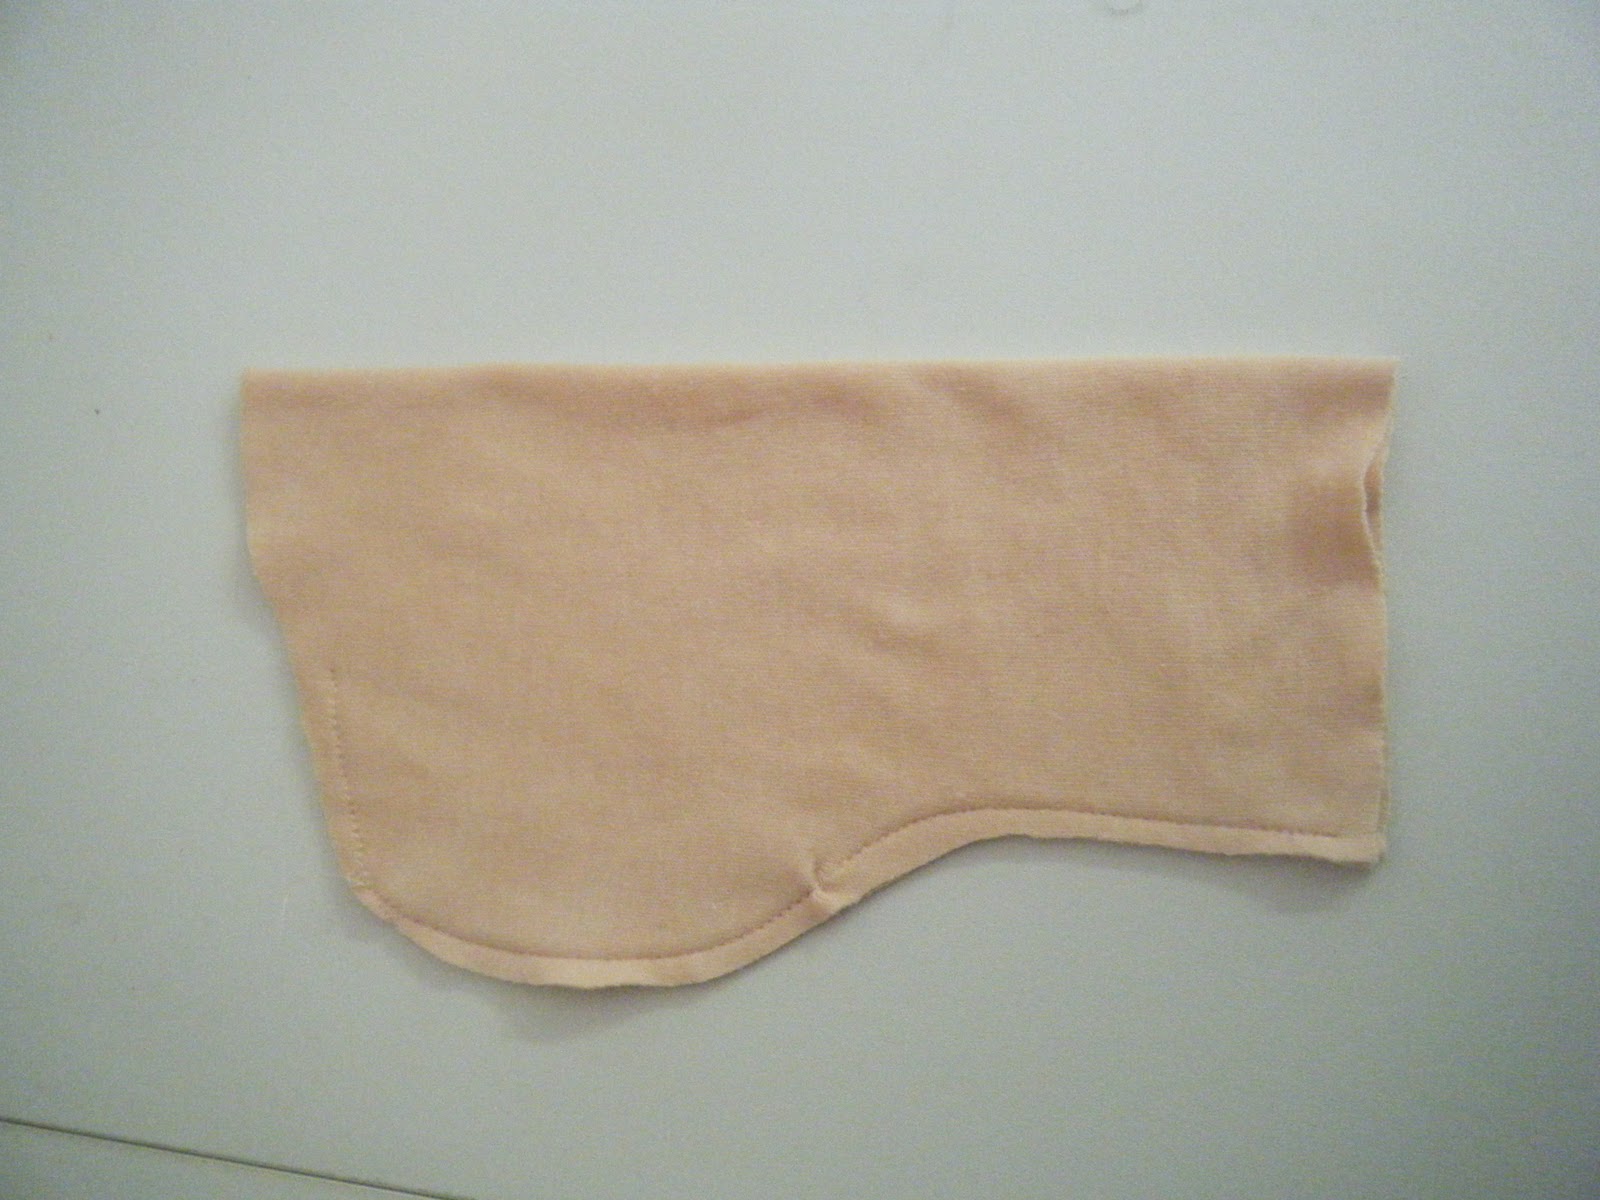
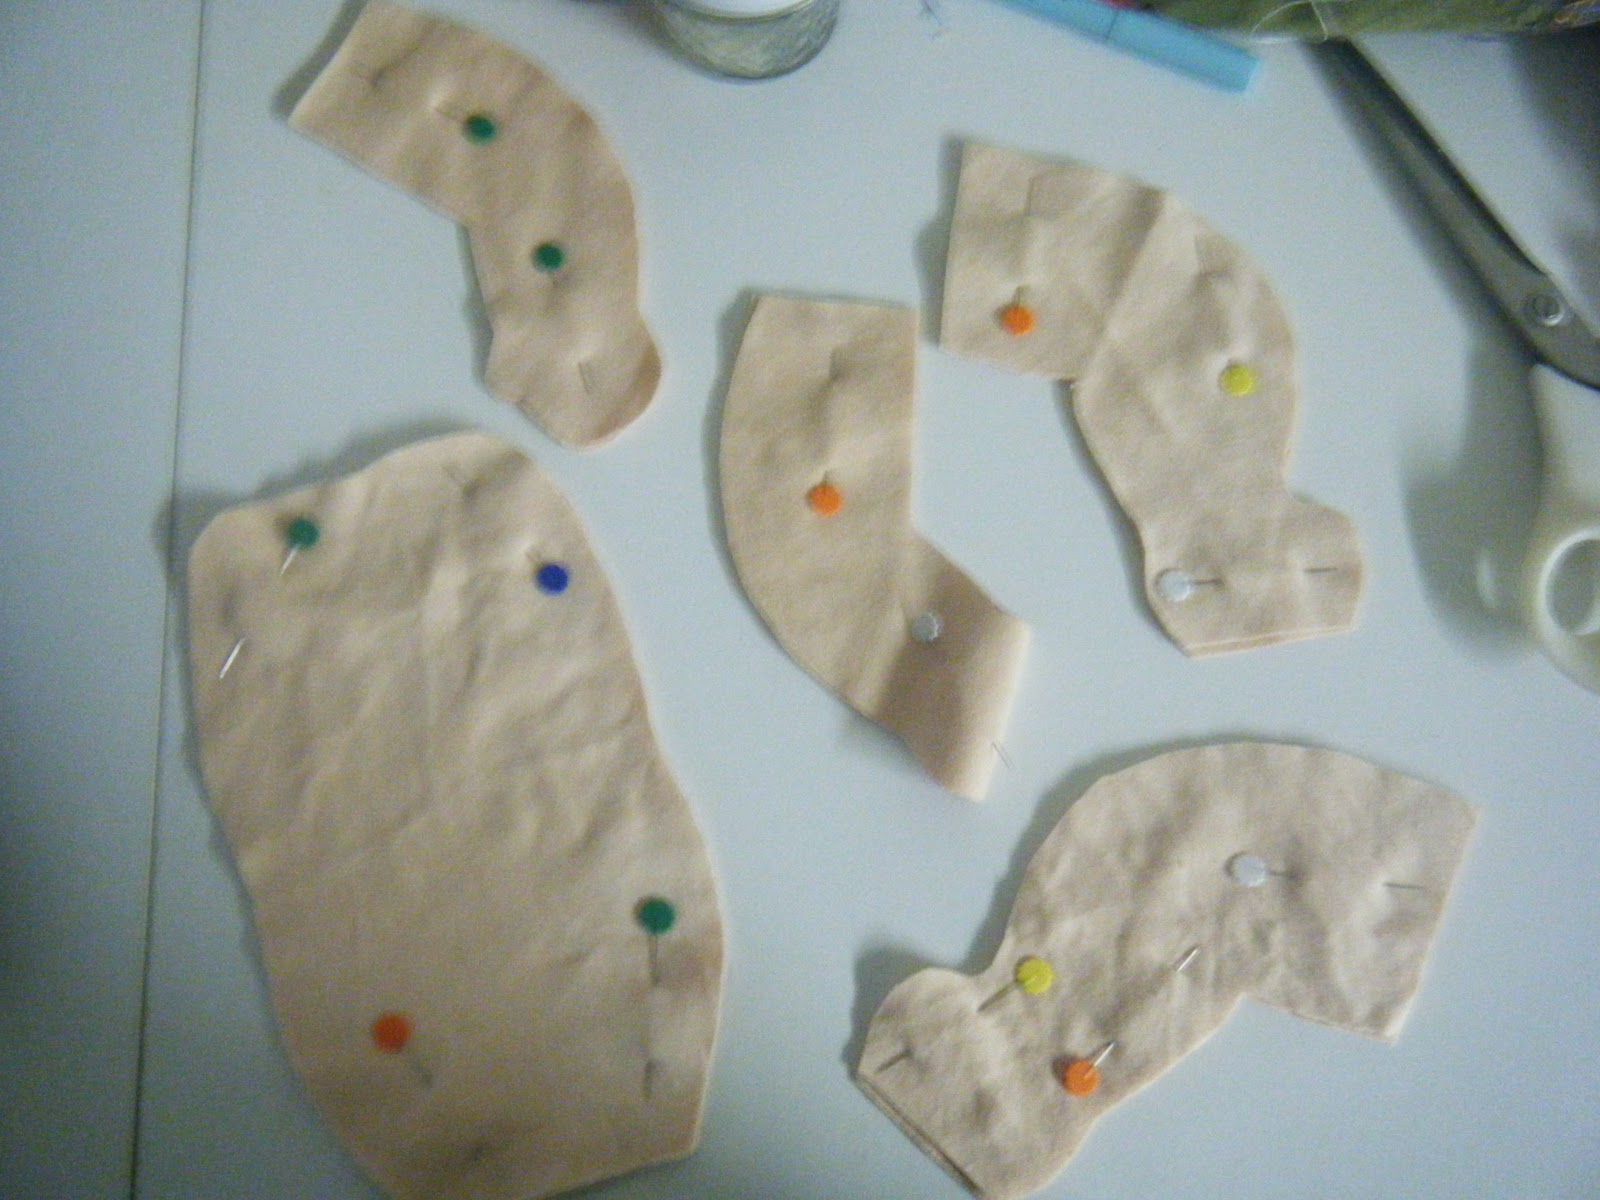
Place your pattern or just draw on like mine on your fabric on the fold, sew it and turn it right side out
Pull it over your wool formed head with the seam centered on the back of the head.

With a needle and thread, sew a running stitch around the top opening folding the top 1/8th inch of the fabric under first.
Pull the thread to gather and tie off with a knot.
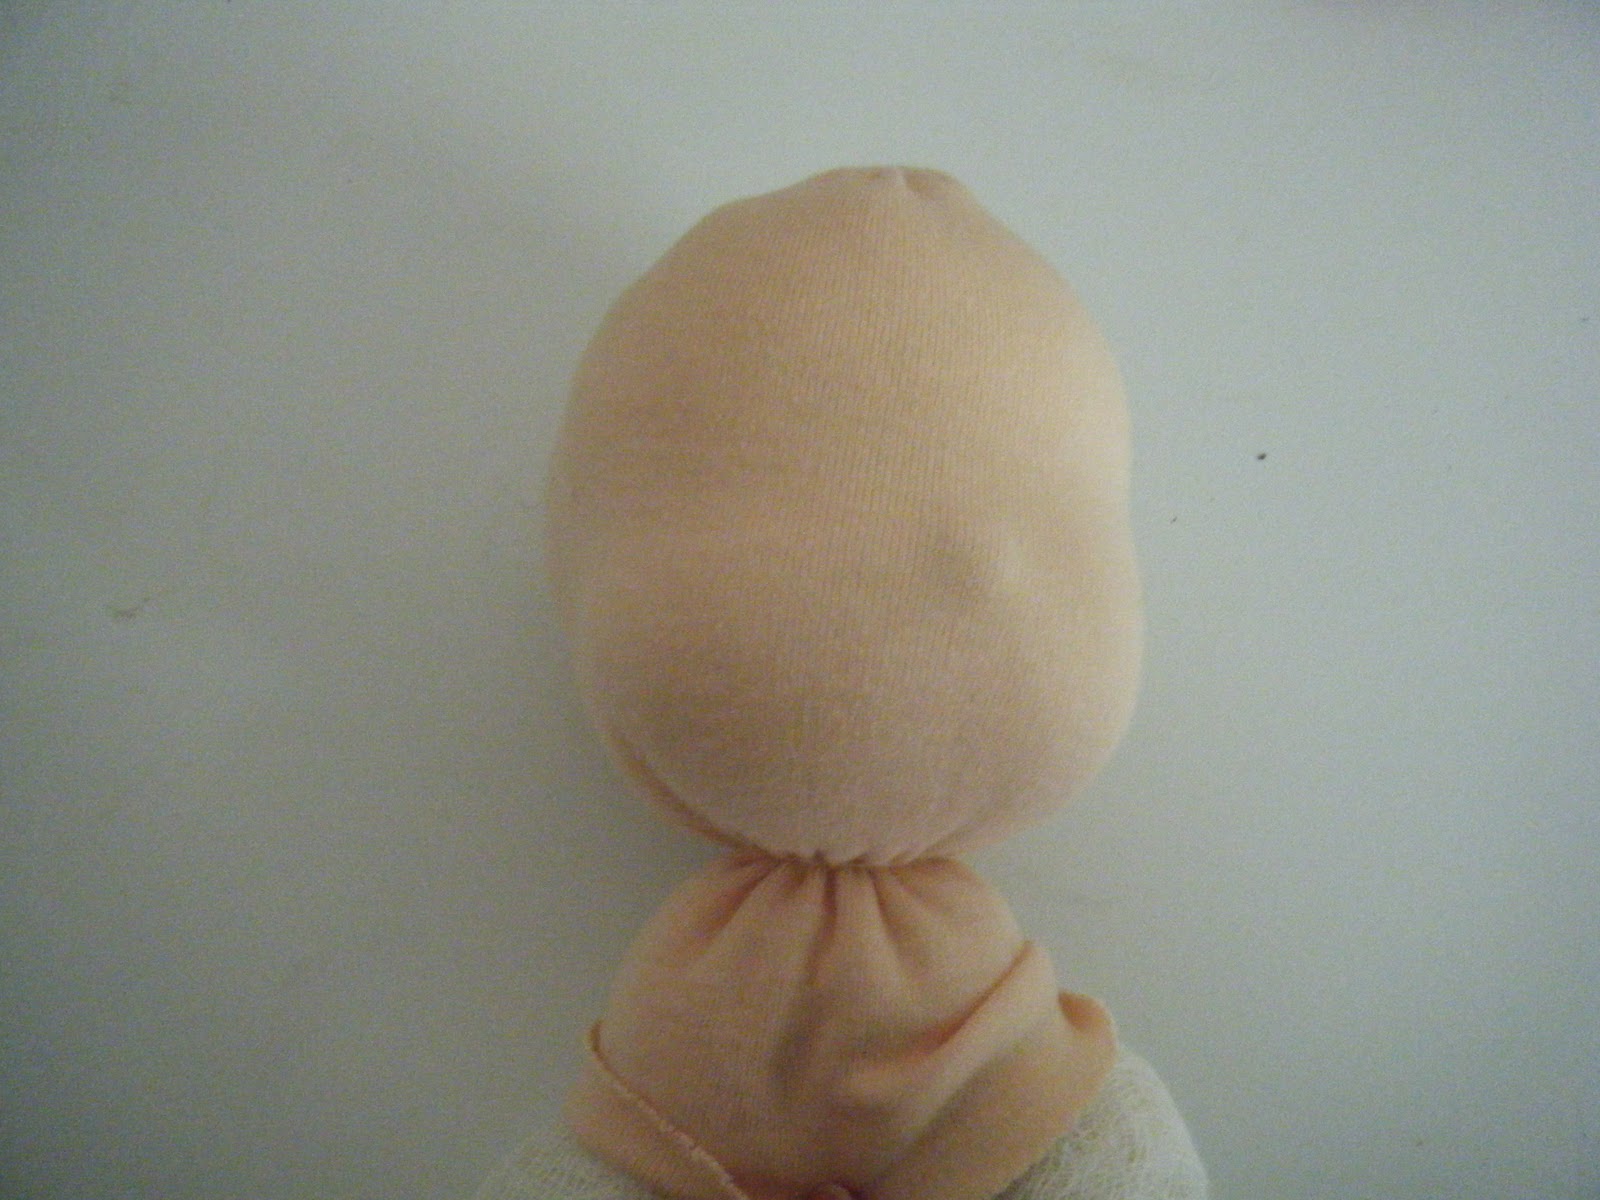
Cut a length of 12″ heavy cotton string and tie tightly around the neck making sure the keep the dolls face and cheeks free from wrinkles by pushing the big wrinkles to the back of the neck.
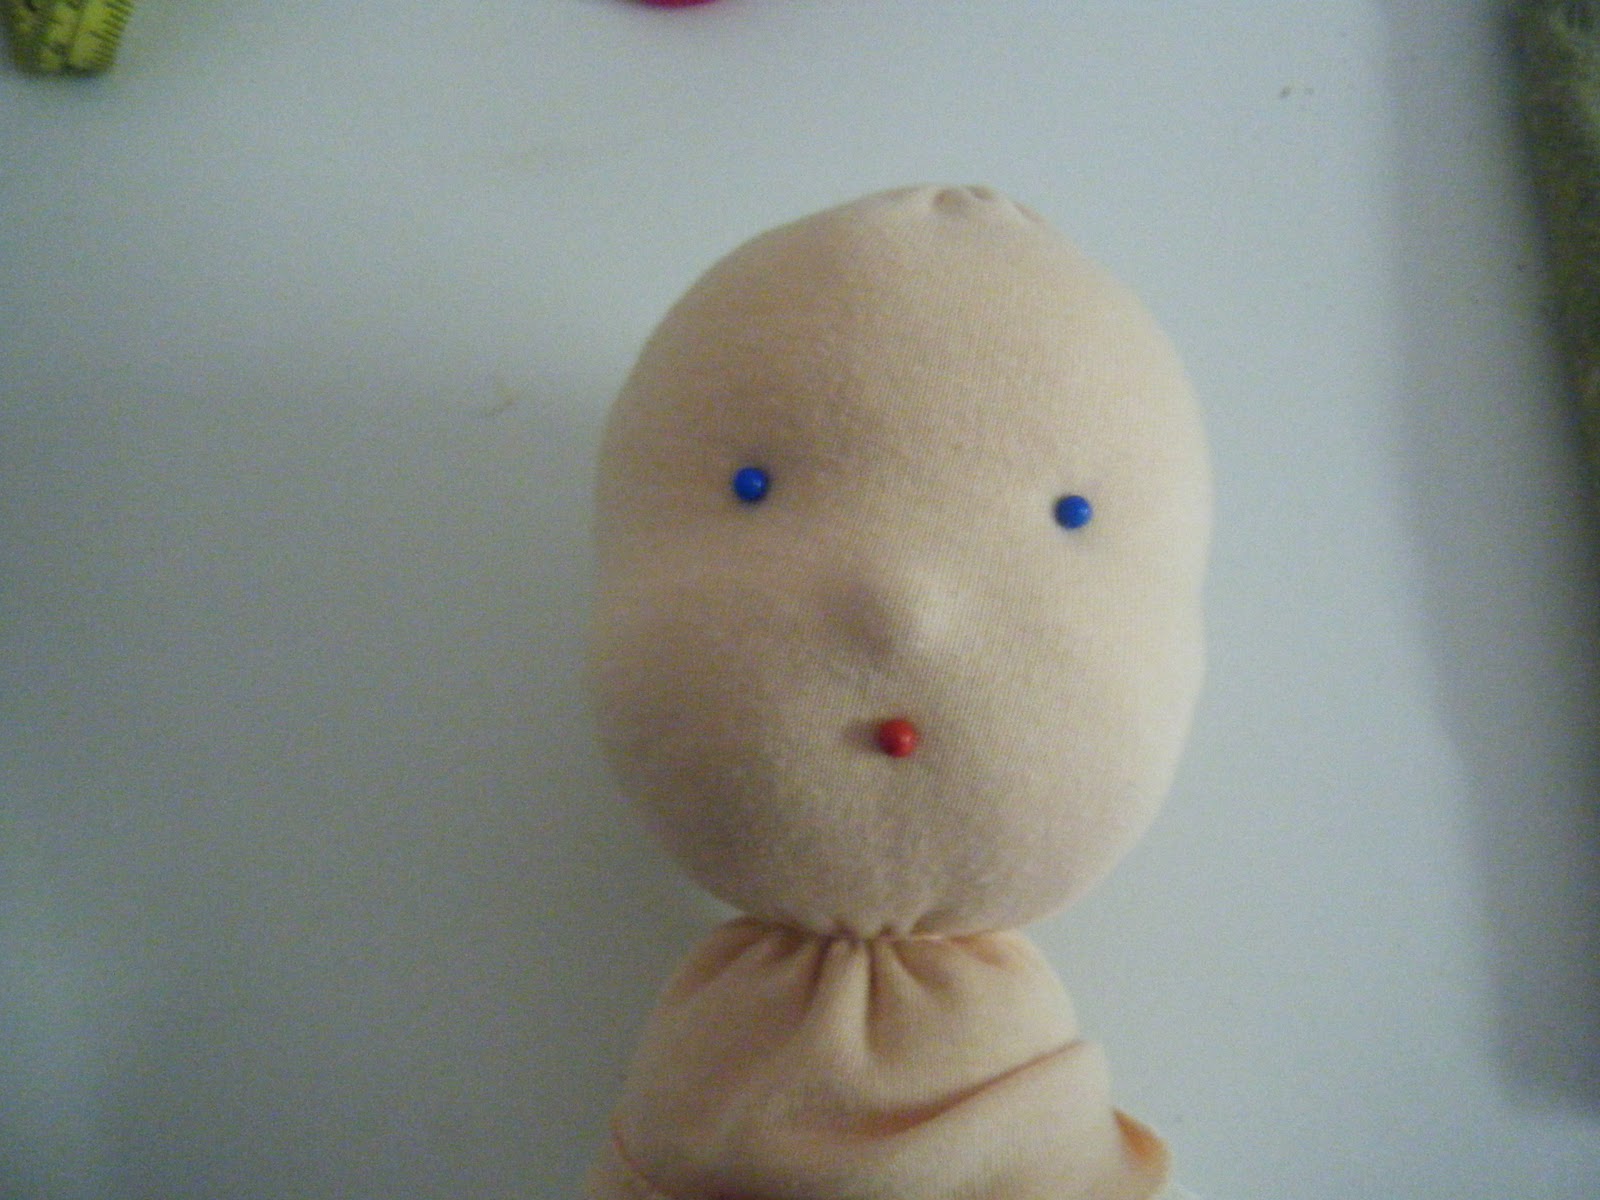
Now we will get the eyes and lips done. Before you embroider them on, take 3 pins, place two where the you want your eyes and the other where the mouth will go. The eyes should go on the eyeline and the lips under the nose if you made one.
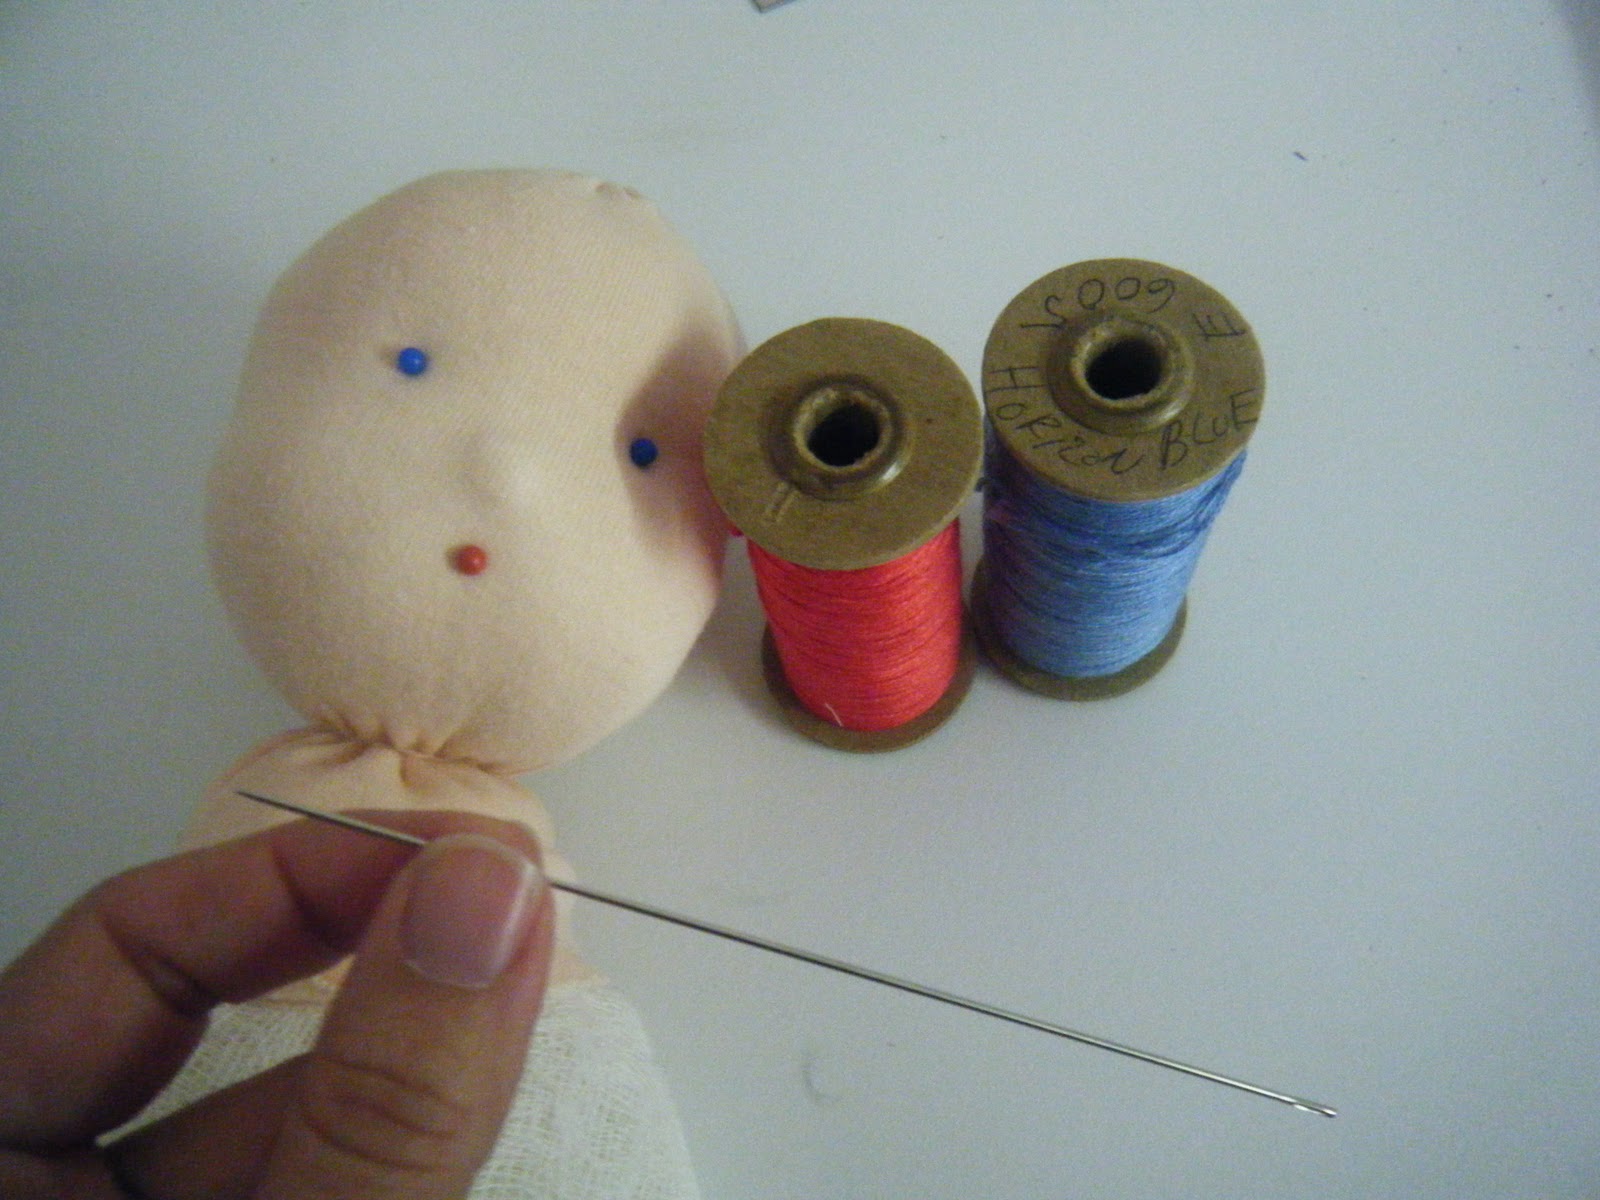
To embroider the eyes you will need the doll makers needle which I mentioned at the beginning. Notice it is really long, this will help make your stitch from the back of the head where they will be covered by the hair.
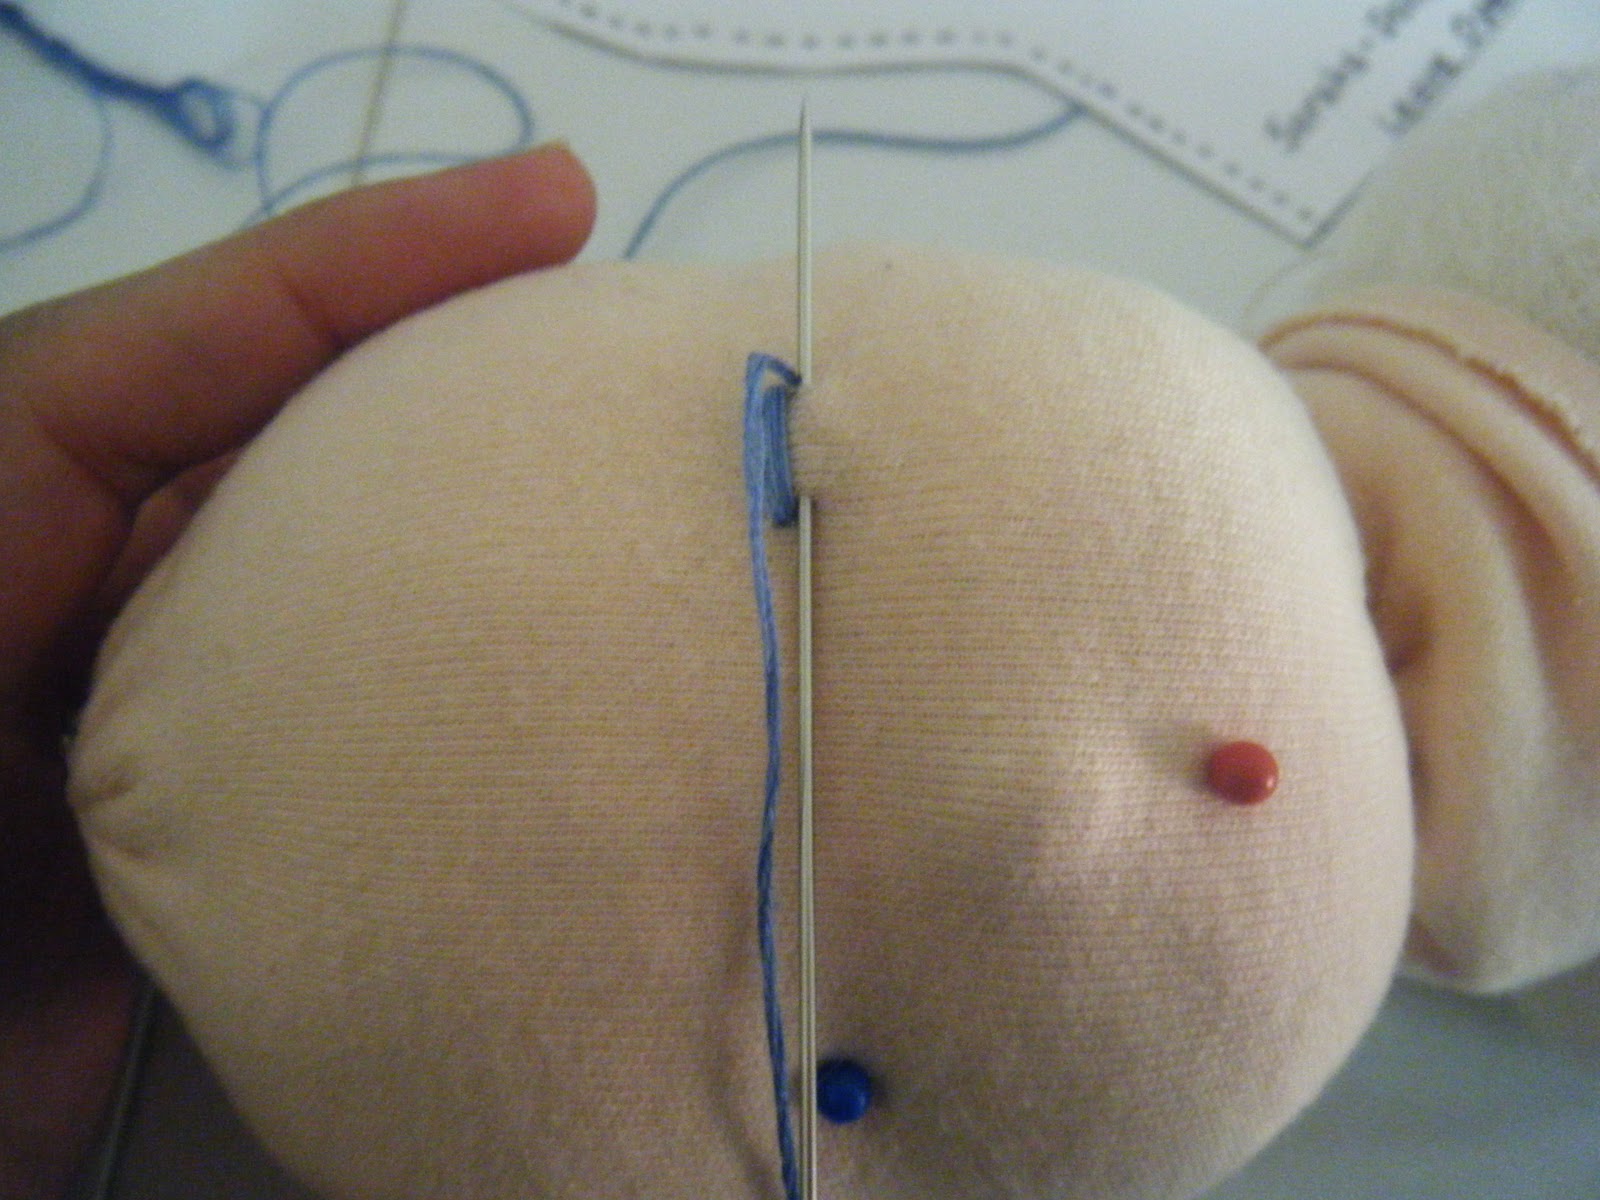
Cut a 24″ length of eye color embroidery thread. Divide the embroidery thread into 3 strands (if you look at it really good you will see it is made of 6 strands of thread. Insert your thread through the back of the head to get it started leaving a tail of thread hanging from the back of the head and then just work from one side of the eye to the other as in my picture. When you are done with the eye push your needle back through the back of the head to hide your end and do the next eye the same way. Embroider your eyes on (I can’t help you with directions here, I am a visual sewer but I am sure there are plenty of tutorials on this but I can tell you to not pull your thread or the stitches will sink into the head, just let them kind of float on top of the fabric) and then do the lips. For the lips I used only 2 strands of thread.
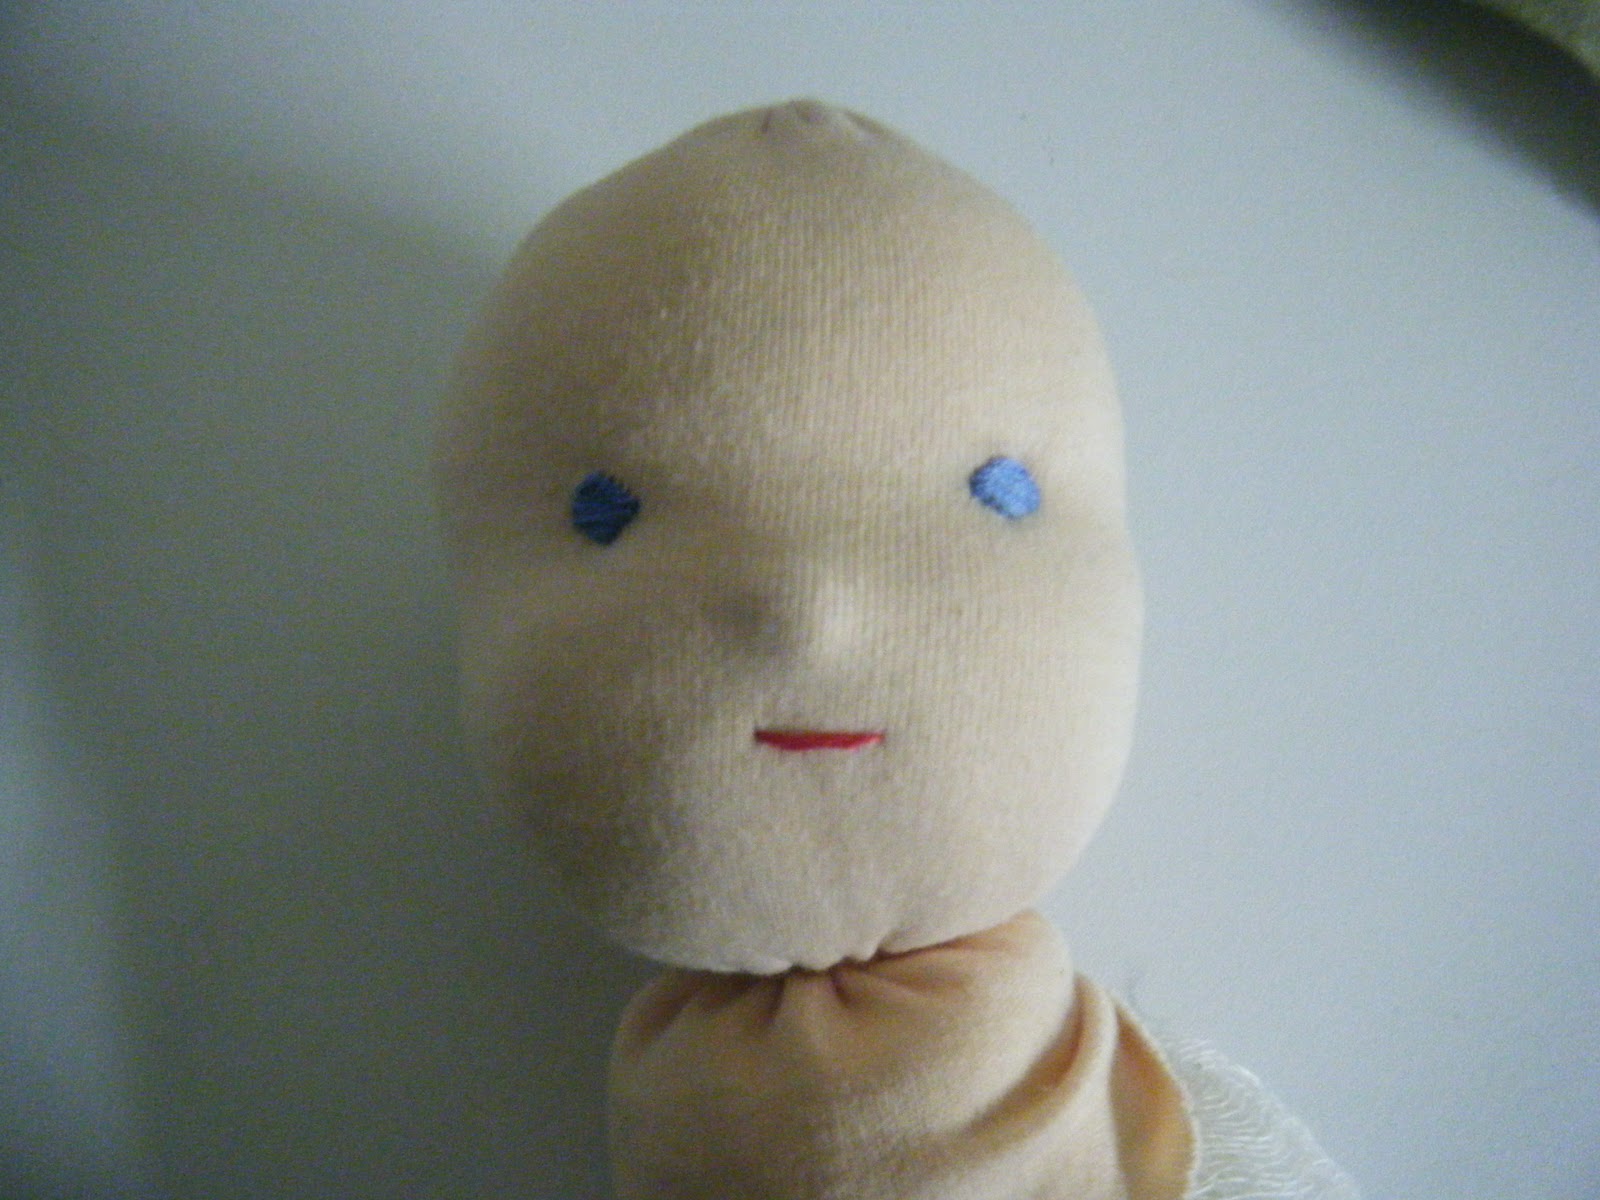
Here is your babys head. Cute huh? You can do it, it sounds like alot of steps but just do them one by one and you will get there.
As for the body pattern, there are so many out there, Sarahs dolls are a very good place to start. I am sure that there are tutorials out there that may produce a free pattern for the body but I am not sure.
See you tomorrow when I will post the finished baby with the birthday girl. Oh and just a note, after finishing this doll I now understand why they sell for about $100 but totally worth it and I want to do it again. These baby dolls are so soothing and wonderful and I am in love.
UPDATE: Since I posted this a year ago I have gotten so many emails about it as well as request to see the finished doll. It was posted just a few days later but hopefully this will make it easier to find. Here is the link to the finished Molly doll (that is what Olivia named her)


Amazing post! Thank you for sharing!!
Thank you. I found what I needed!
Grande Explicação!
Loved the idea! Incredible Blog
Amazing post, very good and kind ideas, I will try to do, I hope it comes out as beautiful as yours
I want to thank you for this tutorial. Well done, good photographs. I too will be making one soon. They are beutiful.
Love your tutorial 🙂 3 yrs ago I saw this and it's what I used to learn to make these dolls. So thank you very much for sharing 🙂
Adri http://sewadorabledolls.blogspot.co.uk/
Great! I have made wladorf dolls before, but now I'm making for my first grandchild. I love your ideas. I'm going to look for my dougther old sweters. Thank you, or like we say in Brazil, obrigada!
Angela, I hope your grandchild loves it!
Thank you for sharing your method…I find it very helpful. Im making my own Waldorf doll following your directions. Bless you!
I love love love your tutorial! The link to the final doll does not take me to a picture 🙁 Question: does the doll have hair, and if so how did you add hair? Also, what kind of material is best for the body and what did you stuff it.with? What size is the body as compared to the 11 inch circumference head? I really want to make my little girl a doll for Christmas, thank you for your help!
I was wondering as I have a few scraps I need to use up, this doll is a great idea. I understand how to make the head~! but if you could please tell us ( I may not have read it all carefully) but what and how did you stuff the body of this wonderful doll. I would like the body to have a bit of weight in it. cheers jewels from Australia.
" Just make a ball or wool yarn until it reaches 11 inches diameter" : What shown in the picture is fortunately not a diameter but a circumference or the dolls head would be bigger than any uman one…
Of course delete my post after correction.
Thanks so much for posting this tutorial. I have been planning to make one for my wee girl who turns two in a few weeks, and was wondering if I could pull it off in that time. I have only two kids, so reading that you homeschool a whole tribe of them, and managed to make it in a day, certainly put it into perspective! I hadn't seen this method for making the head before, and was just going to make the head from the book 'kinder dolls', but just before starting I thought I'd do a quick Internet search on the topic, and found your blog. I must say the head has a good weight to it, very realistic, it feels great with the body I made. My daughter came out this morning and I showed her, her dollies head for the first time, holding it unstitched above the body, and she was so delighted, she took it in her arms and gave it a kiss, so precious, and so rewarding for all the work put in. Thanks again. Blessings to you and your family. Rachel in Australia x
Thank you for this tutorial it was amazingly helpful and the pictures were great
Hi Kimberly, Thank you so much! I'm so glad they were helpful to you 🙂
Thanks for your amazing pictures!! I am going to attempt one for my daughters birthday in June. I was wondering which Sarah's Doll pattern you used? I want to make sure to purchase the right one and your link isn't working anymore. Thanks!
Oh dear Erica, I don't remember since it has been about 10 years since I first bought the patterns but I am sure it is the baby one. I don't know why but Radiance Baby comes to mind?? That may not even exist but it was not one of the older looking dolls.
Thanks so much! It is very generous of you to share your beautiful creations with us. A friend asked me to make a doll for her grand baby and this is the perfect one.
oh you are so welcome Martha!! Send me a pic, I would love to see what you make.
I'm a newbie. What type of hooked shaped needle is that you are using for head? Sorry if you said I am just blind trying to find it.
Dallas, It is a doll making needle. They come from 3 to 6 inches long. Google Waldorf doll making supplies and you will most probably find one but Joanns I believe sells them too 🙂
What seems like a million years ago, I had my own catalog and made Waldorf dolls and other toys. Sewing yours brings back such memories And is absolutely beautiful! I can hardly believe it was your first! Additionally your directions are clear and well written. I'm sure your baby girl loves her friend and will have many years of play with her!
God bless!
Thank you Jo! She still plays with her everyday but it is soon time for a good cleaning
Thanks for writing this with all the pics! I'm currently making one now…had to make another head…mine came out beetlejuice sized compared to giant limbs! One not related question please…how is it that so many bloggers etc have their own awesome header? Do you do it yourself or outsource to do it? I've blogged ages ago, its very rusty lol, but for the life of me can't figure out how everyone seems to do it! Any tips pretty please? Ps. Love your blog name. I'm "almost/kind of" crunchy lol. Some things are crunchy, others cos I'm lazy. I look forward to reading more of your lovely blog. I've been planning on a new website to replace my old blog but have been stalling for waay too long, I really appreciate being inspired by sites such as yours.
I can't really answer that question because my daughter created my header. I am an egghead when it comes to computer stuff!! : )
Great tutorial. It helped me to make my first doll. I posted a link to you http://www.ayoungwifestale.com/2013/01/waldorf-do…
Do you have any pictures of he final product?
Mrs Bierschenk, here ya go! http://crunchycatholicmomma.blogspot.com/2011/01/…
Thank you! Pinned, and hopefully I'll get one made soon! LOVE the way yours turned out!
What a beautiful doll! Is it okay if I pin this tutorial on pinterest?
Of course MaryAnne! Thank you
Omygosh that is so brilliant as well as frugal or thrifty which makes it even more awesome. You have so inspired me!
I am bookmarking this…I don't know if I am brave enough to try
This is amazing! I definitely want to try this. You make it look a lot less intimidating than other tutorials I have seen. Thanks!
BRILLIANT!!!!!!!! Than k you so much for the inspiration. I had bought a doll making book but when I saw all th wool I would have to use I shied away as wool is like gold,but I LOVE the idea of using a ball of yarn…..WOW! I will be making a doll now, that is excellent. Thanks alot- you have inspired me again.:-)
Very beautiful. I've made several waldorf dolls, but never with fabric I've died myself! What lovely work!
This is a great tutorial …very clear. I never thought of reusing an old wool sweater for material. Great! This dolly is turning out very sweet. Ijust might have to try my hand at it.
What a great tutorial. YOu are so creative. I never thought of reusing a wool sweater for materials. The tutorial is very clear, I just might try my hand at this!!!