
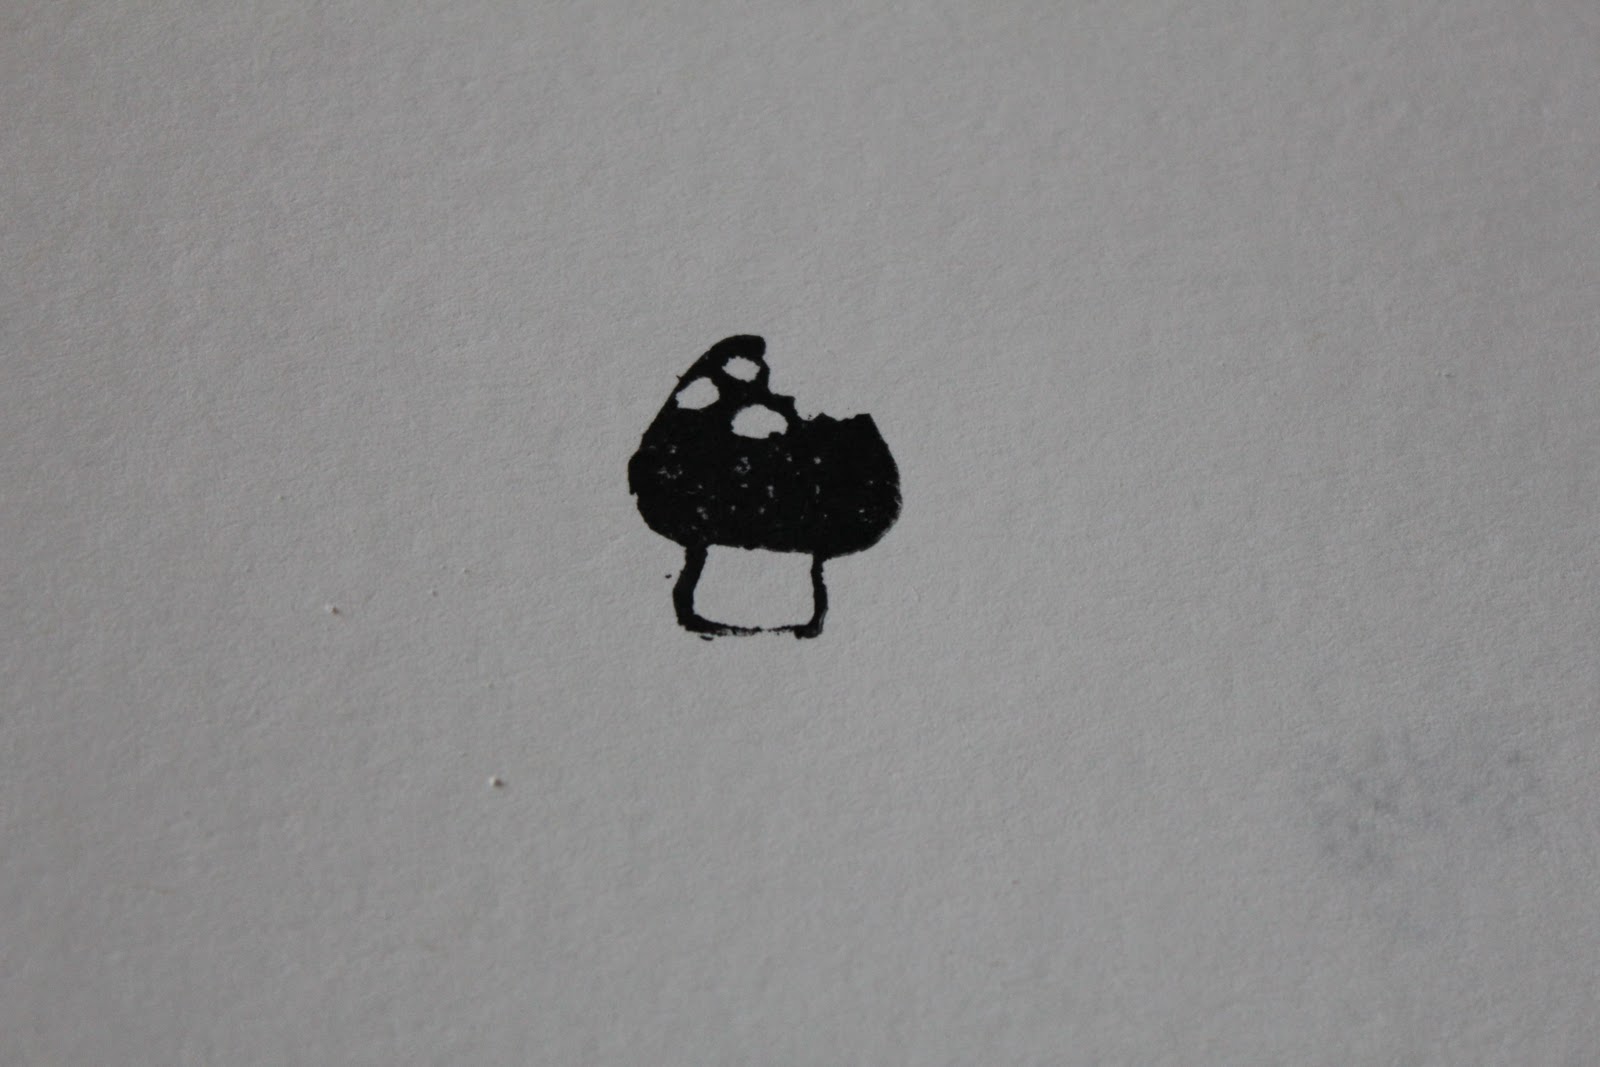
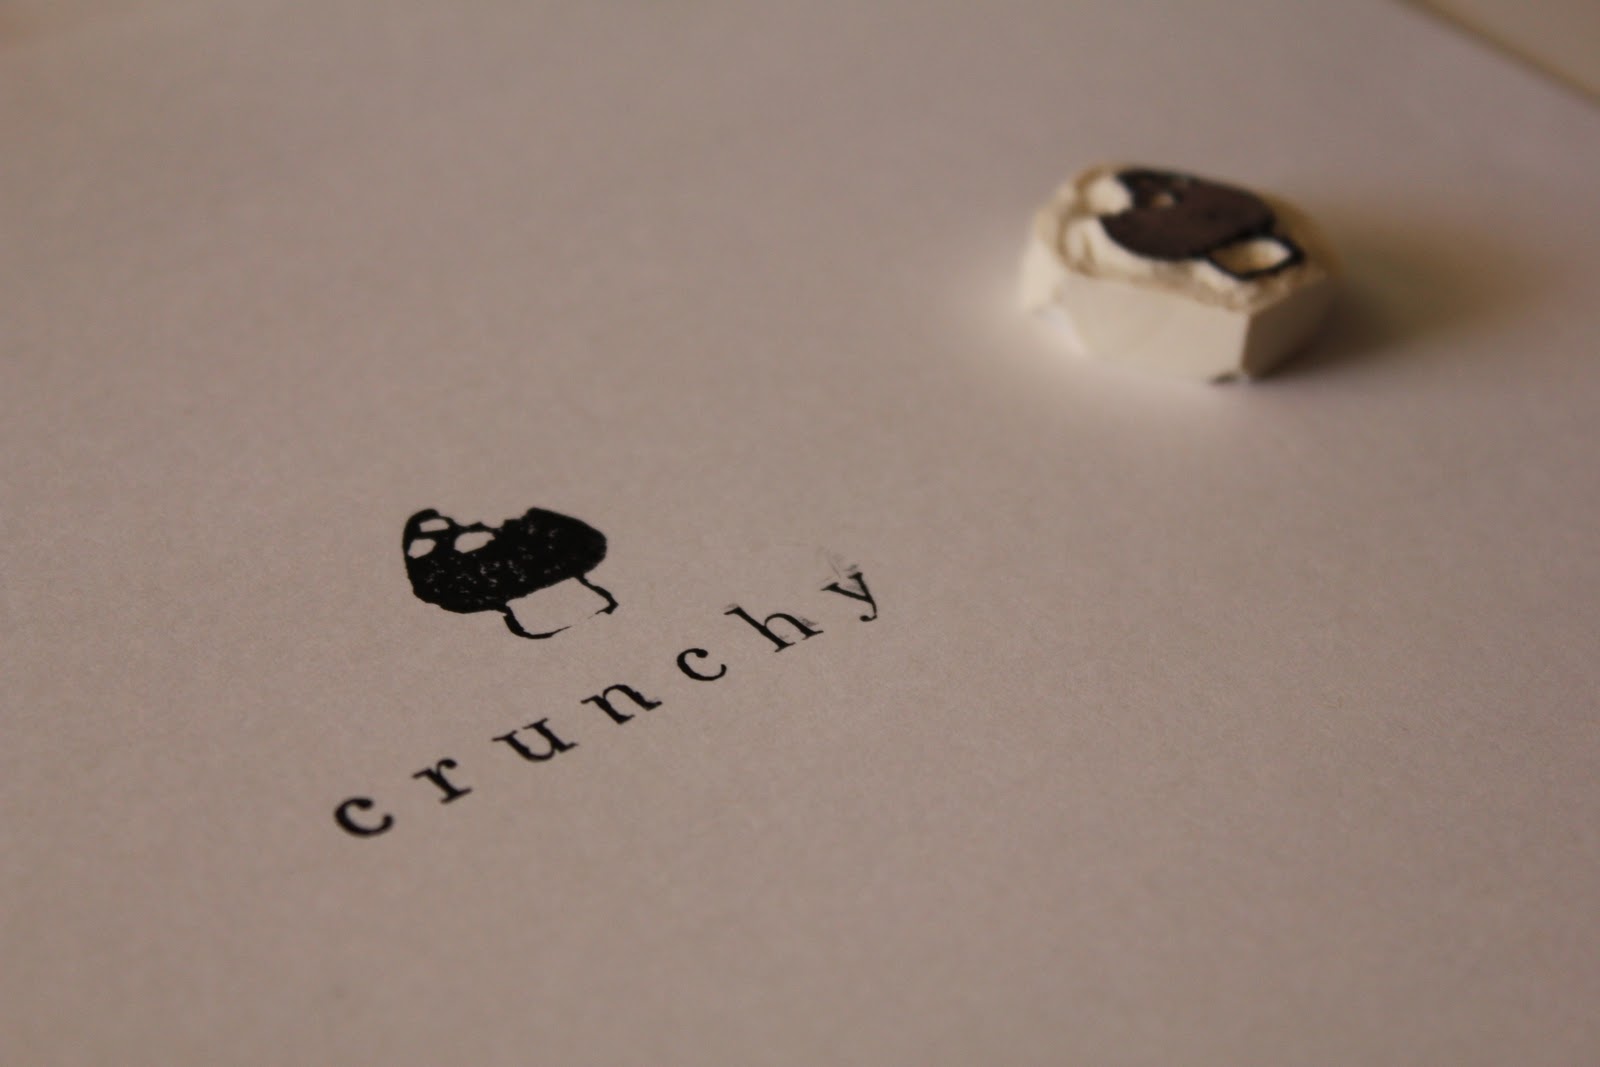
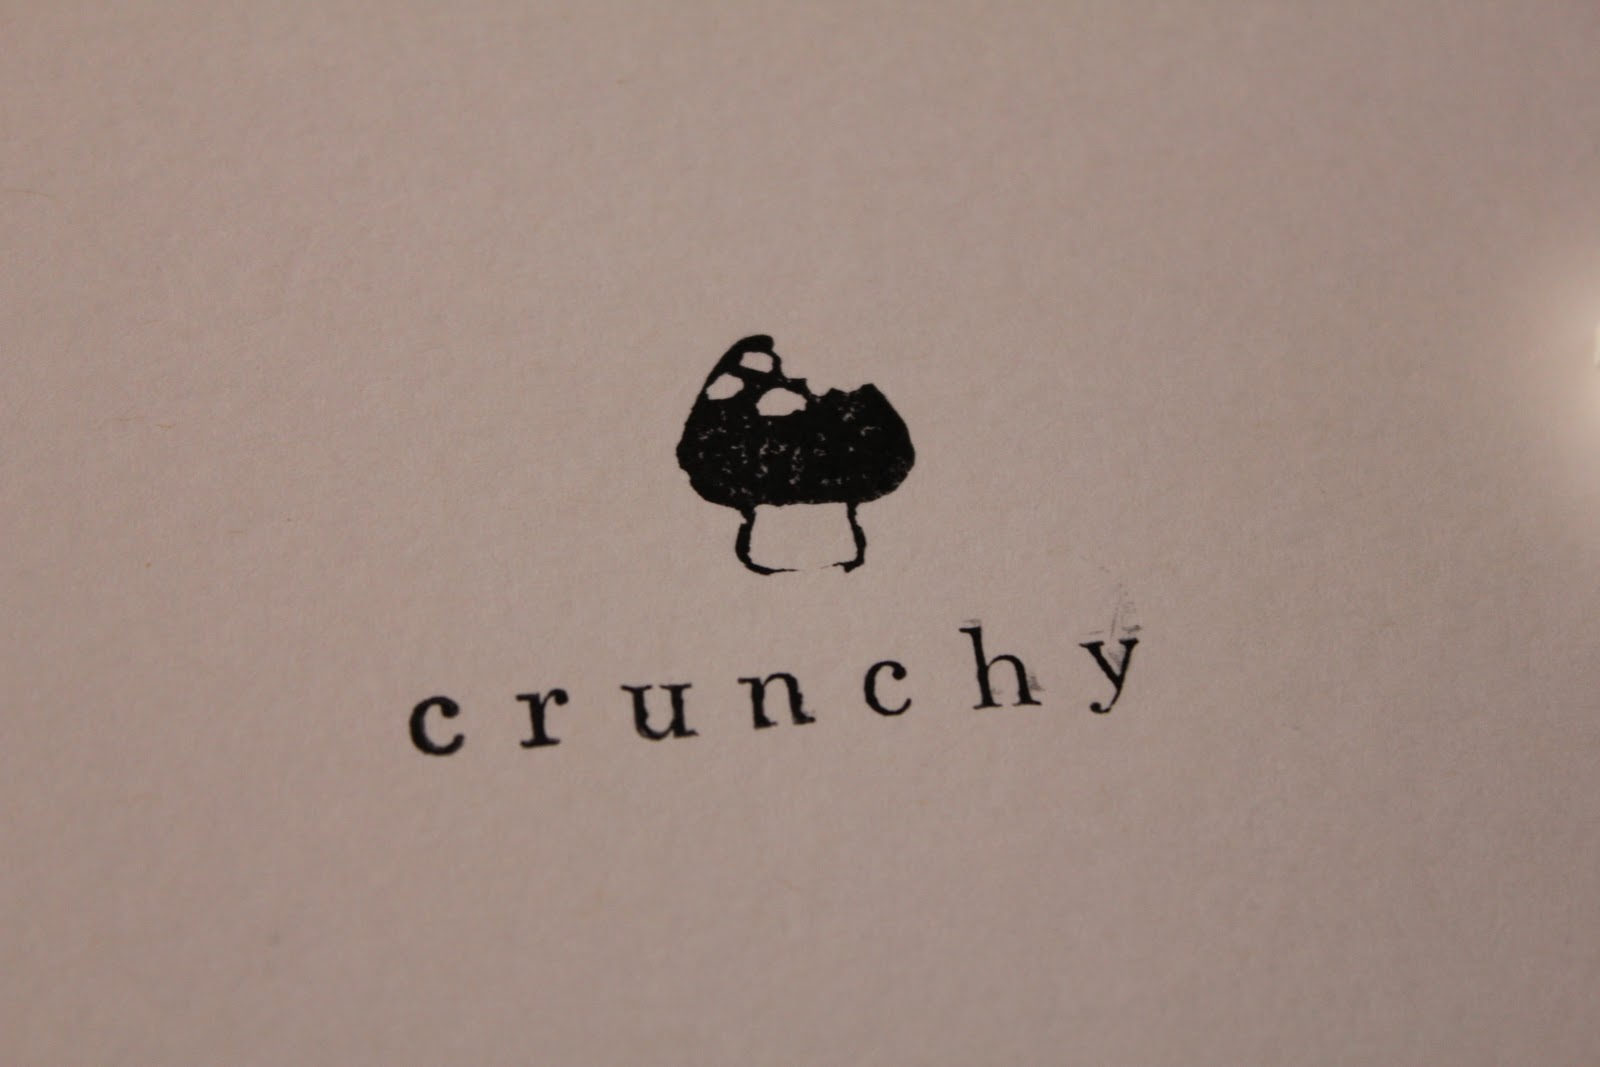
Here is another one of those projects I have been putting off for over two years but today I decided that I need some circle tags to go with my items and I dug out the supplies I have had collecting dust forever. Making your own stamp is super easy once you have the tools. I made my first one in high school in art class (thank you Mr Greene) and loved it. Actually that first project I made was a linoleum carving but it is still done the same way, you draw your design and you cut out whatever you don’t want making a positive or a negative. You wanna try it?
Here we go… You need,
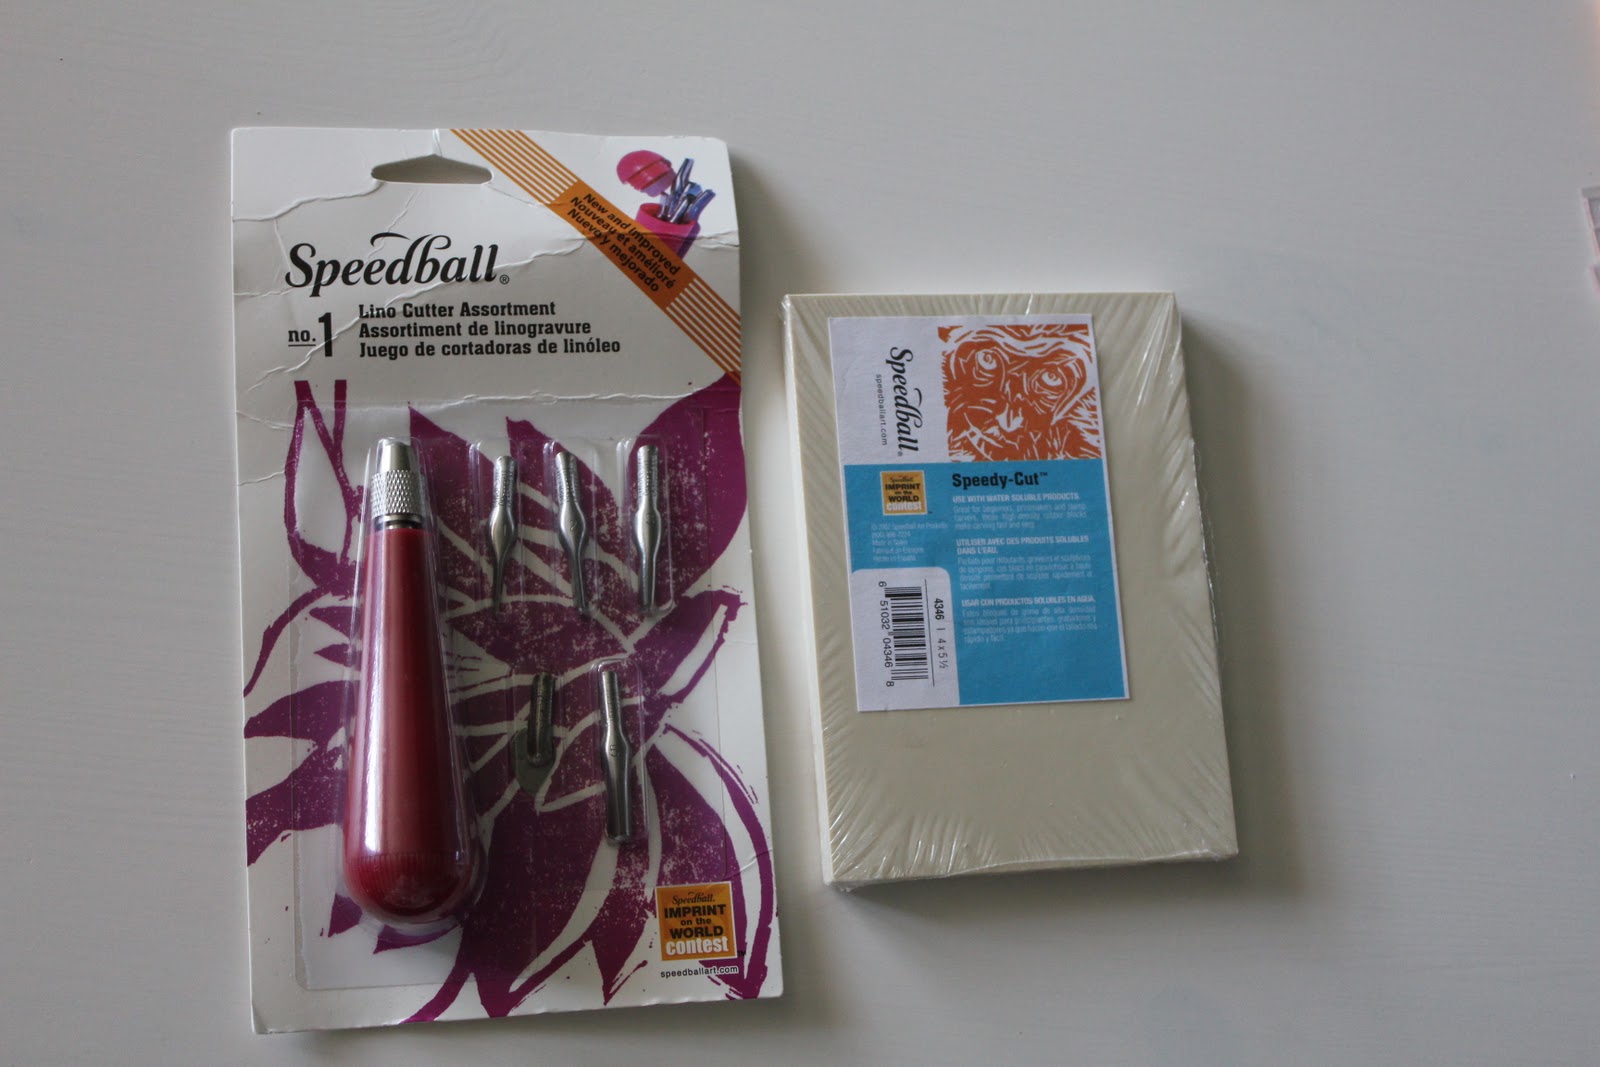
A linoleum cutting set, I have a Speedball (you can find them at Michaels)
Soft cutting block
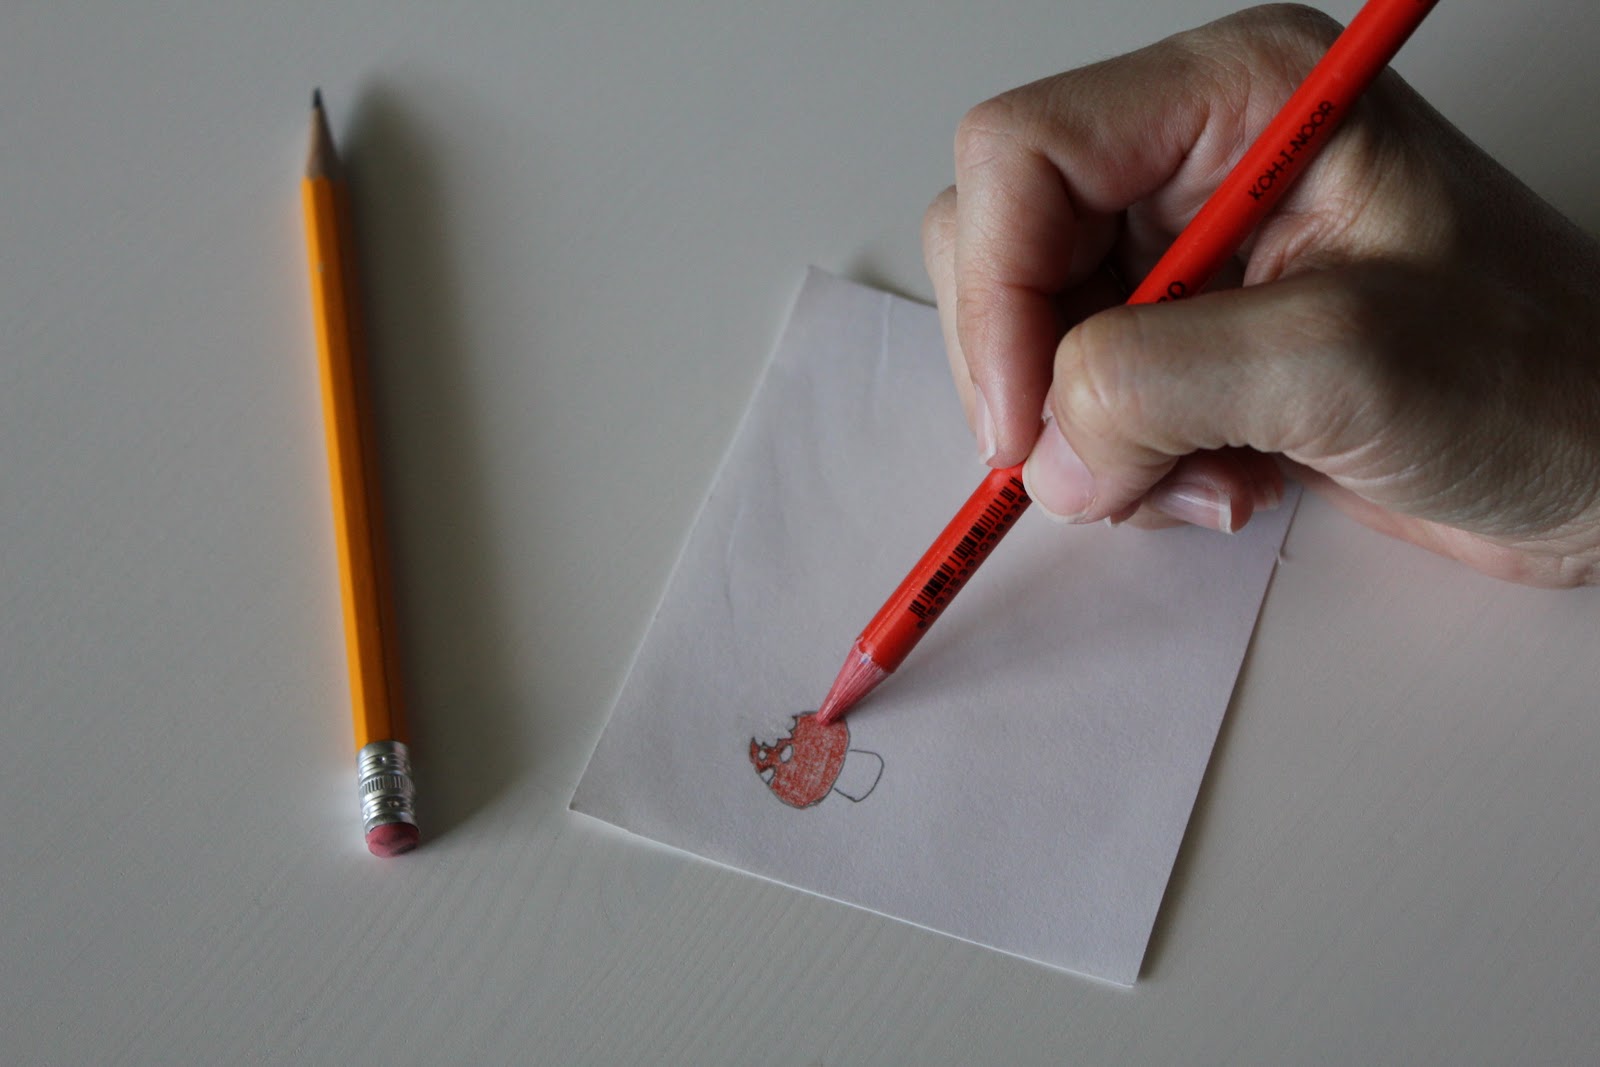
Pencil
Design you want on your stamp either printed from a computer or sketched by you
Sketch your design in pencil, make sure you do the reverse image of what you want to end up with especially if you have letters in your design
turn your design over and put on top of your cutting block.
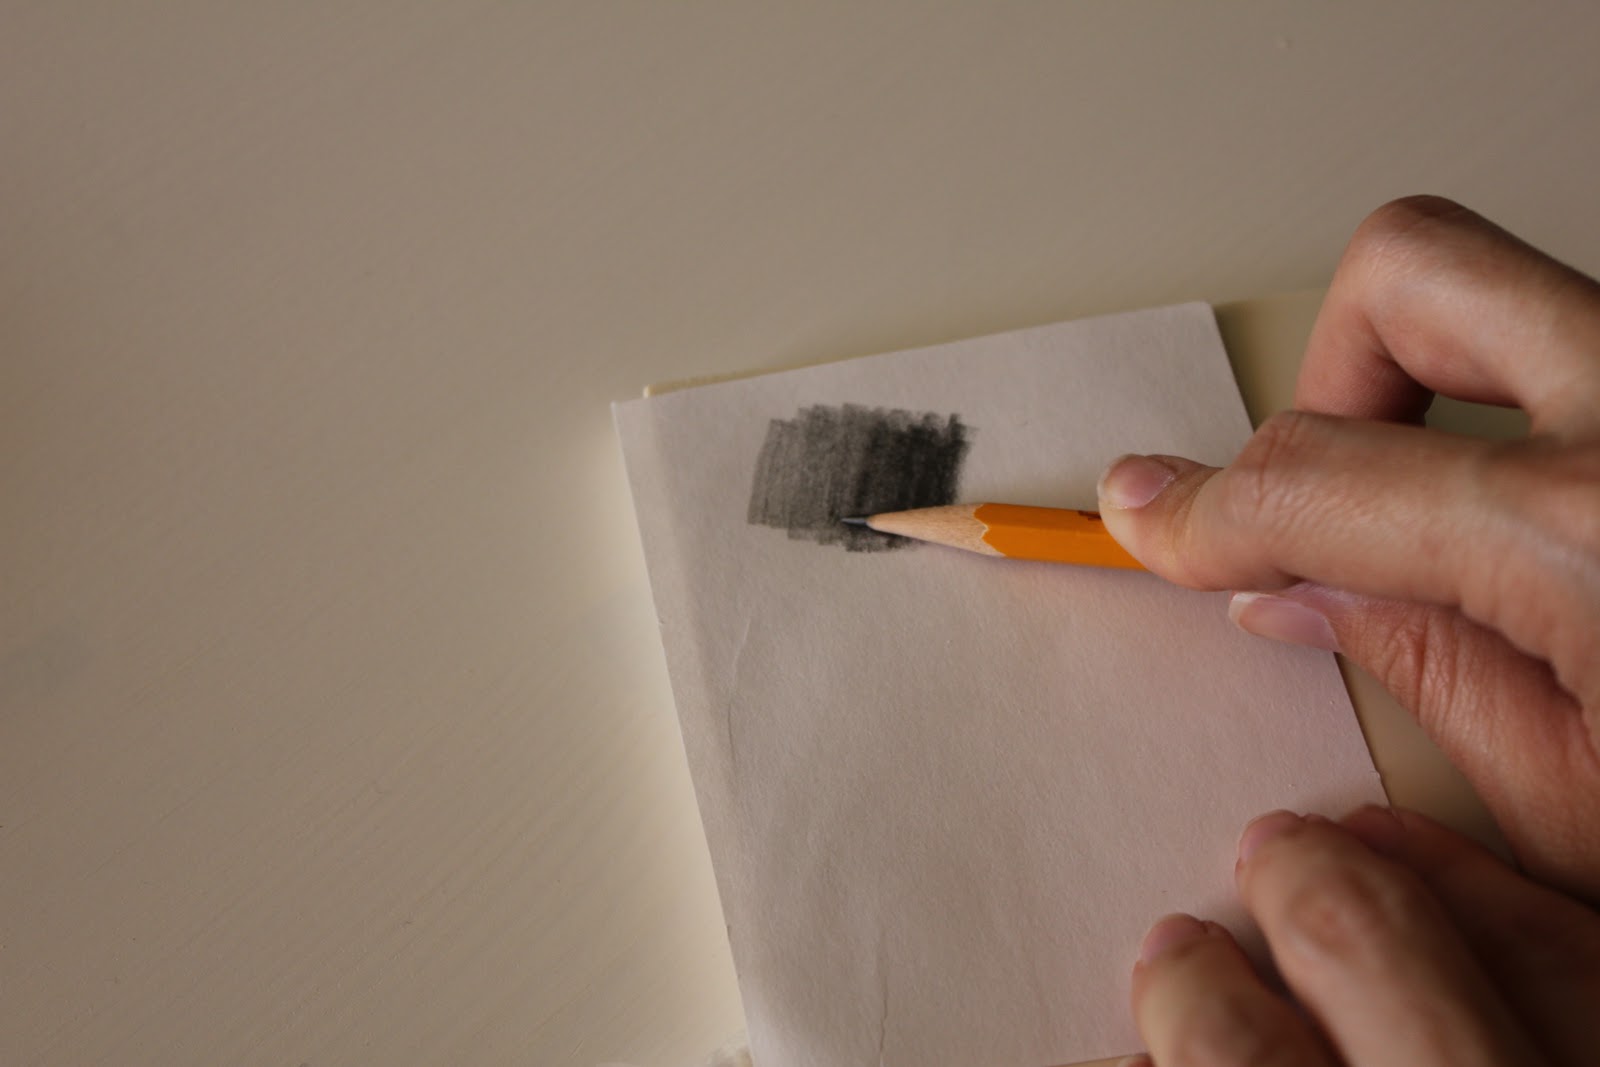
now your design is on the rubber block (cool huh?)
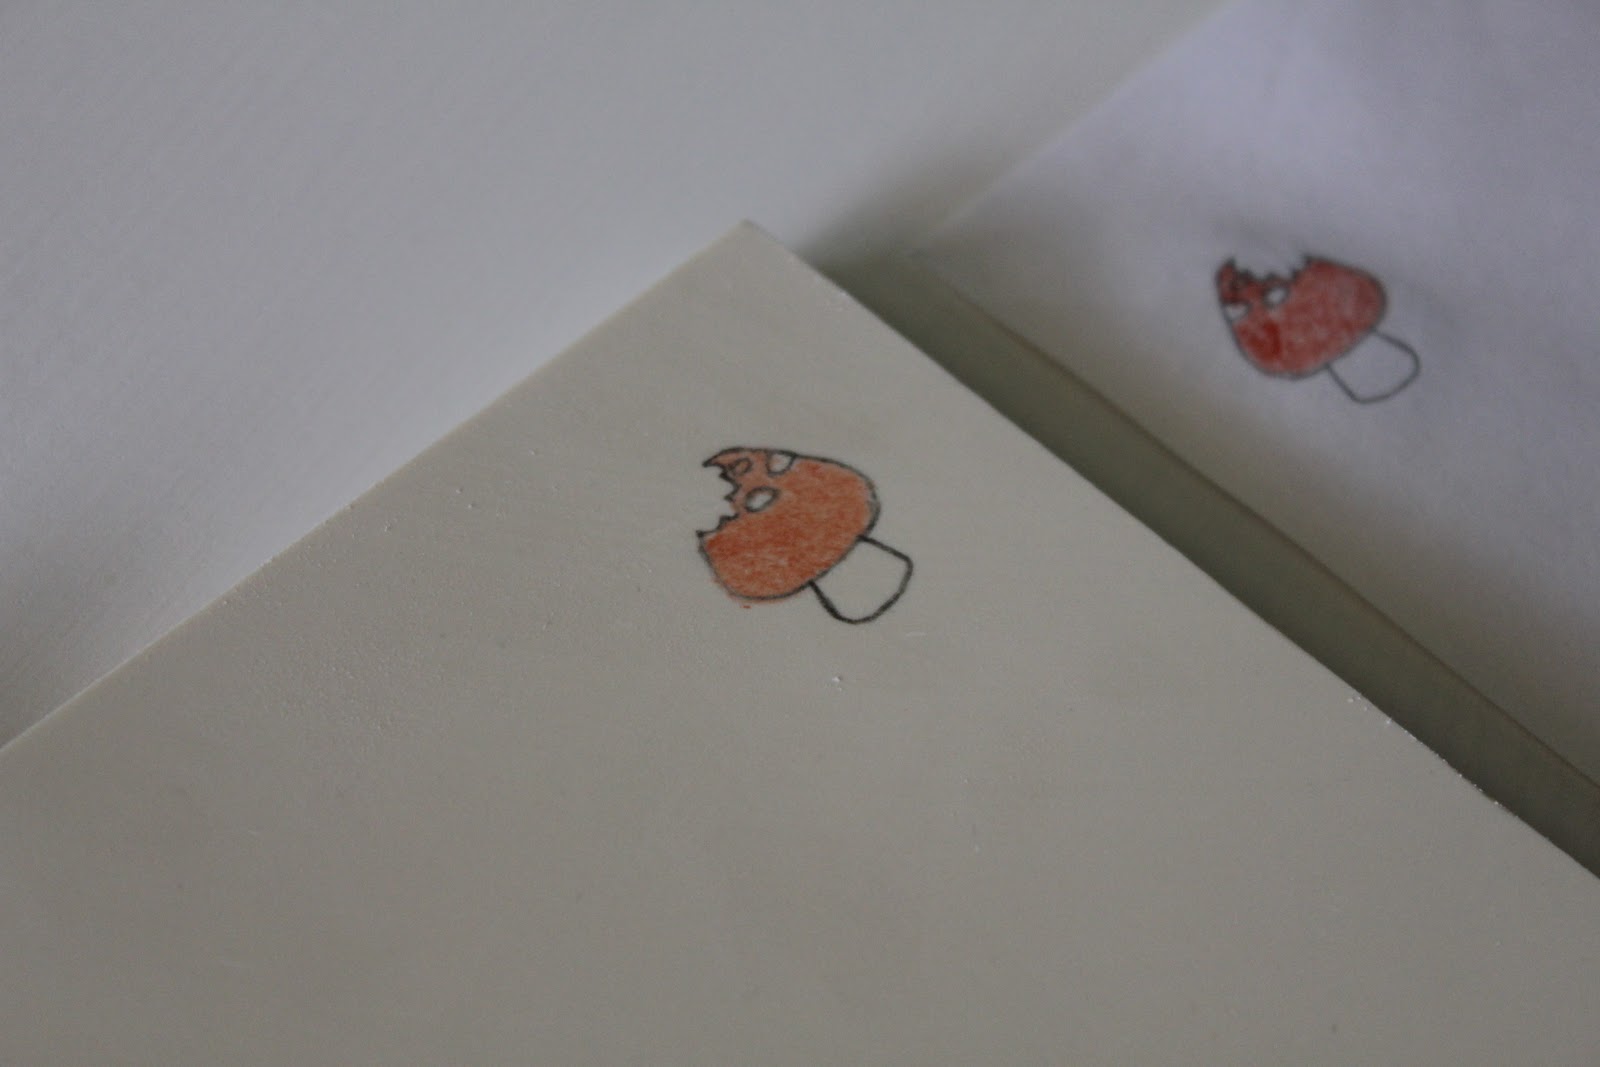
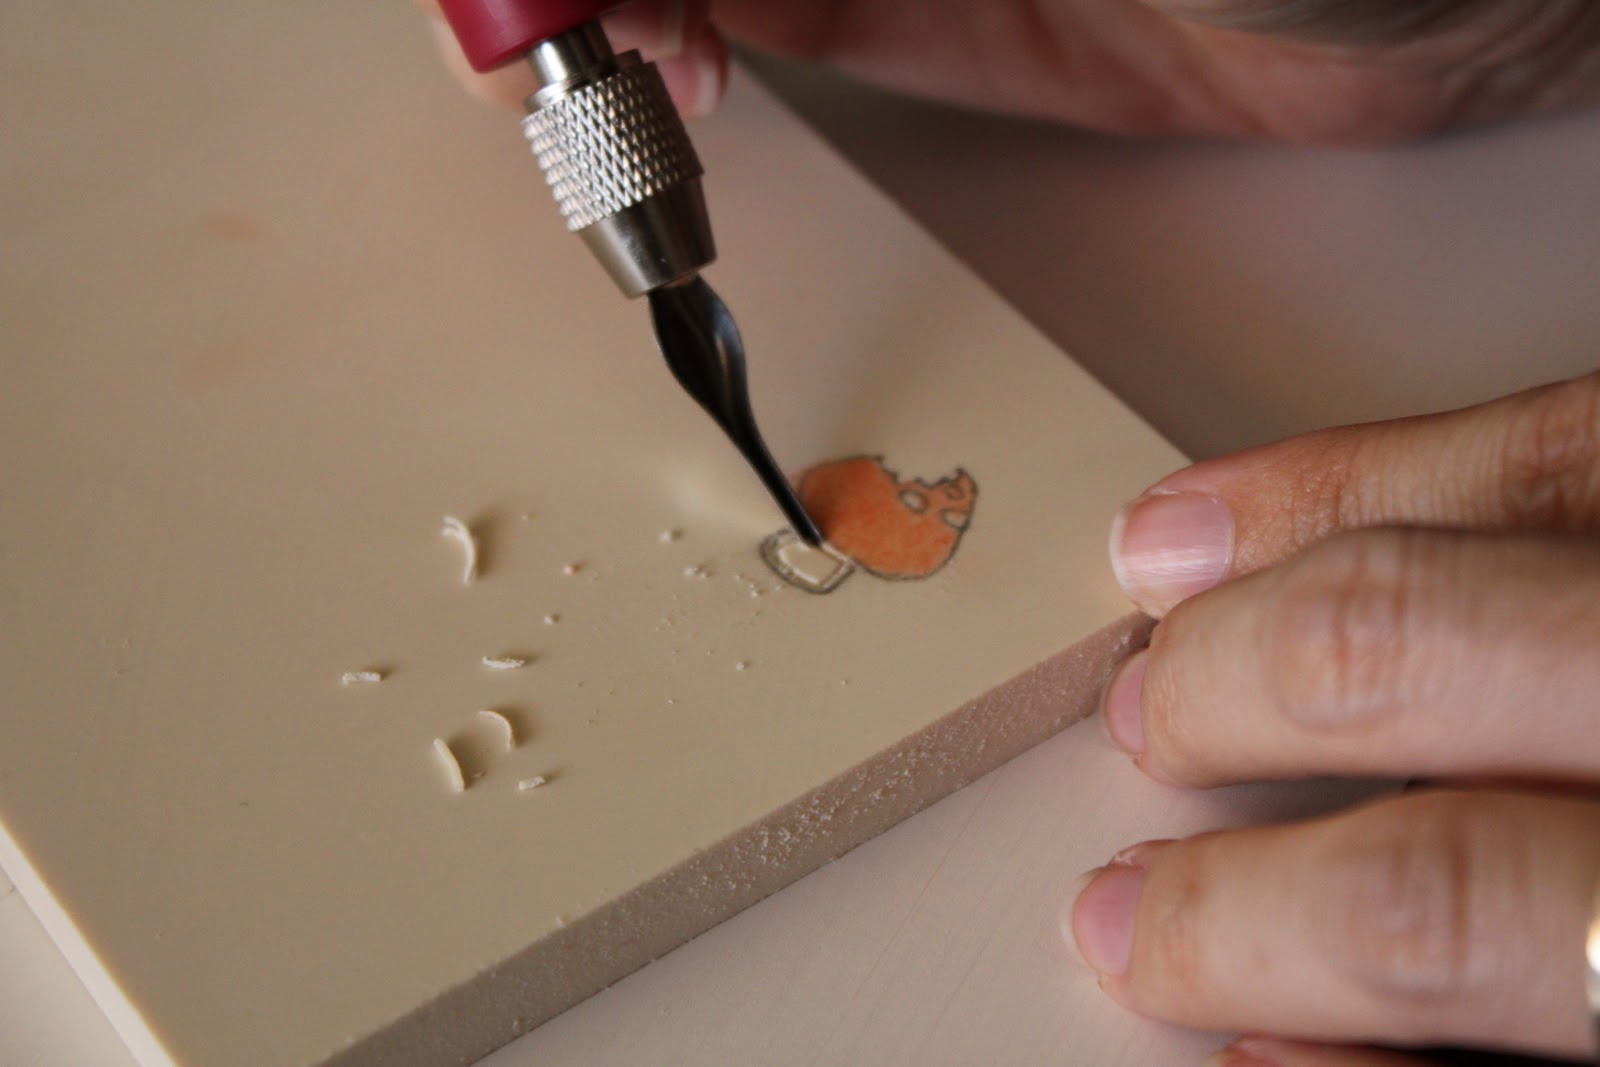
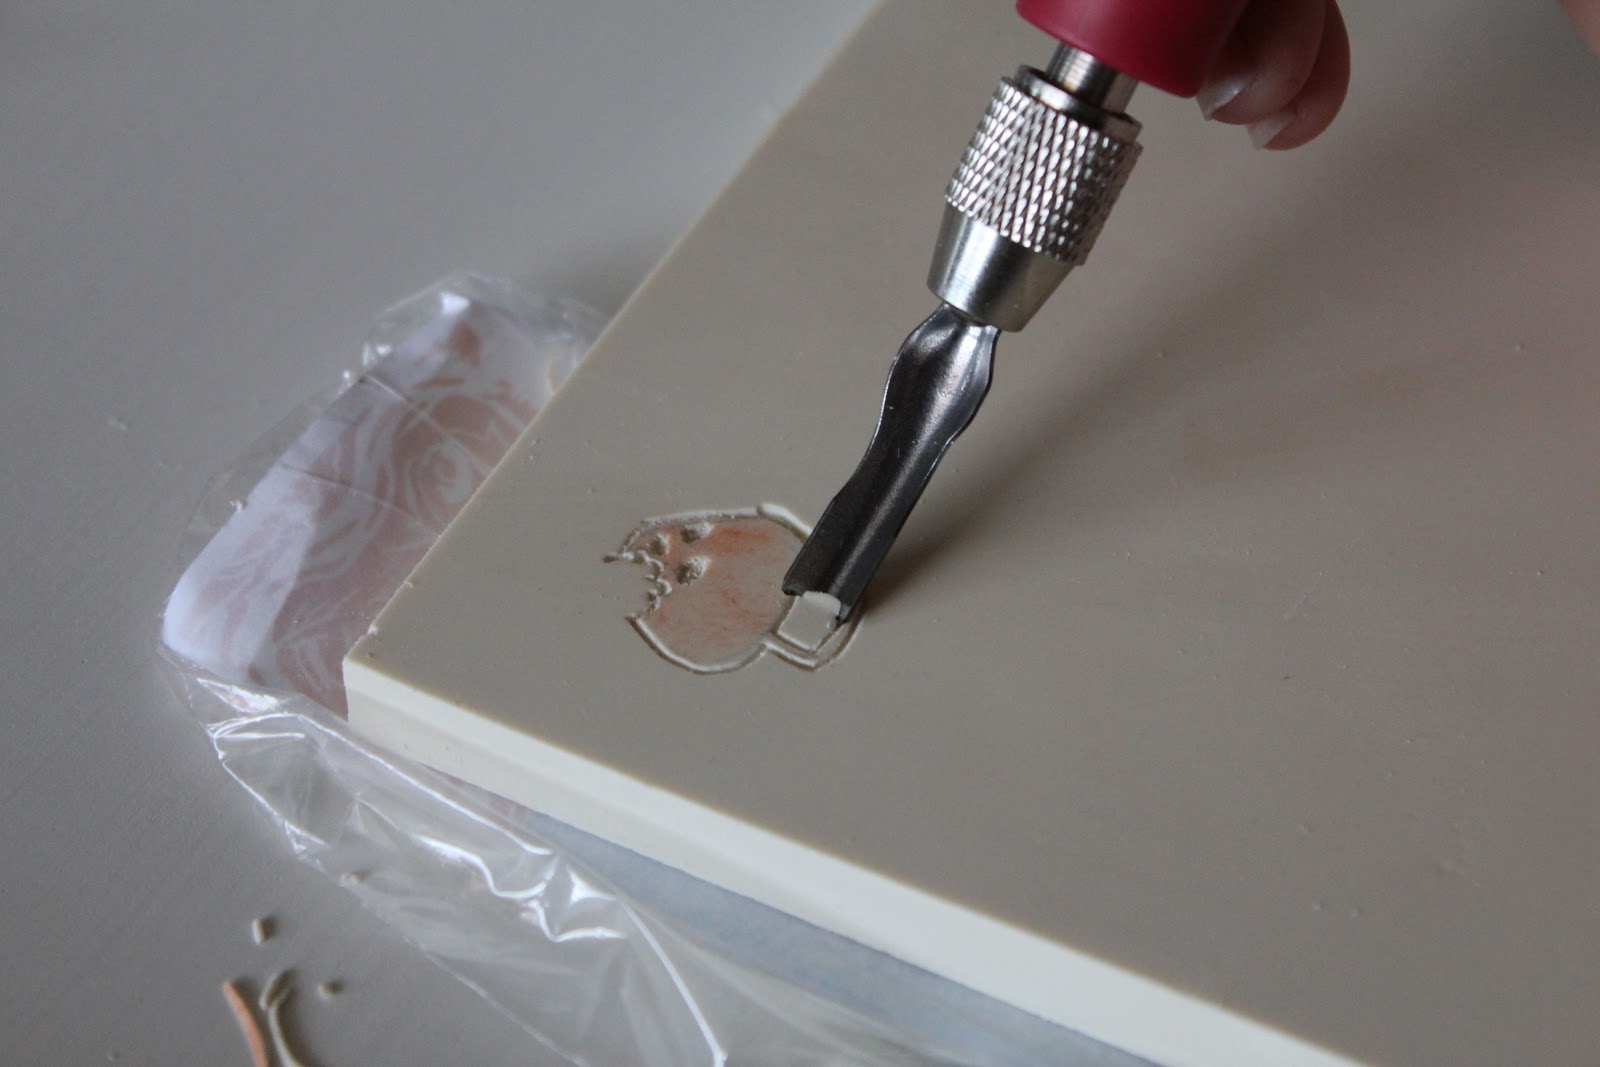
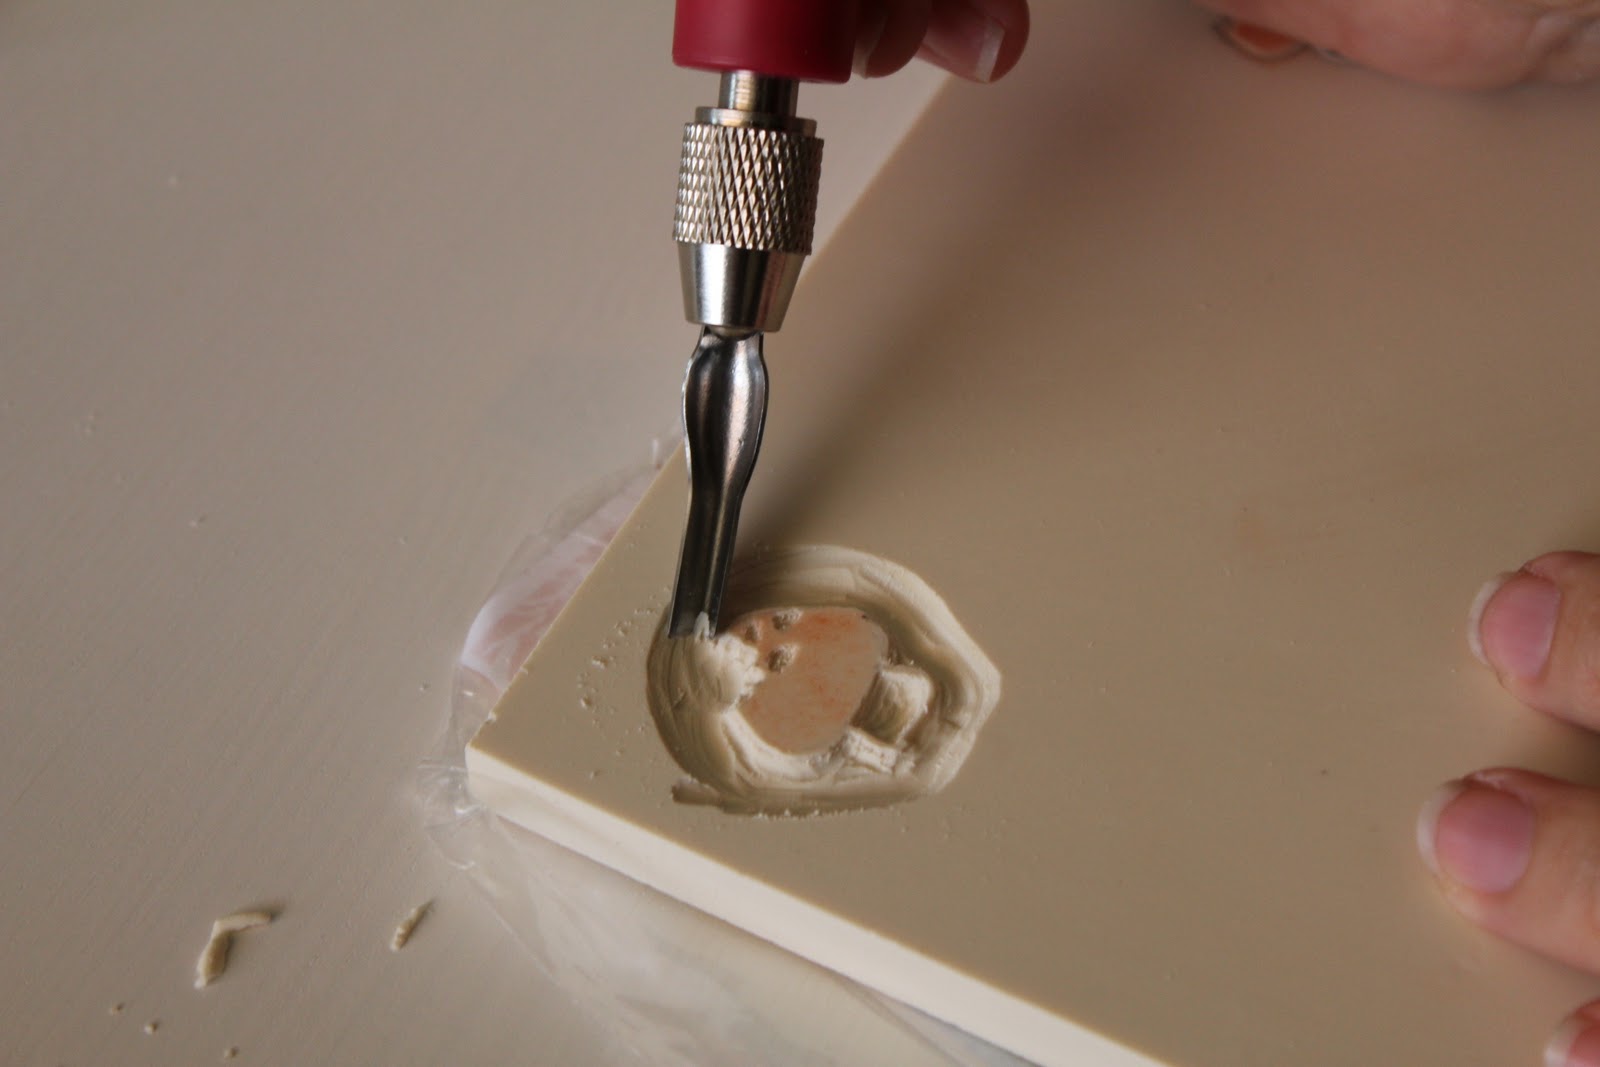
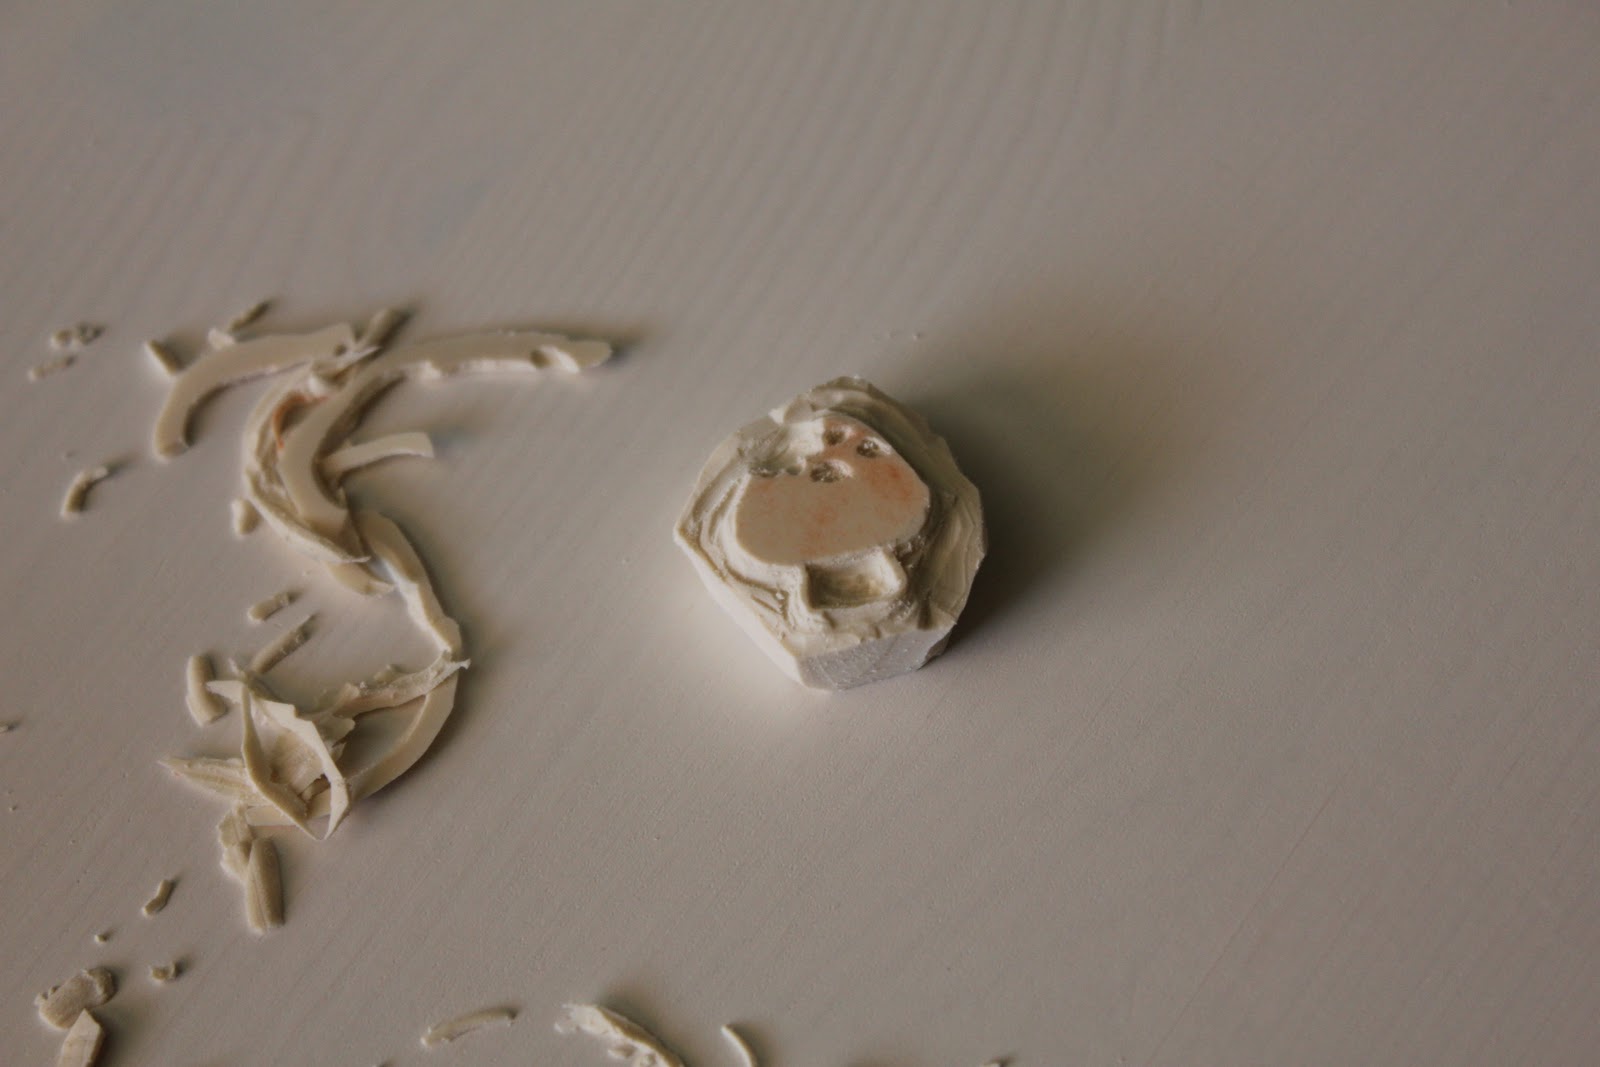
but on the top part I am cutting away only the spots and the whatever is on the outside of the drawing line


When you see it you think that is so simple why didnt I think of it, great tip and thanks for sharing..
You are very welcome!
That is a sweet stamp!
Oh goodness that is adorable!
very cute! I want to try this so bad! Thanks for the tut!