
Yesterday I posted the honey cake recipe which so many of you requested so it’s only fair I guess that I share a quick how to on making your own beeswax birthday candles. You ask for it 🙂
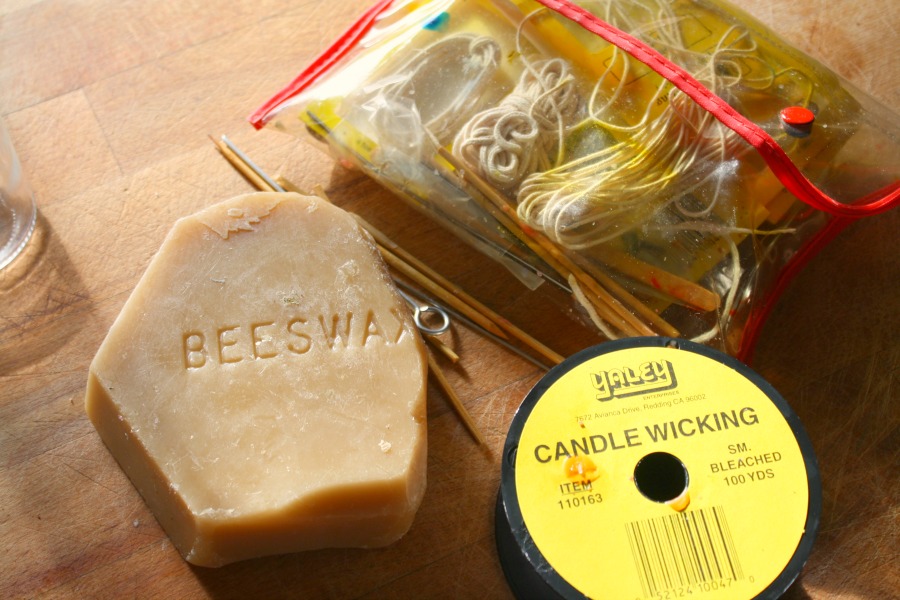
We usually make the birthday candles for the upcoming year on Candlemas though making them on someone’s birthday was definitely fun. We forgot to make one for Matthew last winter. So simple really and even the little ones can join in. You only really need a few things, beeswax, string for the wick, a container to melt the beeswax in and a skewer to help dip the wicks.
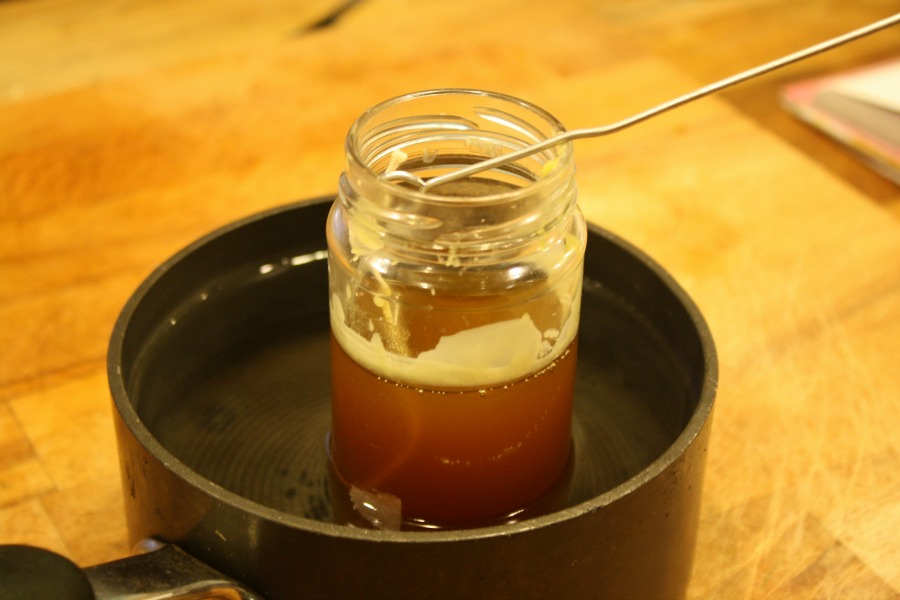
I use an old jam jar. I think it came from some organic strawberry jam purchased at the store, it is tall and skinny so you need less beeswax and when you are done making candles you can just put the lid on the jar and keep the leftover beeswax until the next time you want to make some.
Shall we get started?
First, chop up your beeswax in small pieces, the smaller the faster it will melt. I shave some off my big block of beeswax with a knife. Put the glass jar or can inside a small pot with enough water in it to cover up to the level of the beeswax in the jar. Heat it slowly until the beeswax is all melted.
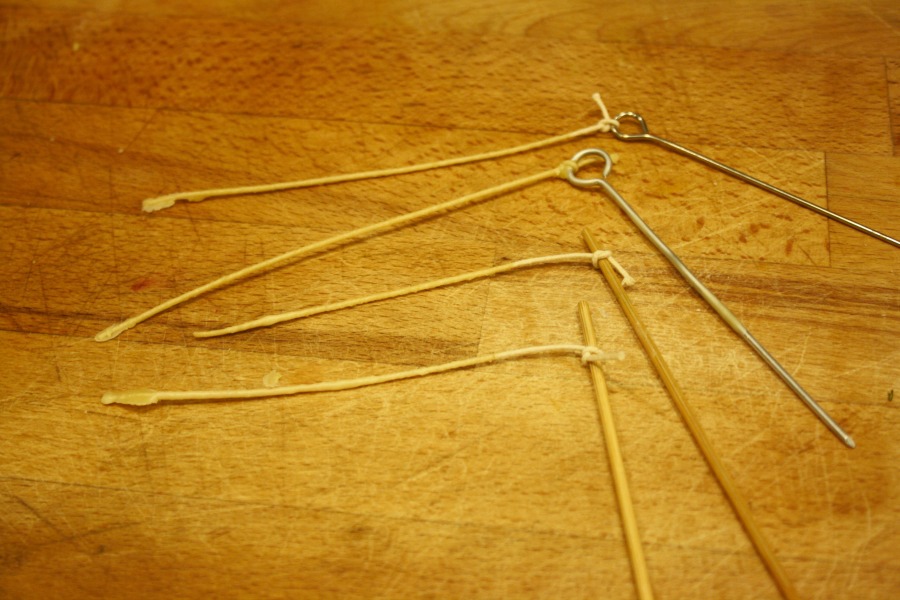
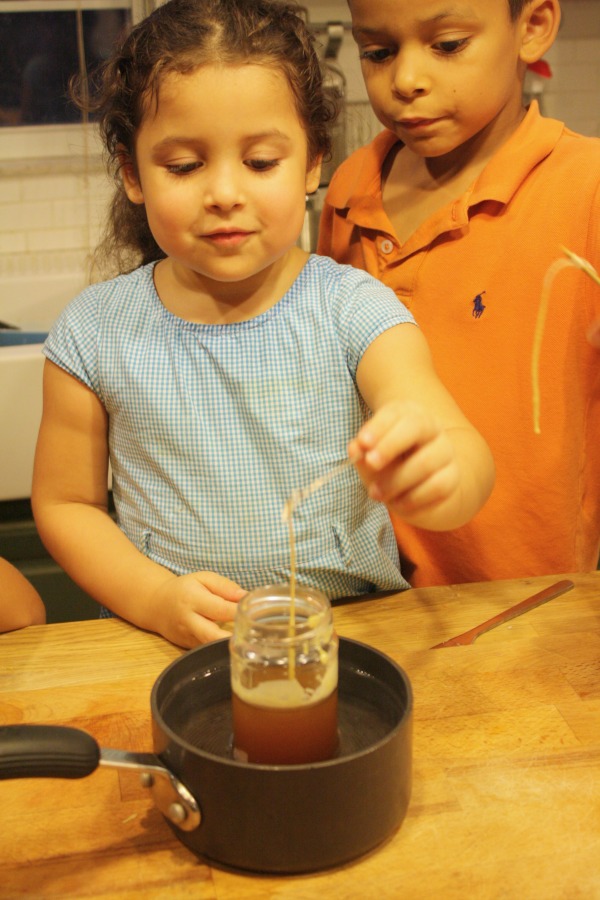
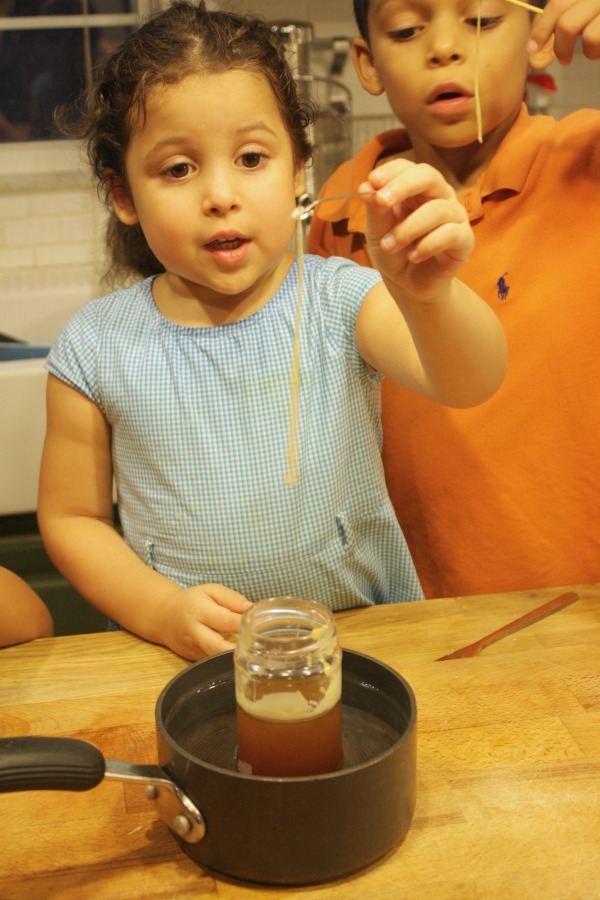
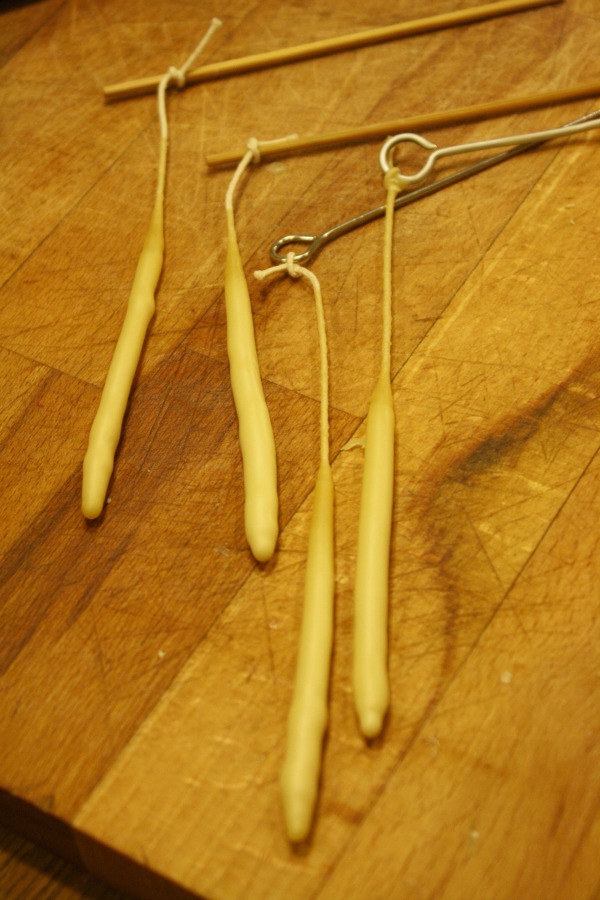
Cut your wicks a few inches longer than you want your candles. Tie the wick end to the end of a skewer. I have these neat little loopy things which make dipping easier but skewers will work just fine.
Dip the wick in the beeswax and let it sit for a minute for the first dip so the beeswax really gets into the wick. Pull it out and with your finger, carefully (its hot) pull it down and hold it so that it dries straight. Do this with all the wicks.
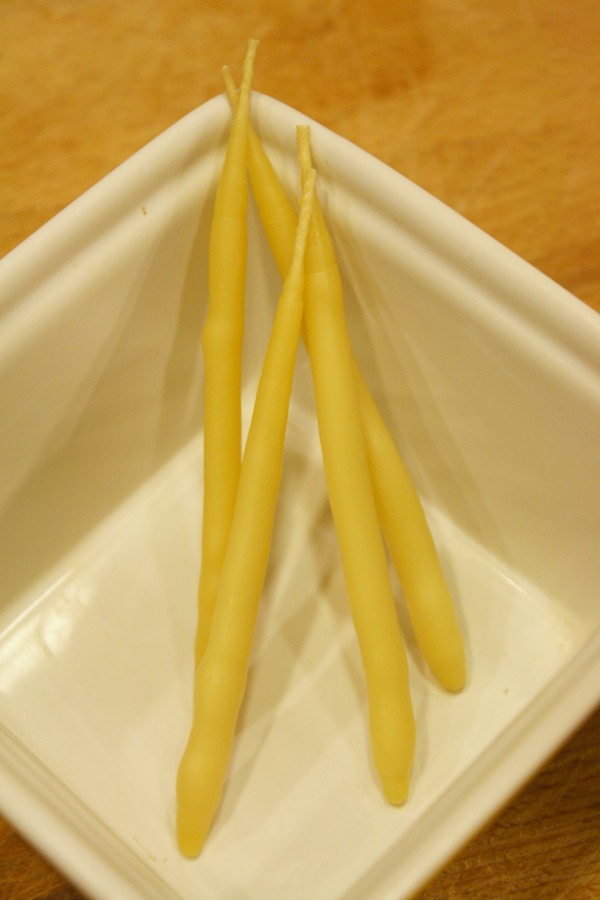
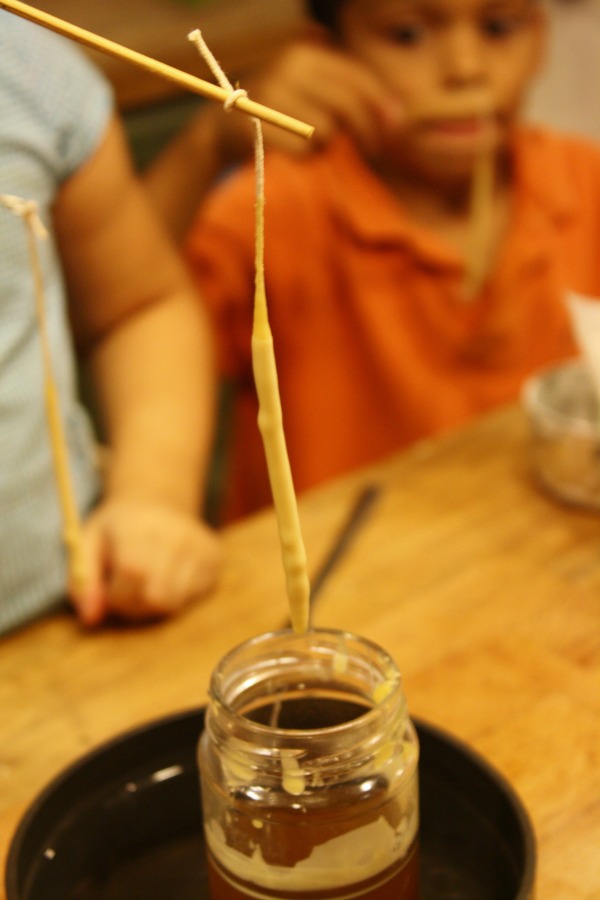
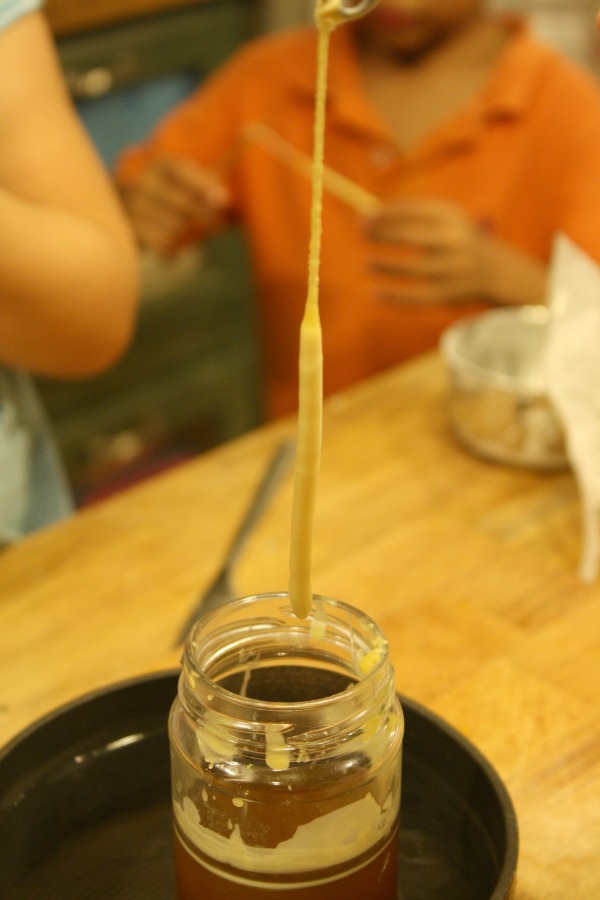
Now comes the fun part. Dip the wick in for a few seconds, longer than that and the beeswax melts off and you get no where. Pull the wick out of the beeswax and let it drip and dry for a minute or so. Repeat until the candle is the thickness you want it. Hang it and let dry. Once dry, cut it off of the skewer and leave enough wick to burn on the top of the candle but not too much.
Enjoy!
I’ll be back tomorrow with Livie’s finished crocheted tunic!! See you then.


Thanks so much! Just what I wanted to add to my Holiday gifts!
wonderful! Thanks for sharing.
I liked the old name of your blog..it was very cute.
Peace & Raw Health,
Elizabeth
Thank you for the tutorial! I've had supplies on hand for four years and never yet done it. I've always planned to in the fall, but I love the idea of making them on Candlemas. You've inspired me to do them soon, now that the days are getting darker.
Christ's peace to you.
These are awesome! I'm taking my fourth graders to Cracker Country down in Tampa. They'll be learning about pioneer life in Florida and as one of he hands on activities they'll have the opportunity to dip their own candles to take home!
How wonderful! I've been wanting to do this with my littles. Thank you so much for sharing.