This project came out of frustration over every spice I needed being M.I.A. the moment I need it. My pantry is pretty but the shelves are way deep and everything in there gets lost. For the past few months I have been working on solutions to get it all organized but no matter what I tried those darn little spice bottles were always falling through my slatted shelves or just plain missing. I also dislike the fact that all the bottles are different and after seeing the prices at Ikea for little bottles I started thinking of a better cheaper way.
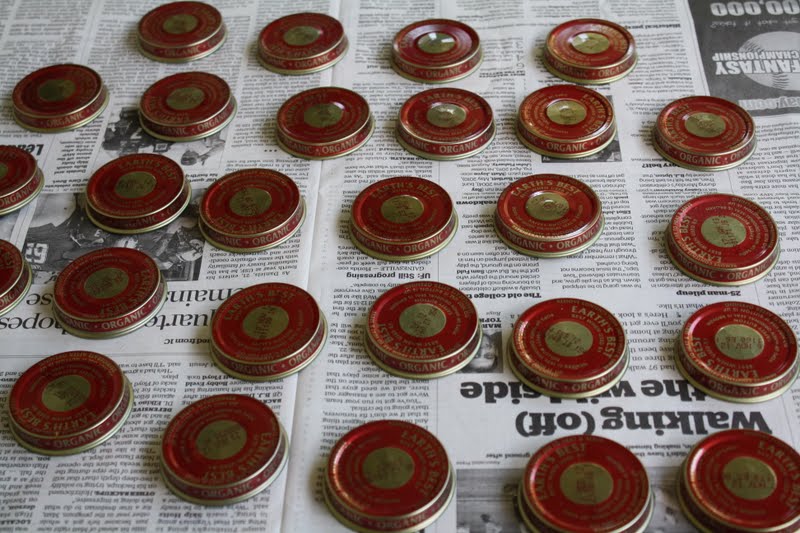
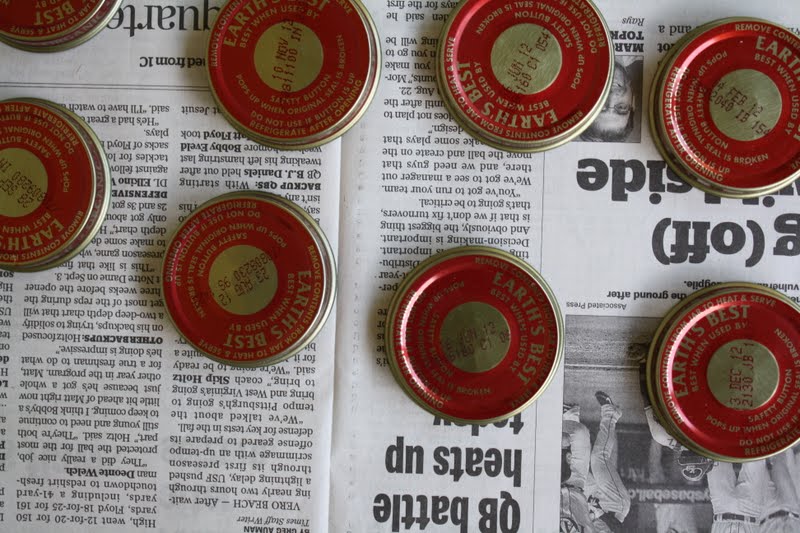
Baby food jars! Yes, that would be perfect but we do not have a baby eating baby food and have not bought any for the past 4 babies anyhow. I posted a wanted add on free cycle and a very cool girl wrote me to tell me she had 40 which was the exact number I needed.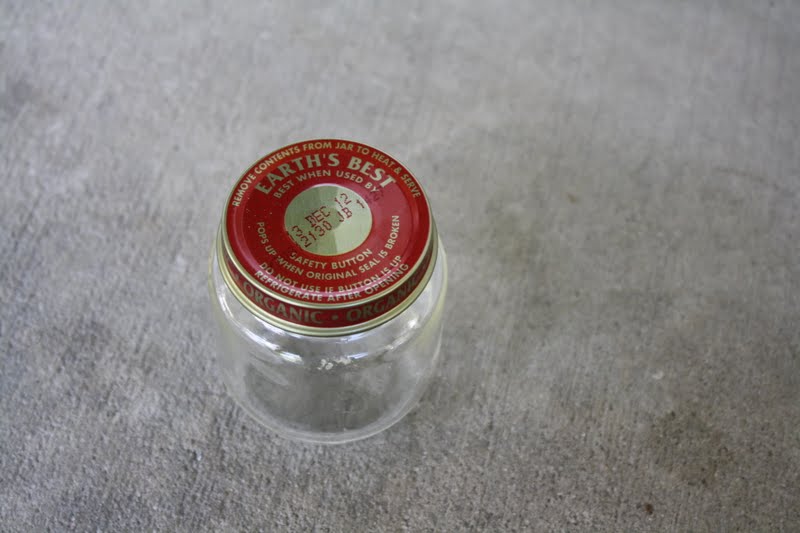
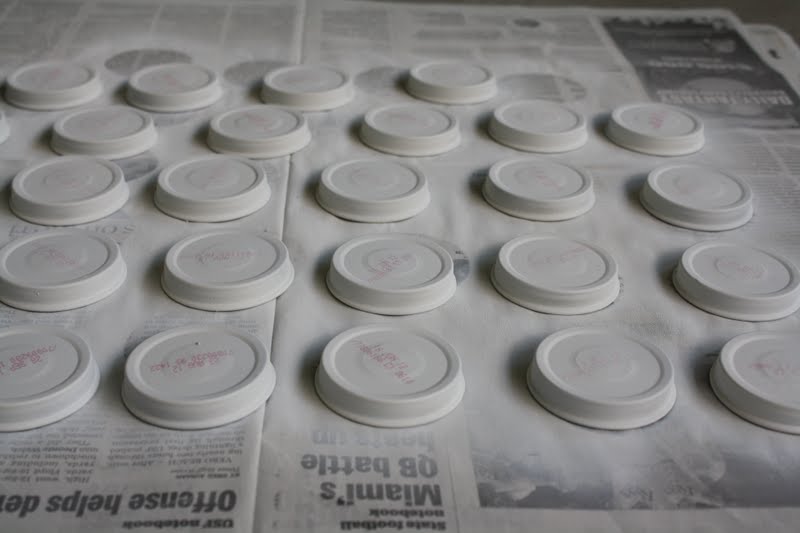
so of course, I cleaned out the jars really well
placed them on newspaper outside
and sprayed away. All I had was matte white, which I am not crazy about because you can’t really wipe them like semi gloss but I forsee painting them a vintage mint tiffany blueish shade of mint green (I know what it looks like, I just can’t describe it) in the very near future so I will at least get my spices done and in the drawer for now.
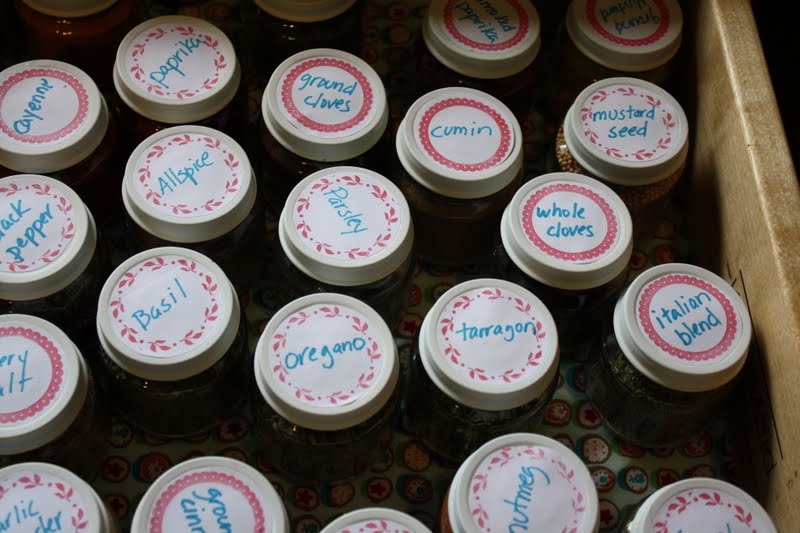
for some reason the expiration date pops up once the paint is dry but I was going to cover the tops with labels so no biggie.
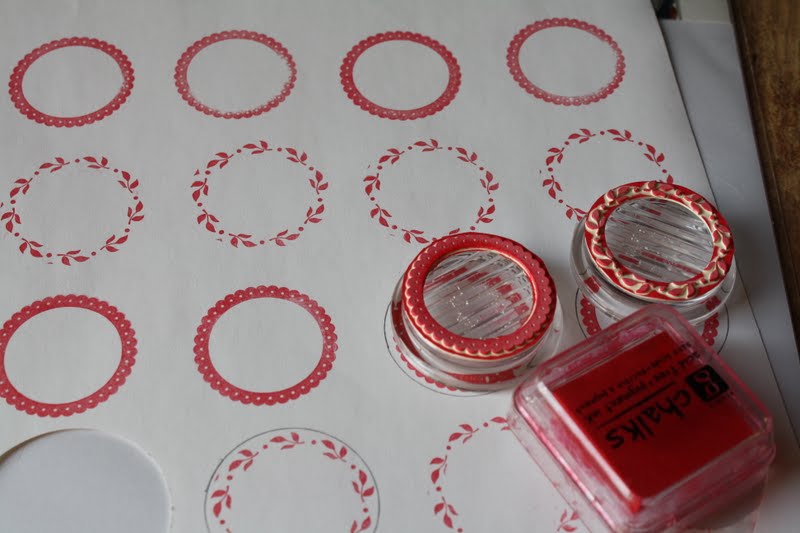
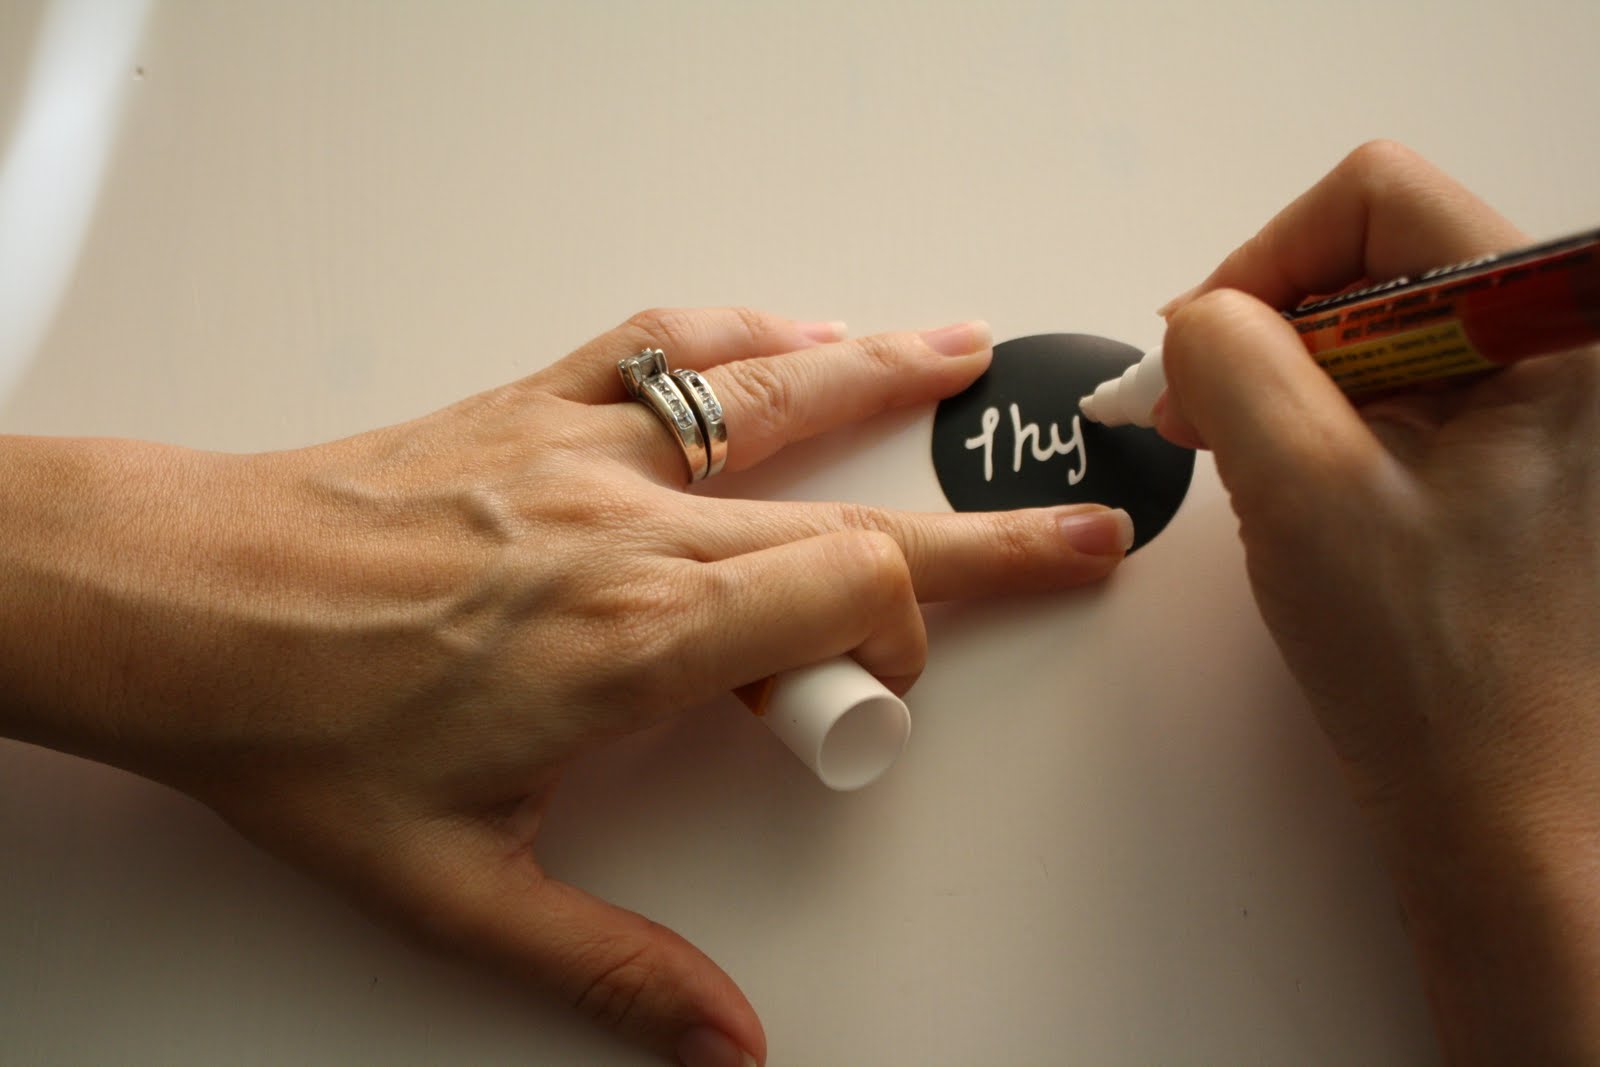
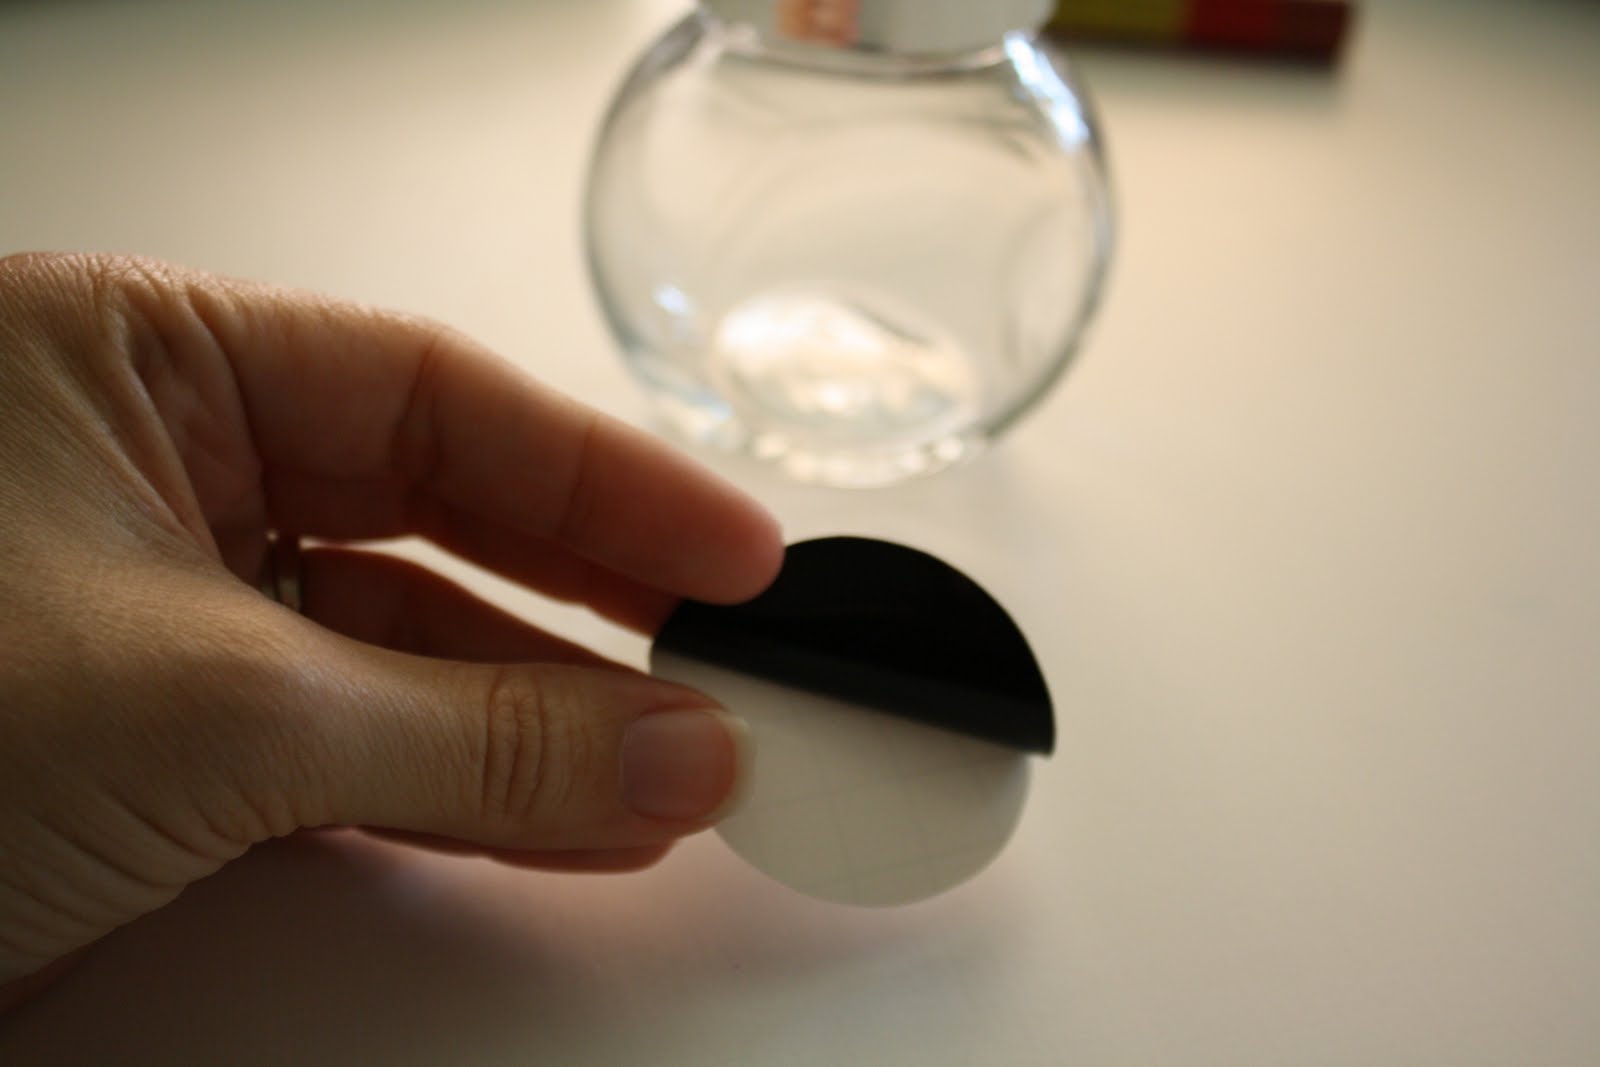
I used these Martha Stewart stamps I had in my stash and stamped the design onto label paper and then traces circles around each one and cut them out. I have a few circle punches but they were too big or too small. It did not take that long and now all my spices are in one drawer and they look better too. We grow the majority of our spices and these jars are so easy to just open up and add the dried herbs to.