Barley is nutty, full bodied and so good for you. They reduce your chance of colon cancer, lower your cholesterol and have so many benefits but if you have never taken a liking to it, maybe you need to try some new recipes. As usual in my recipes, it is dirt cheap and very filling. It can thickens stews and make a breakfast. I decided to try it again (my kids are not crazy about it) as a stir fry, kind of like fried rice and bingo…they ate seconds.
What you need:
2 cups pearl barley
4 cups stock or salted water
4 tablespoons olive oil
2 tablespoon butter
1 onion, diced
1/2 cup dried cranberries, roughly chopped
1/2 cup dried apricot, roughly chopped
Handful of flat leaf parsley, chopped
Salt and pepper
4 cups stock or salted water
4 tablespoons olive oil
2 tablespoon butter
1 onion, diced
1/2 cup dried cranberries, roughly chopped
1/2 cup dried apricot, roughly chopped
Handful of flat leaf parsley, chopped
Salt and pepper
Heat your stock and barley until boiling, turn down to low and simmer for about 20 minutes until all the liquid is absorbed. Make sure to stir it often so it does not stick to the bottom and burn.
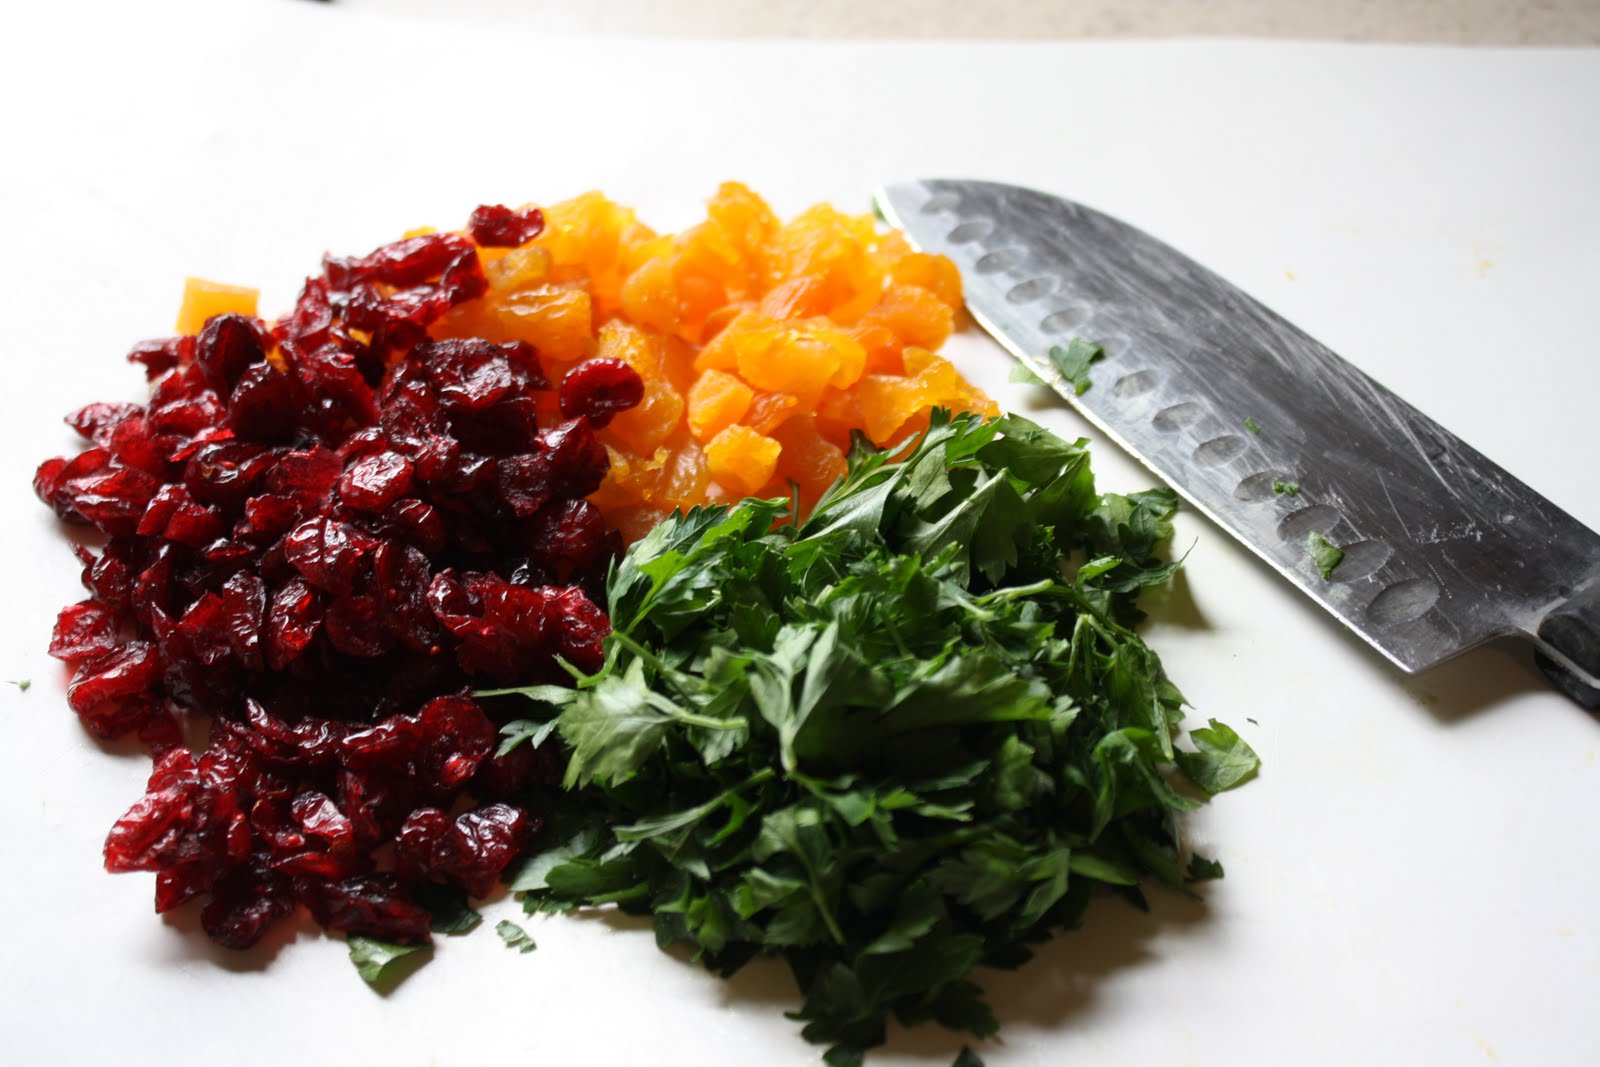
Chop the dried apricot, cranberry, flat leaf parsley and onion.
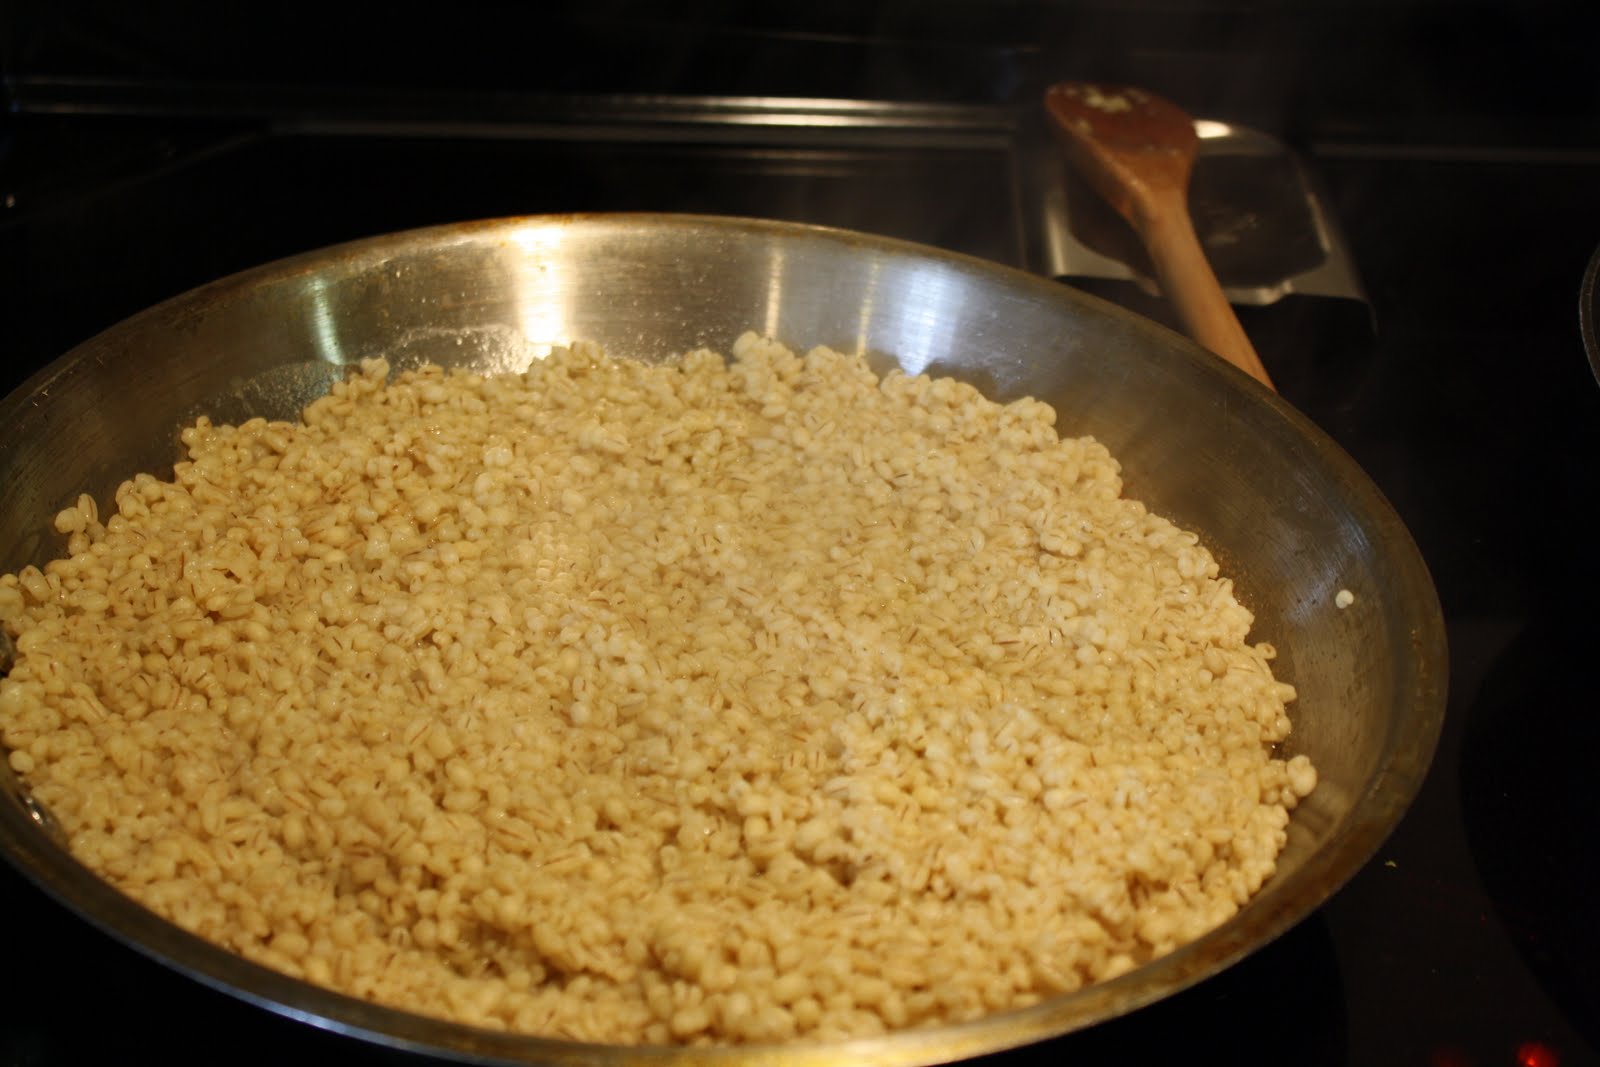
Put the olive oil and butter in a large skillet or frying pan and cook on medium high heat. Add the onion and cook until translucent. Add the barley tossing in the oil. Leave the barley undisturbed in a thin layer for about 2 minutes and toss. Repeat several more times to make sure that all the barley gets fried and toasty. This will take about 10 minutes.
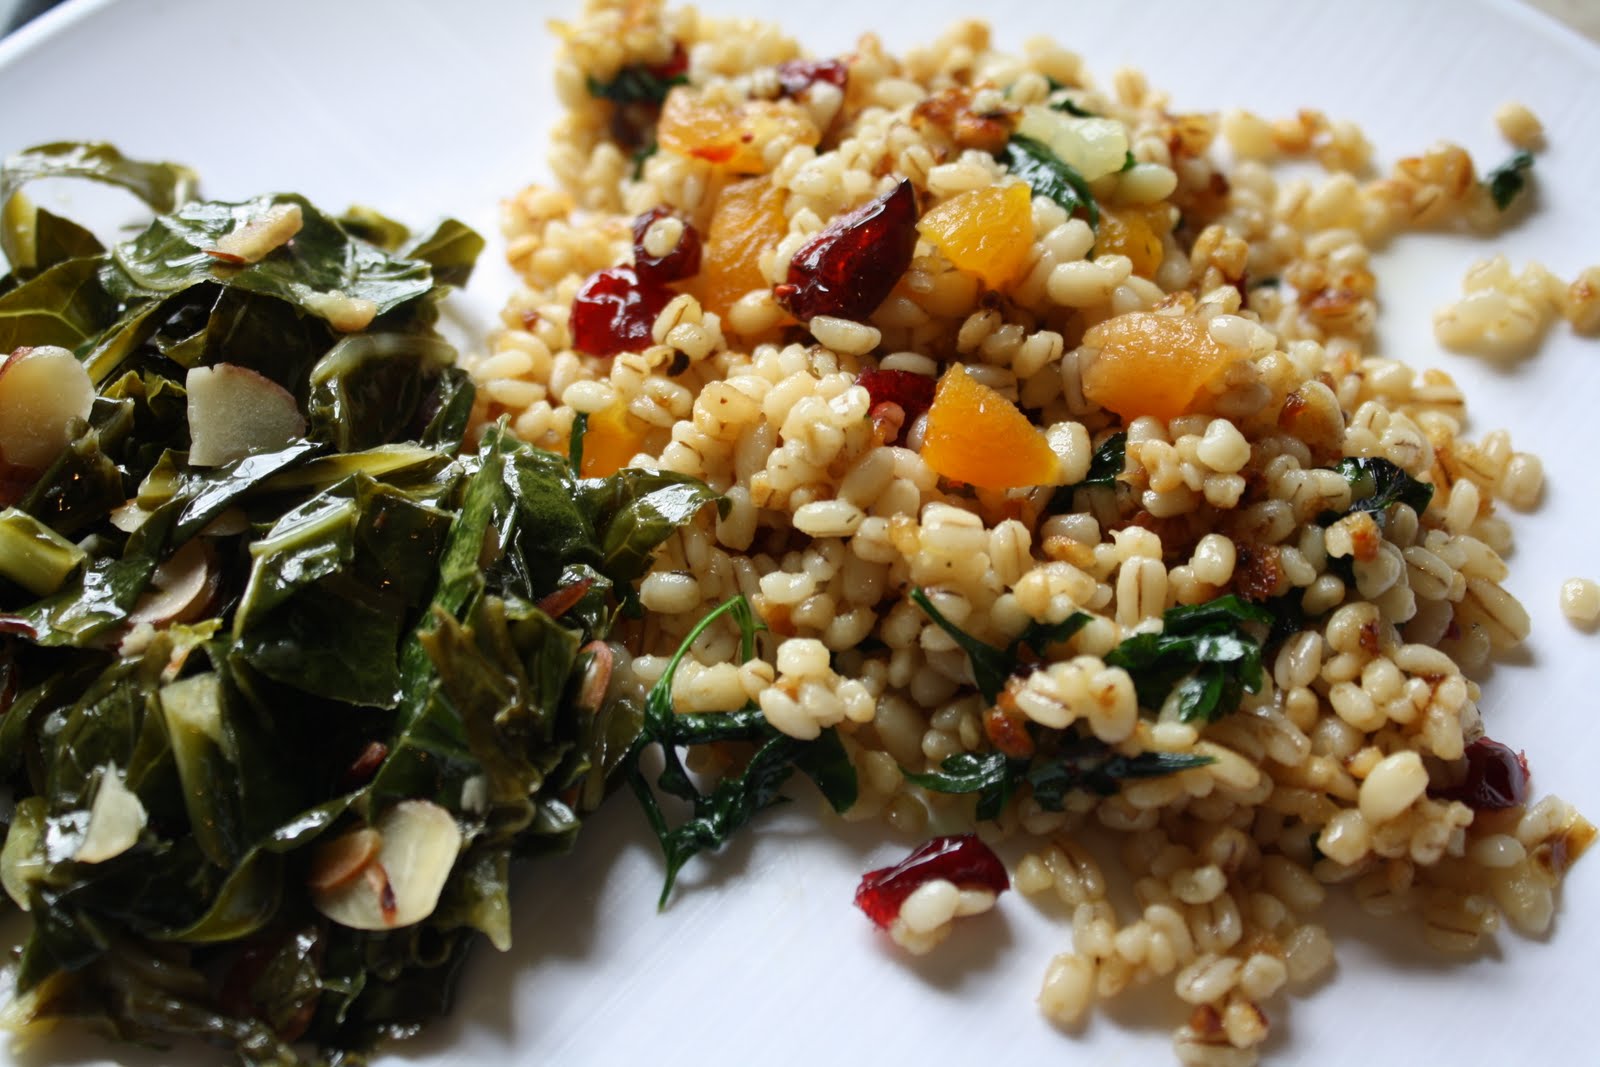
Add the cranberry, apricots and parsley. Toss and cook for a few more minutes. Season with salt and pepper to taste.
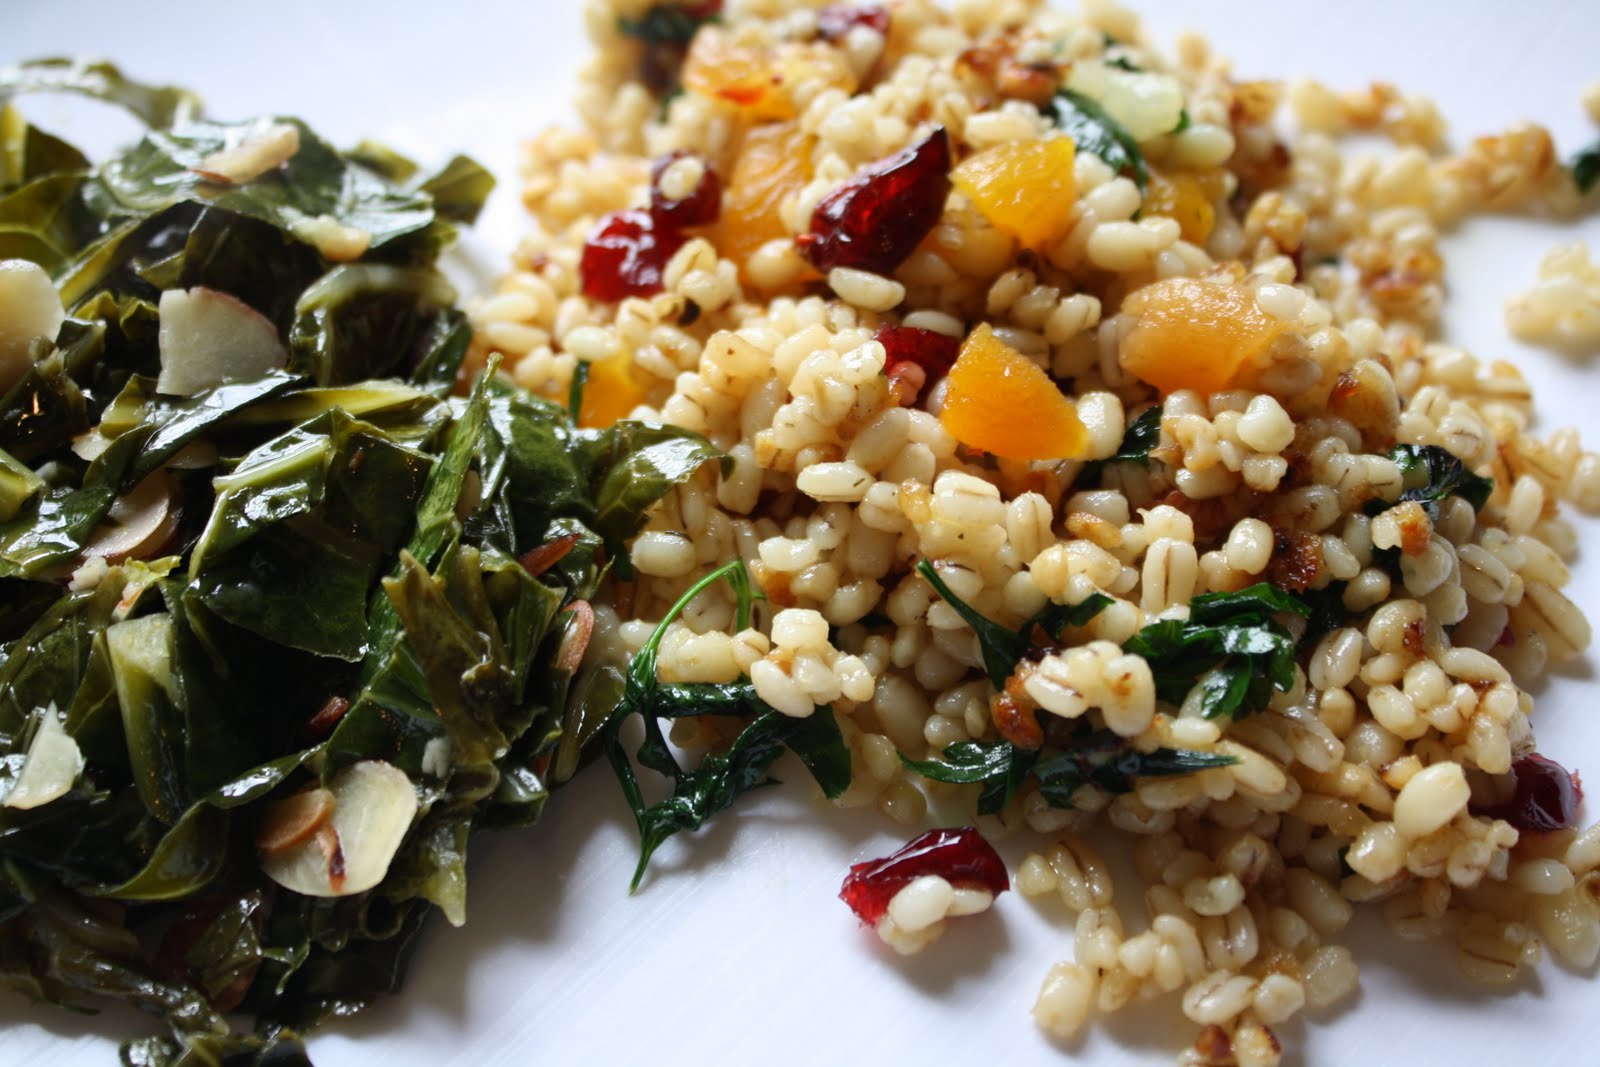
Serve with your favorite greens.