Archive | Tutorial RSS feed for this section

Apron in a jiffy pattern / tutorial

As promised here is the apron tutorial.  You could seriously make this in 15 minutes…promise!  This is one of those projects that will give you a little boost if you are new to sewing.  I got my first sewing machine the year my now 11 year was born.  The first project I ever came up was this apron.

You will need:

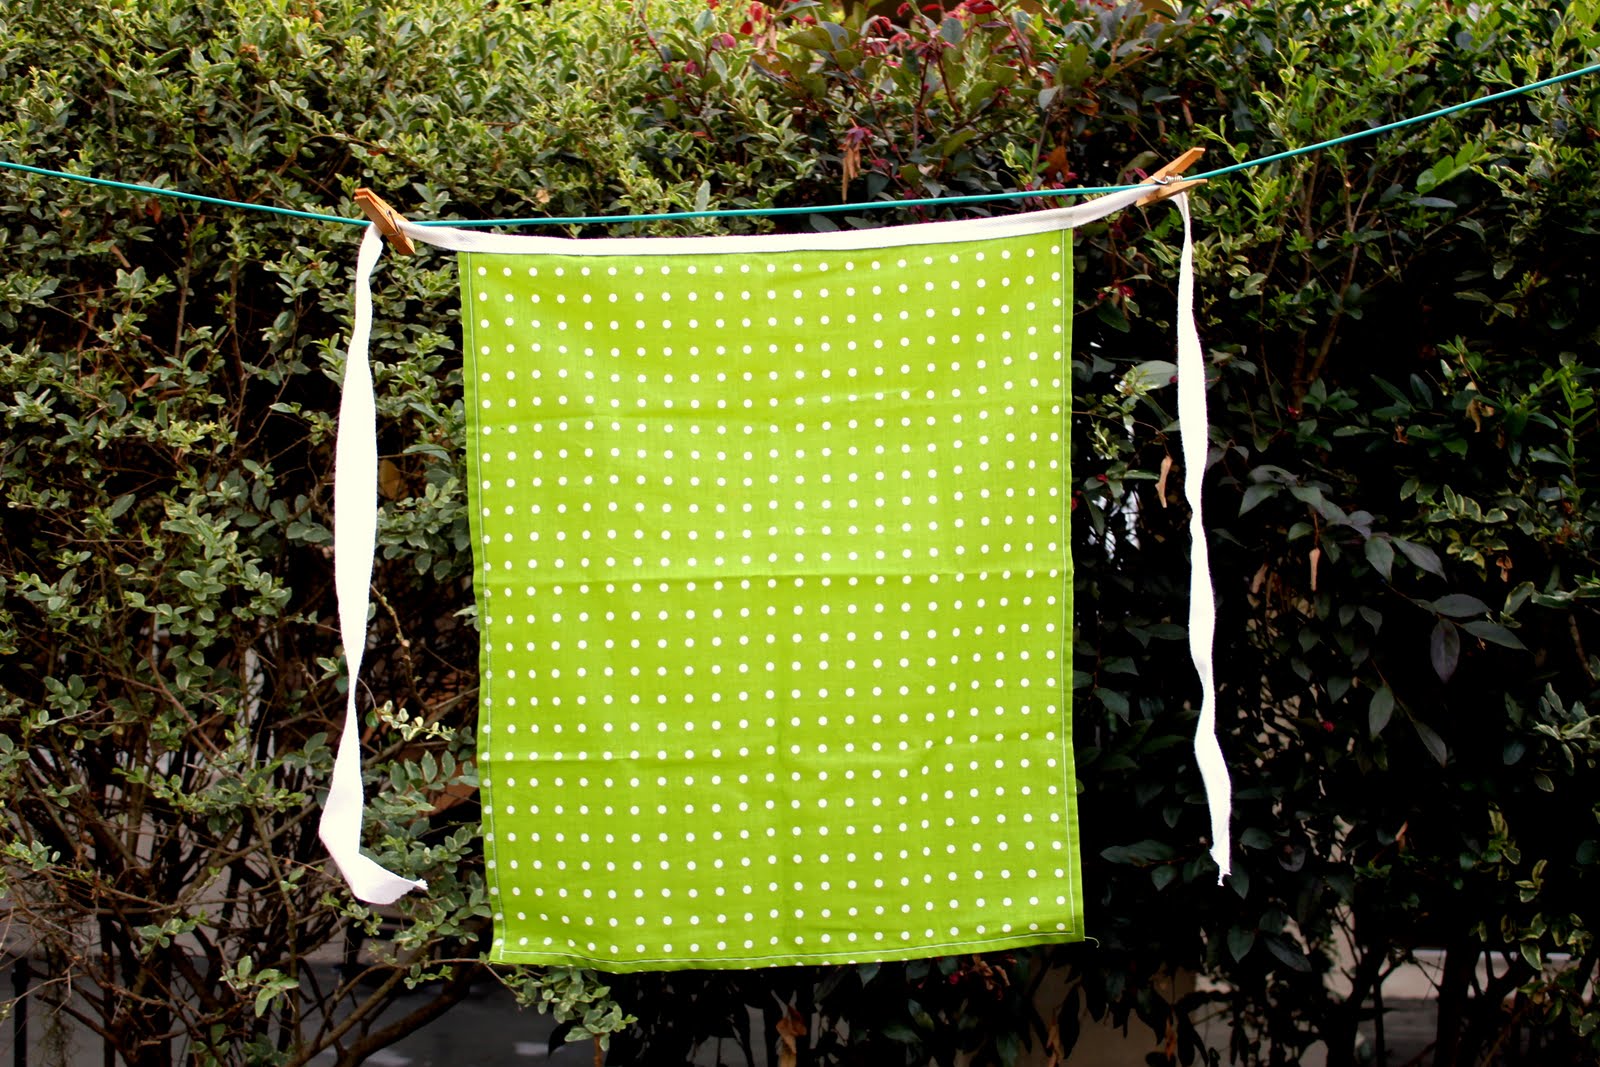
Piece of fabric 18 x 22 inches wide
60″ twill tape
Coordinating sewing thread

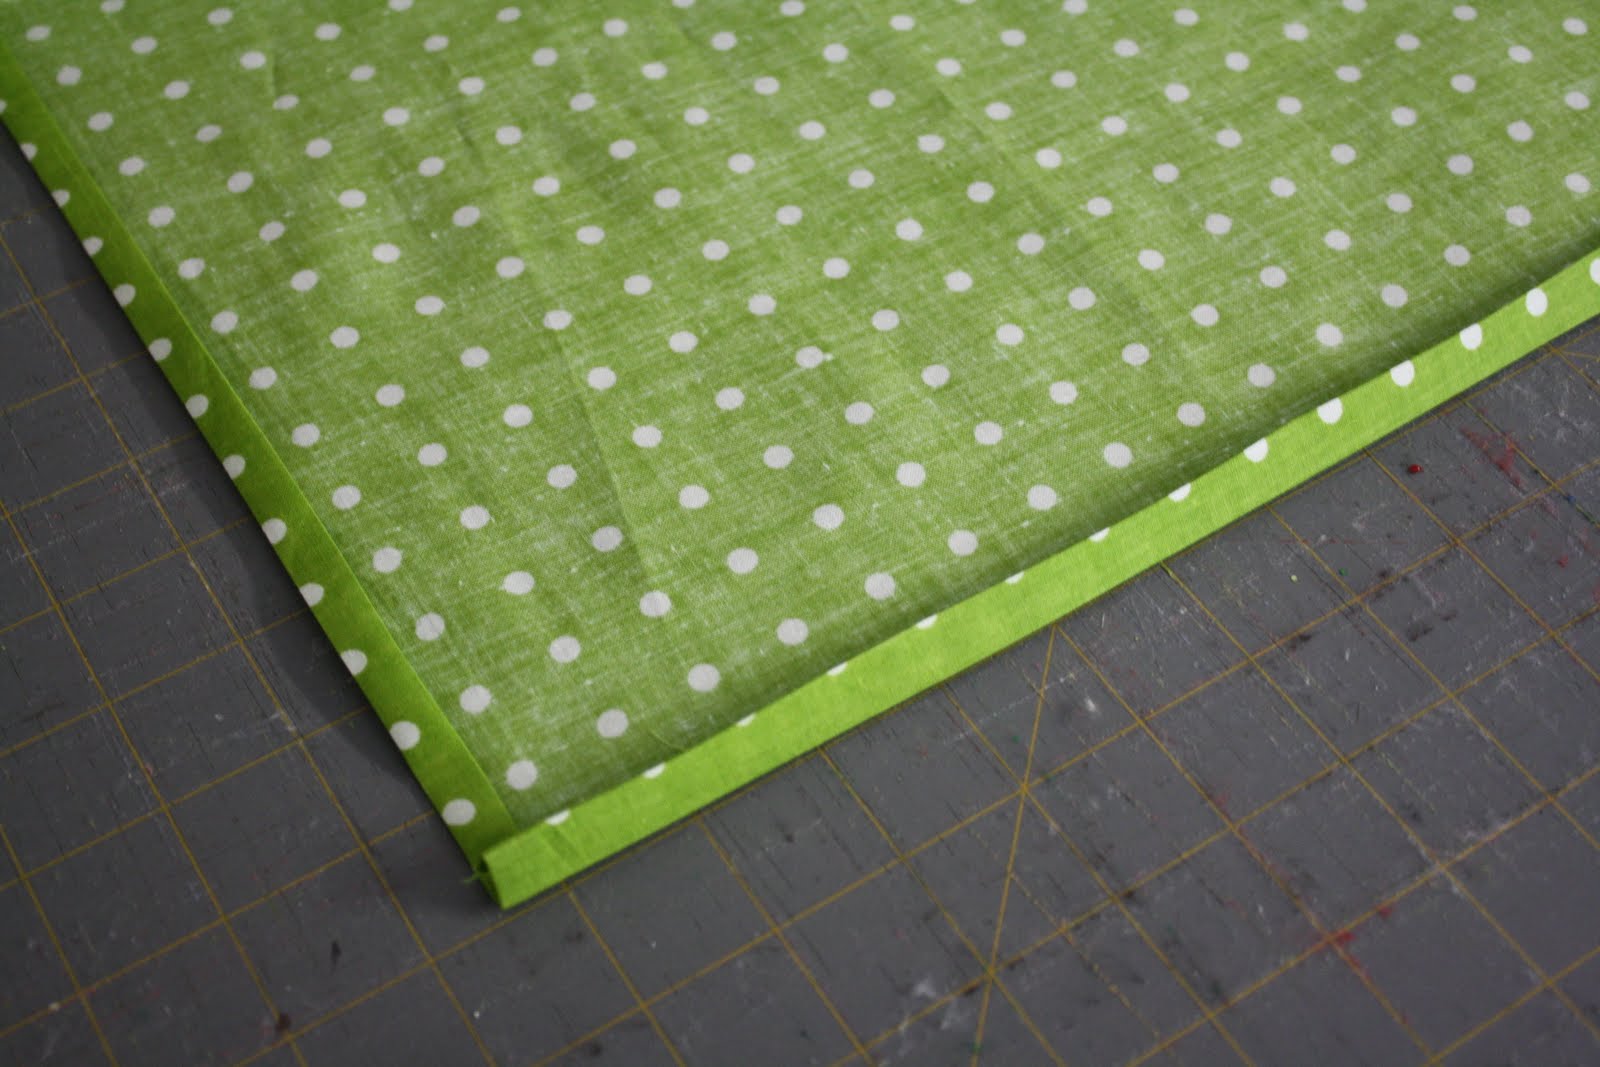
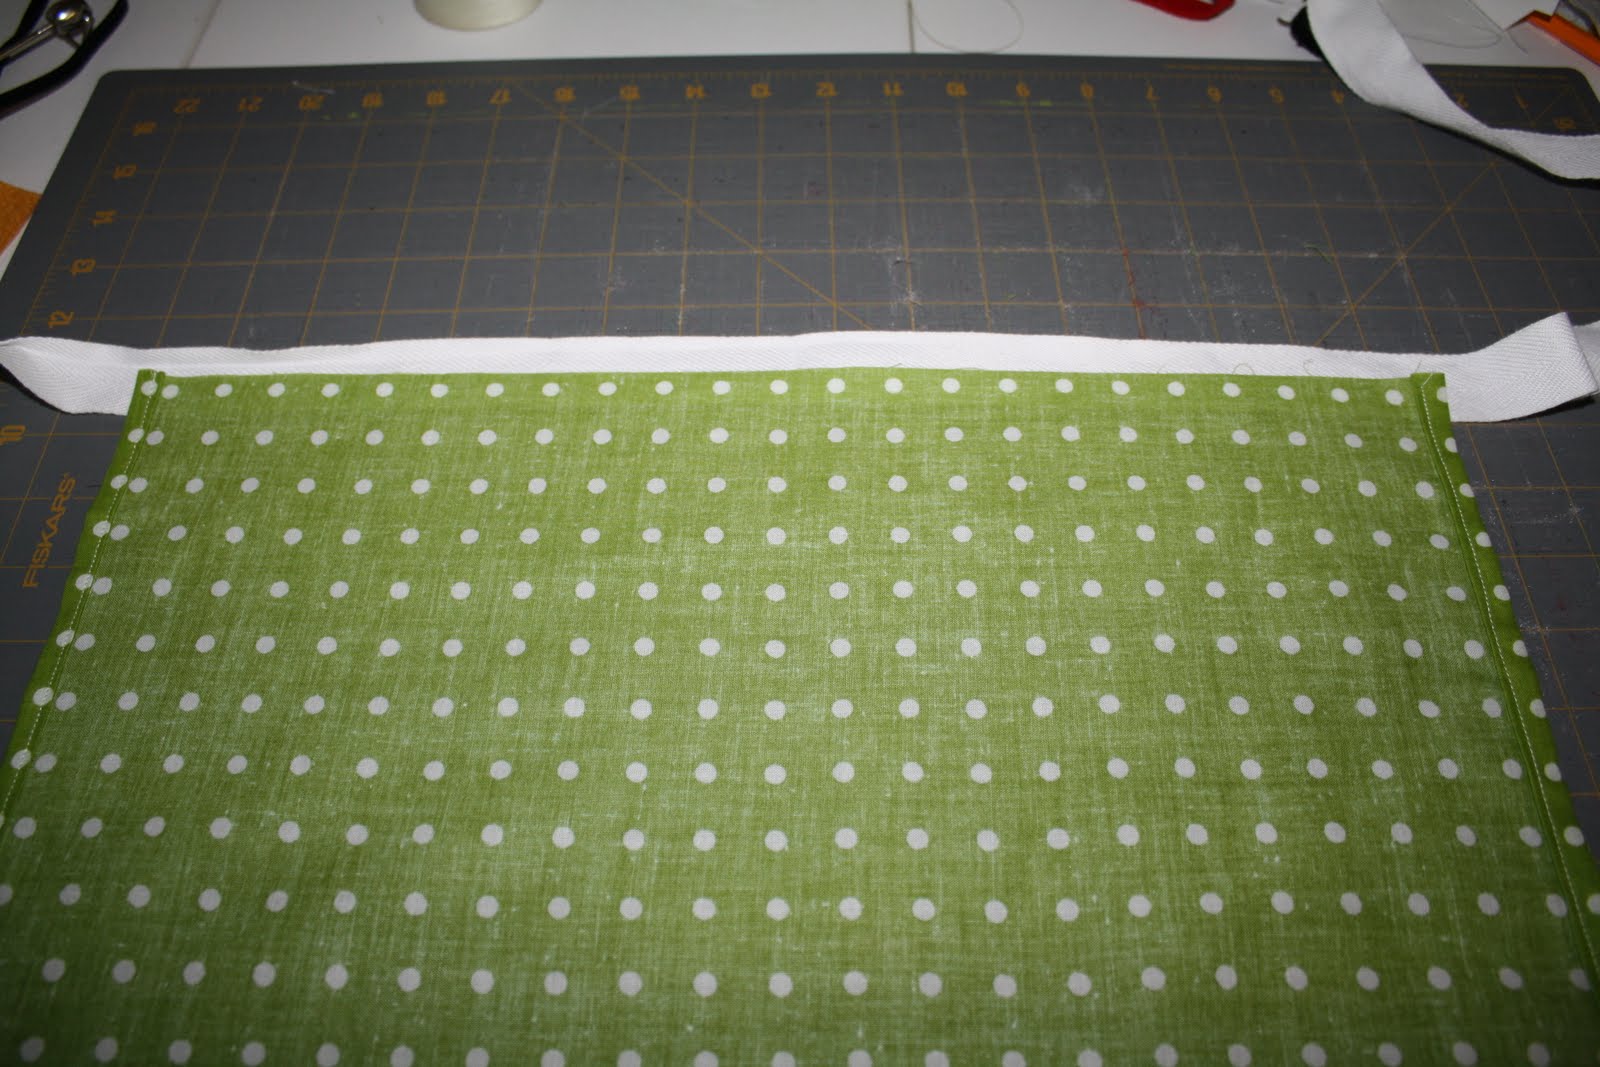
 Fold the edge under 1/4th of an inch and then fold it under again and iron around three sides of your fabric. Do not bother doing this to the top edge because it will be covered by the twill tape.

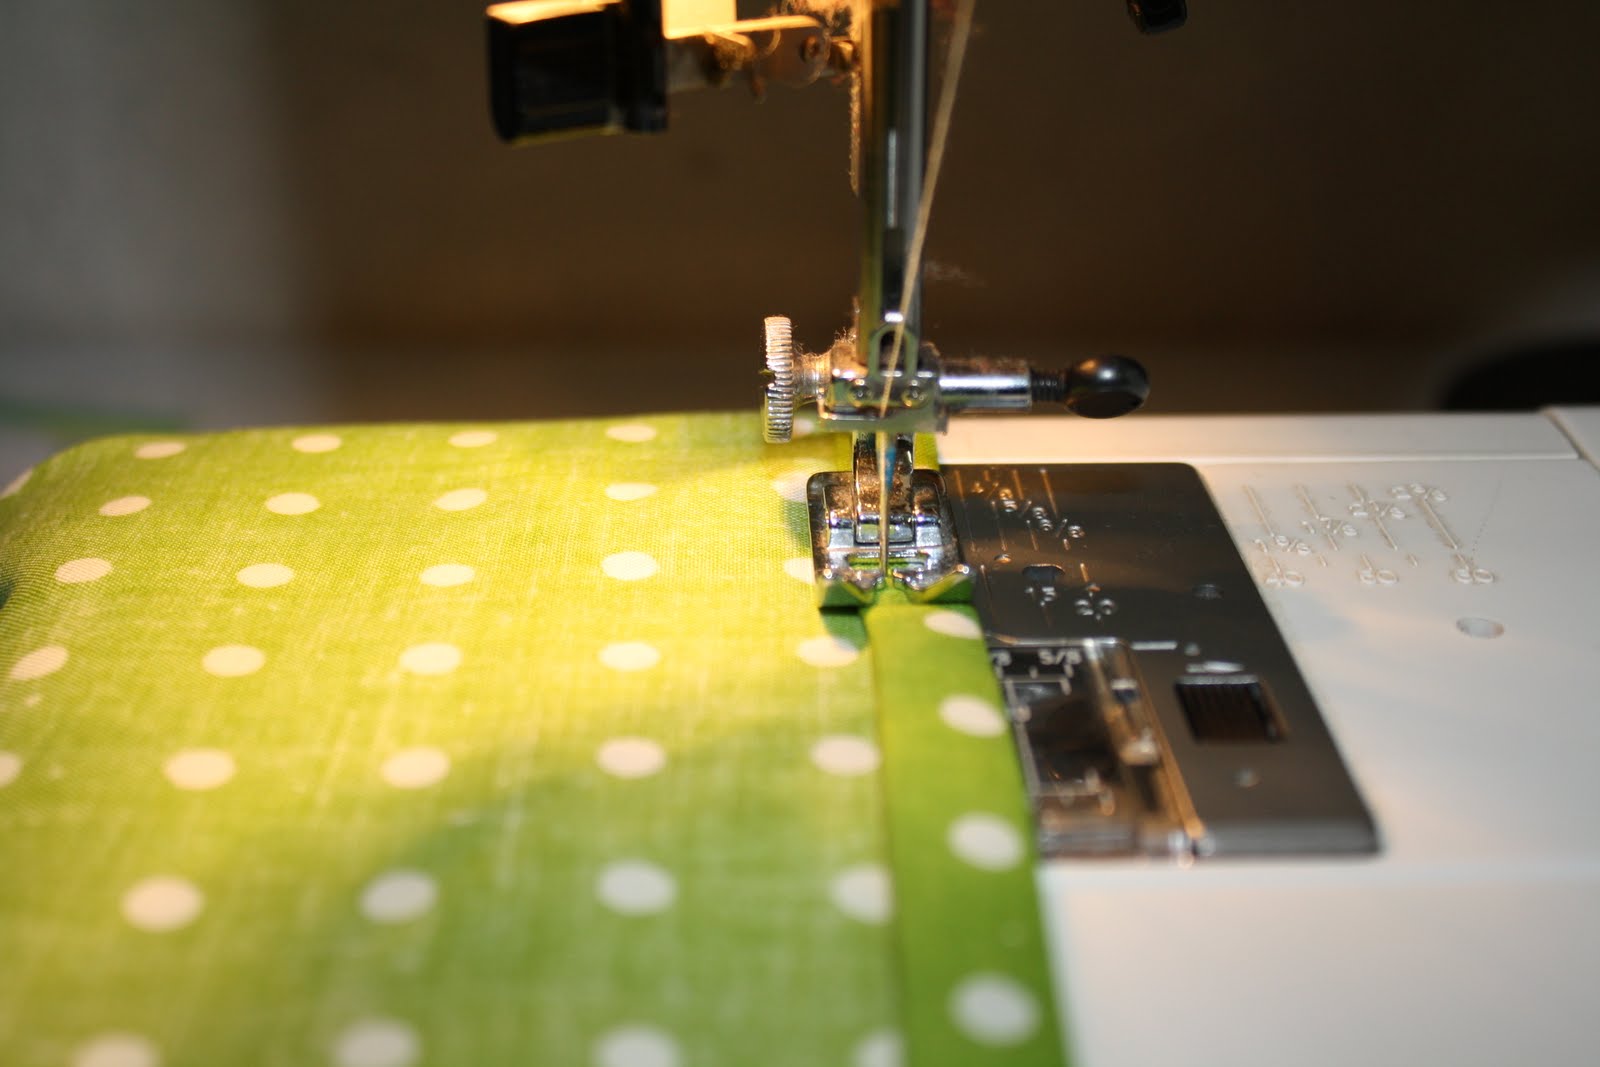
 Sew close to the edge all the way around your three folded down sides

 Fold the twill tape in half to find the center and match it up to the center of the fabric, lay on top of the twill

 Fold over the twill tape and pin in place across

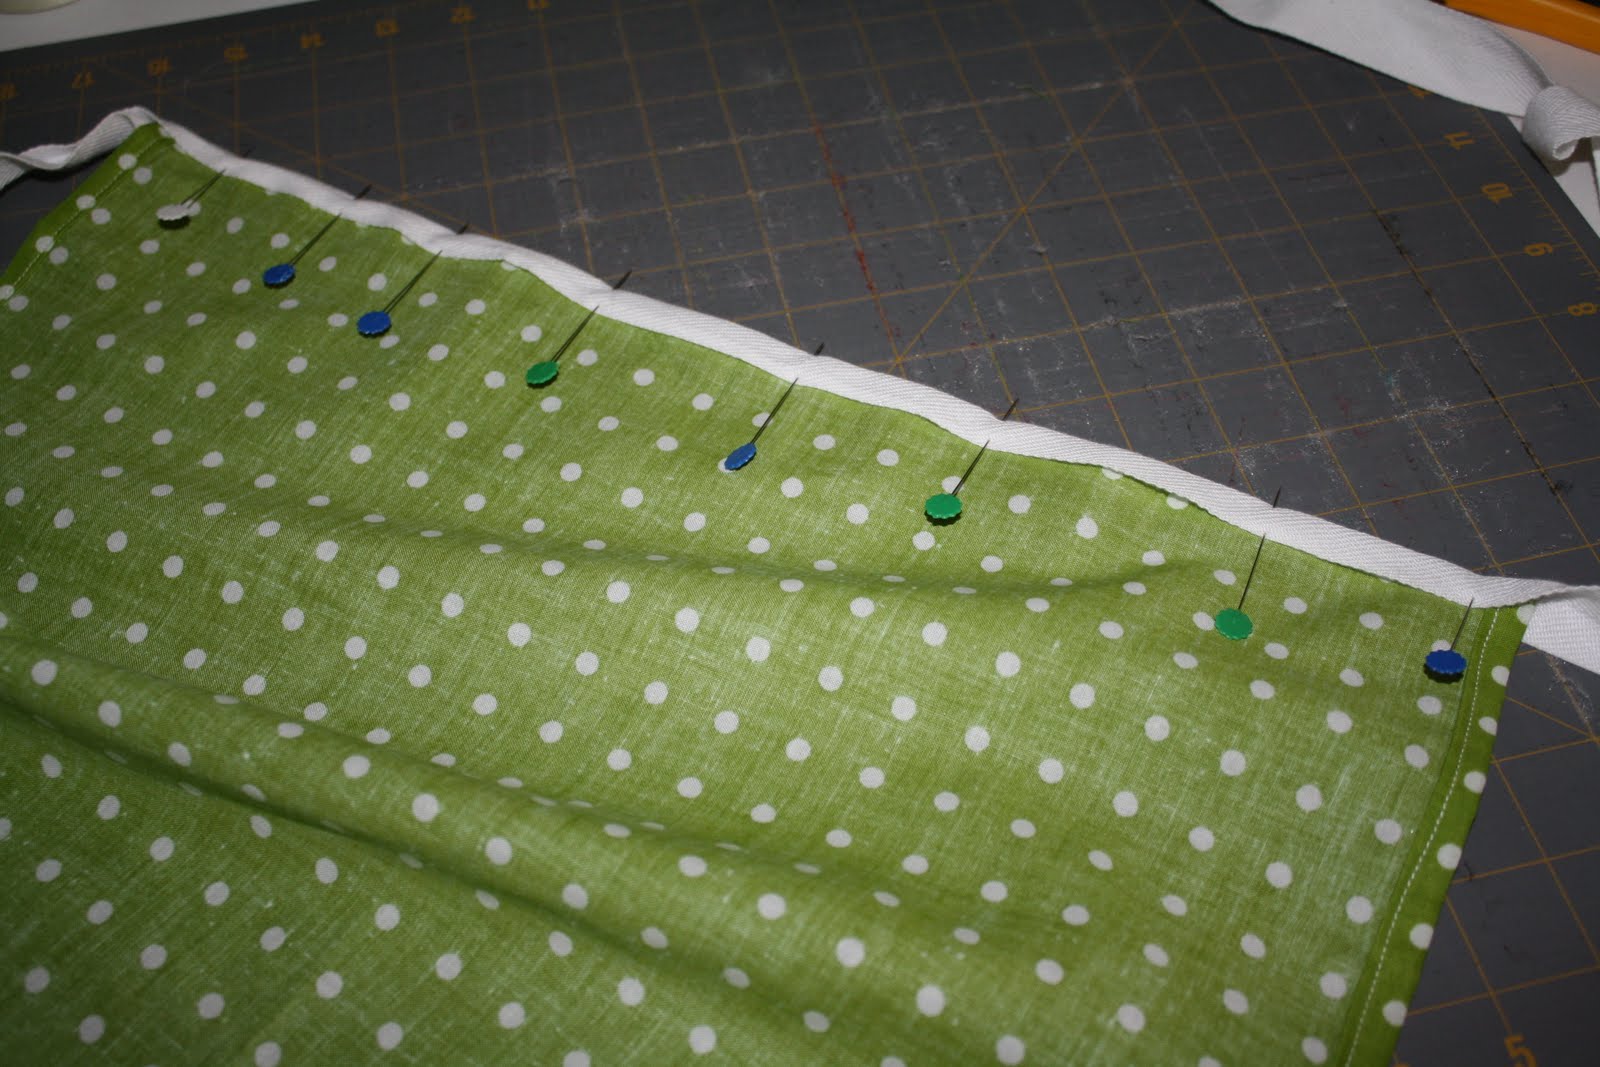
 sew from the start to the end of the apron top. (hint, to secure your stitch always back stitch on your beginning and ending stitch)  Cut any threads that are loose and you are DONE!

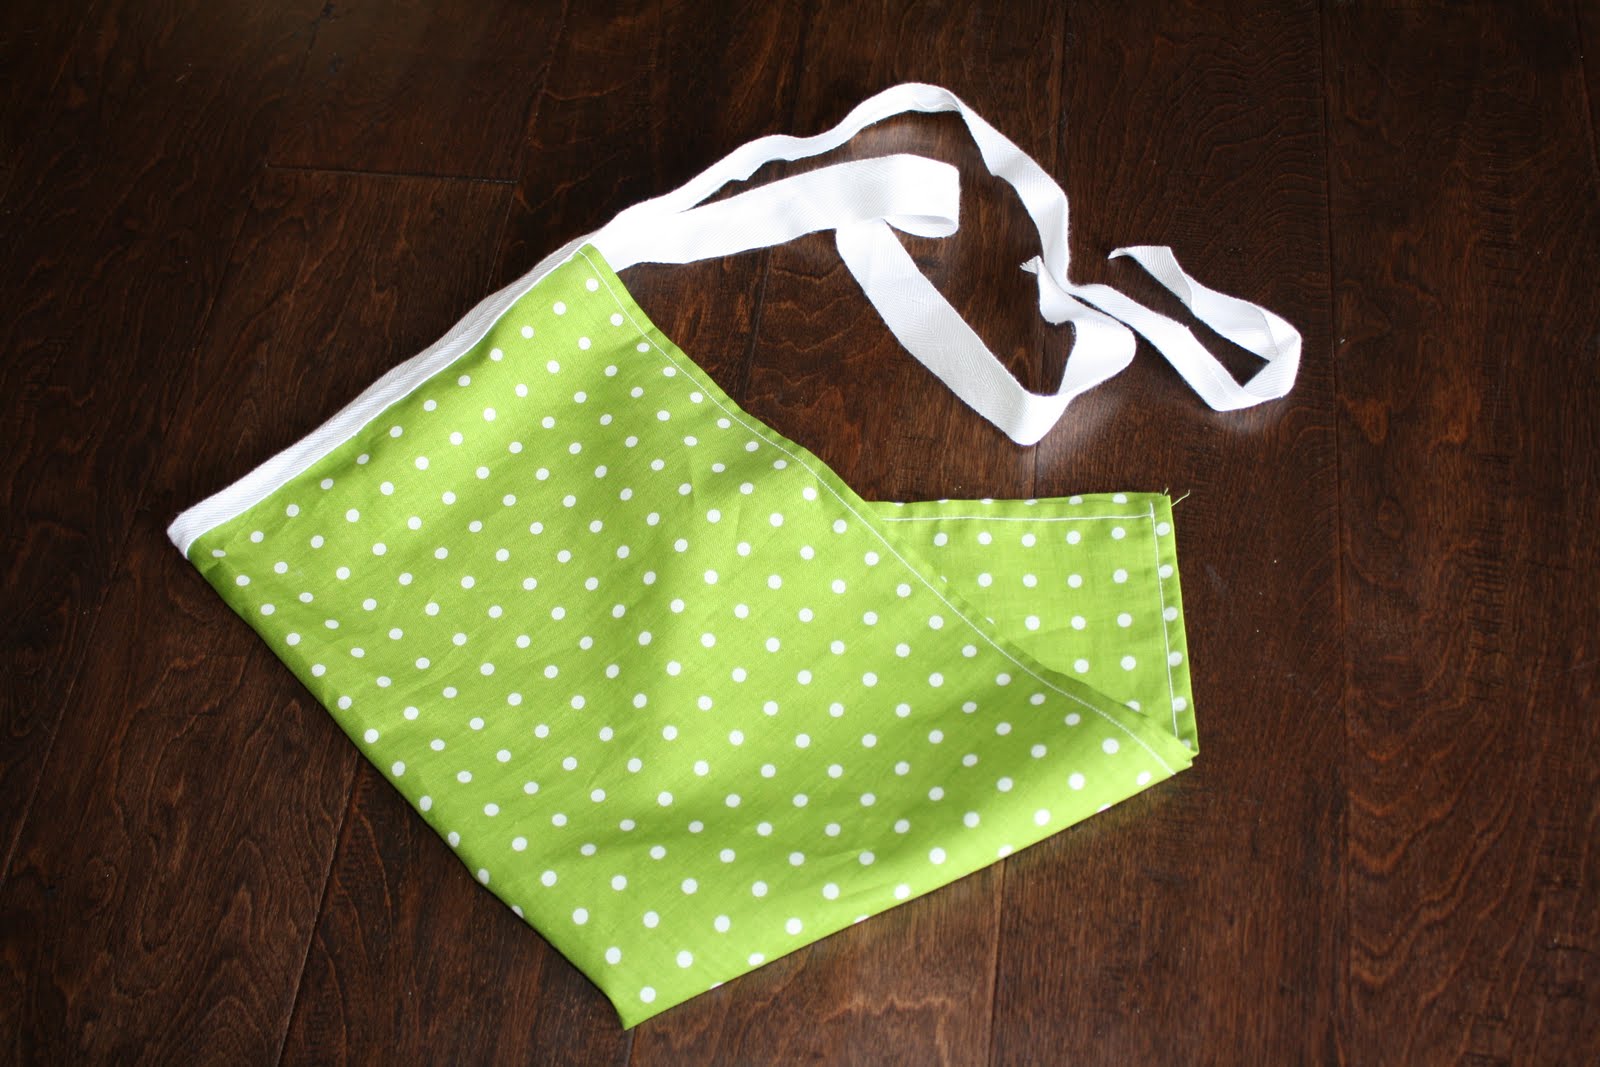
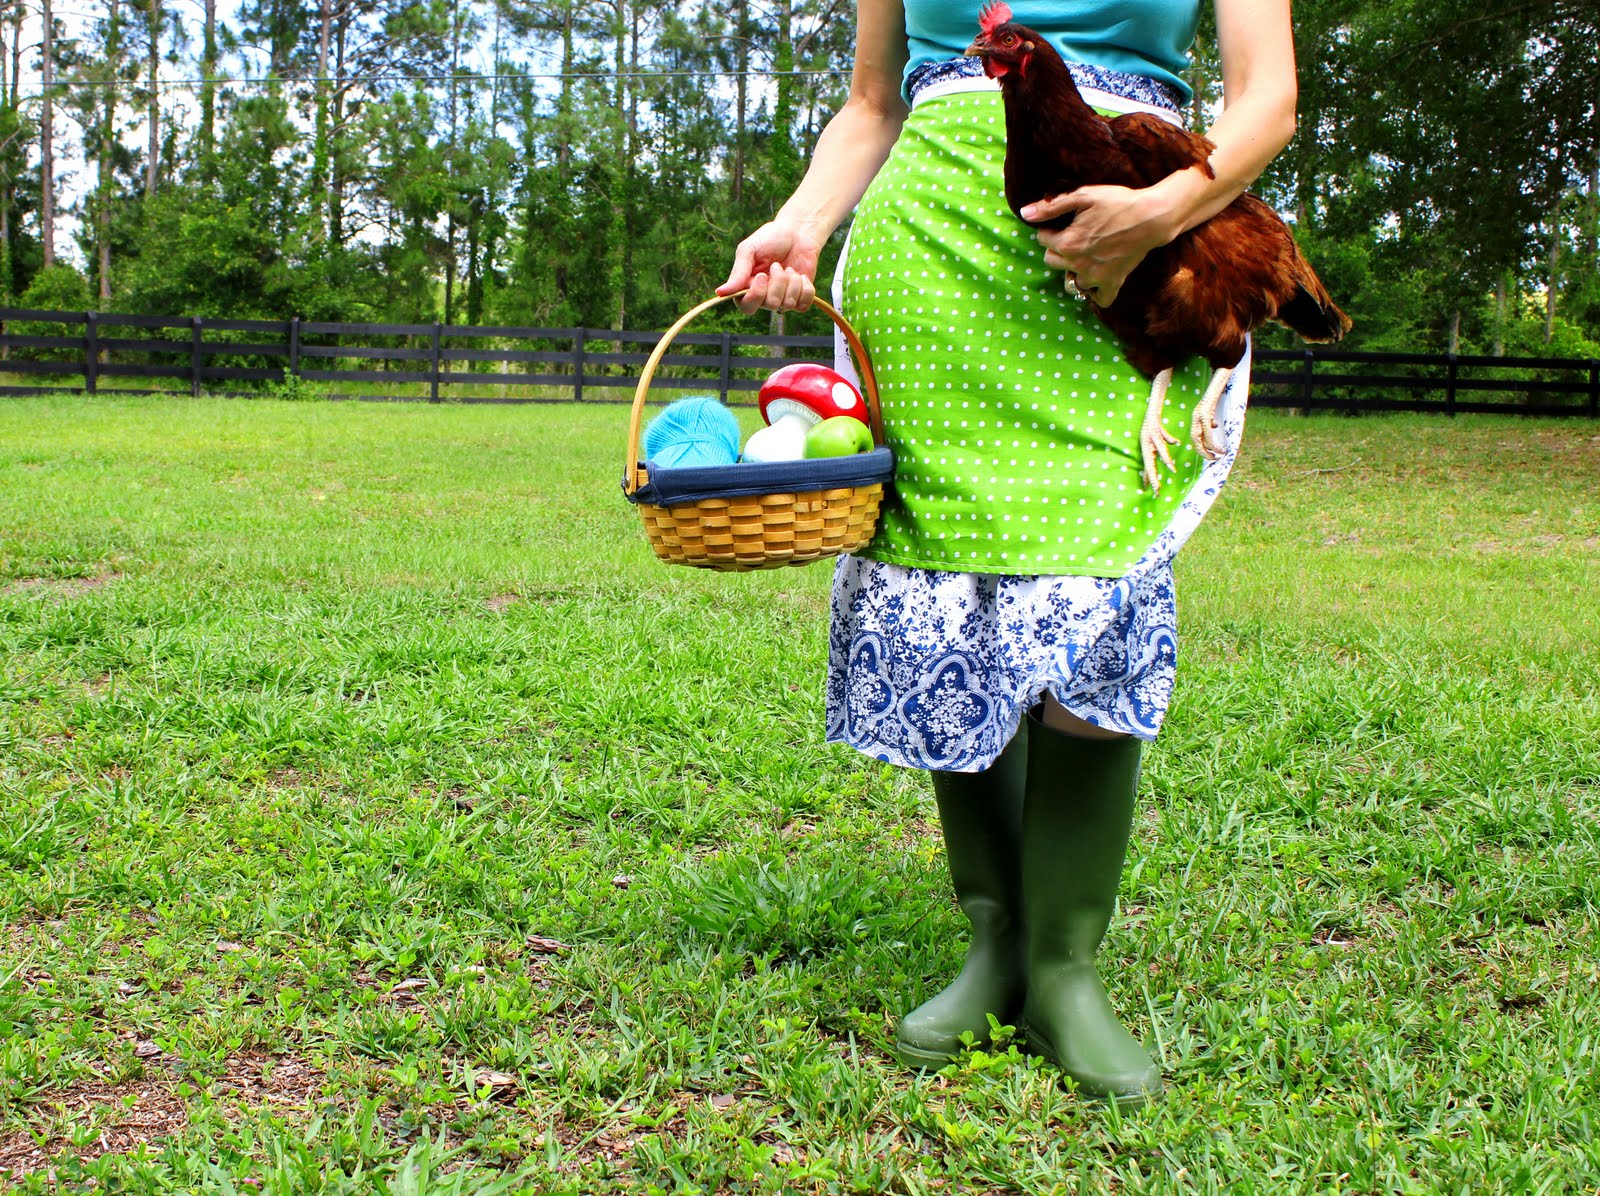
 I told you it was fast!  You could whip up a whole bunch in 30 minutes.  Aprons used to be an indispensable part of a woman’s daily life.  They were used to wipe hands, wipe children tears or dirty faces, wipe a sweaty brow in the garden, collect that days eggs, veggies or herbs and so much more.  I love to wear an apron, it makes me feel close to all the women in my family who have passed and wore them as a part of their outfit as a mother, wife, woman and farm hand.  I hope you make one and make part of your life too.

Comments { 2 }

Make it yourself Monday: Farmer’s cheese tutorial

If you have been following along you may have read last Monday’s Make it Yourself tutorial about making butter.  This follows it since I used the milk that was left over after taking the cream off the top of my gallon of raw milk.  We are making Farmers cheese.  Farmers cheese is great to slice and put in a sandwich, crumble into a salad, fry it (very good) or just eat it straight up.

 Once the cheese is made we will still have one more thing left from that gallon which can be used…whey.  I save the whey for pancakes, waffles and baking and I have made some pretty yummy pasta using the whey are water before.  Who knew you could get so much from one gallon of raw milk.

 What you will need:
1 gallon of milk, you don’t have to use raw, you could use store bought or even powdered will work.
White of apple cider vinegar
Cheesecloth (I use some sheer curtain fabric because I hate to throw away and continue buying cheese cloth plus the weave is much smaller and the cheese looks nicer to me.  Shhhhh, thats my little secret that I share with you.  Go get one of those old curtains out of your linen closet and give it a new home. The liquid goes right through but the solid stays perfectly, much better than cheese cloth.
A food thermometer or you could just

 heat your milk to between 180 to 185 F.  If you do not have a thermometer, just watch it to the moment right before the milk boils.  Add 1/4 cup of vinegar to your pot

 give it a gentle stir

 You will start to notice the solids separating from the liquid.  This is the curd and they whey (just like in Little Miss Muffet).

 Put a strainer inside a bigger bowl to catch the whey and place your cloth in it.

pour everything in your pot into the lined strainer (with the bowl under it)

 twist the cloth to squeeze out the liquid. Before all the liquid is out I open the cloth and salt the cheese.  If you wait until all the liquid is out it is harder to get the salt in because the cheese becomes somewhat solid. You can tie off the cloth with a string and hang it to drip but with this cloth it will all come out with a few twists of the cloth.  Put your drained cheese into whatever mold you like and refrigerate over night.  Enjoy.

Comments { 8 }