
Tomorrow is my babies 2nd birthday. This morning I woke up with a crazy idea! I decided to try to make my Livie a Waldorf doll in one day. I have been wanting to make one for about 5 years and so I had some good fabric I could use for skin and lots of wool yarn and the rest I would improvise to make it as authentic as possible. I will share how I made the head as this is really the hardest part and you don’t really need a pattern. For the rest of the doll, I just used one of my own rag baby doll patterns but there are a few free ones out there.
I started at 1 PM after we got back from mass. Tomorrow I will post the pics of the finished doll as Livie opens her (hopefully I will finish).
Here are the items I have to make it possible:
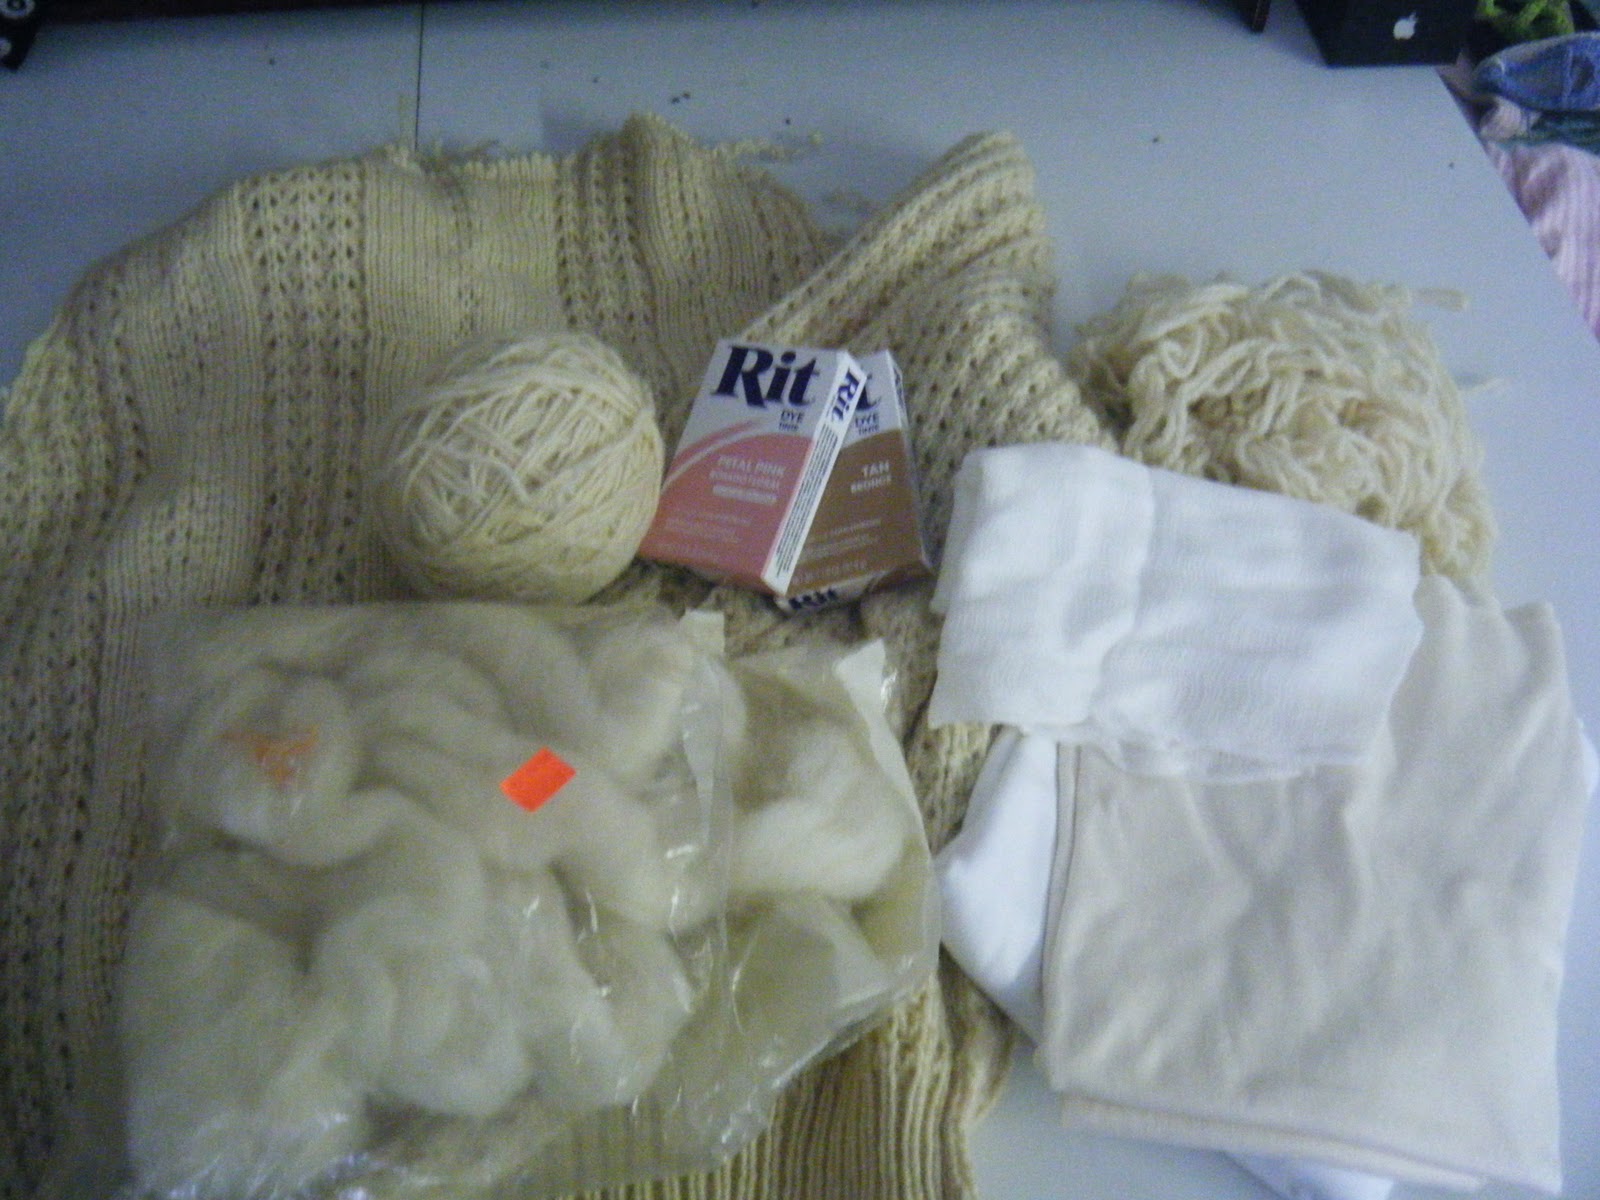
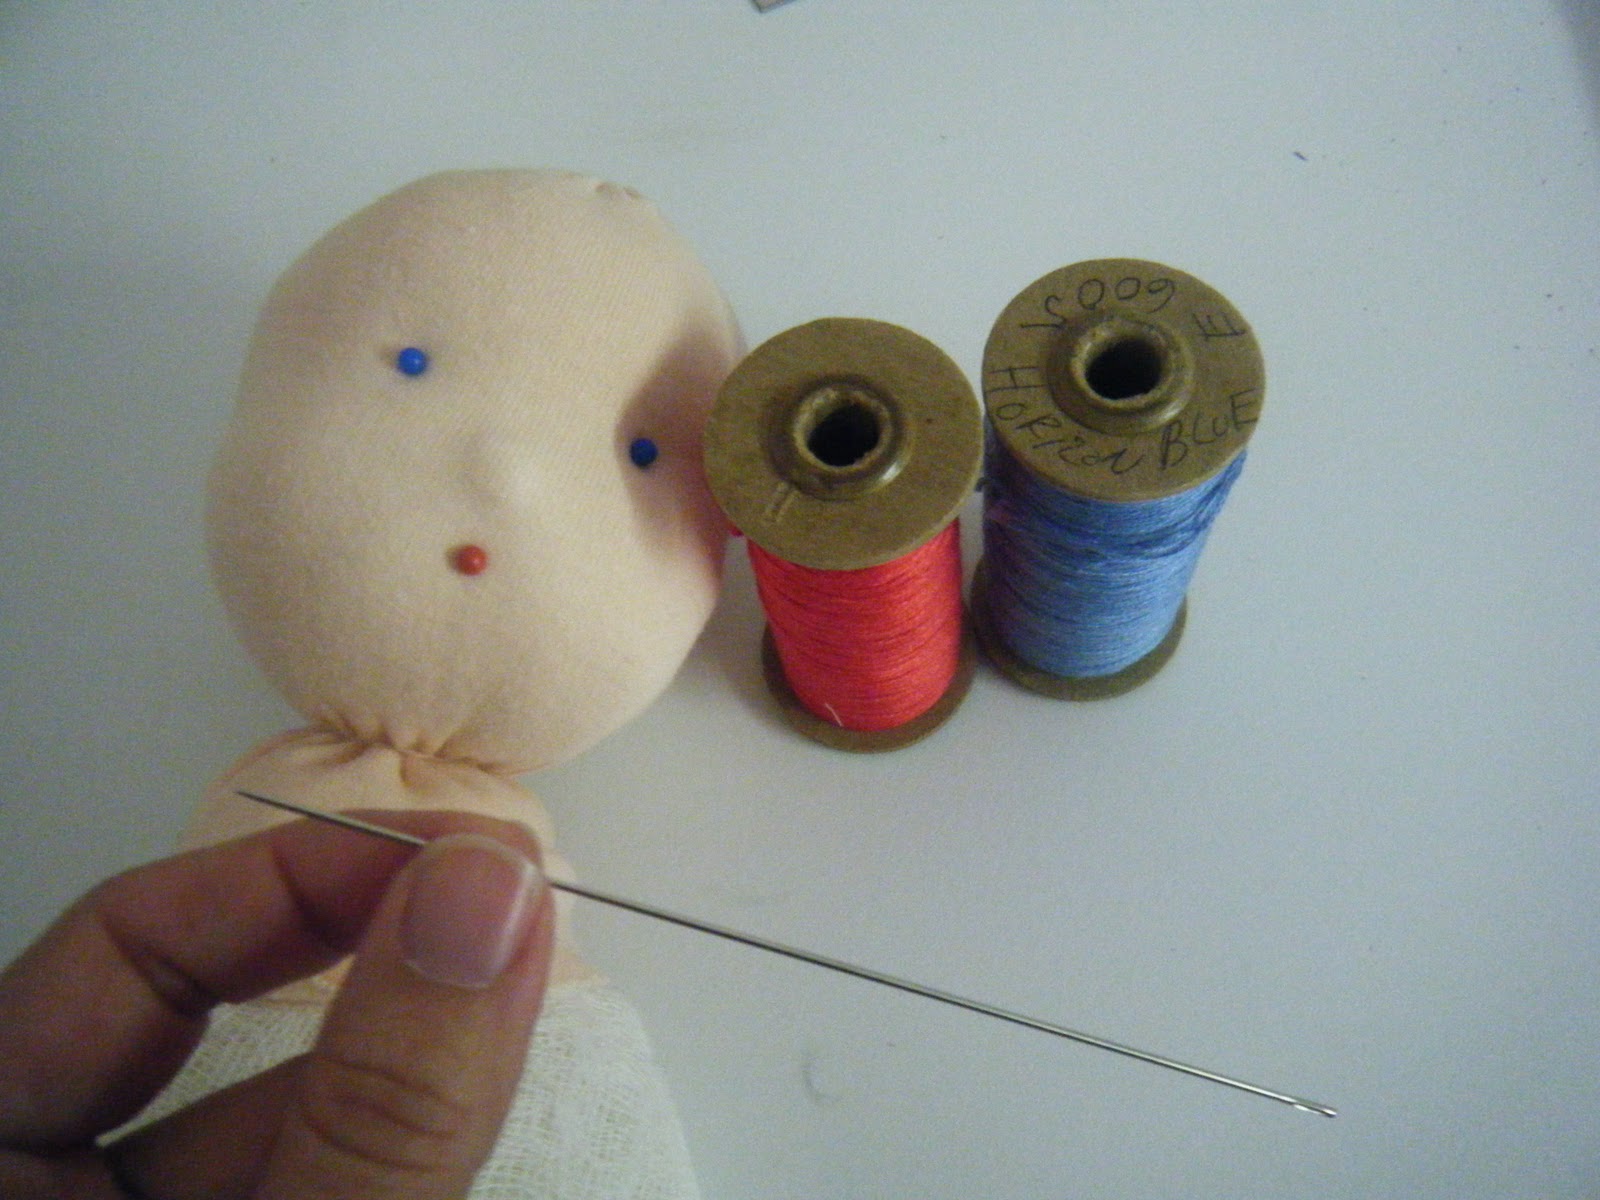
I will use wool from a thrifted wool sweater which I partly unraveled, some very good quality heavy cotton interlock white and beige, some tan and pink Rit dye, a bag of pure wool rovings which I found a few years ago at a thrift store for $1.50 (they probably had no clue what it was), cheesecloth, embroidery thread for eyes and mouth and a doll makers needle (it is super long), some strong cotton string (I used size 10 cotton crochet thread, because that is what I have).
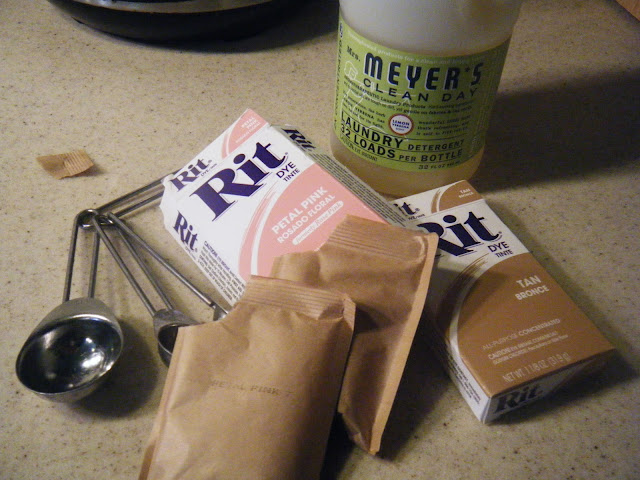
First step was to dye my fabric,used 1/2 tsp of the pink and a tsp of the tan in a big pot of water, a tsp of detergent and it said to use salt but the last time I did that my fabric got hard and this fabric is so buttery and baby soft that I did not want to chance it.
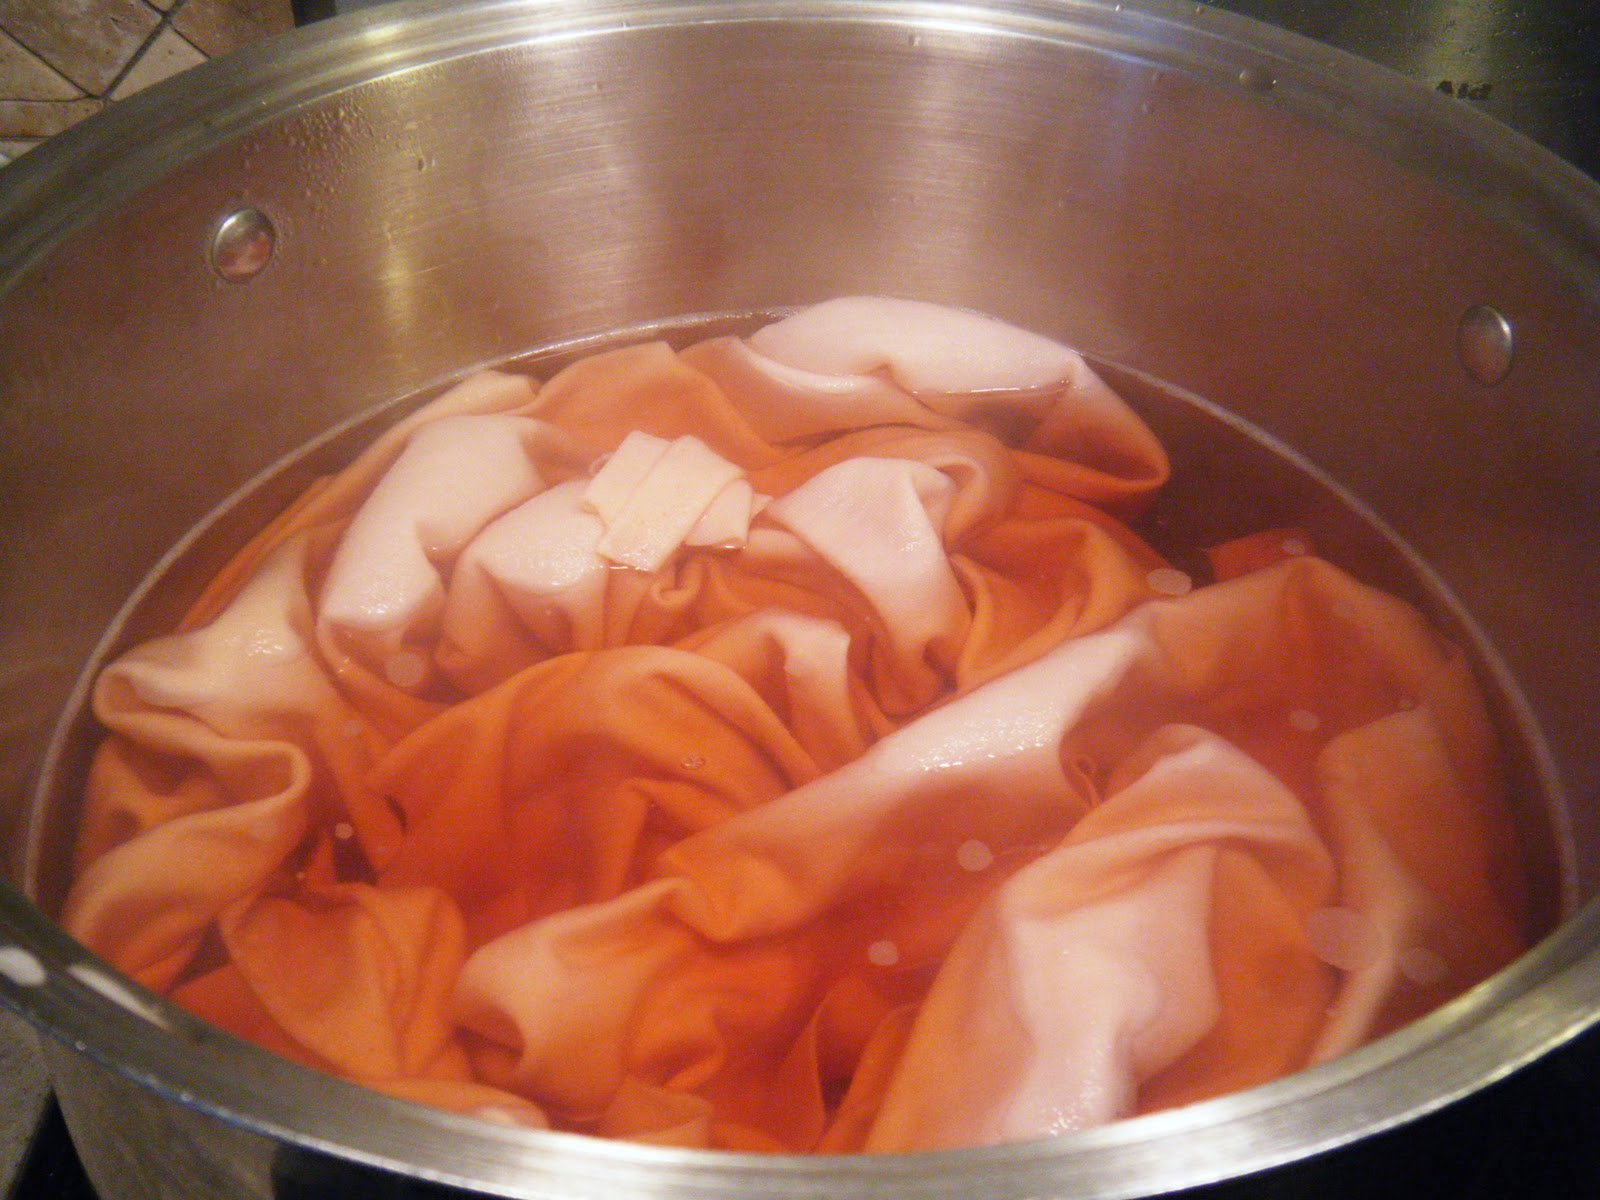
Get the water almost to boiling and then put in your fabric make sure there is enough room to move it around.
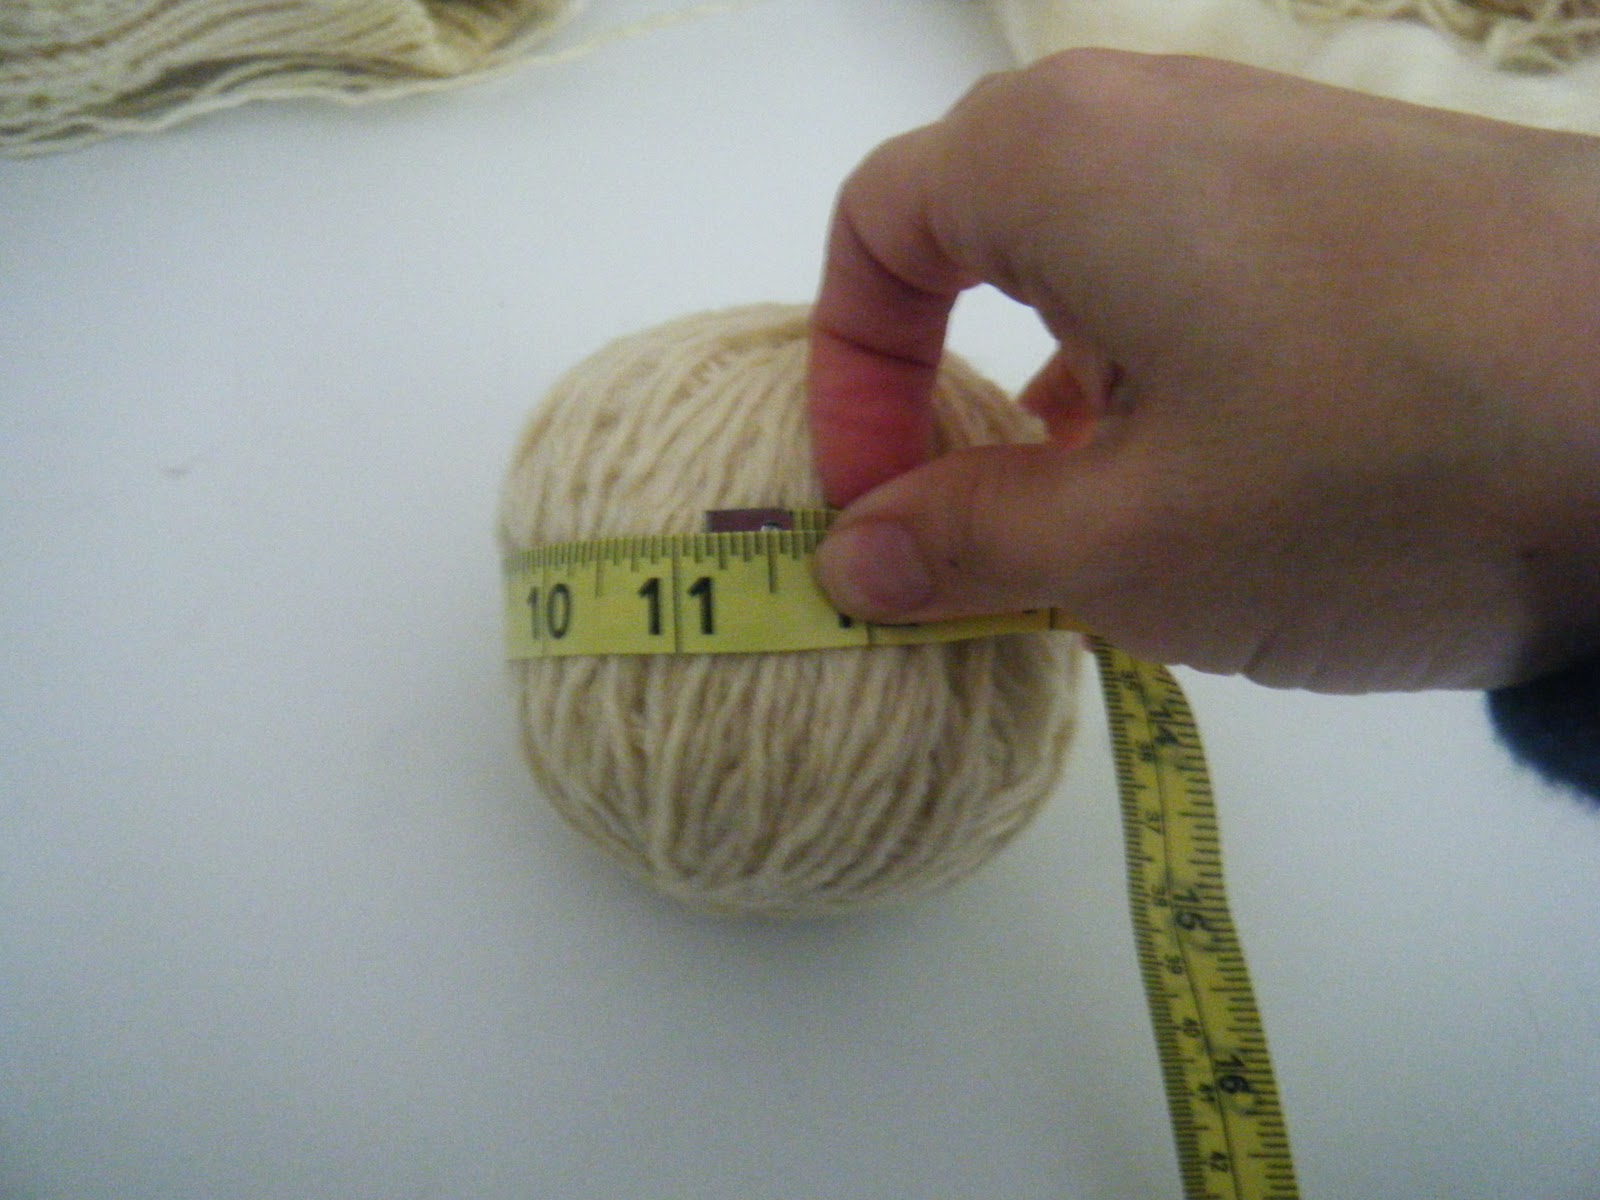
most Waldorf dolls are made by making a ball of wool to make a nice firm head. You must make a firm head or your dolls head will lack definition. Wool is expensive and this worked like a dream and is also made of wool so still authentic and easy. Just make a ball or wool yarn until it reaches 11 inches diameter. Make sure you wind your ball evenly to get it round.
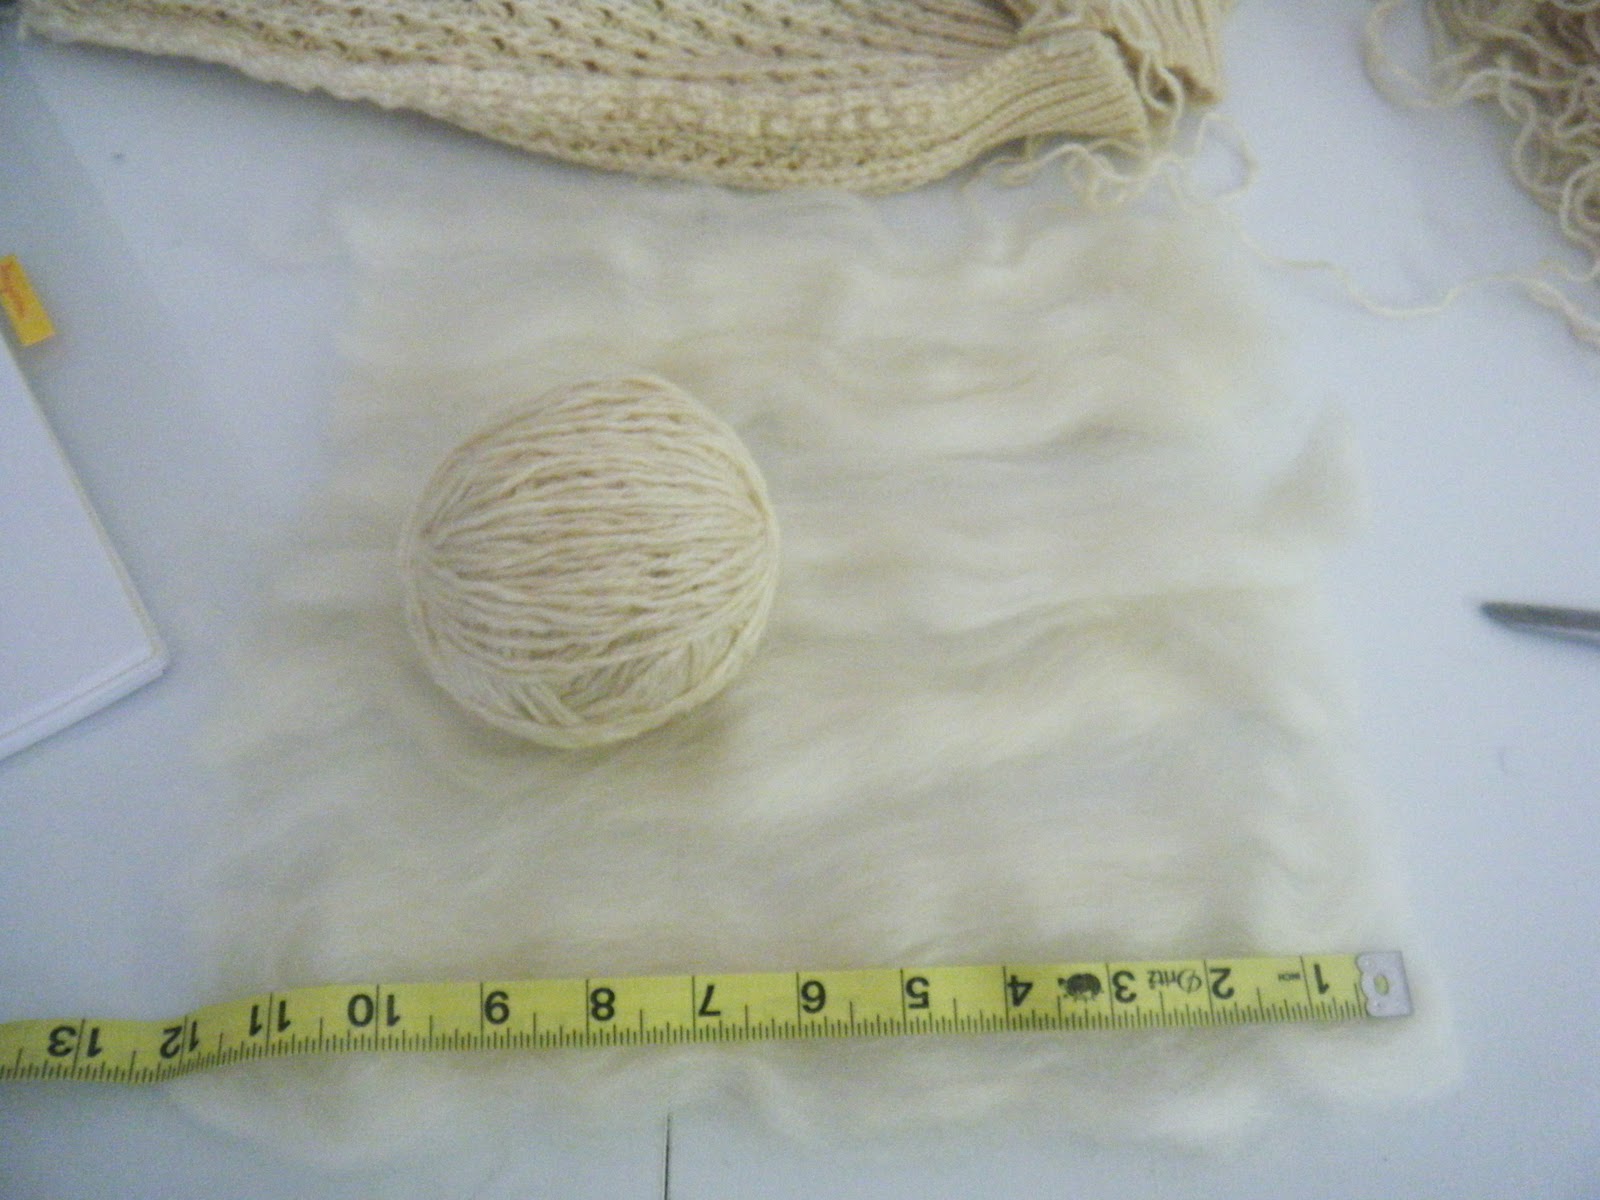
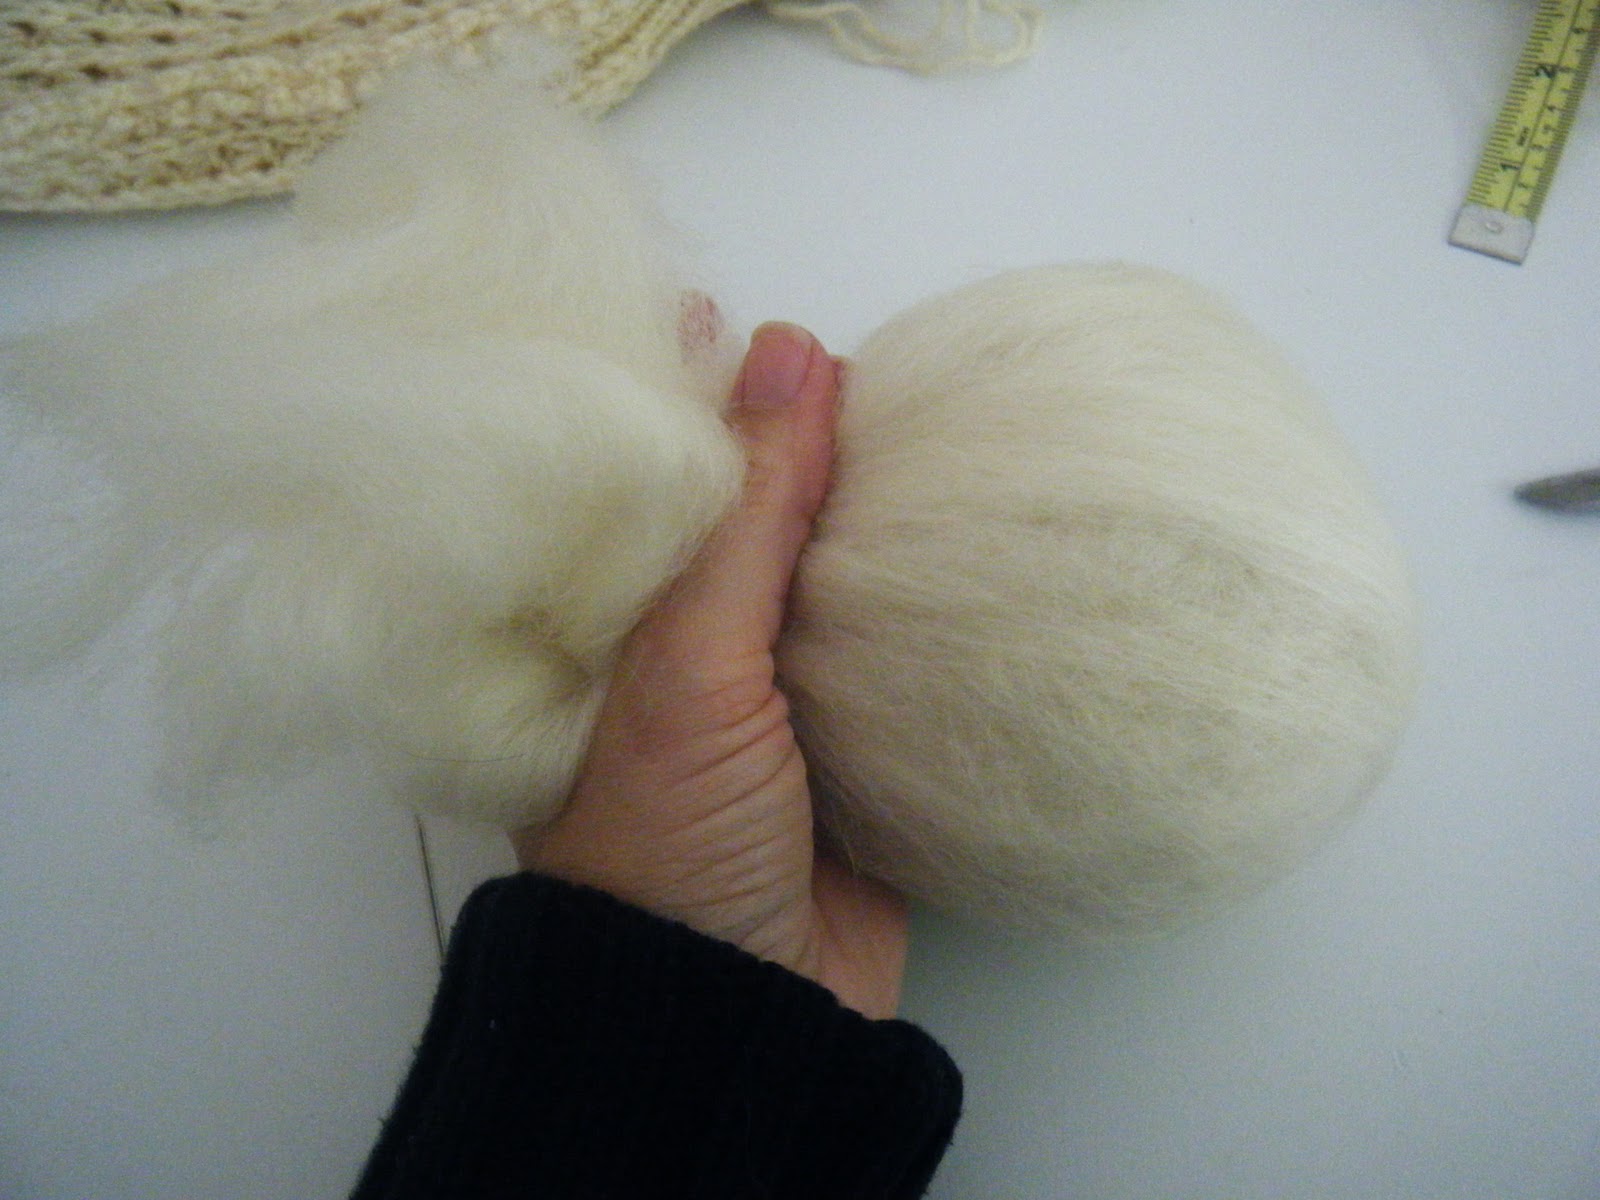
Next we need to pad your wool bad in order to get a nice smooth head. I layed out my wool roving in a 12 by 12 square, put my head in the middle and wrapped it pulling it tight around the wool ball.
Next I took my cheesecloth which is two layers thick, wrapped it around to see how wide it has to be to go around and sew a tube that size. I ran a thread around the top and pulled it tight so now it looks like you have a cheesecloth sock.
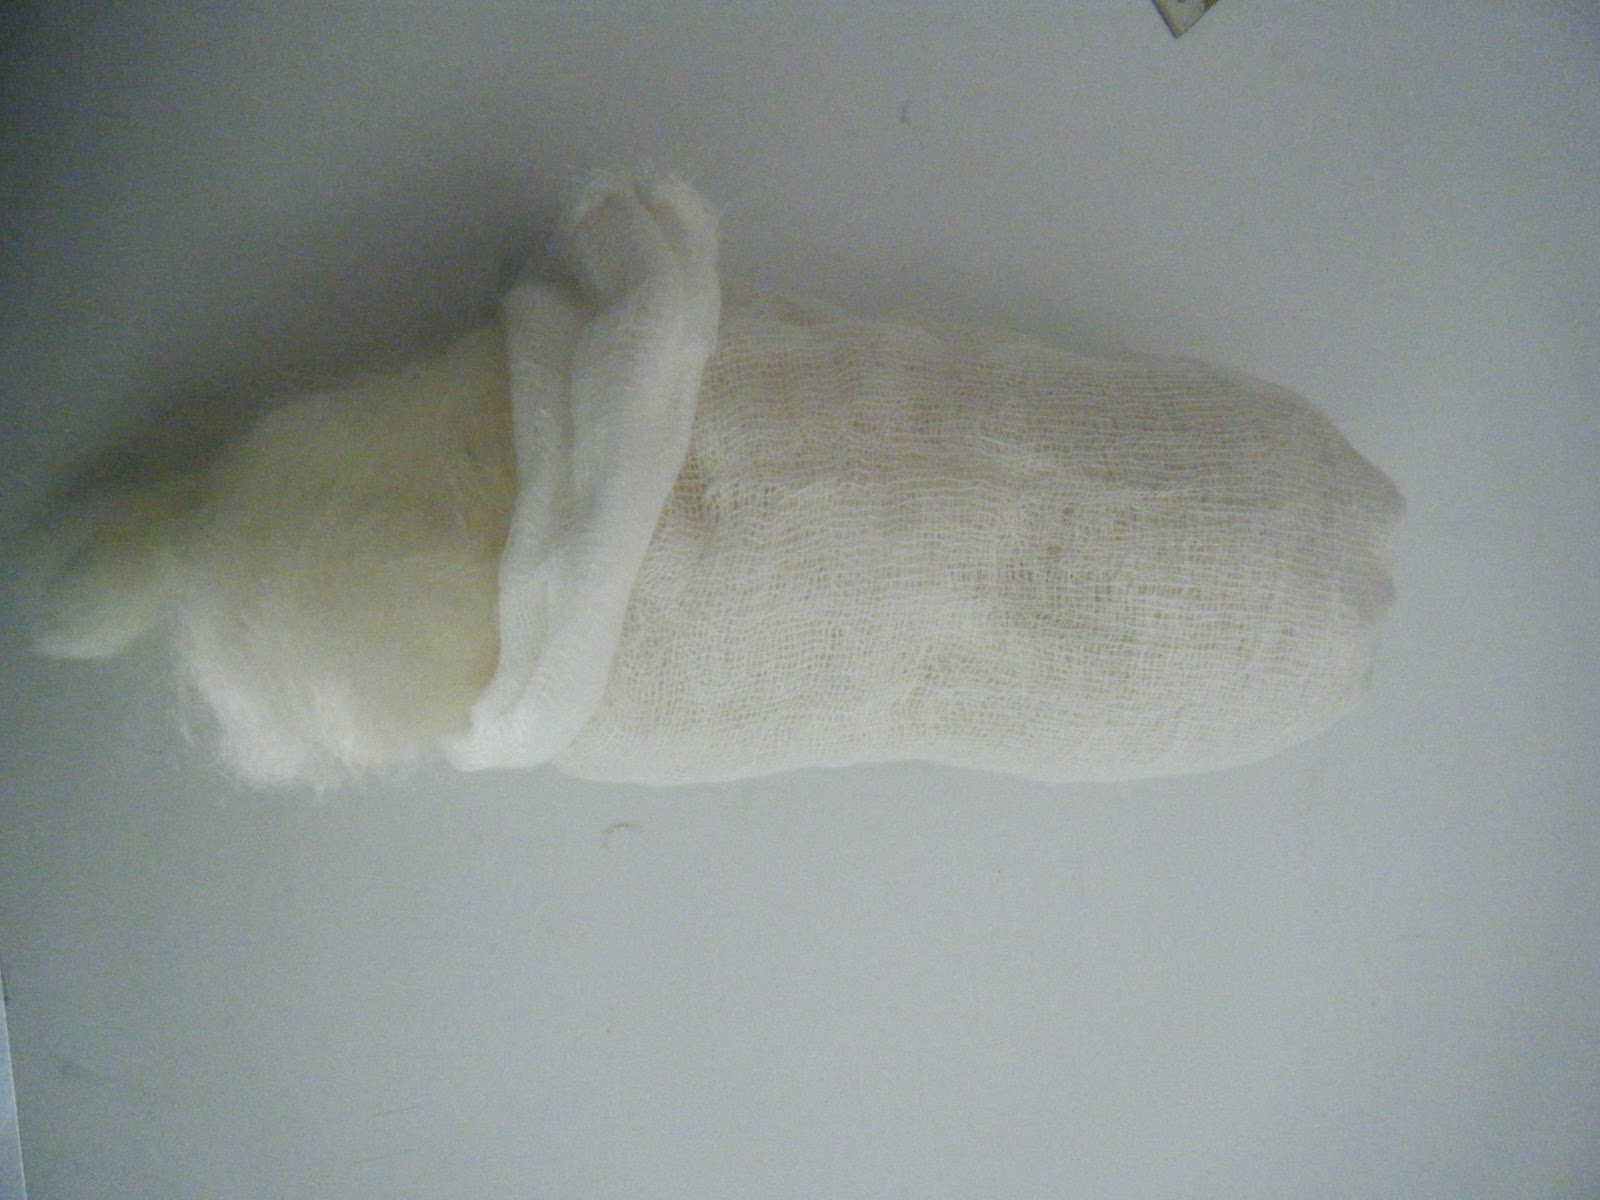
Stuff your wool into the cheesecloth sock.
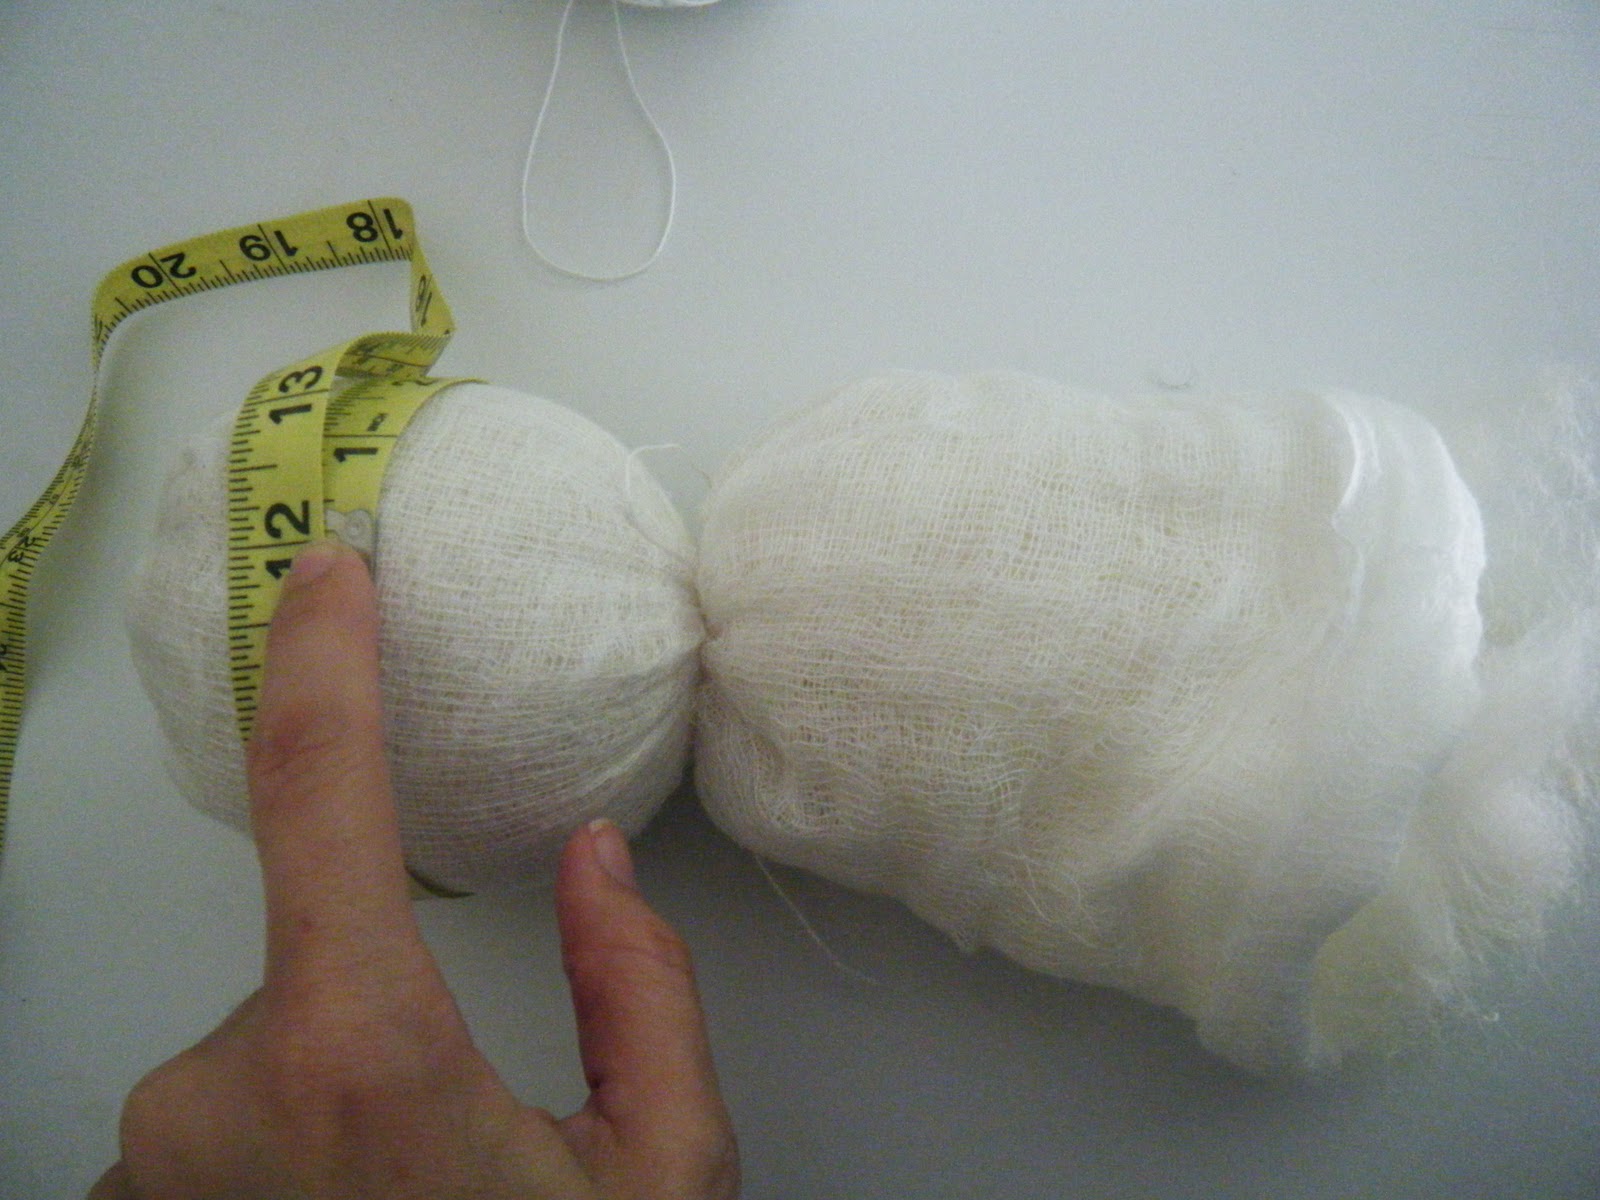
measure to make sure that your head now measures 12 inches around and then tie it off tight under the ball leaving the rest of the wool hanging underneath. This will be your neck ball which makes the head not wobble around later on.
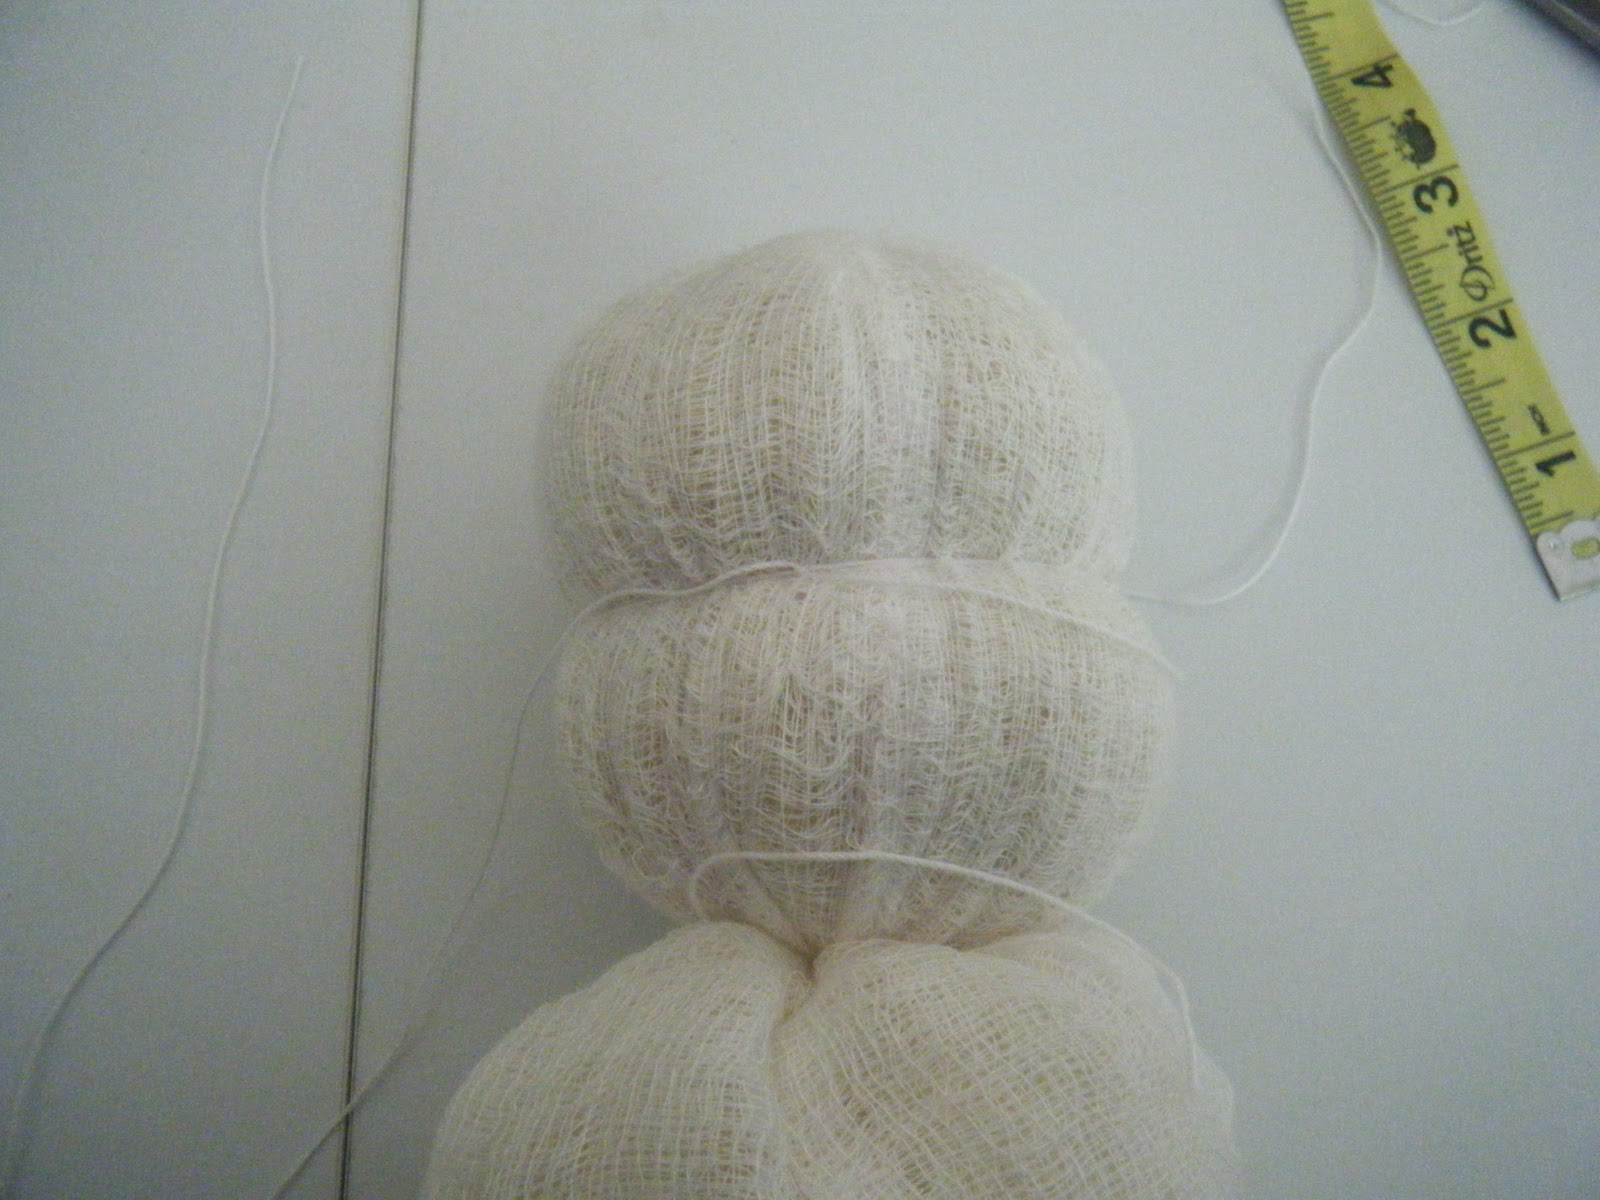
Now cut 30″ of your cotton string and tie around the center of the ball going around twice and tightening to make an indentation around. This is your eyeline and will also create the cheeks.
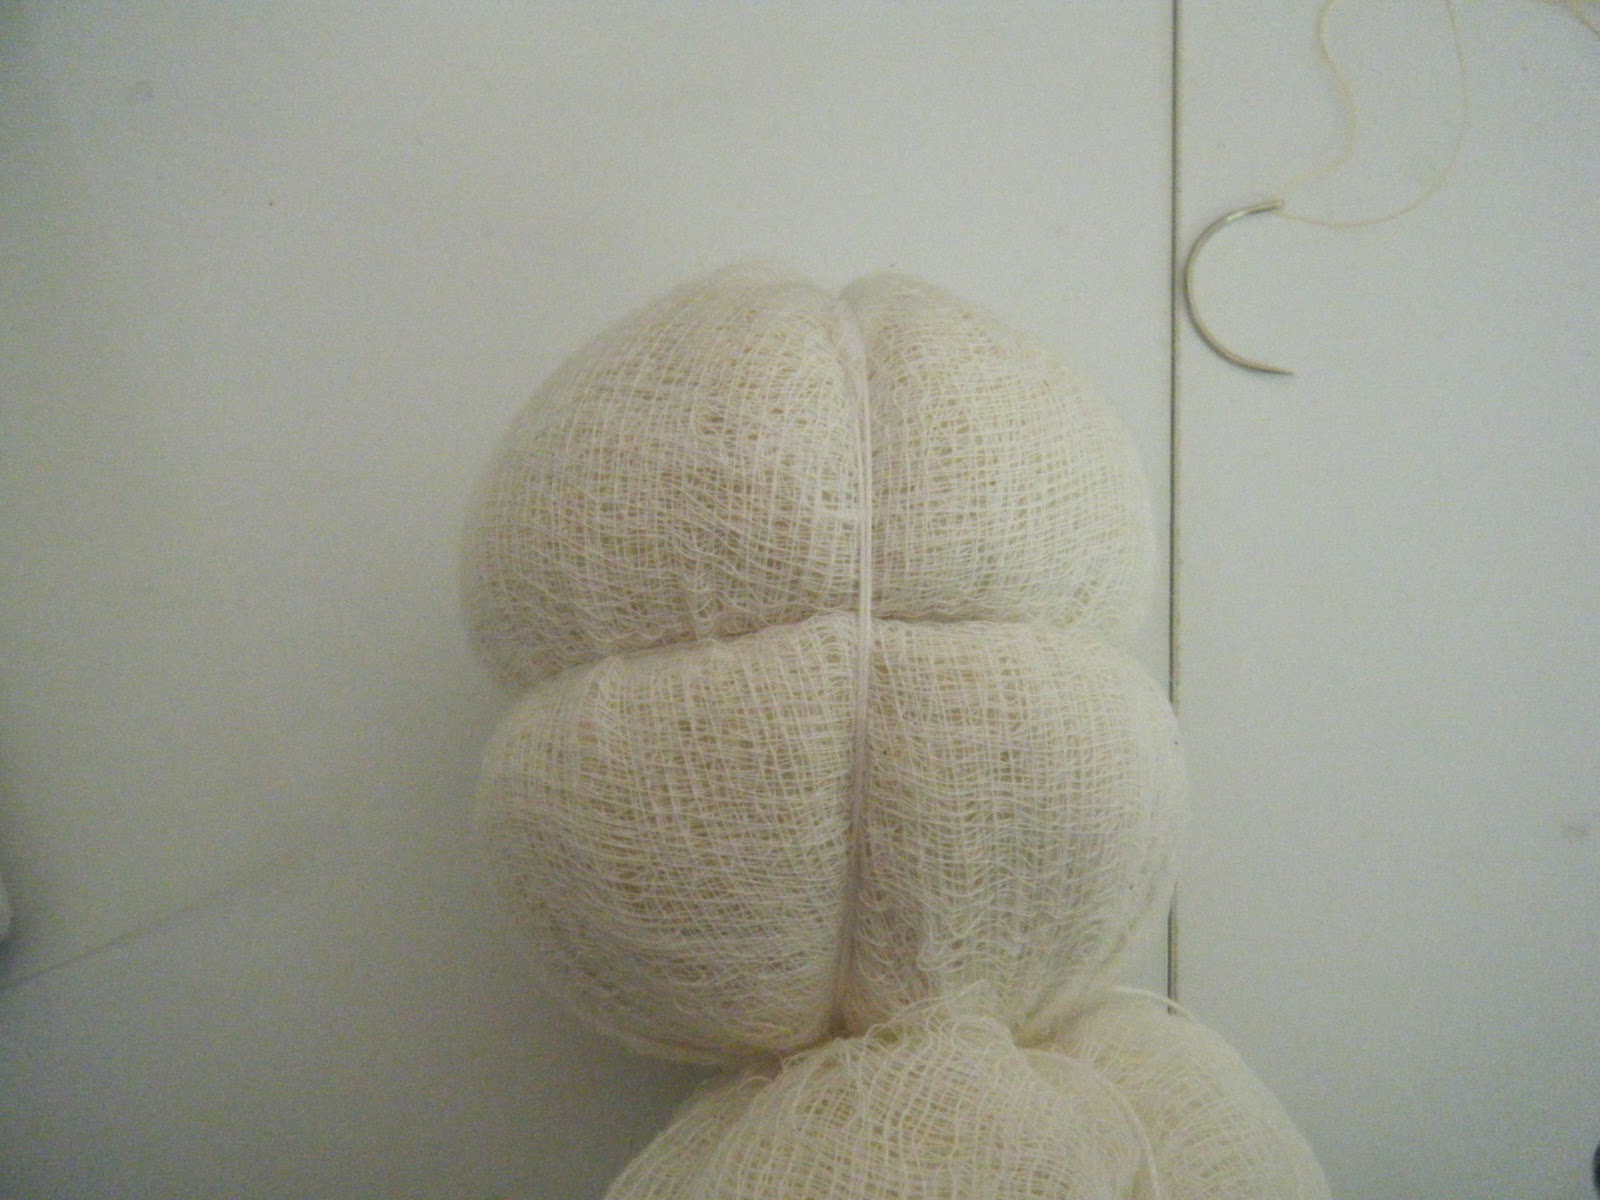
Next take more string, same length and tie around from top to bottom or from the top of the head to under the chin. Tie around twice and tighten but not as much as the eyeline to make an identation. If you are having a hard time tightening enough you can wet your string and try again. The wet string is easier to pull tight.
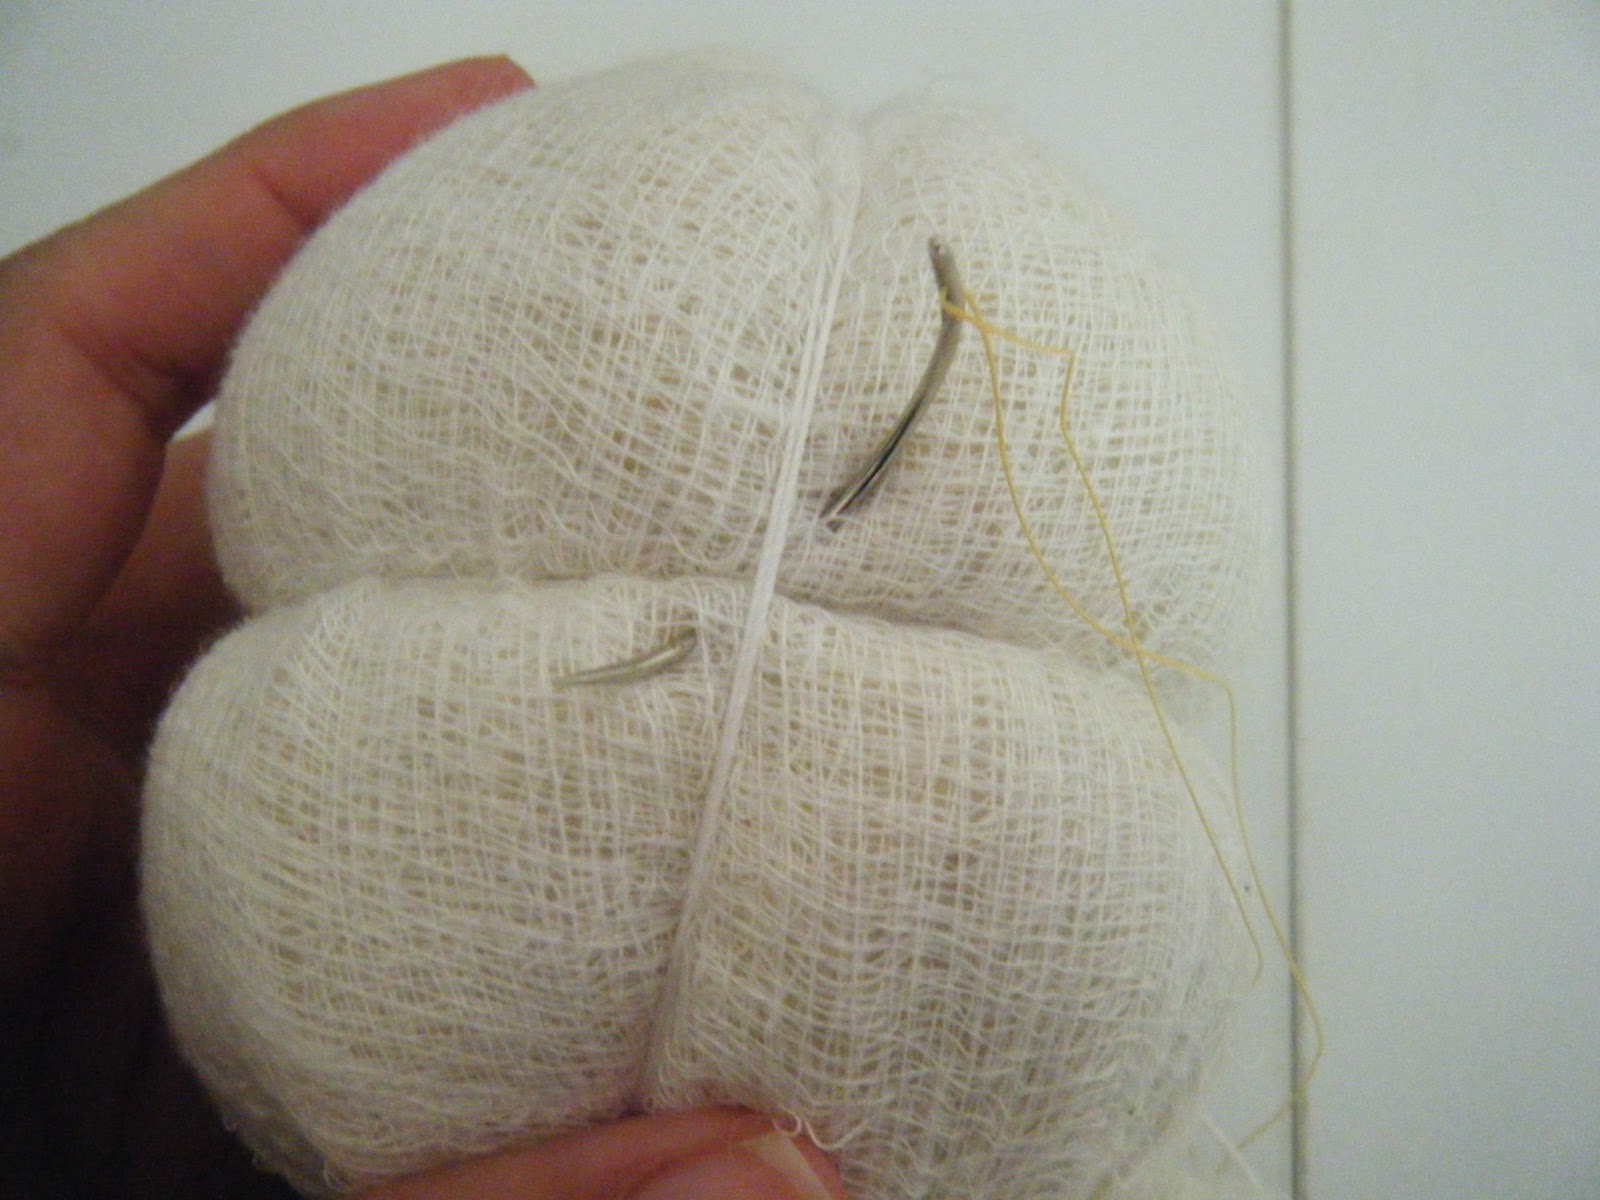
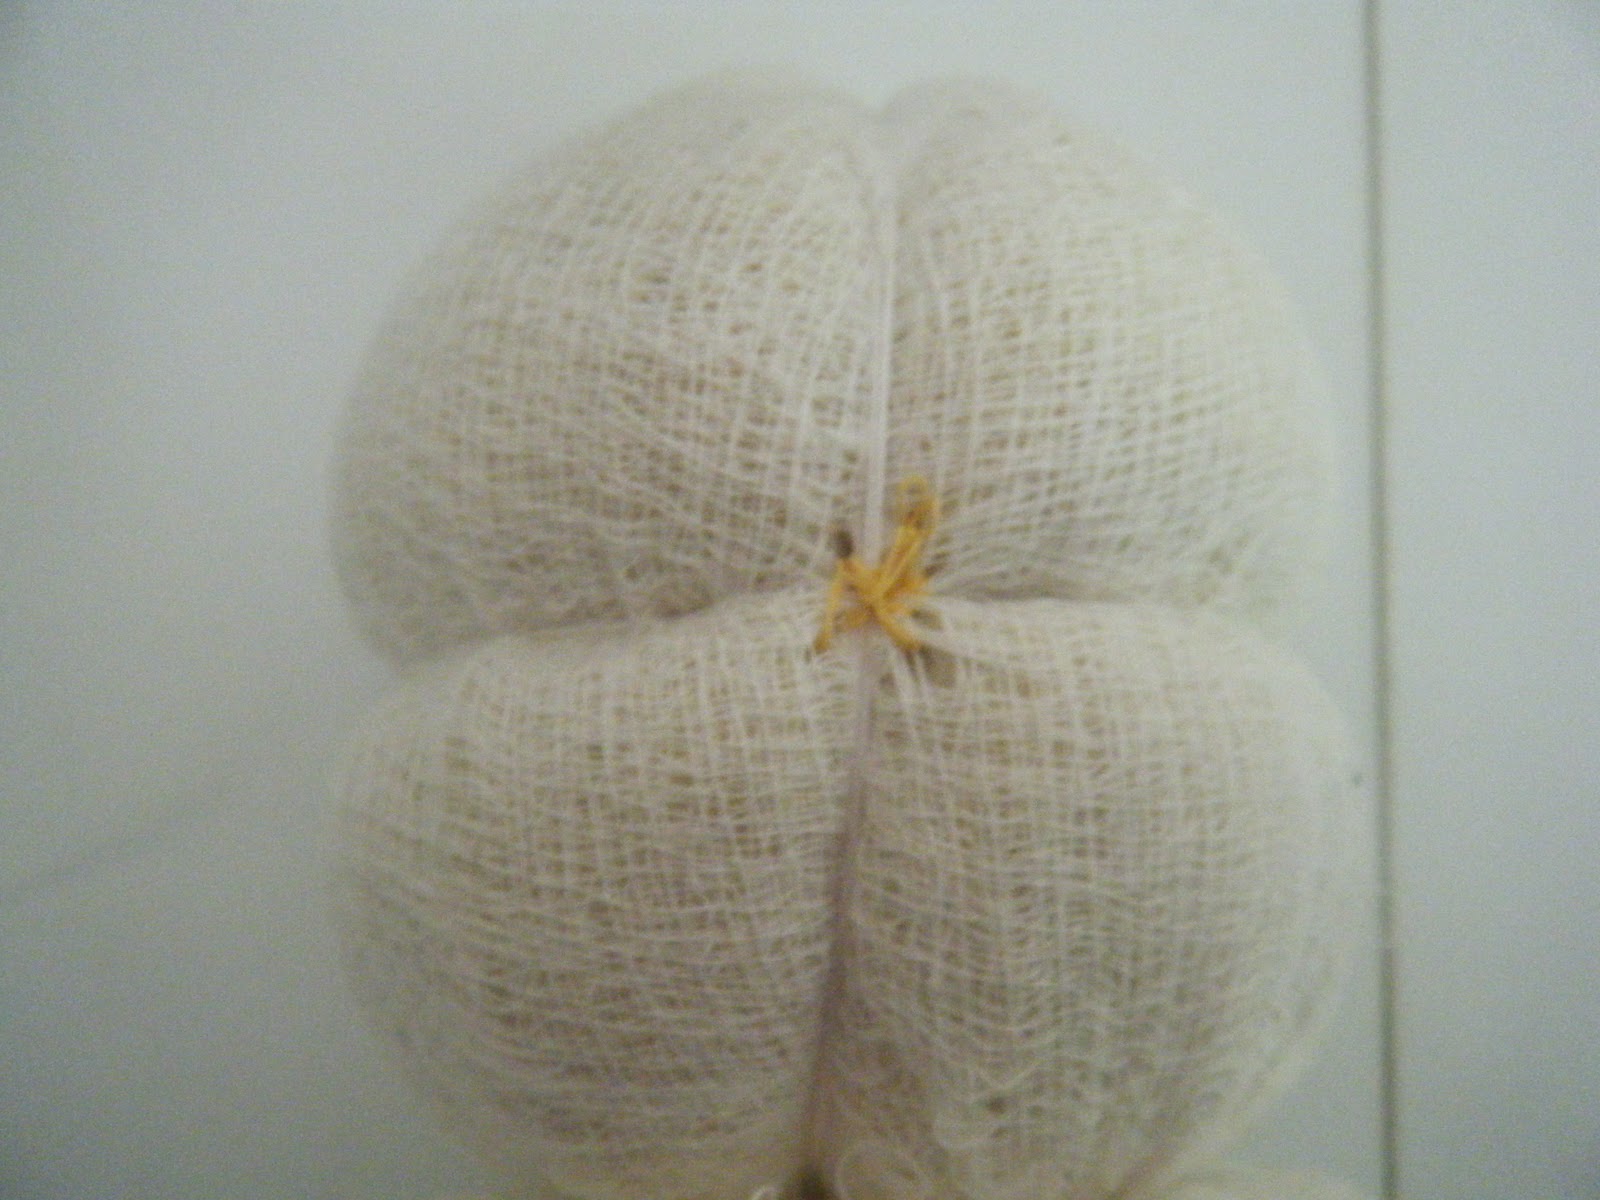
Turn your head to the side and find where the vertical string meet the horizontal strings and secure the points by sewing an x over them picking up a little bit of the wool underneath.
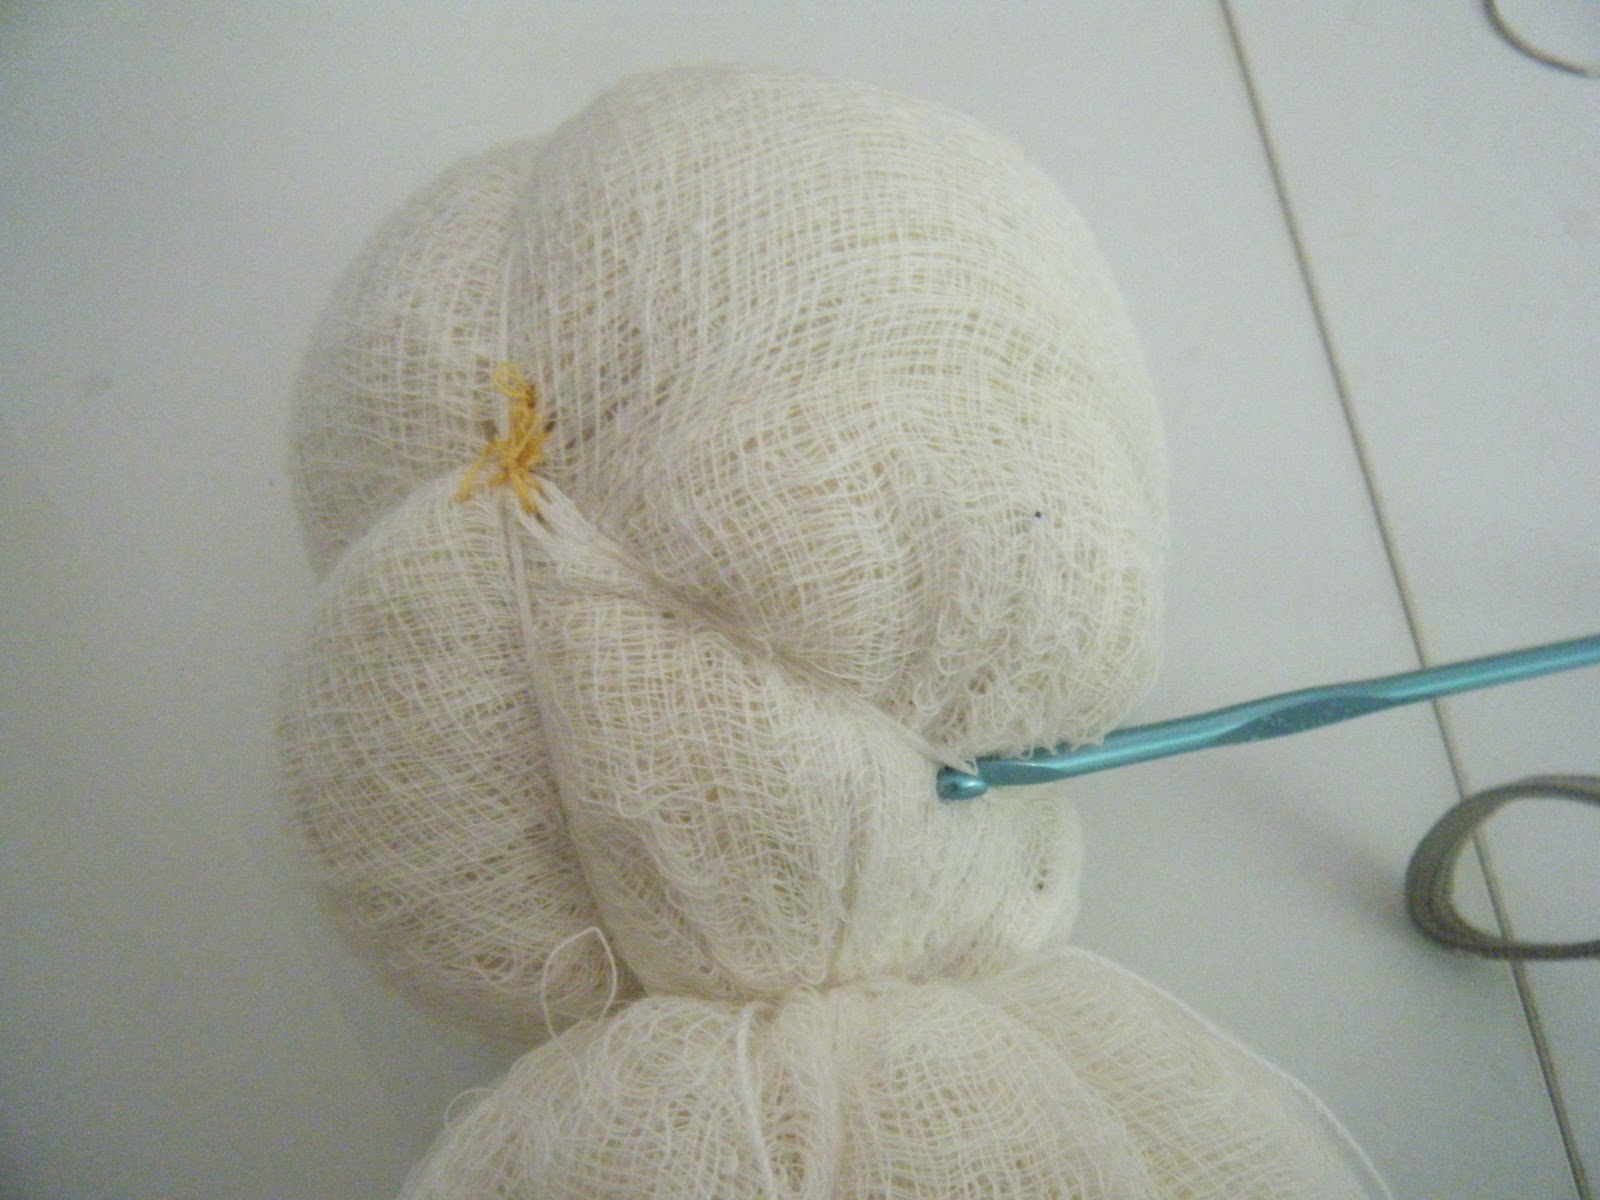

Take the string at the back of the head and pull it downward toward the back of the head. I used a crochet hook to gently push and pull it downward. Secure it with a few stitches.


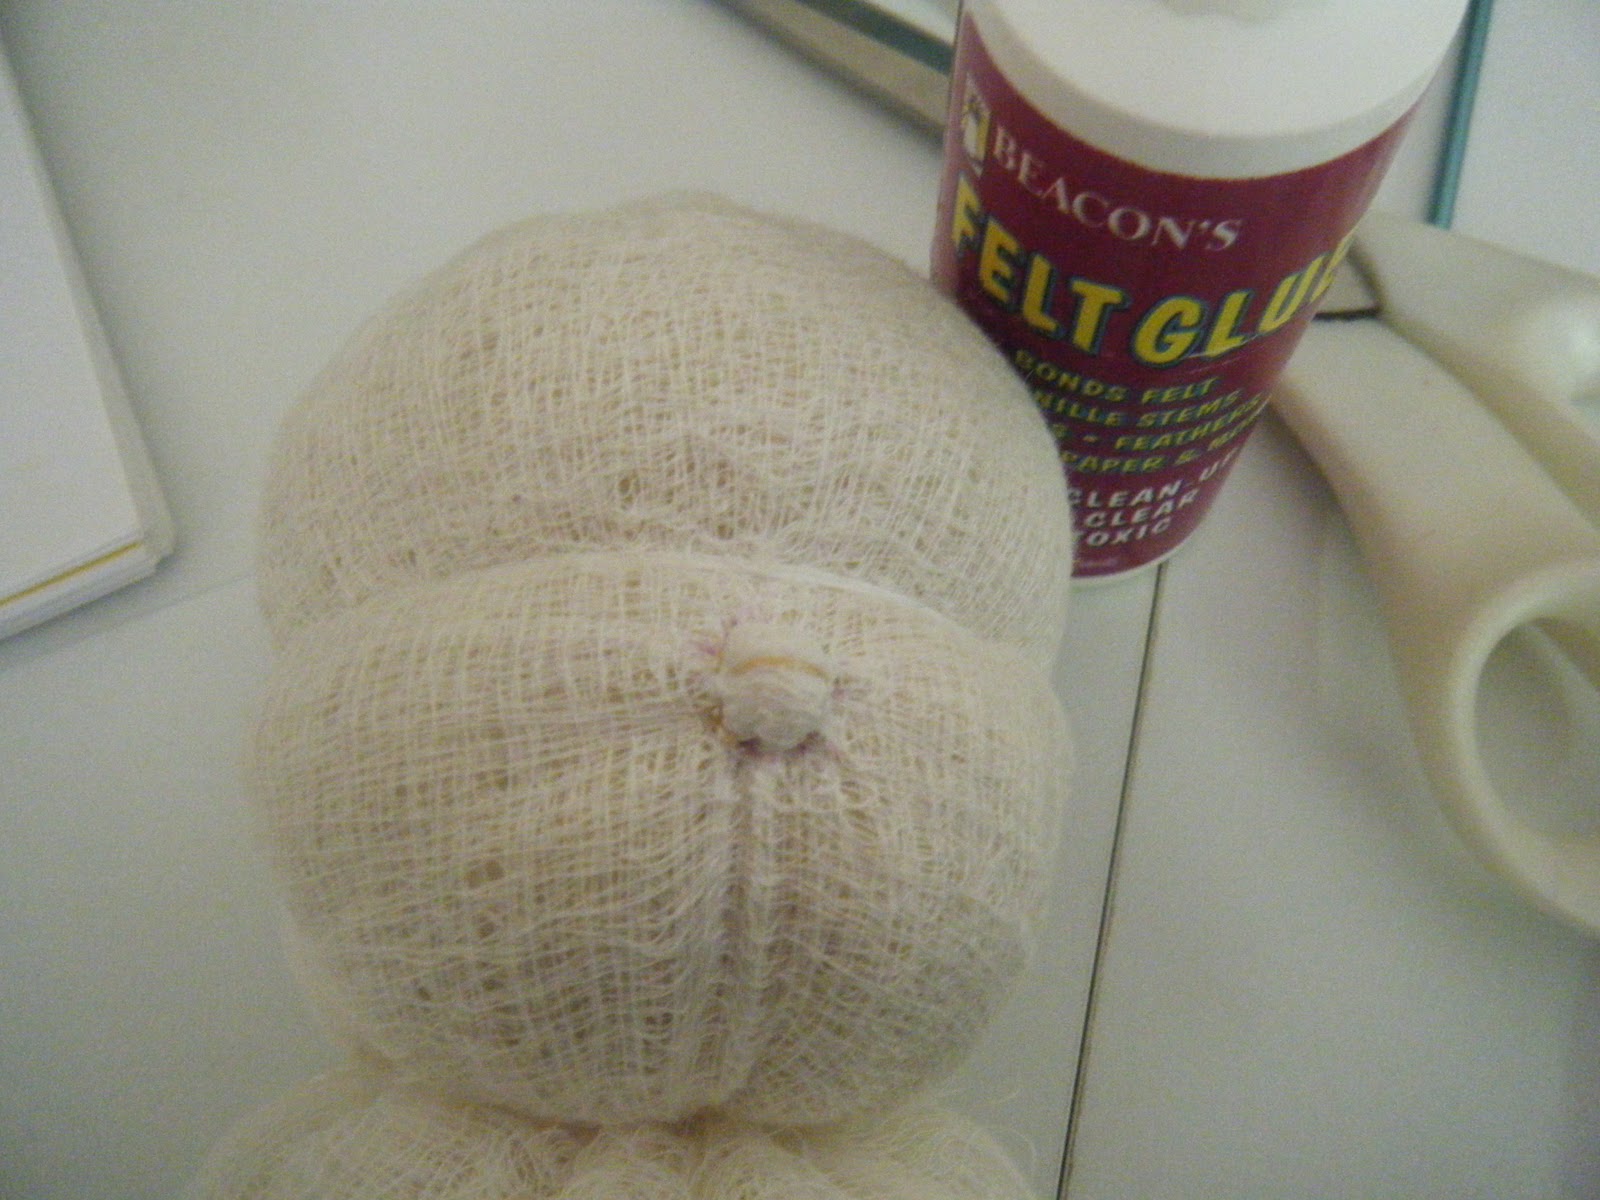
If you want your baby to have a nose (not all Waldorf babies have a nose) just draw a circle where you would like your nose. With thread and needle make stitches around the nose in a clockwise circular pattern like this. Start at 3:00 put your needle in across and come out at 9:00. Move to 10:00 and come out at 4:00, pull gently, Move to 5:00 PM come out at 10:00. Move on to 12:00 and so on, repeating the pattern until you go all the way around. Pull your thread and the wool will draw up into a little ball. Put a little glue to hold the shape of the nose and let it dry.
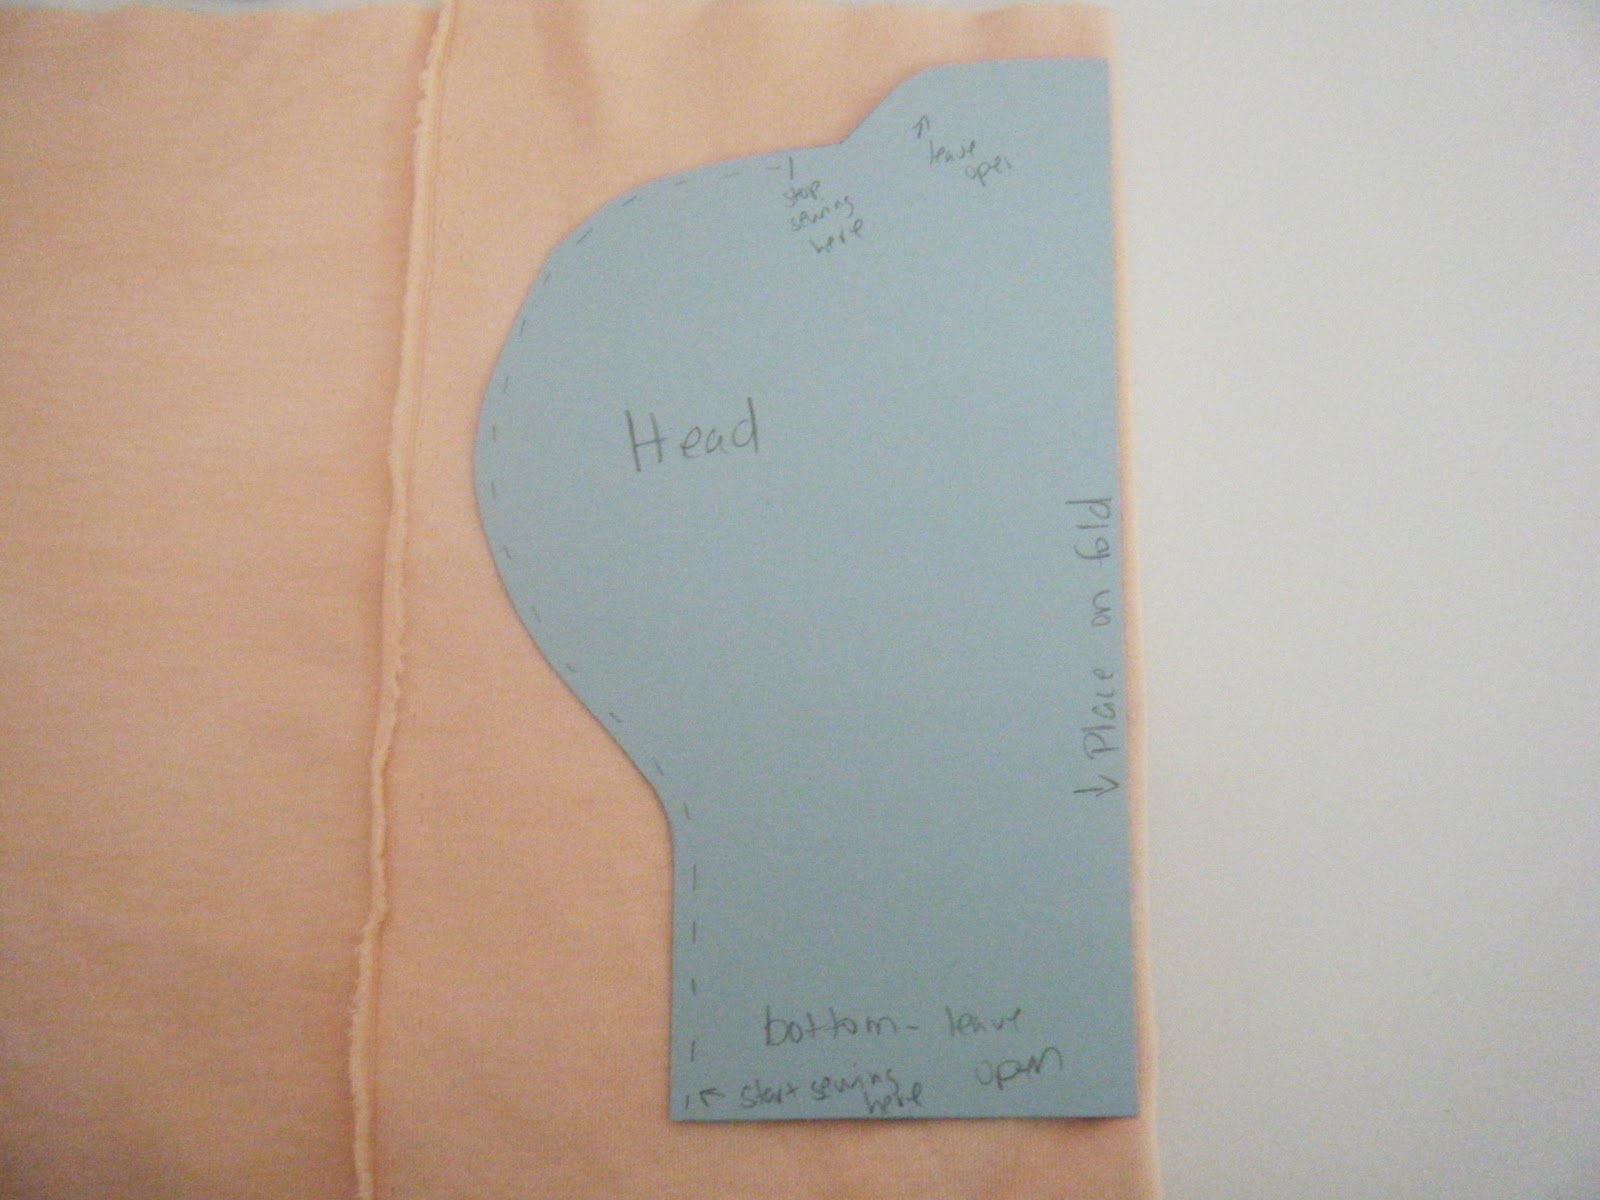
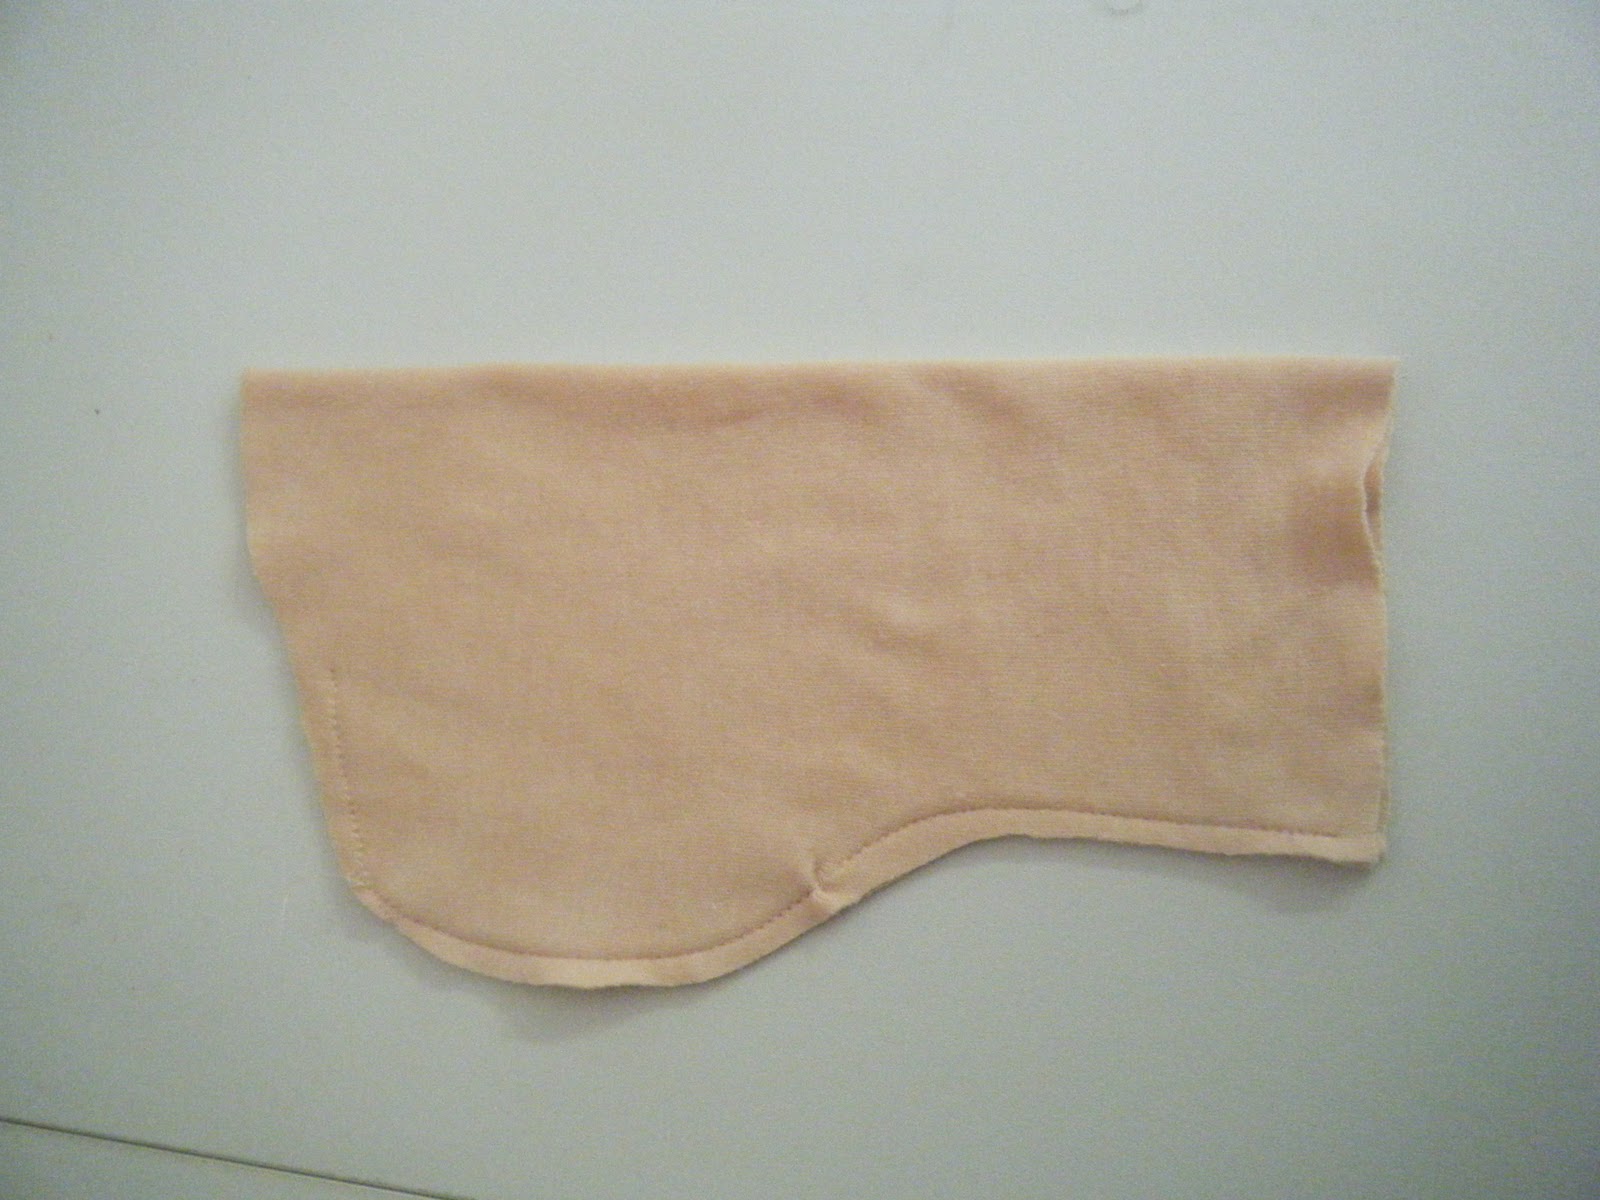
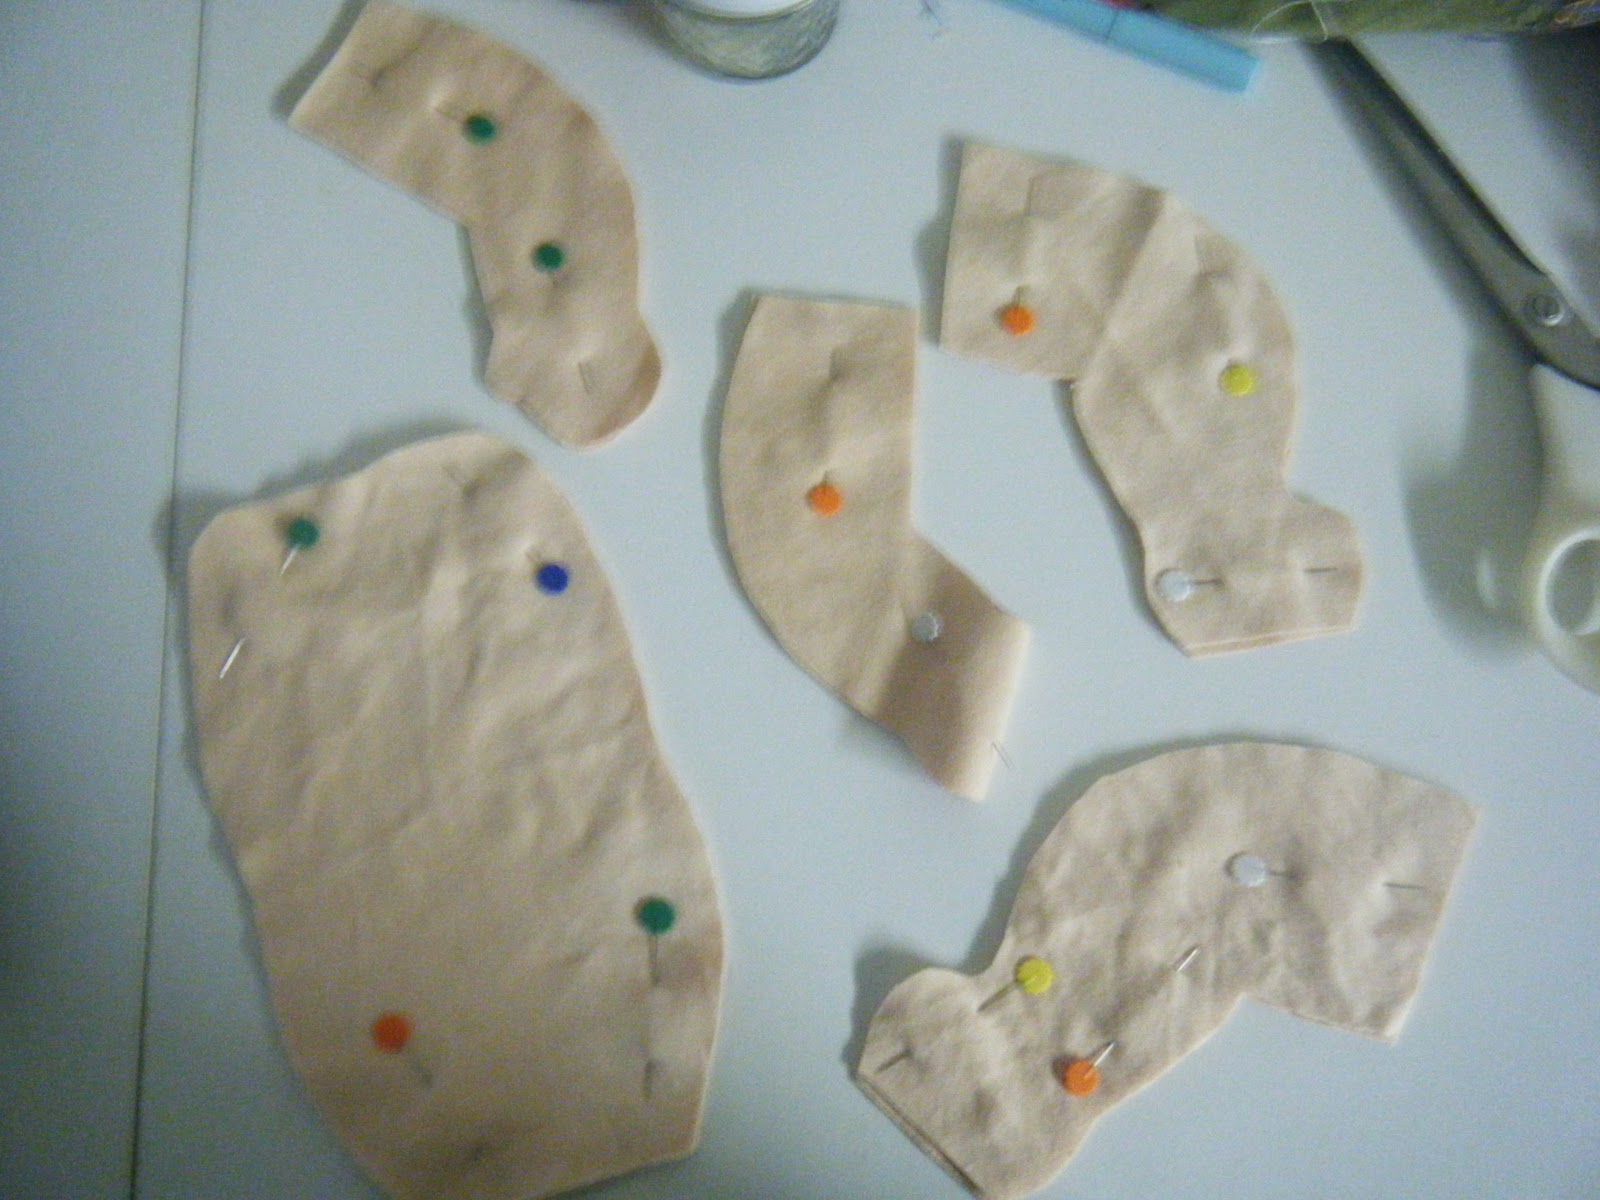
Place your pattern or just draw on like mine on your fabric on the fold, sew it and turn it right side out
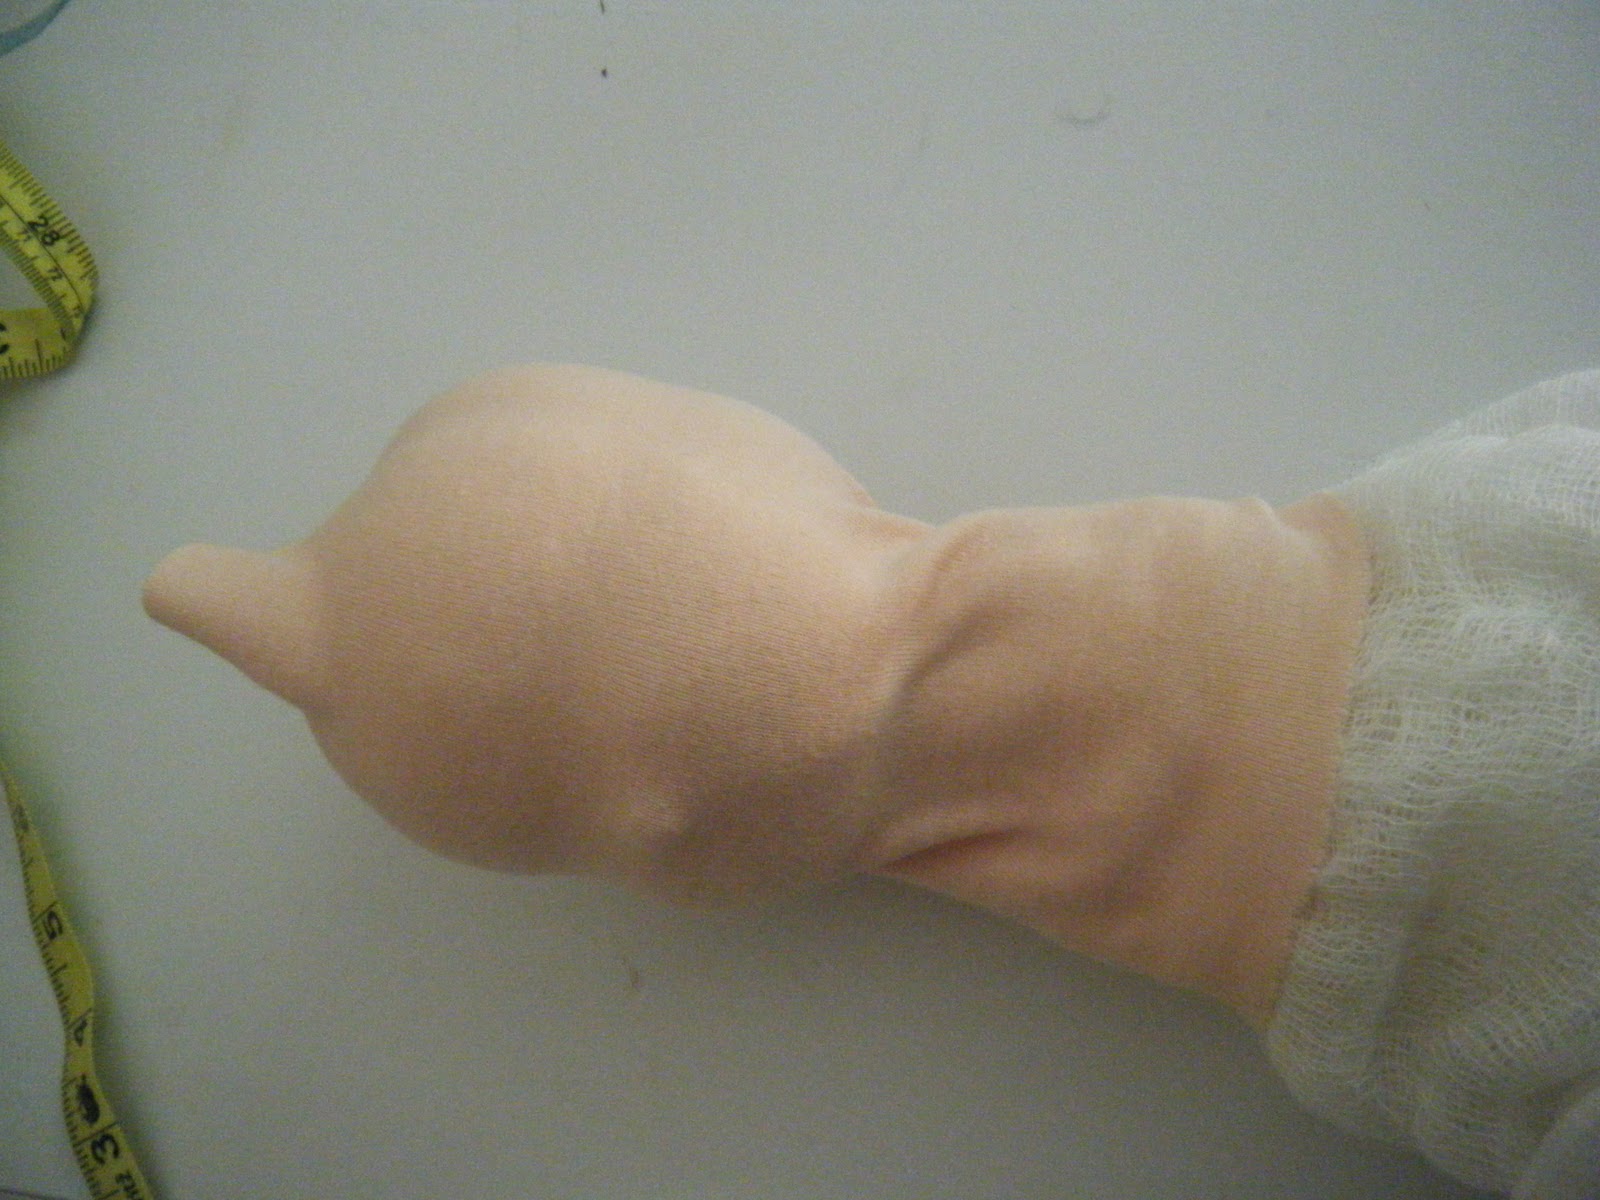
Pull it over your wool formed head with the seam centered on the back of the head.

With a needle and thread, sew a running stitch around the top opening folding the top 1/8th inch of the fabric under first.
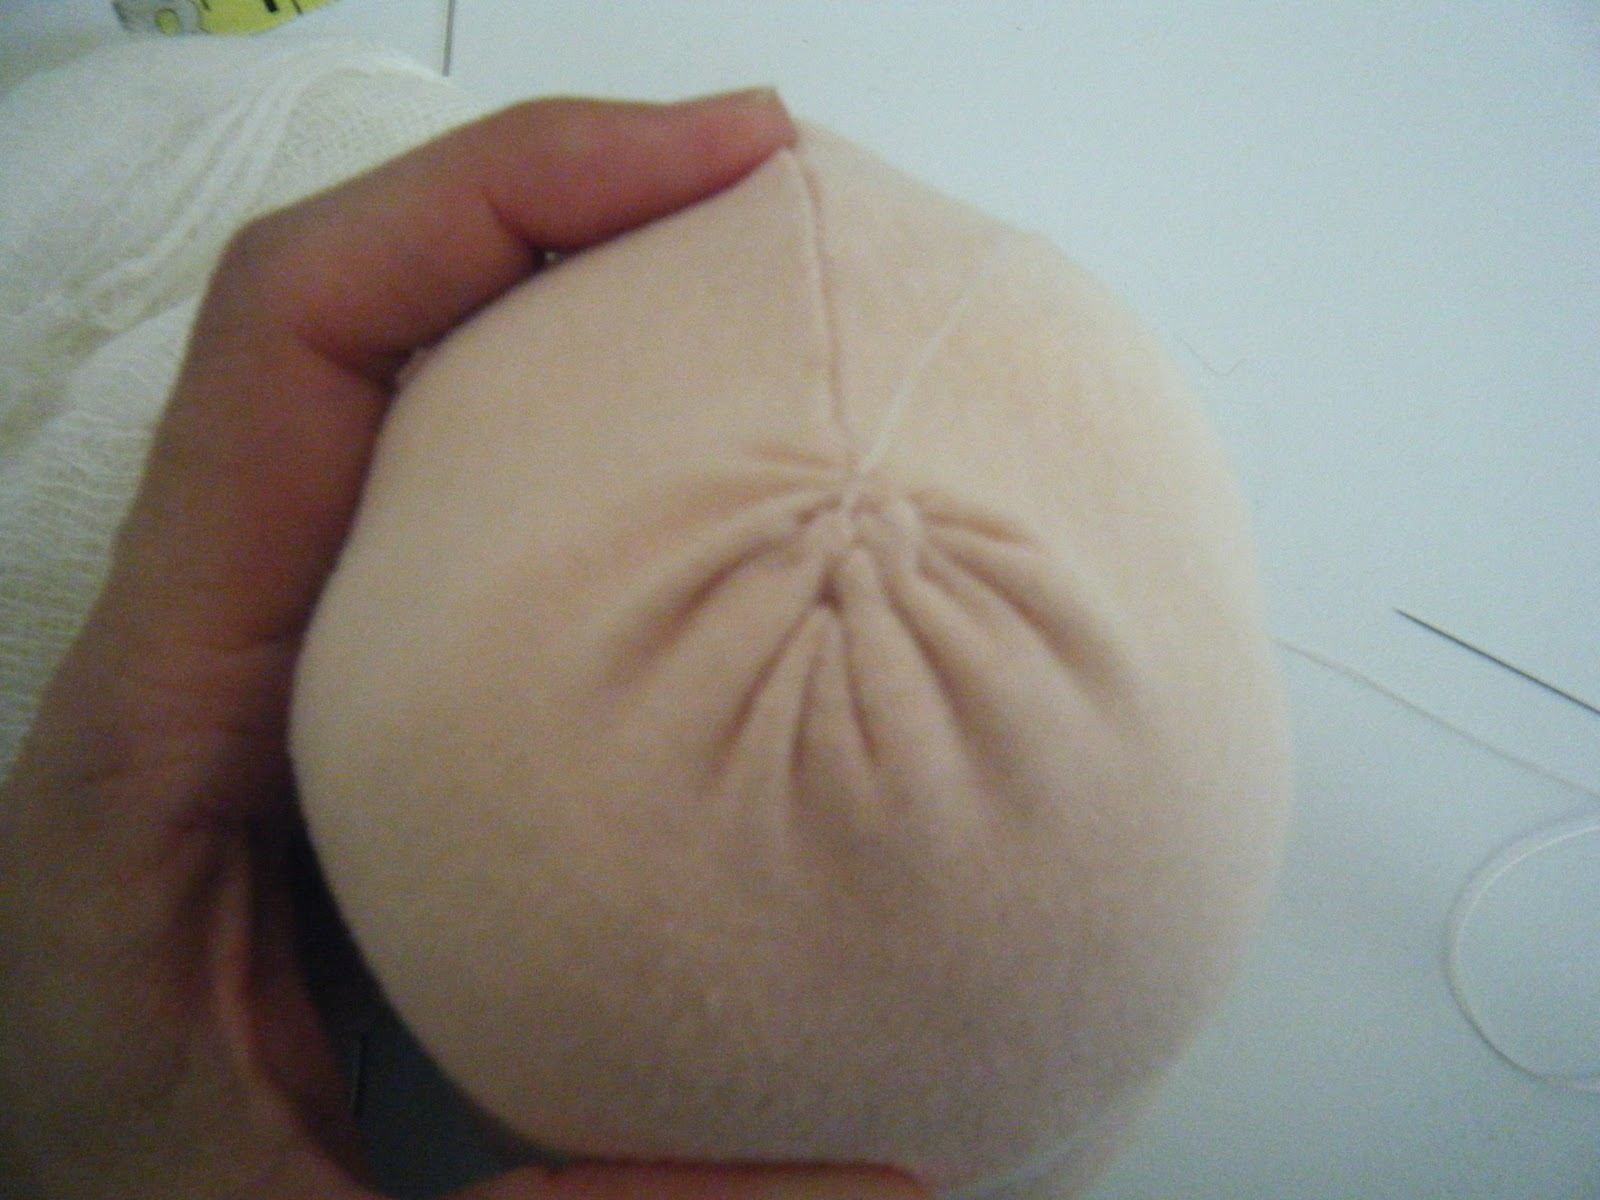
Pull the thread to gather and tie off with a knot.
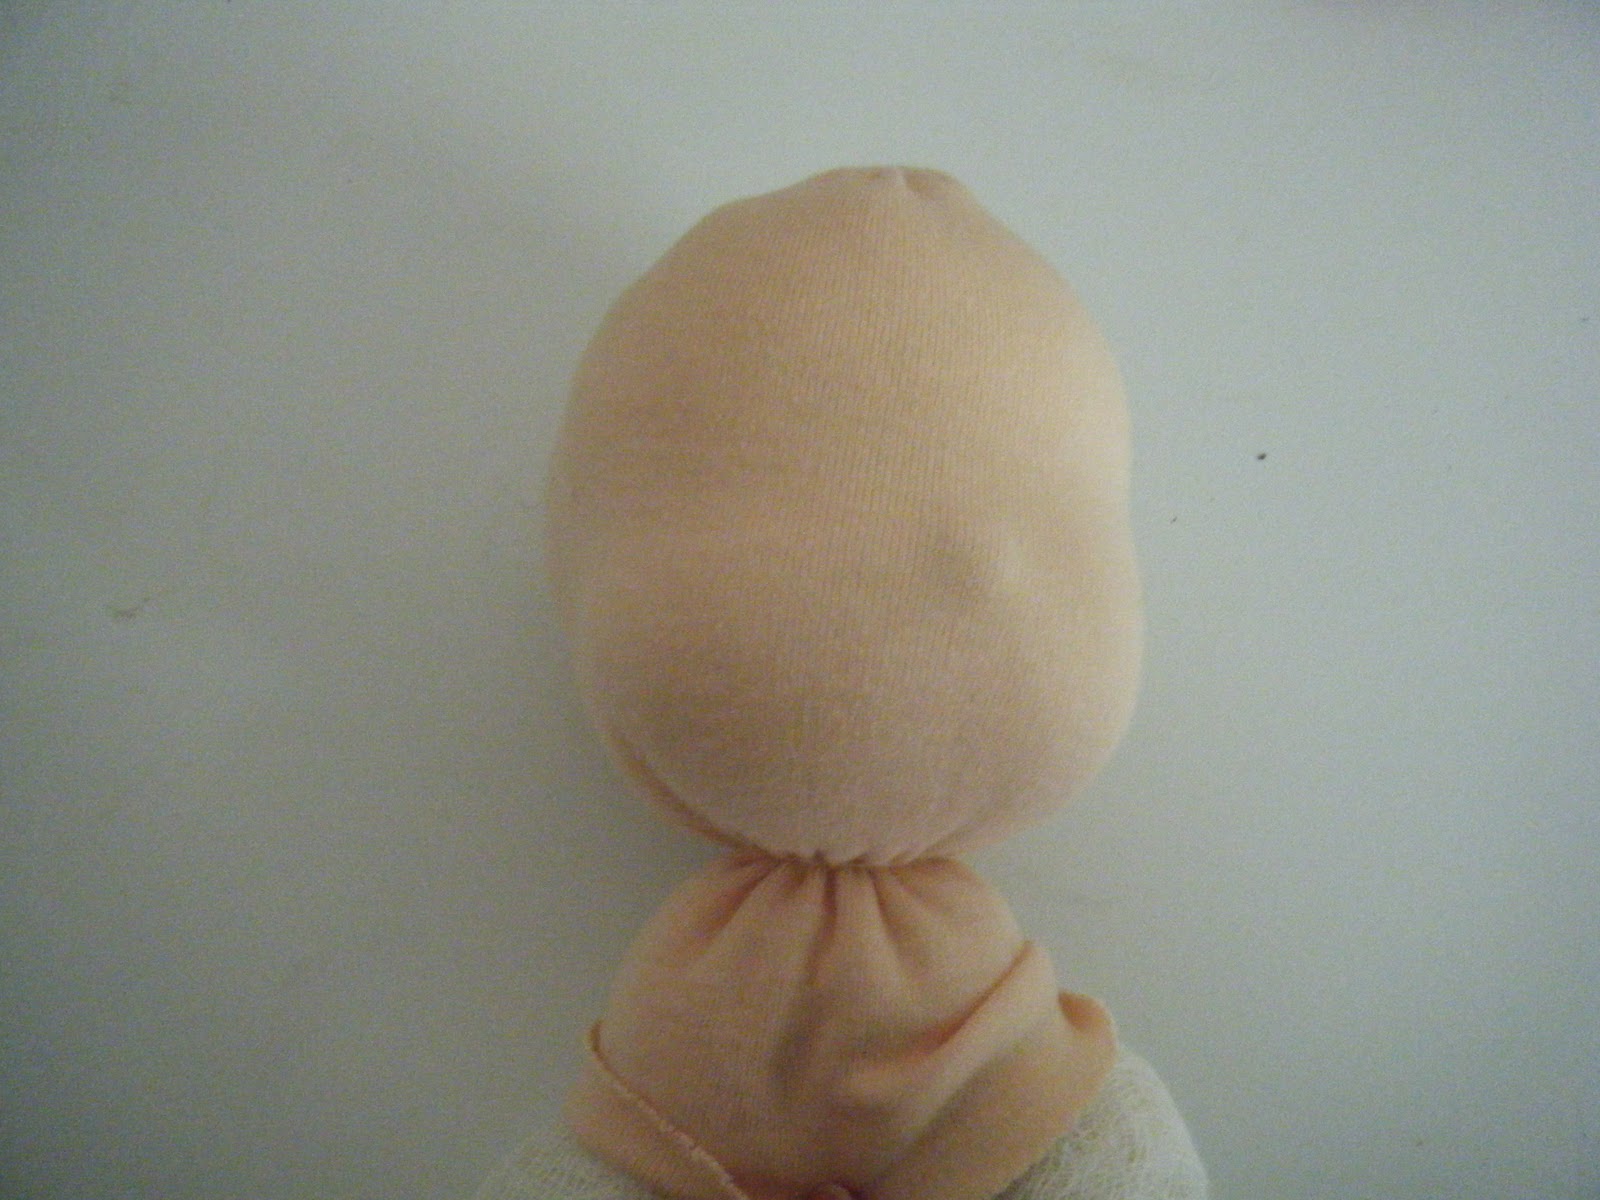
Cut a length of 12″ heavy cotton string and tie tightly around the neck making sure the keep the dolls face and cheeks free from wrinkles by pushing the big wrinkles to the back of the neck.
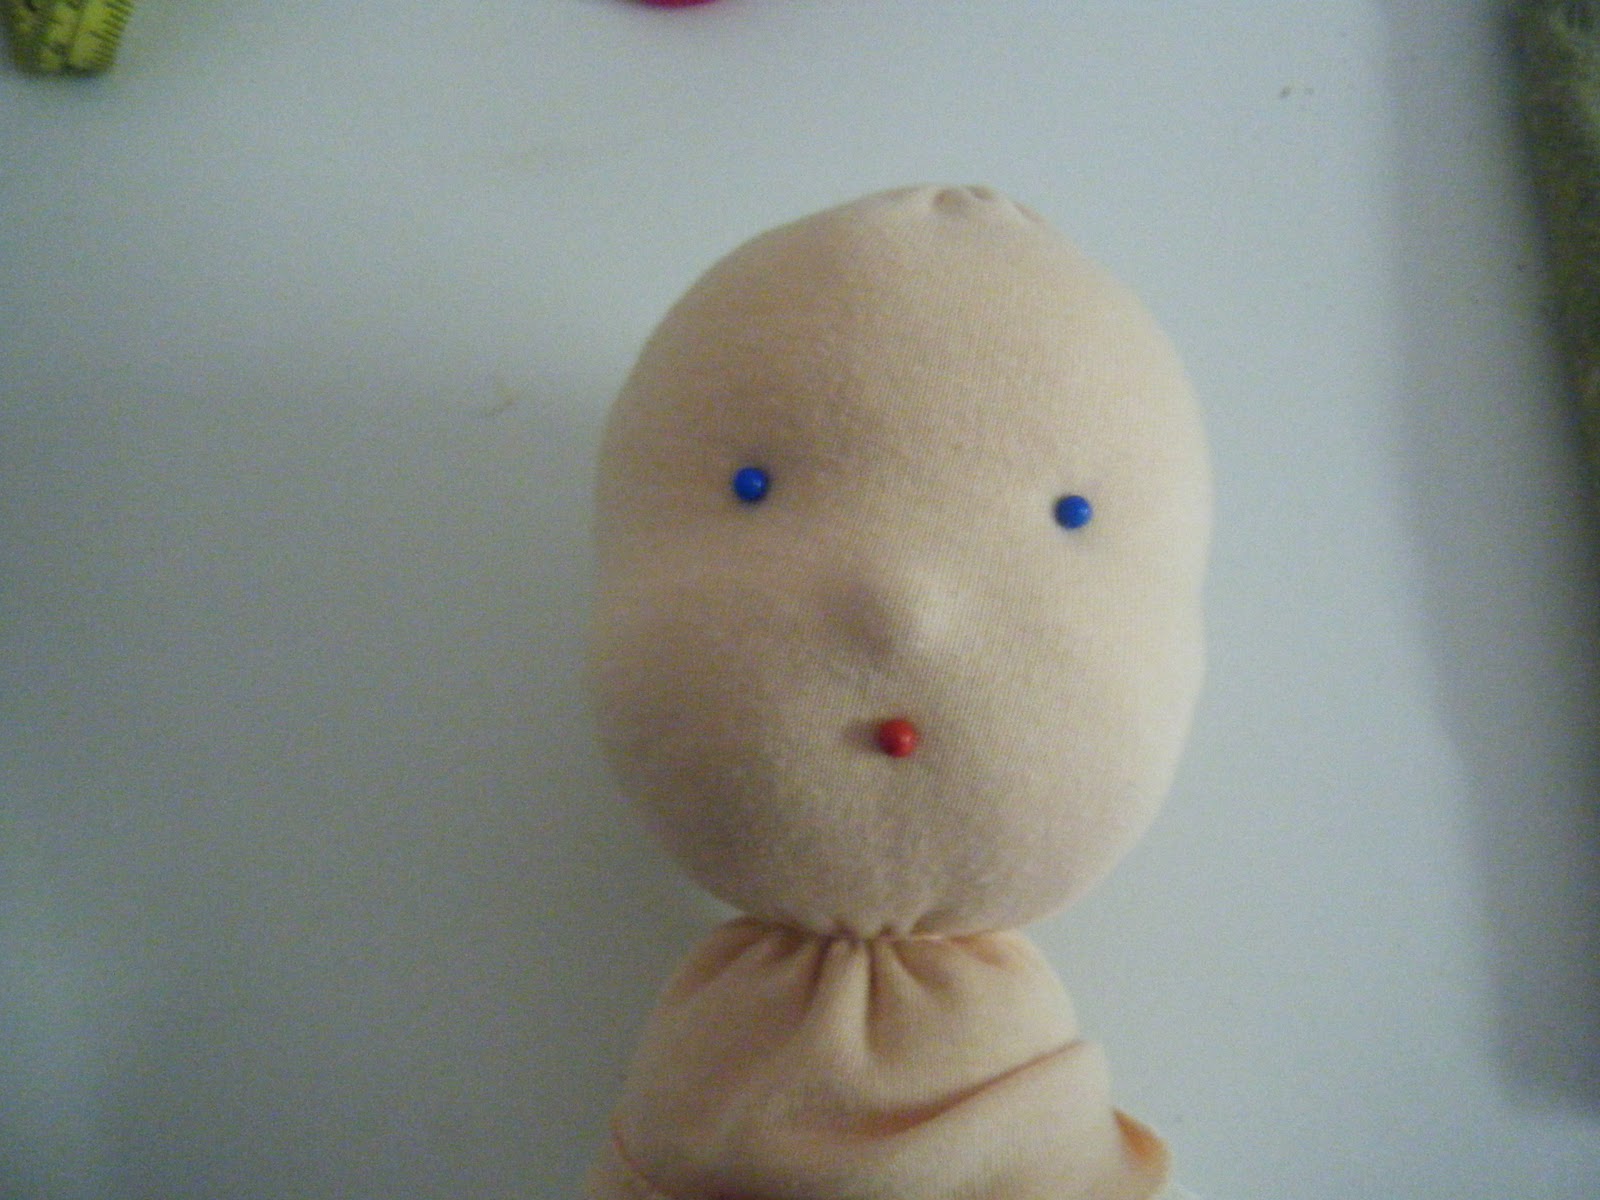
Now we will get the eyes and lips done. Before you embroider them on, take 3 pins, place two where the you want your eyes and the other where the mouth will go. The eyes should go on the eyeline and the lips under the nose if you made one.
To embroider the eyes you will need the doll makers needle which I mentioned at the beginning. Notice it is really long, this will help make your stitch from the back of the head where they will be covered by the hair.
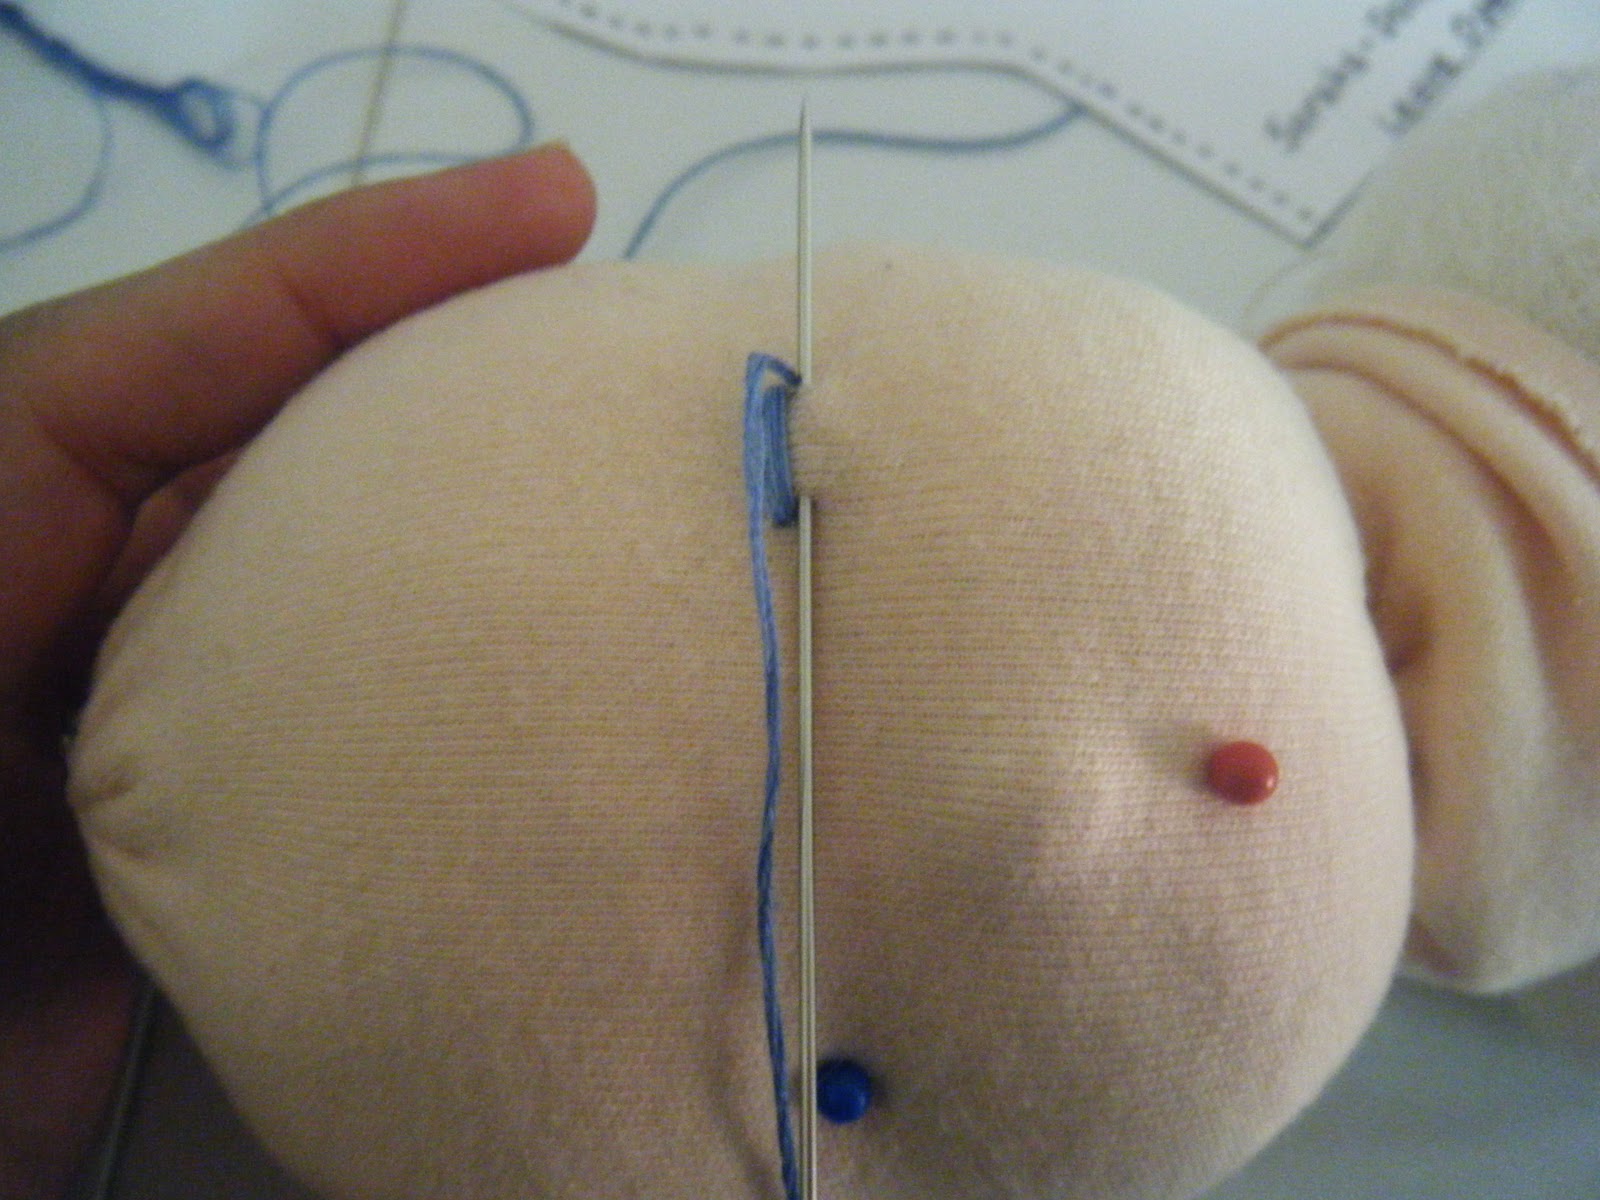
Cut a 24″ length of eye color embroidery thread. Divide the embroidery thread into 3 strands (if you look at it really good you will see it is made of 6 strands of thread. Insert your thread through the back of the head to get it started leaving a tail of thread hanging from the back of the head and then just work from one side of the eye to the other as in my picture. When you are done with the eye push your needle back through the back of the head to hide your end and do the next eye the same way. Embroider your eyes on (I can’t help you with directions here, I am a visual sewer but I am sure there are plenty of tutorials on this but I can tell you to not pull your thread or the stitches will sink into the head, just let them kind of float on top of the fabric) and then do the lips. For the lips I used only 2 strands of thread.
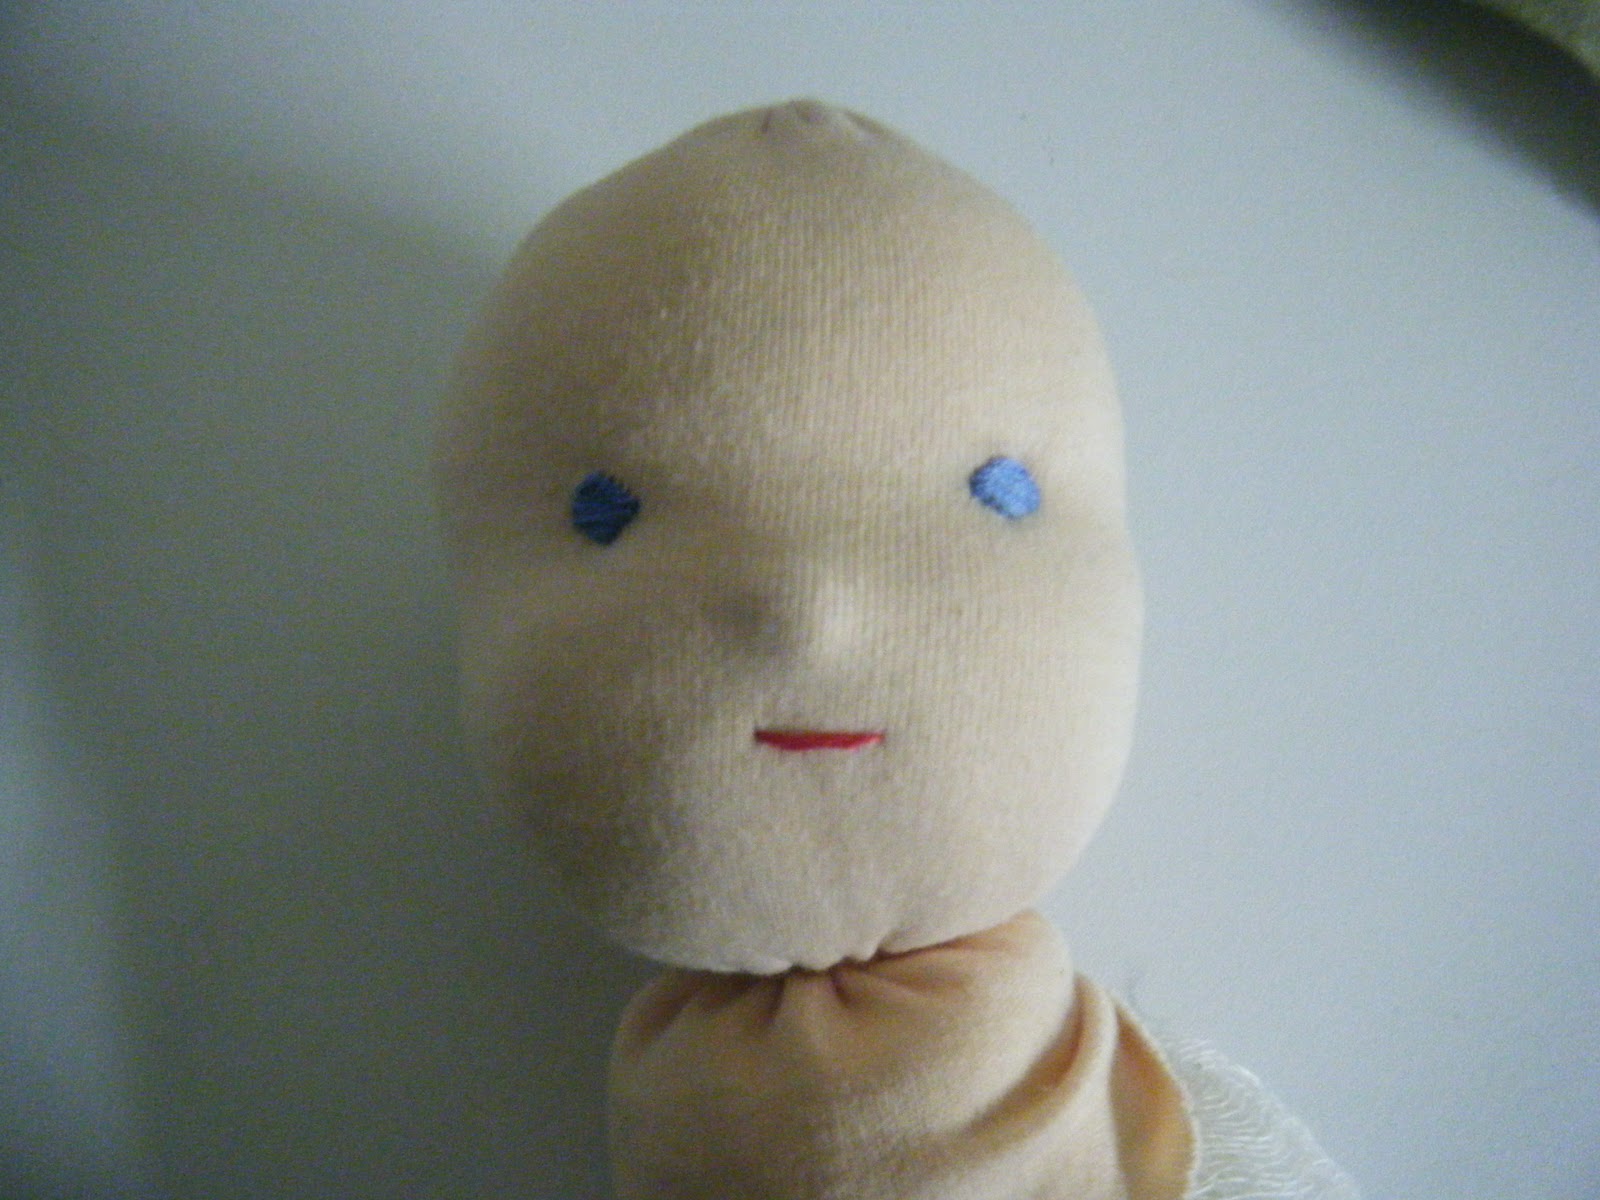
Here is your babys head. Cute huh? You can do it, it sounds like alot of steps but just do them one by one and you will get there.
As for the body pattern, there are so many out there, Sarahs dolls are a very good place to start. I am sure that there are tutorials out there that may produce a free pattern for the body but I am not sure.
See you tomorrow when I will post the finished baby with the birthday girl. Oh and just a note, after finishing this doll I now understand why they sell for about $100 but totally worth it and I want to do it again. These baby dolls are so soothing and wonderful and I am in love.
UPDATE: Since I posted this a year ago I have gotten so many emails about it as well as request to see the finished doll. It was posted just a few days later but hopefully this will make it easier to find. Here is the link to the finished Molly doll (that is what Olivia named her)


