Archive | Tutorials and Patterns RSS feed for this section

Pipe cleaner flower hairclip tutorial – Handmade Easter craft along – Day three

How are you doing so far?  Have you gotten to try any of the crafts yet?  Today’s craft is another cute and easy one.  After you make one, you can do them in your sleep. This craft has a lot of pictures.  I try not to put too many pics in one post but I think these are all needed.

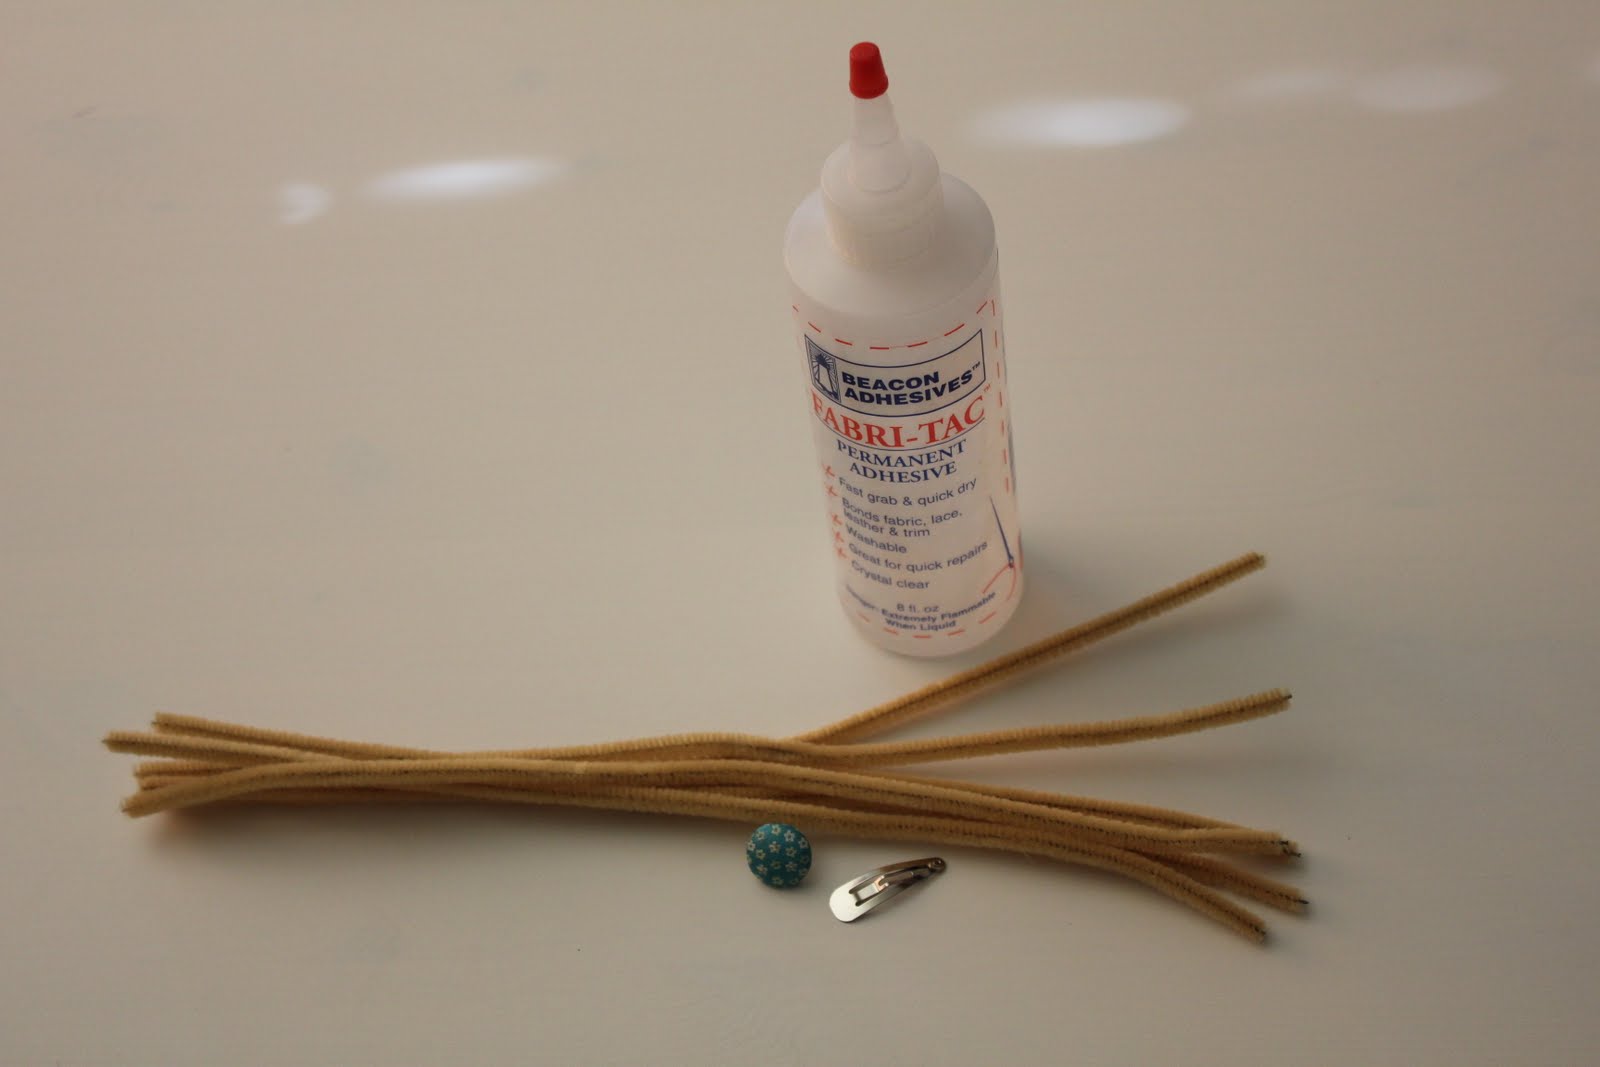
You will need: Strong glue, 6 pipe cleaners, fabric covered button and hair clip
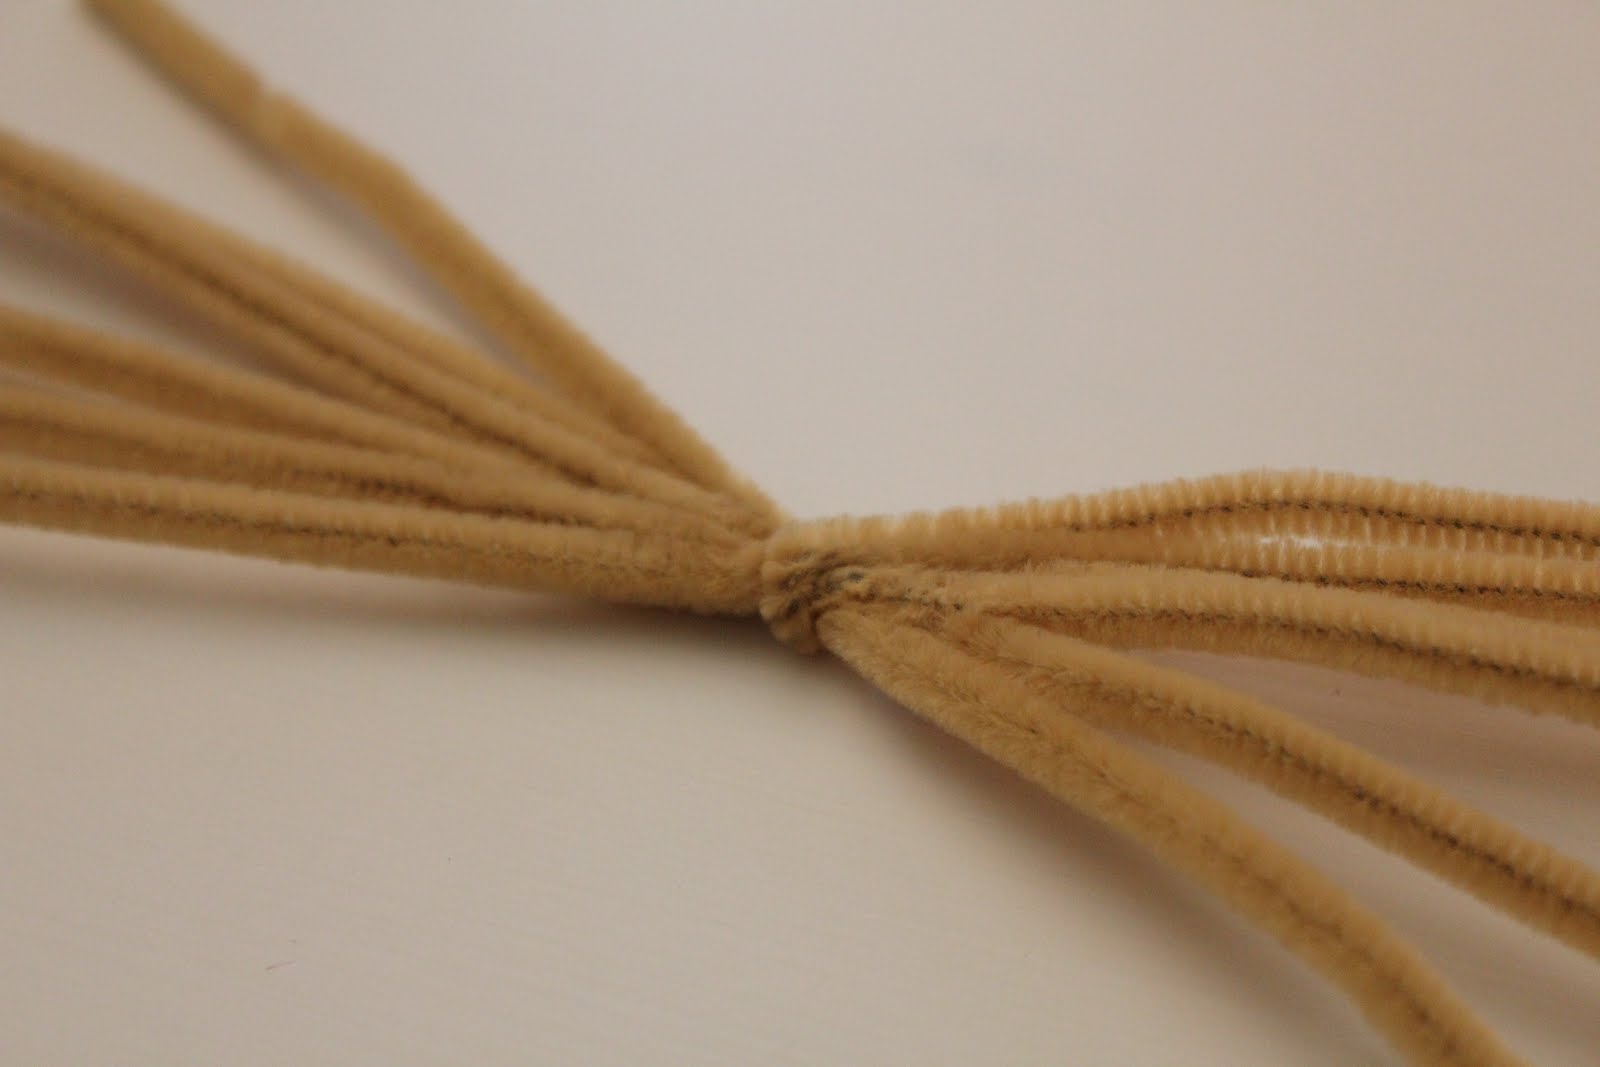
 hold your pipe cleaners in one hand making sure they are all the same size, twist them together in the middle so that they do not come apart
 bend one tip just a little bit under, now go around and do the rest of the tips
 now you are going to roll them down from the tip to the center like a snail shell would be 
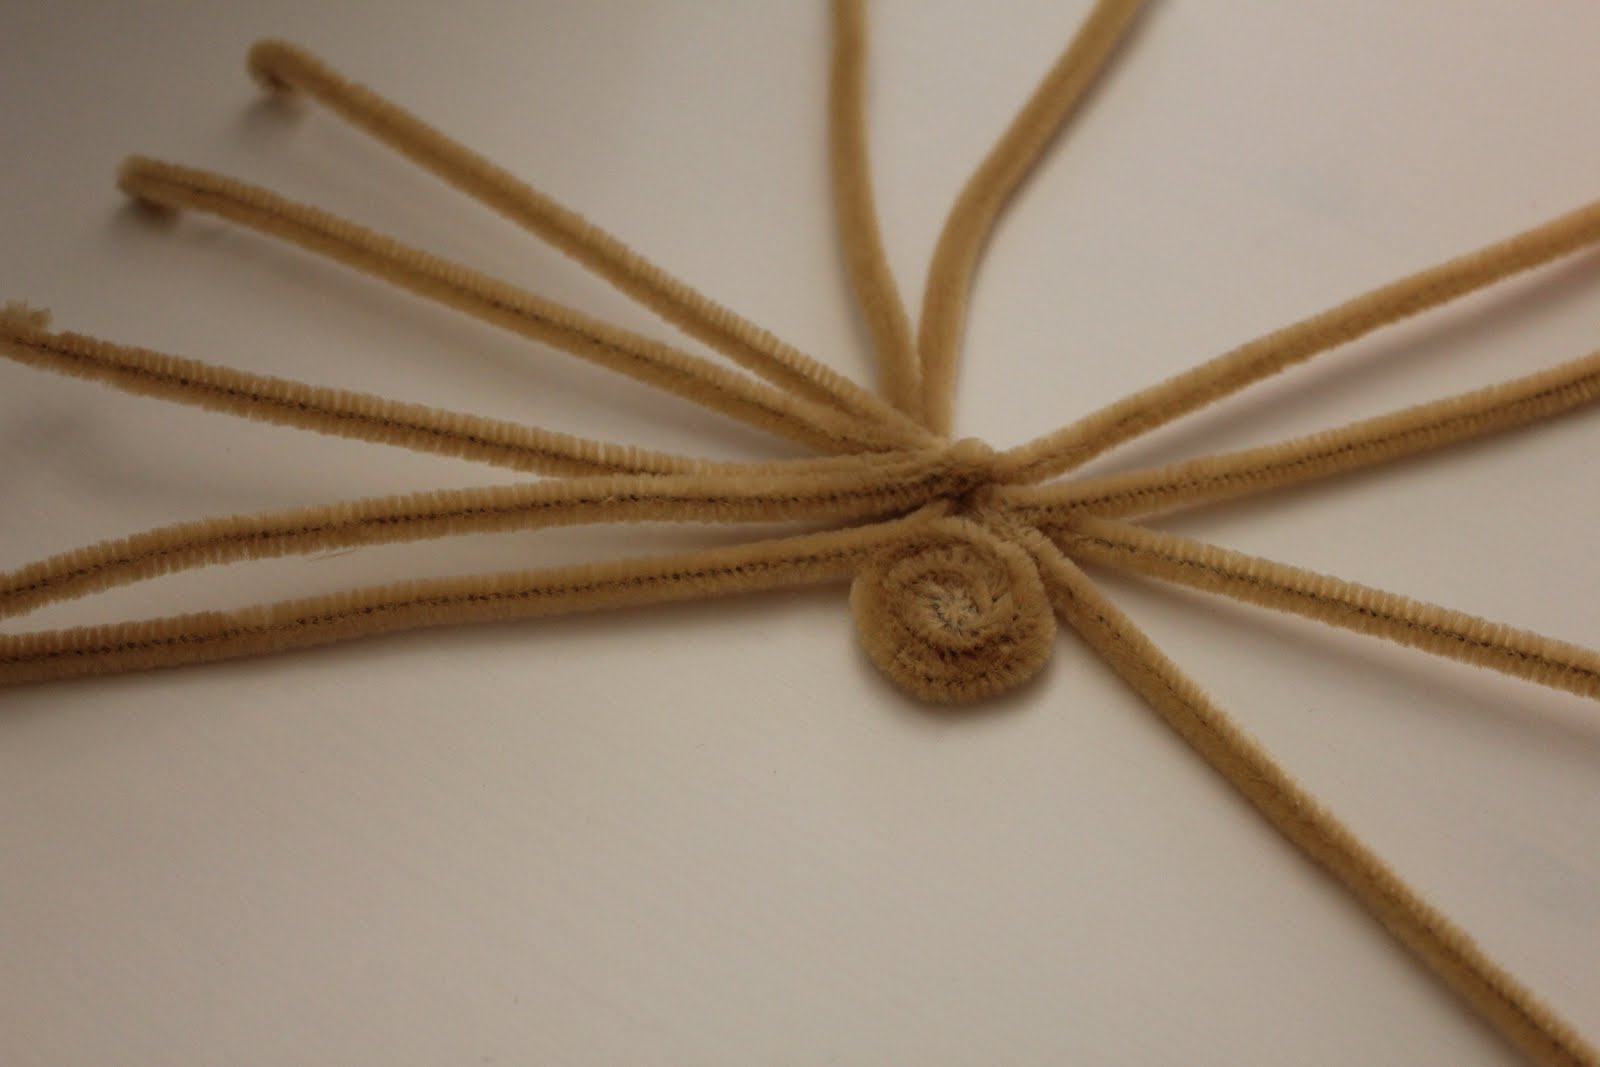
 this is what it will look like when you do all the stems
 take the two center petals and cup them and point them towards each other
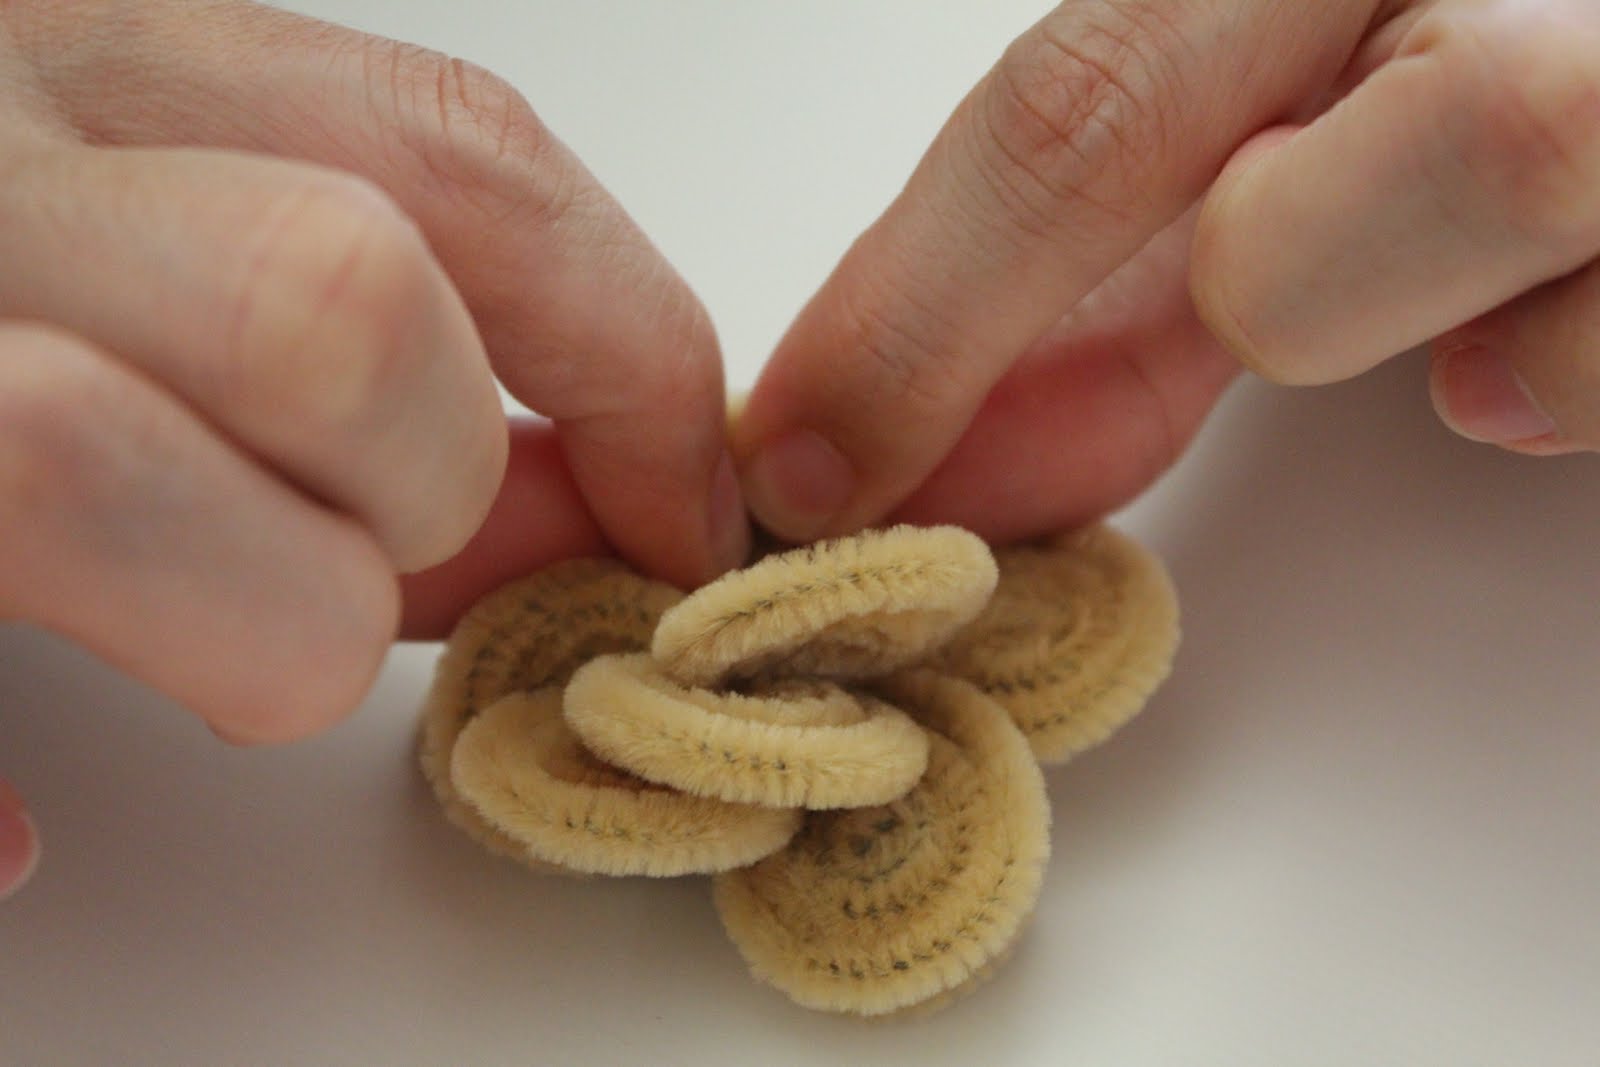
 like this
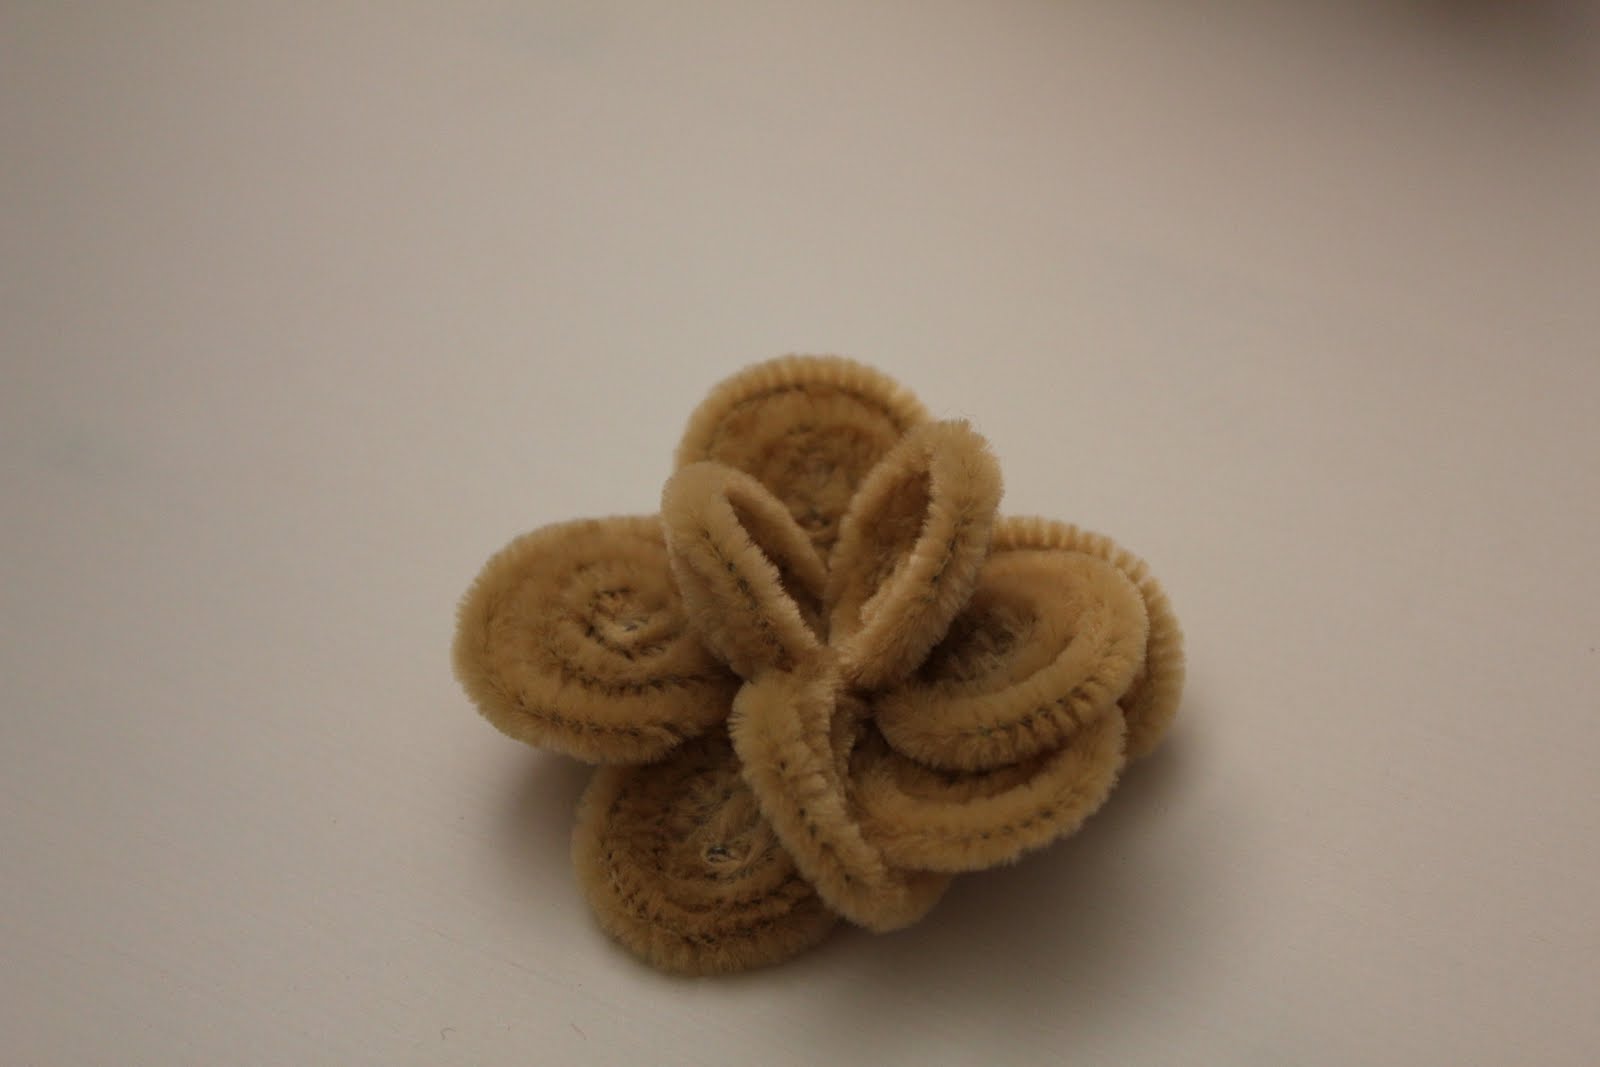
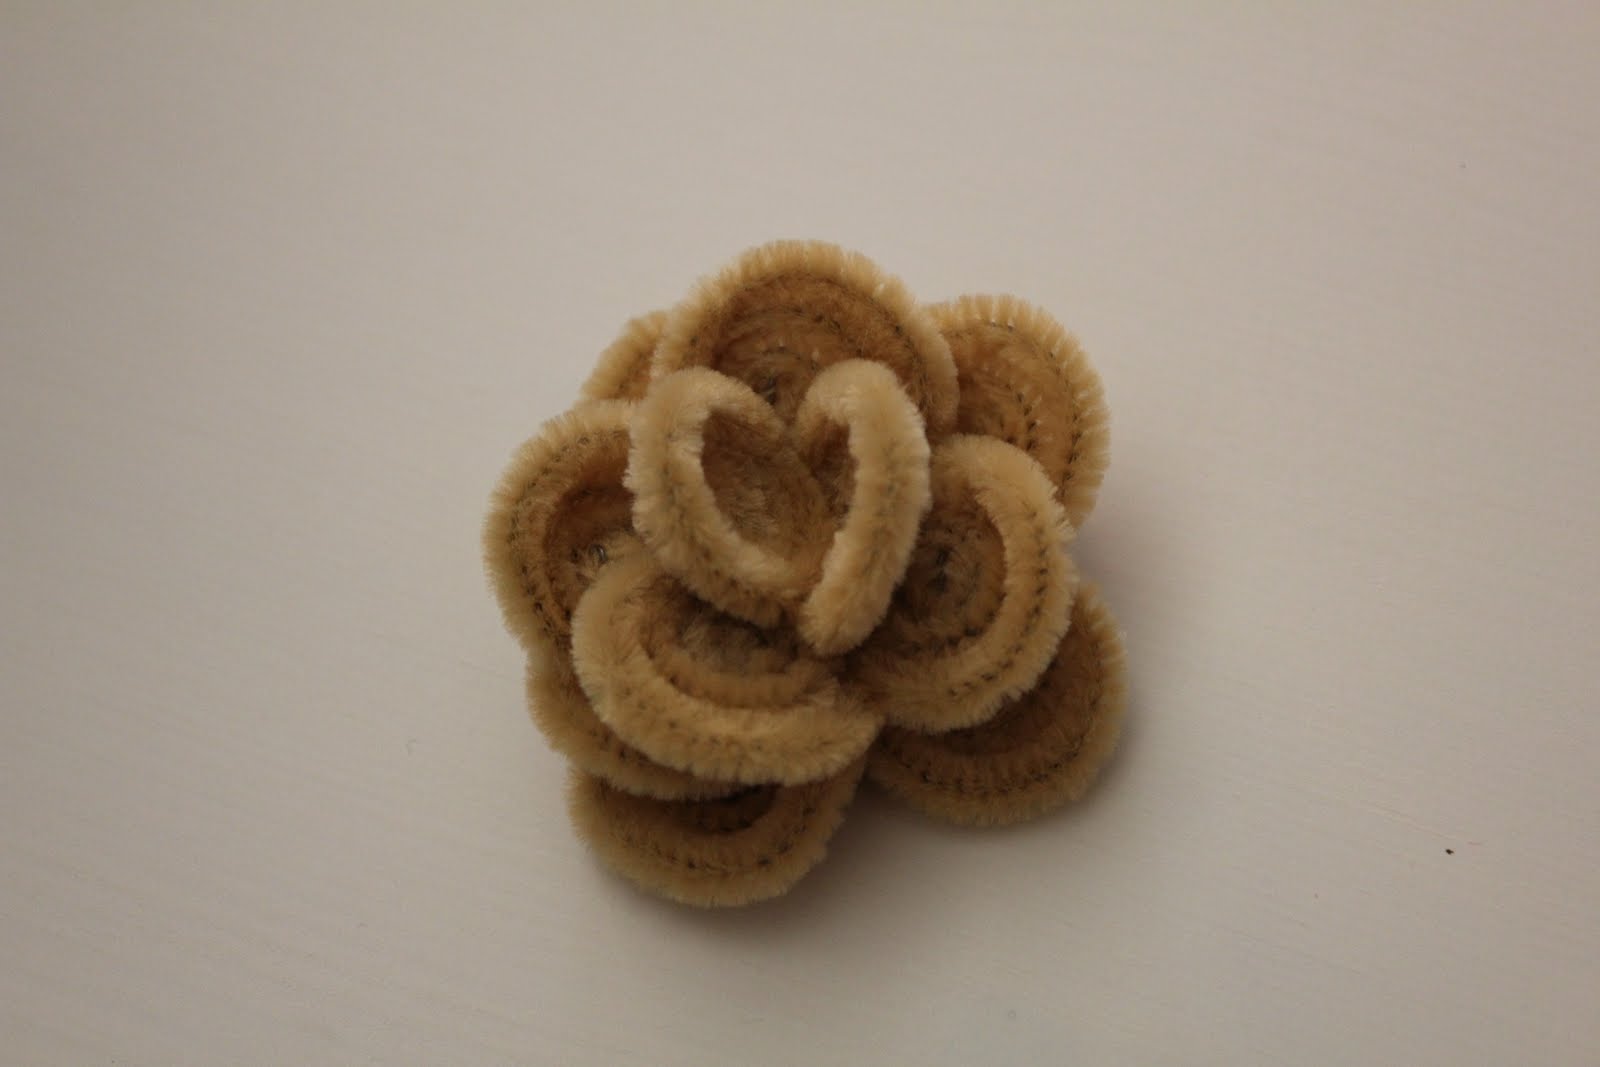
 go around and arrange each petal until you are happy with its placement as a flower
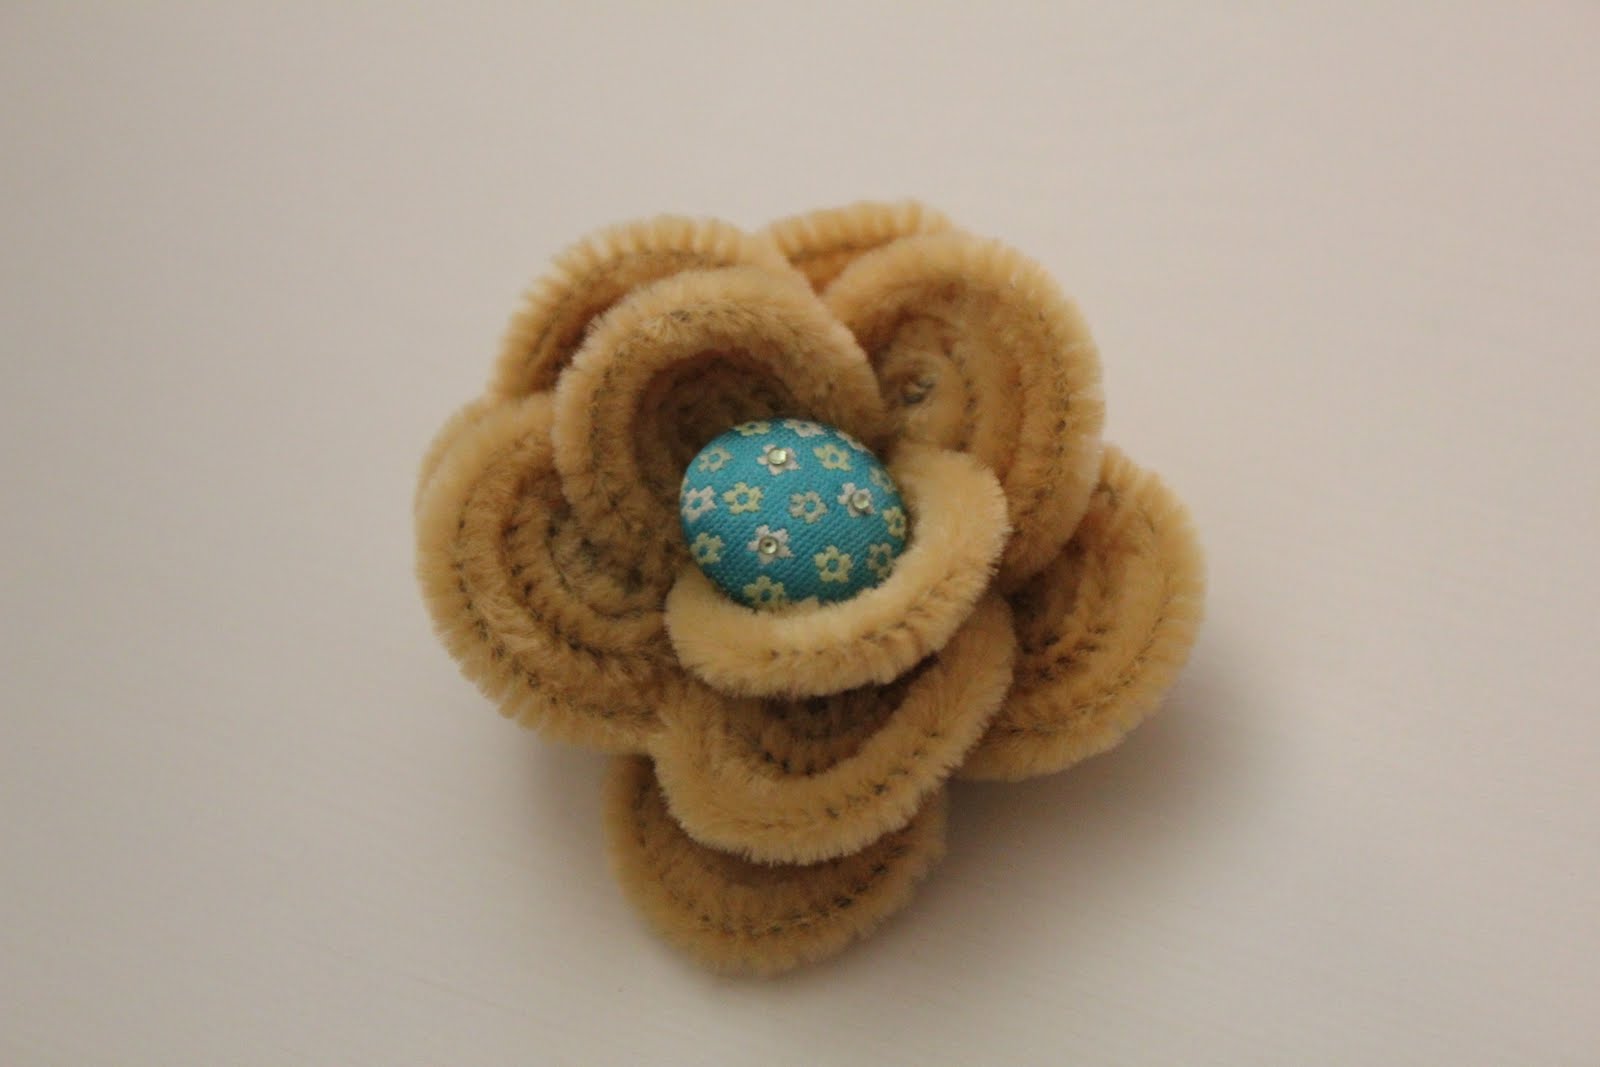
 glue your button to the center
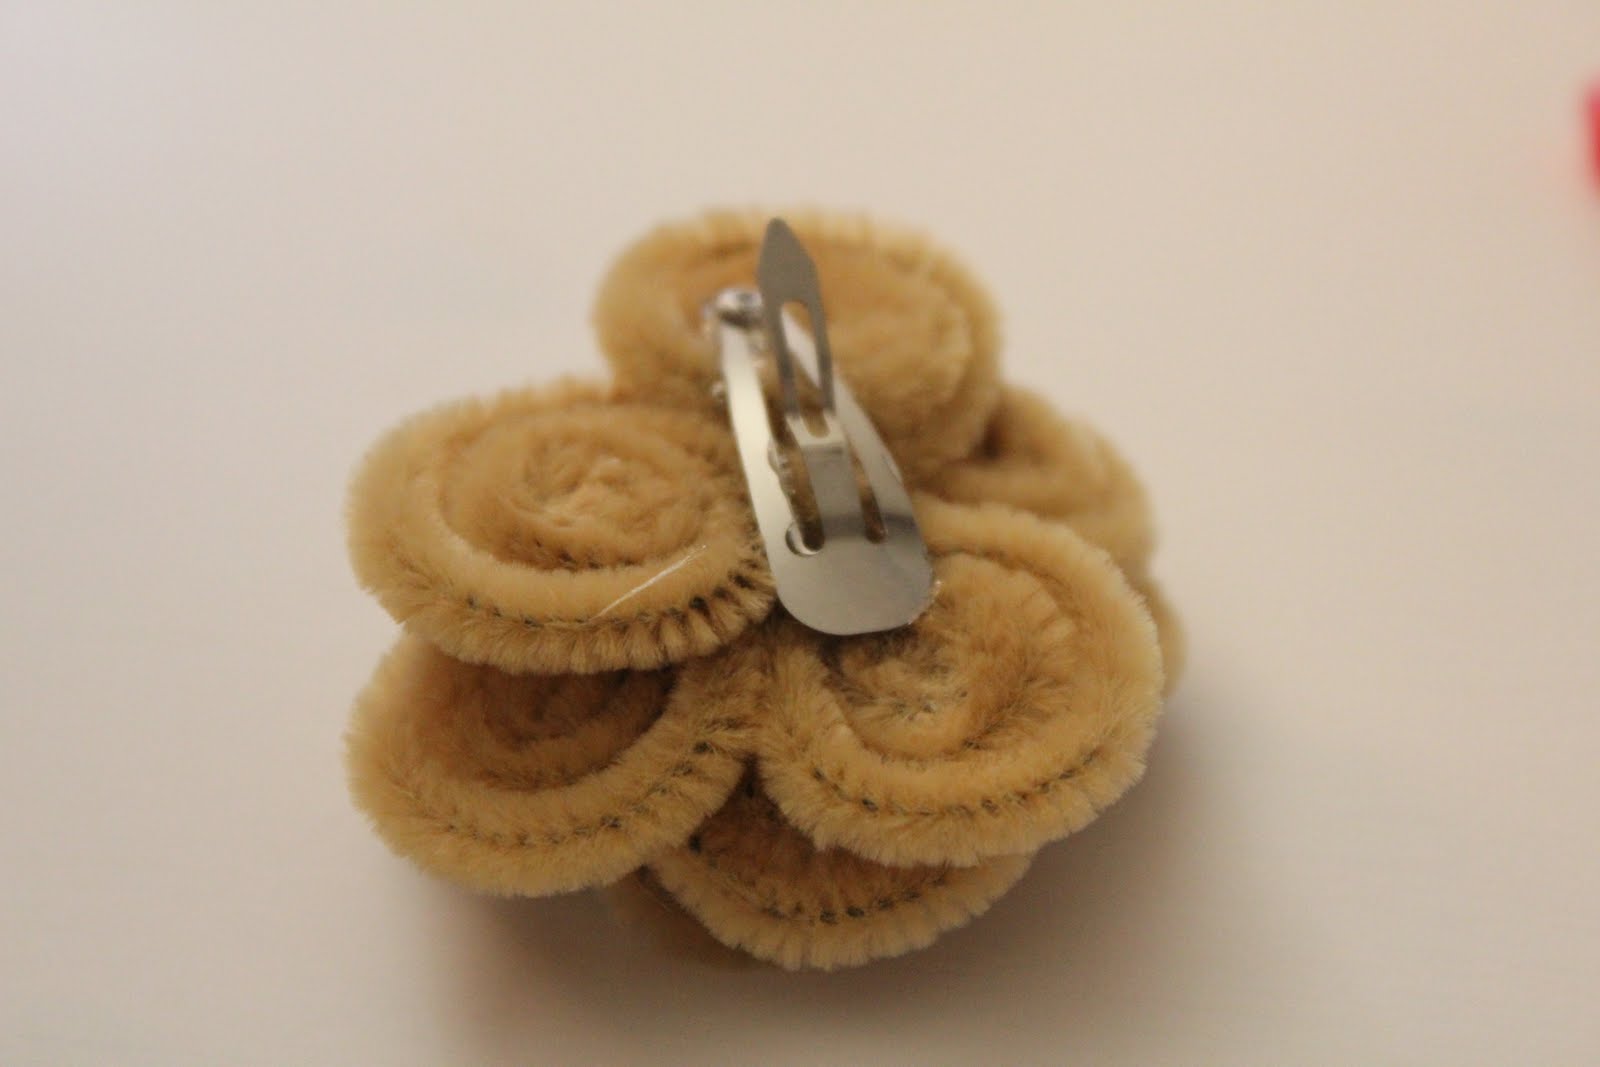
 glue your hair clip to the back
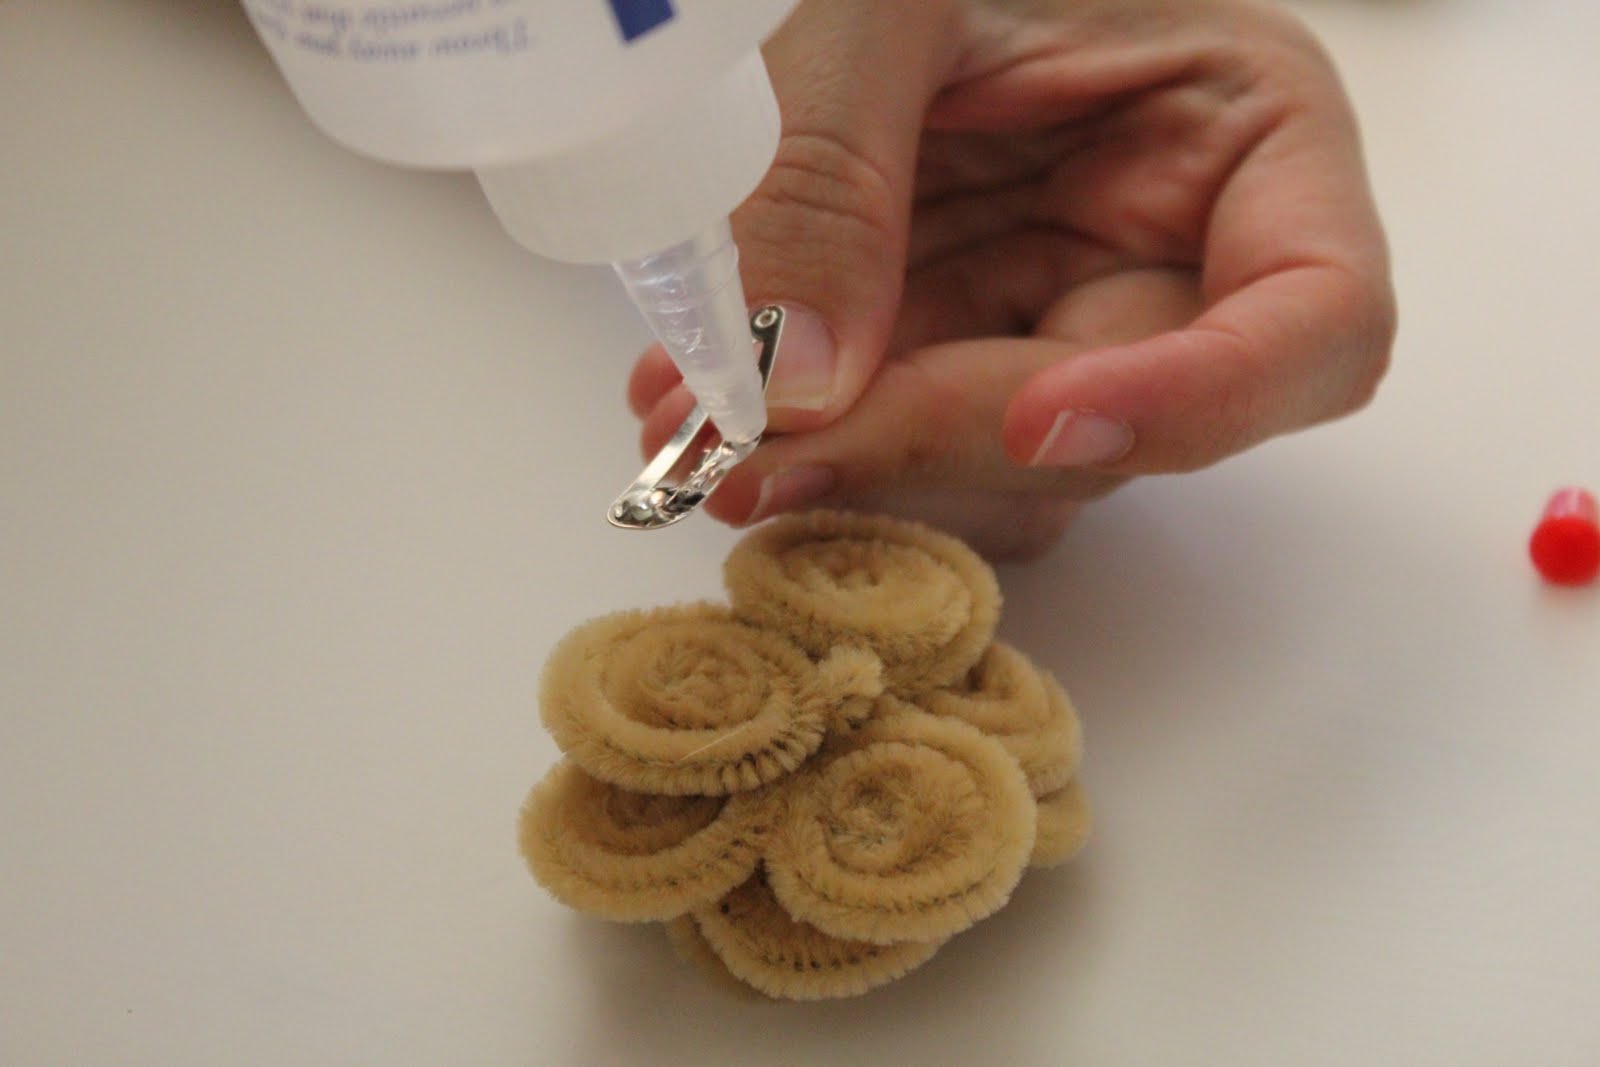
make sure to leave the clip open until the glue dries or you won’t be able to open it again
Put it in a lucky girls hair.  Cute and easy, I told ya!
Comments { 2 }

How to carve your own stamp- a tutorial

Here is another one of those projects I have been putting off for over two years but today I decided that I need some circle tags to go with my items and I dug out the supplies I have had collecting dust forever.  Making your own stamp is super easy once you have the tools.  I made my first one in high school in art class (thank you Mr Greene) and loved it.  Actually that first project I made was a linoleum carving but it is still done the same way, you draw your design and you cut out whatever you don’t want making a positive or a negative.  You wanna try it?

Here we go… You need,

A linoleum cutting set, I have a Speedball (you can find them at Michaels)
Soft cutting block
Pencil
Design you want on your stamp either printed from a computer or sketched by you

Sketch your design in pencil, make sure you do the reverse image of what you want to end up with especially if you have letters in your design

 turn your design over and put on top of your cutting block.

 now your design is on the rubber block (cool huh?)

cut away what you don’t need, on the bottom of the toadstool I am leaving only the outline I drew

  but on the top part I am cutting away only the spots and the whatever is on the outside of the drawing line

keep removing all around
then cut out your stamp leaving a little area all the way around
 test it out on paper
 i like
Comments { 5 }