Archive | Tutorials and Patterns RSS feed for this section

Lego party how to: Lego block melt and pour soap tutorial

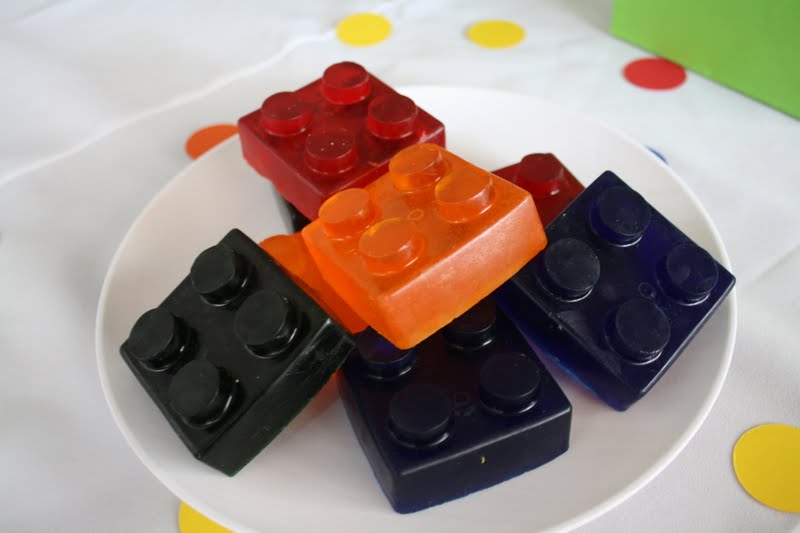
These were such a hit that I am adding these to my handmade Christmas gift list.  Again,  you need the mold so this tutorial is more on how to do melt and pour soap.
What you’ll need:
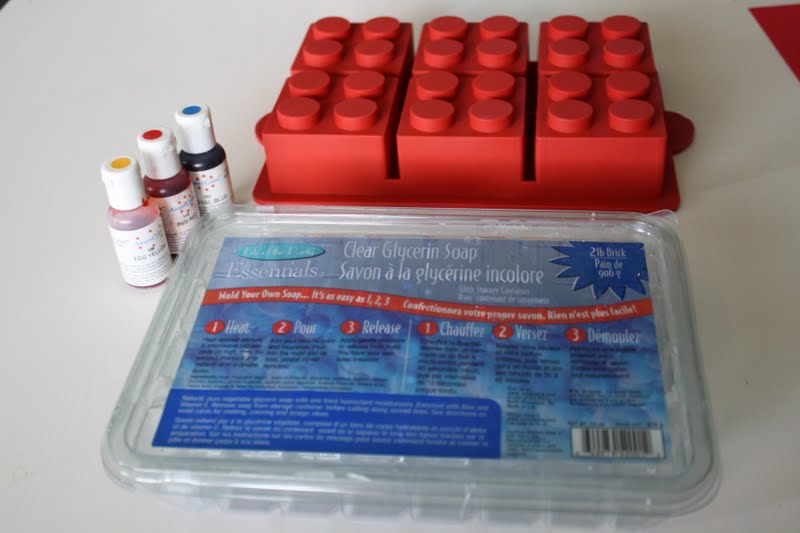
Melt and pour soap ( I buy it at Michaels with a 40% coupon for around $4) this made 6 big blocks about the size of the palm of your hand or a little bigger.
Food coloring or coloring for making soaps
Mold to pour soap into
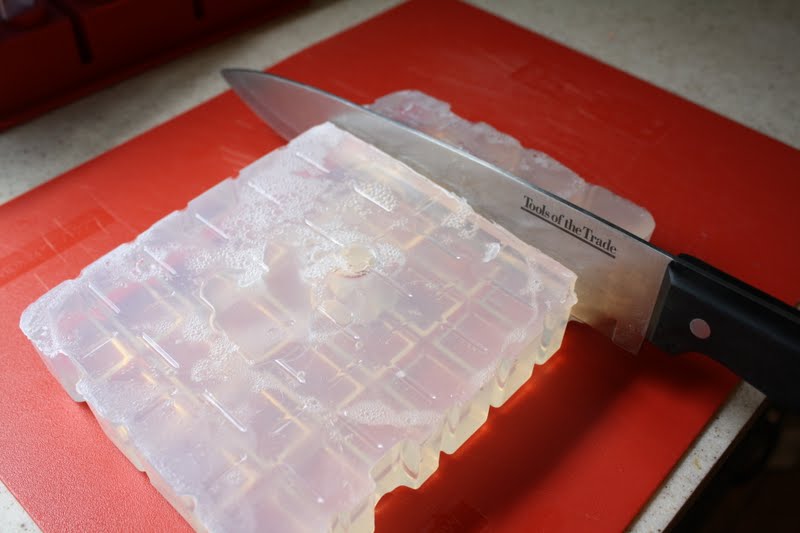
slice however much soap you want to use from the block and put into a microwaveable bowl

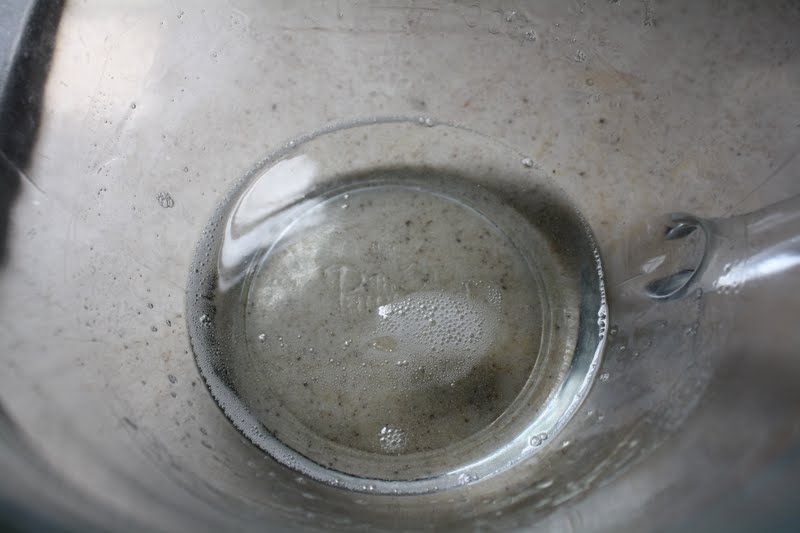
 melt in the microwave for about 20 seconds at a time, stirring in between until it is all melted

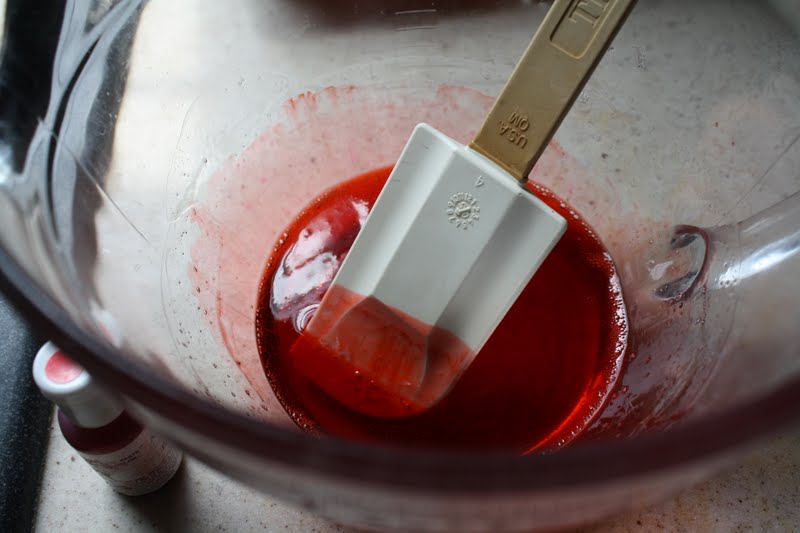
 add the coloring a little at a time.  You can always add more but you can’t take it out if you put in too much.

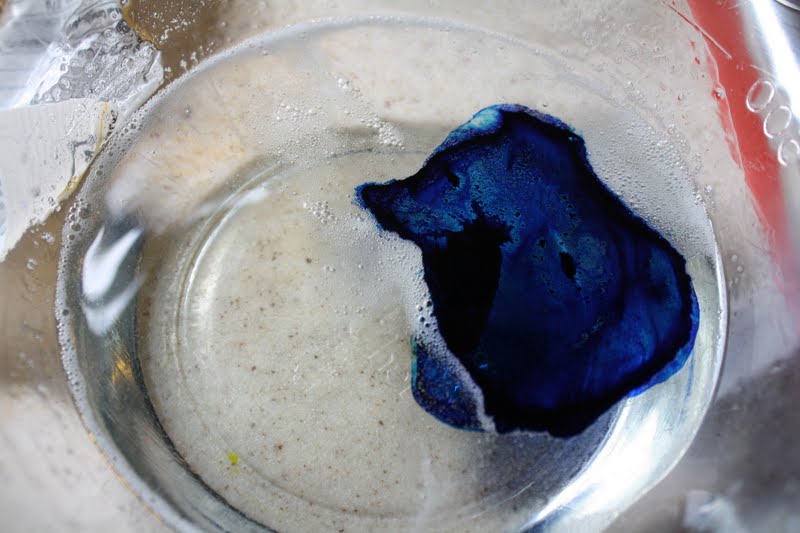
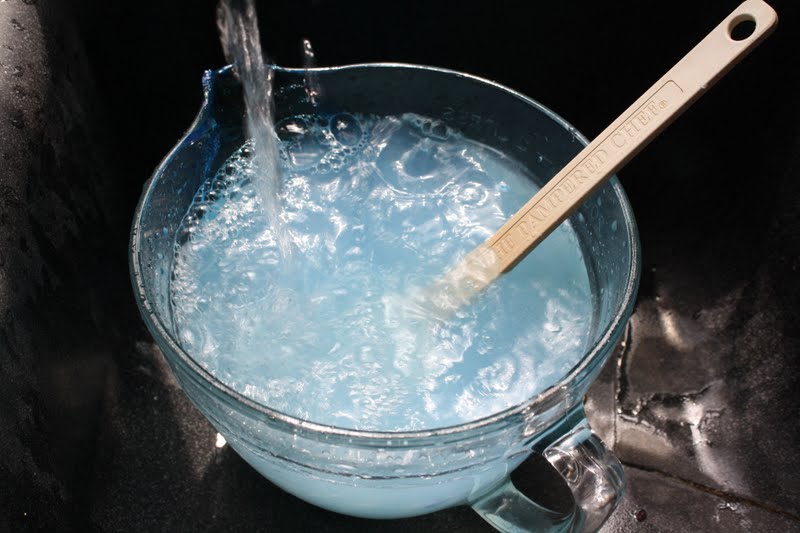
 The secret to clear soap is to not stir air into it so mix in the coloring gently.  The soap will darken once dry so keep that in mind when adding the coloring.   Once you get to the color you are happy with, pour into the molds carefully and slowly.  Do not let it sit for very long before you pour it into the molds or it will start to gel and harden.

wash your bowl : )

 To see the whole party, click right here
Comments { 2 }

Lego party how to: Lego block party bags tutorial

As promised, here is the tutorial for the Lego block party bags (not that you couldn’t figure it out without me).

What you need:
Party bags in Lego block colors (I got mine in a pack of 12 from Michaels)
Circle punch or scissors
Cardstock to match the party bags
pop dots

 If you have one of these old machines I used the third biggest circle, if you do not I would say the circle would be about the size of a half dollar.

 For each bag you will need to cut out 8 circles

 put a pop dot on the back of each circle (note: do not throw away the sheet that is left when you are done popping out all the dots, cut them into small pieces and use them the same way you would use a pop dot)
  I did not measure while I was doing this but you could just place the circles in place and play around with it before you remove the back off the pop dot.  Once you are happy, remove the pop dot backs revealing the sticky side and press them in place.  Once you have the first one done, you can use it as a template for the rest.
too easy I know,but I did promise.
For the party itself you can visit right here. No presents please : )
Comments { 2 }