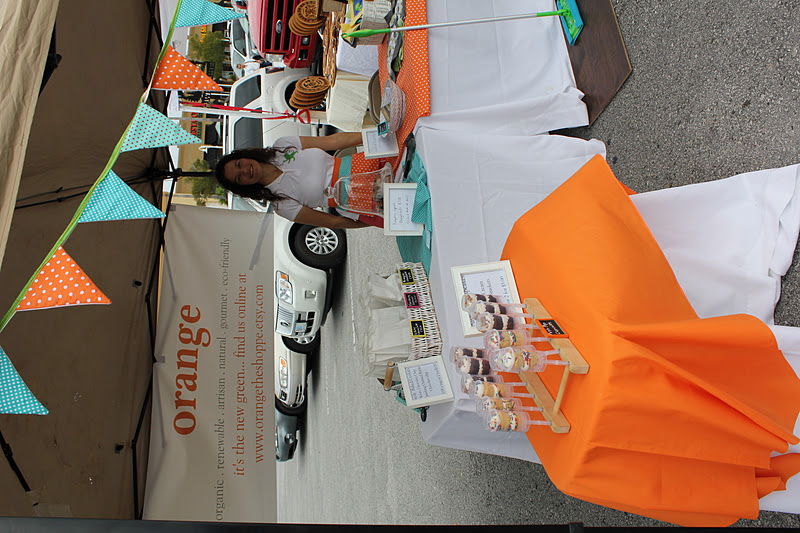
Thanks to everyone who commented or sent me emails yesterday about the cupboard simplification. I love to hear from you all and I so appreciate it!! I also get a bunch of emails about the buntings I make for every single birthday party and especially the one I made for our Farmers Market booth.
I did take pictures while I was making the one for market (thinking it might be blog worthy reading) so for all of you who requested it, here it is.
This is going to be super simple.
You will need:
Double fold bias tape at least 3/4 inch preferably 1 inch
Different fabrics for the penants and a fabric for the back of the penant, here is where you can use the cheap muslin at Joanns.
Thread for your sewing machine
Scissors
Cardboard to make a template
Iron
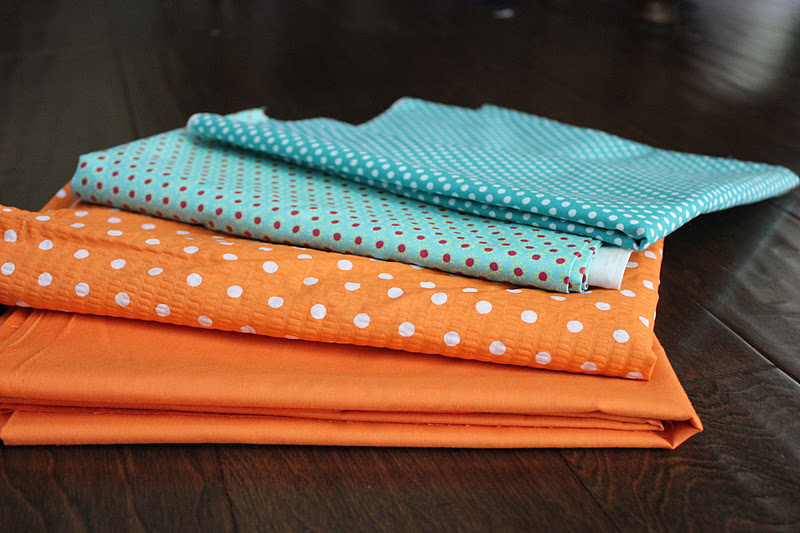
Choose as many fabrics as you want to be in your bunting that coordinate with each other.
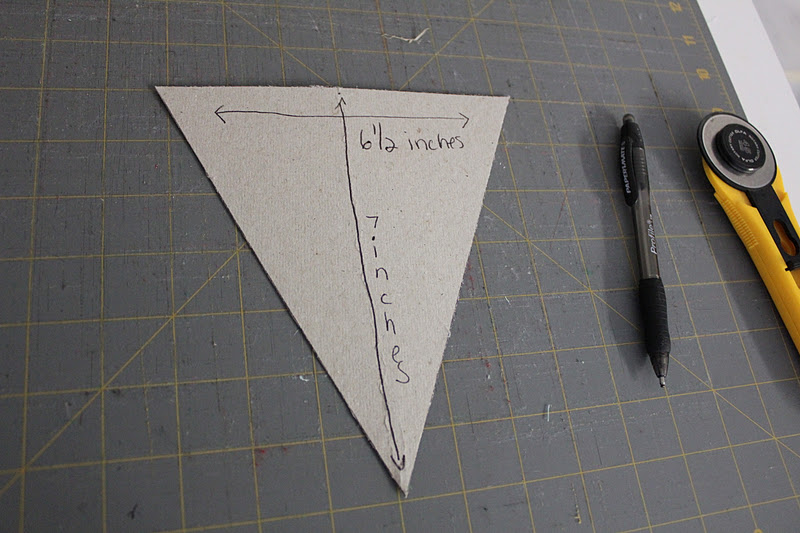
Next, you need to make a template. I use cardboard like from a food package to make mine. You can make your penants as wide and long or fat and short as you like. You can see my template, it is 6.5 inches wide by 7 inches long. The easiest way (at least for me) to make the template was to cut a rectangle, 6.5 x 7 inches then fold in half to mark the bottom center point. Then with a ruler, draw a line from each top edge to that center point and that will give you a perfect triangle.
Now it’s time to cut out the penants. If you have a rotary cutter use it, if not just draw your triangles on your fabric and cut them out, no biggie.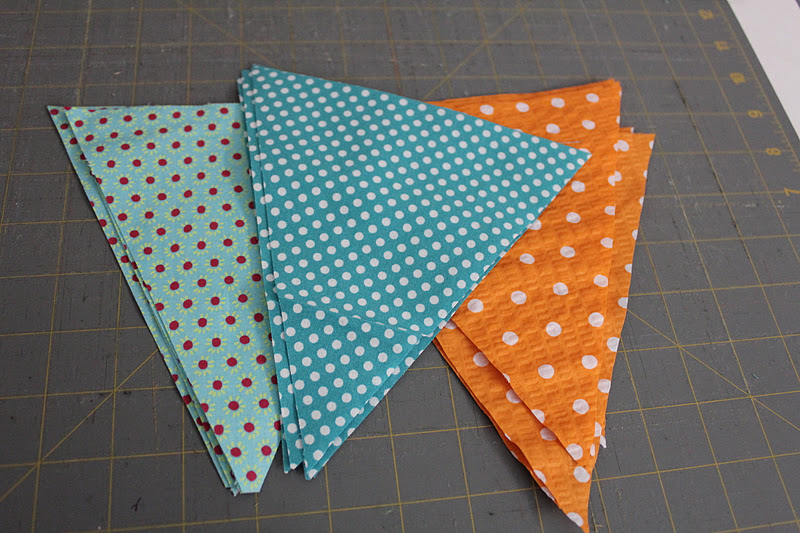
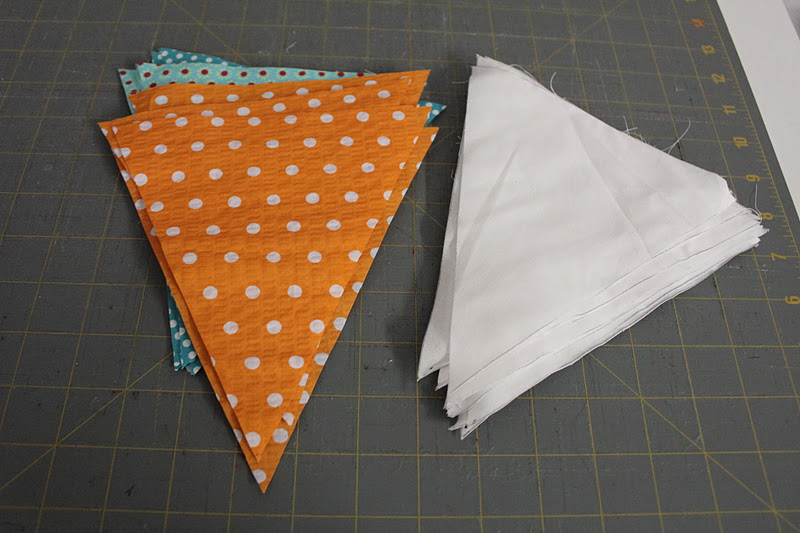
next cut out the same amount of penants from the fabric you will use on the back. You could actually cut out this step and not line it but it will not last very long.
Now we are going to mozey on over to the sewing machine and putting two penants right sides together, we will sew around the outside leaving the top open. If you do not have a sewing machine and do not care about your penant lasting for ever then by all means, cut out your penants and using fabric glue, attach them inside the bias tape and you are done. This bunting that we are making will however last.
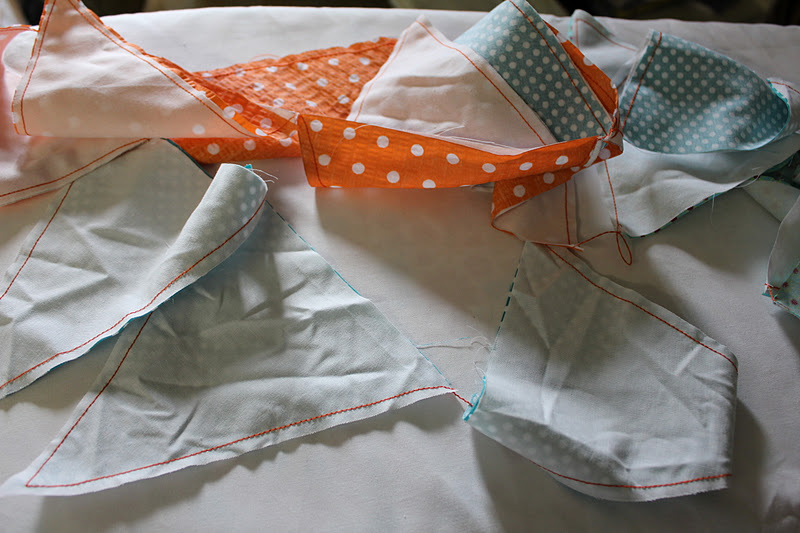
as you see I do not cut the thread as I sew each one, I just keep adding another set of triangles when I am done sewing one and cut them all apart when I am done with this step
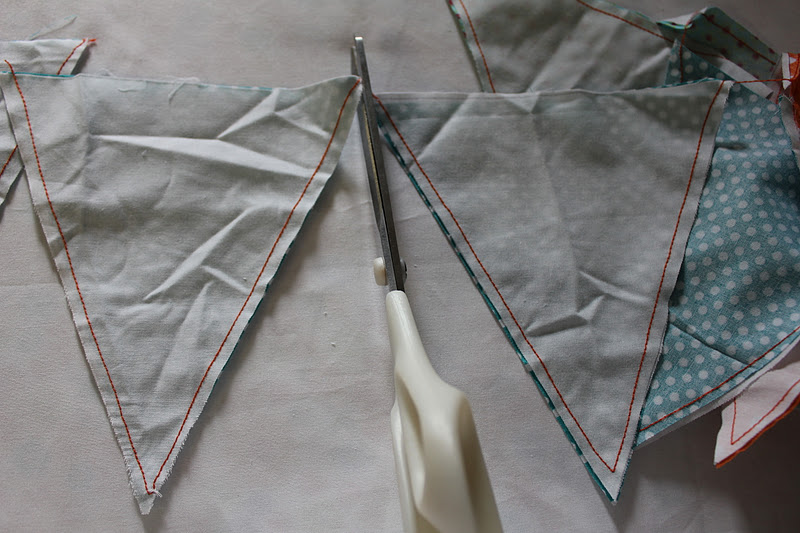
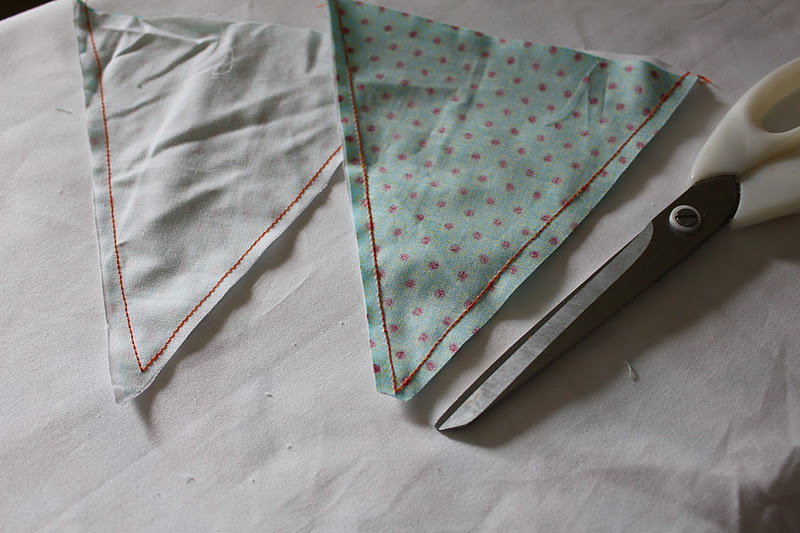
cut off the tips as you can see in the triangle on the right. If you do not cut off the tip, you will not get a good point when we inside out these
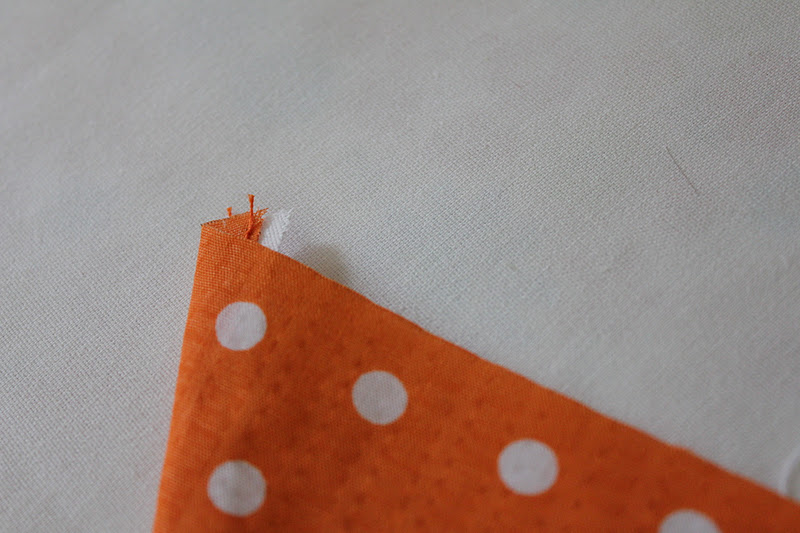
at the top ends you will have these little points sticking out, cut those off too. Now inside out each triangle and press them with the iron. We are almost done
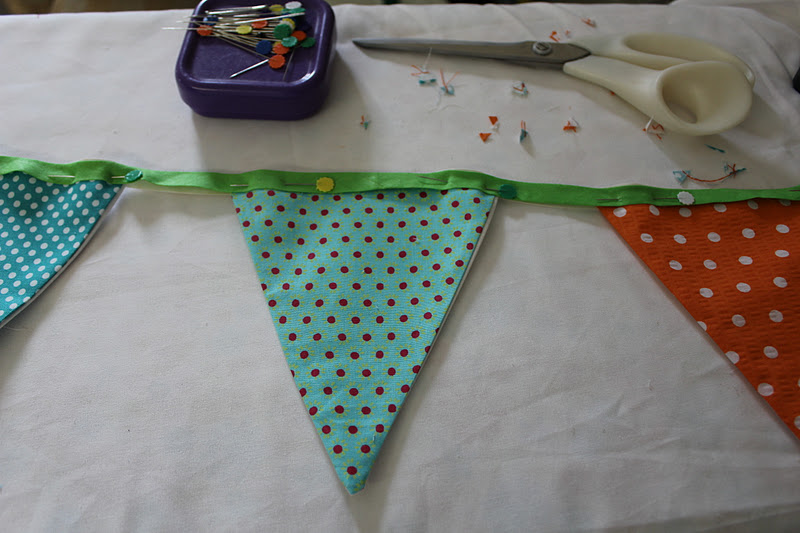
sandwich the triangles inside of the bias tape and pin in place. Take them over to the sewing machine and sew all the way across. I use a zigzag stitch in a coordinating color thread. Be careful to remove your pins as you go (ask me how I know this) you don’t want to get a pin in your finger.
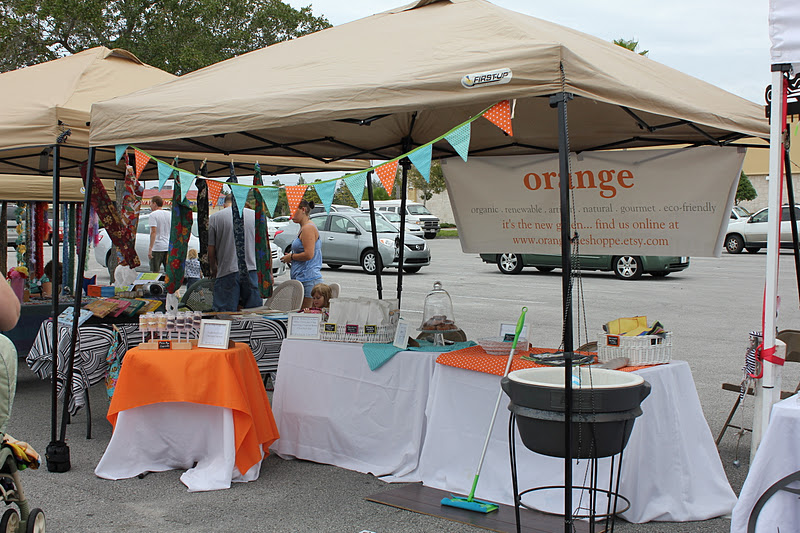
unfortunately I did not get any good pictures of the bunting, maybe I will remember to do that this weekend.
Buntings are so cute. Depending on the fabric you can use them for boys, girls, parties, weddings, you name it. I have even made them from paper which is really cute too. Have fun and if you make any, send me a picture. I love to see your projects!
If you enjoyed this post, please consider leaving a comment or follow me by email at the top right hand of the screen to have future posts sent to you. Tricia (Crunchy Catholic Momma)