Archive | Recipes RSS feed for this section

Make it yourself Monday: Farmer’s cheese tutorial

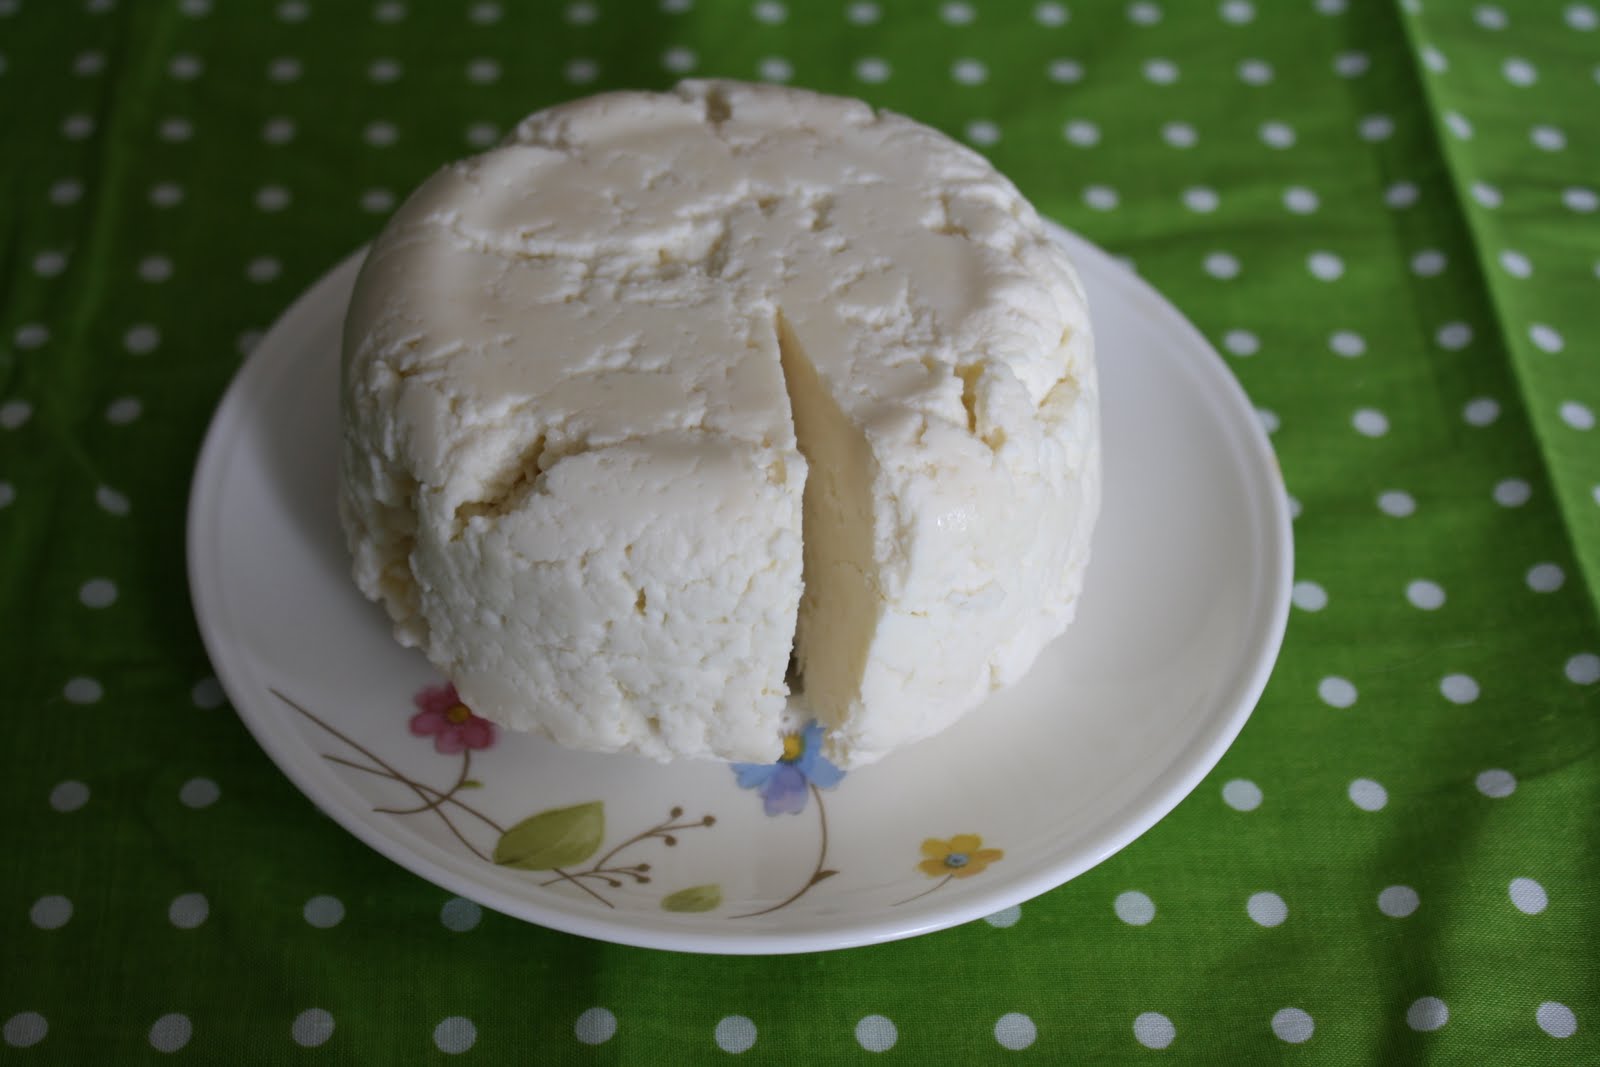
If you have been following along you may have read last Monday’s Make it Yourself tutorial about making butter.  This follows it since I used the milk that was left over after taking the cream off the top of my gallon of raw milk.  We are making Farmers cheese.  Farmers cheese is great to slice and put in a sandwich, crumble into a salad, fry it (very good) or just eat it straight up.

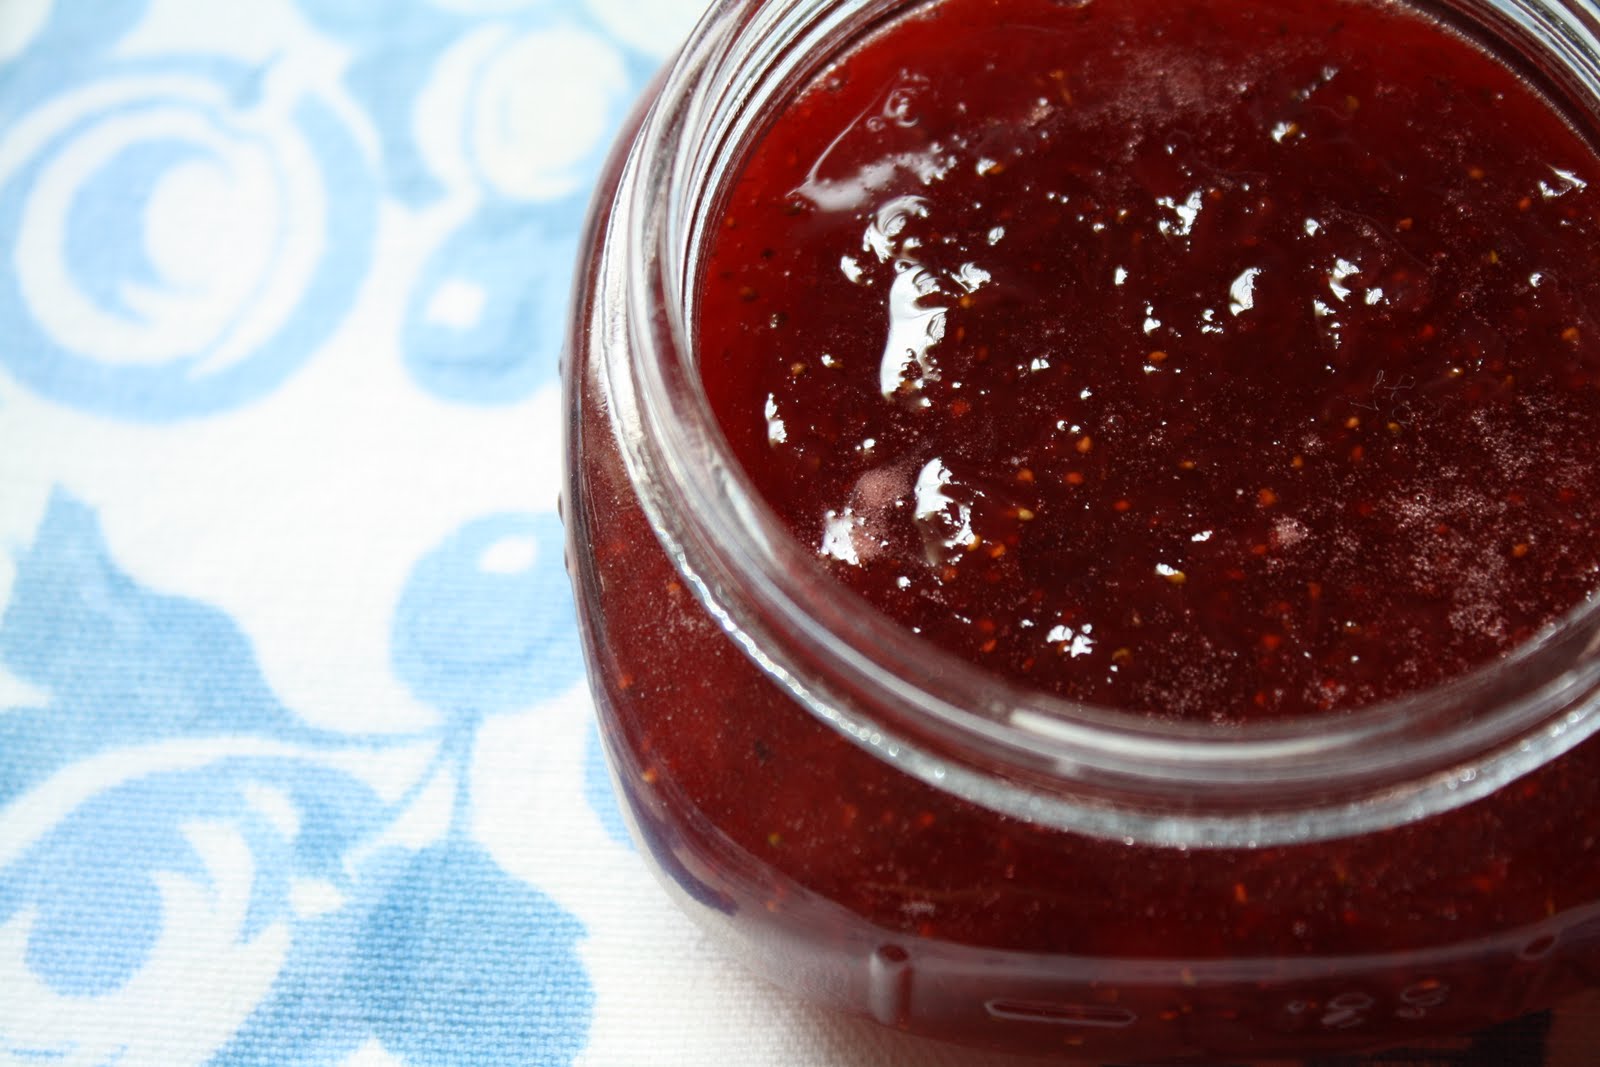
 Once the cheese is made we will still have one more thing left from that gallon which can be used…whey.  I save the whey for pancakes, waffles and baking and I have made some pretty yummy pasta using the whey are water before.  Who knew you could get so much from one gallon of raw milk.

 What you will need:
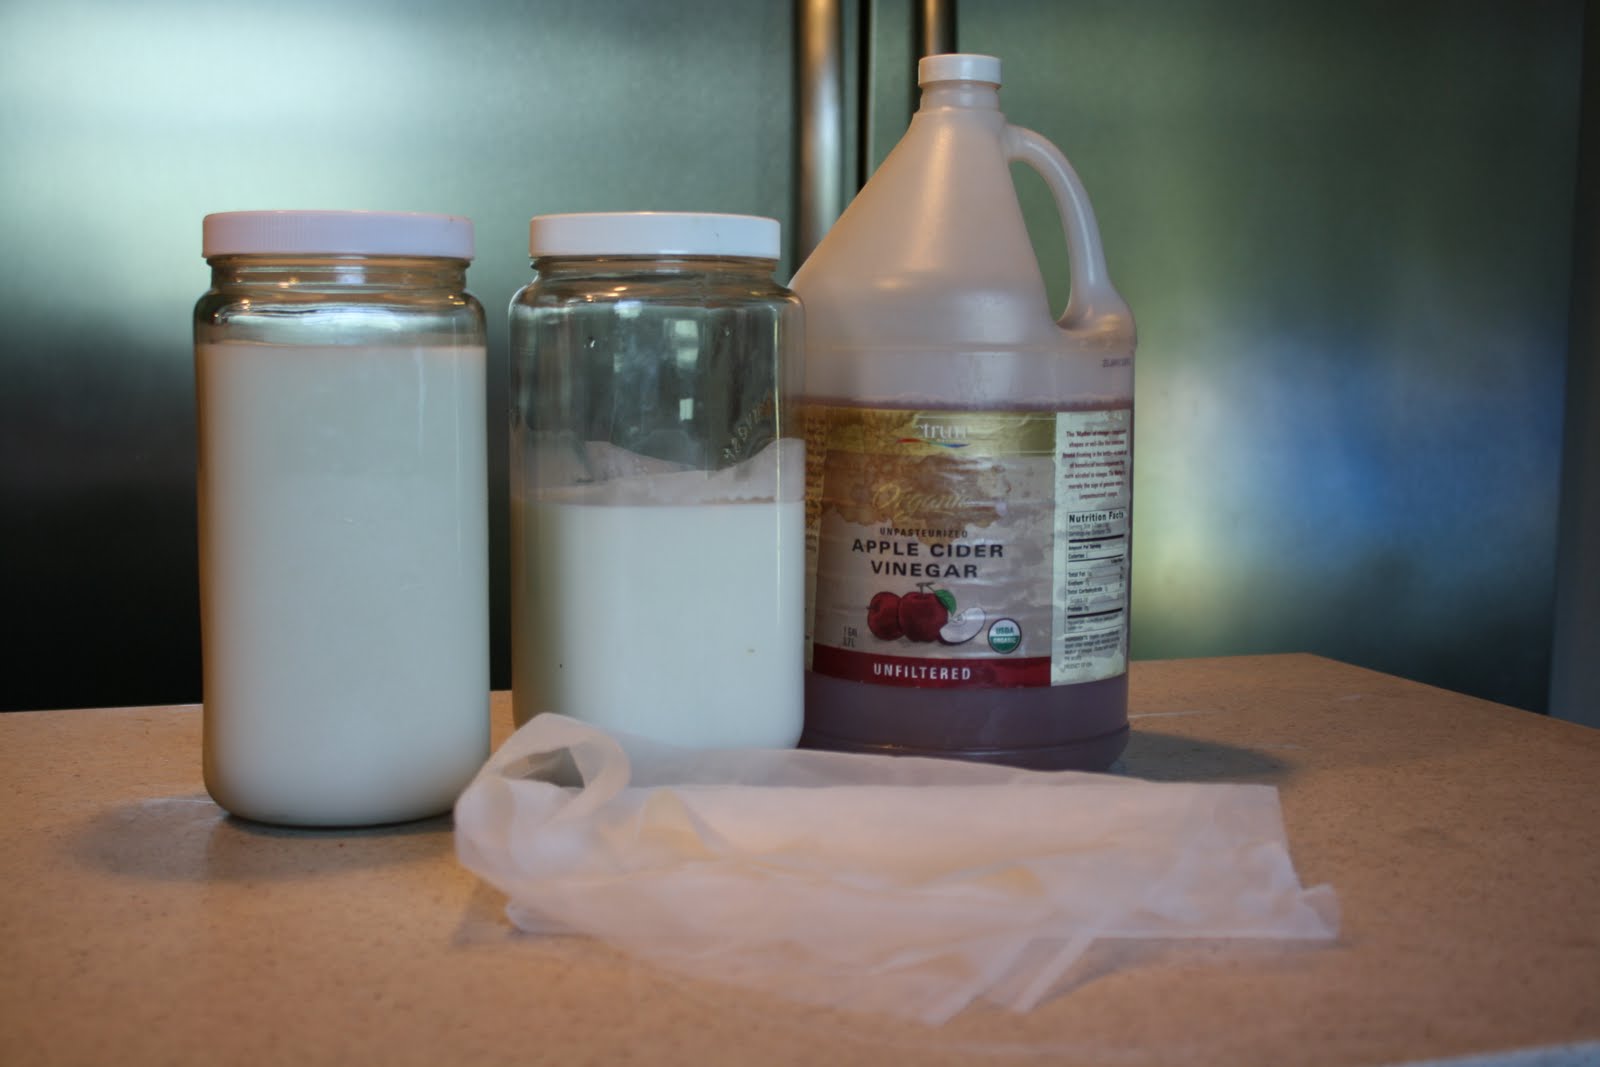
1 gallon of milk, you don’t have to use raw, you could use store bought or even powdered will work.
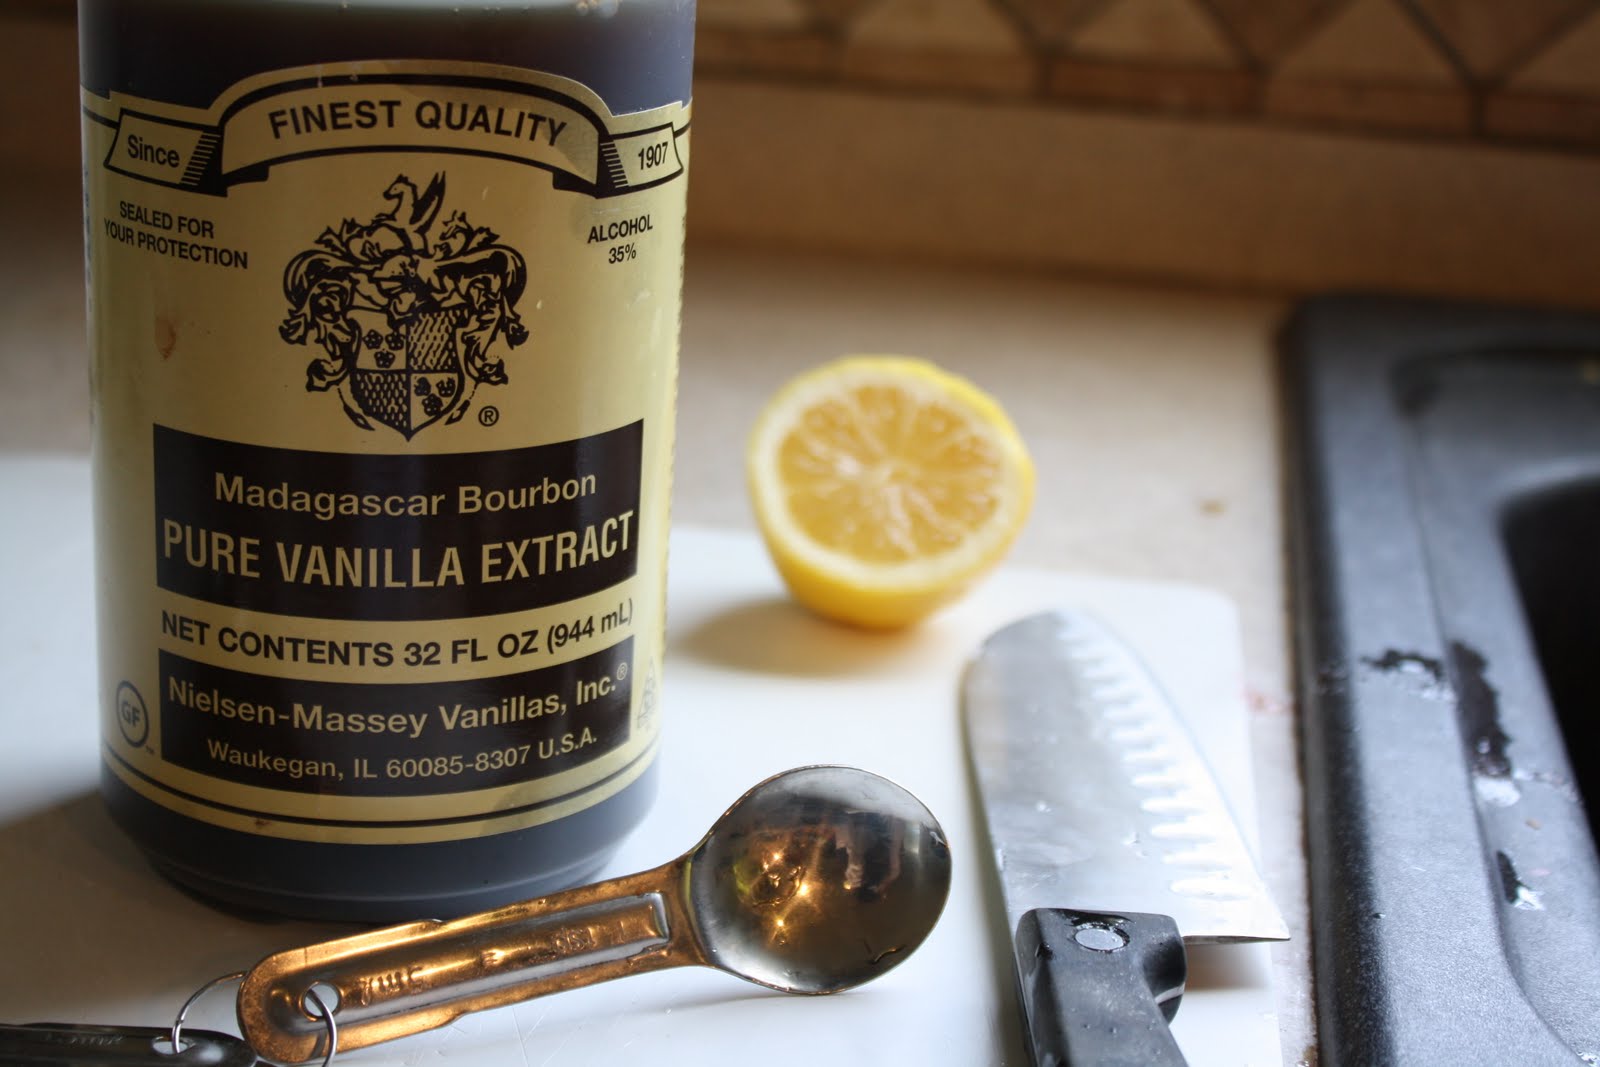
White of apple cider vinegar
Cheesecloth (I use some sheer curtain fabric because I hate to throw away and continue buying cheese cloth plus the weave is much smaller and the cheese looks nicer to me.  Shhhhh, thats my little secret that I share with you.  Go get one of those old curtains out of your linen closet and give it a new home. The liquid goes right through but the solid stays perfectly, much better than cheese cloth.
A food thermometer or you could just

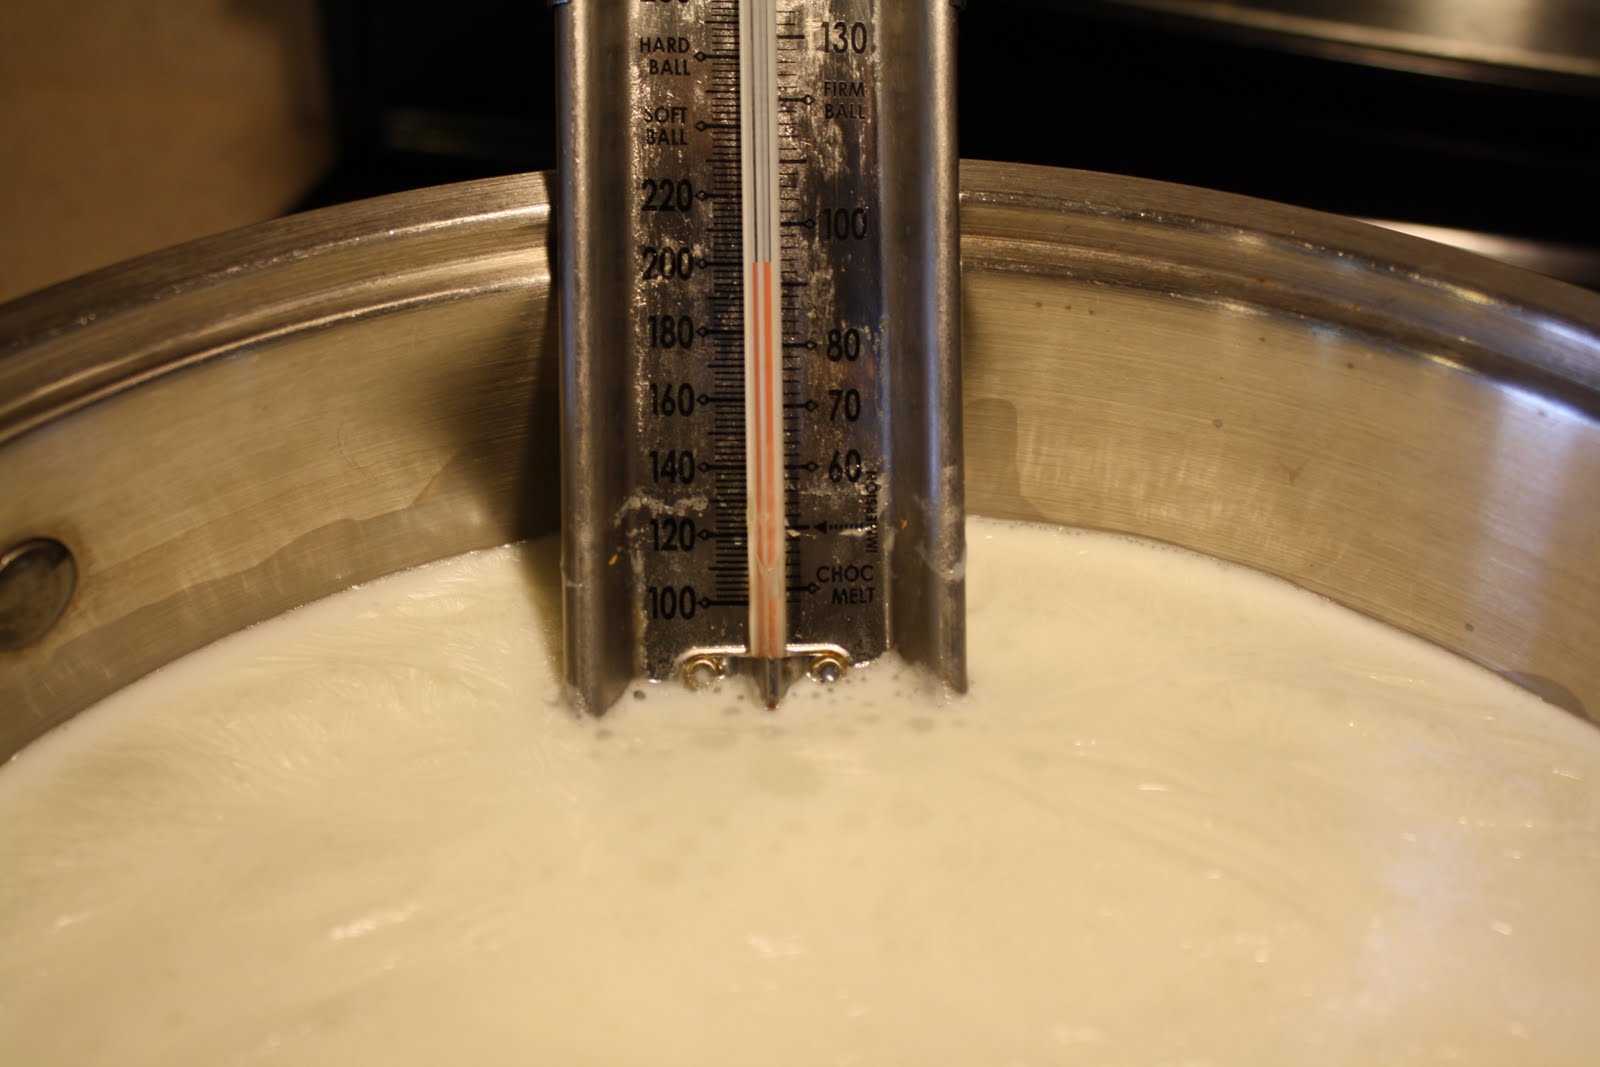
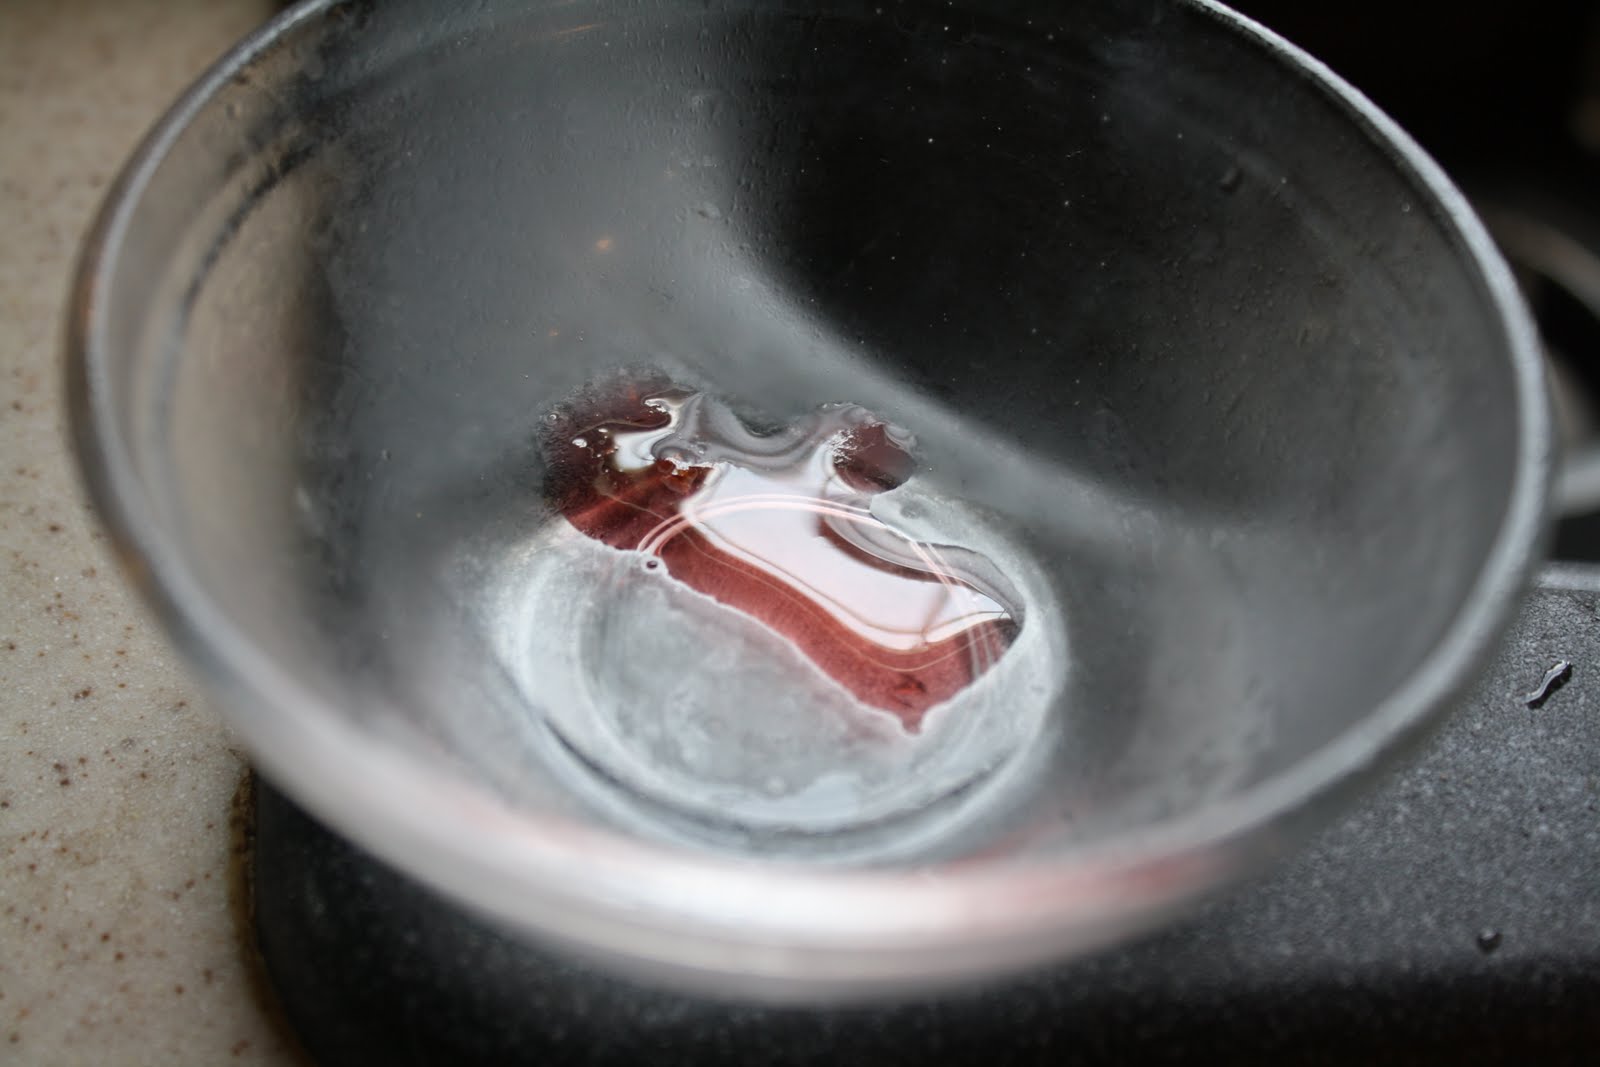
 heat your milk to between 180 to 185 F.  If you do not have a thermometer, just watch it to the moment right before the milk boils.  Add 1/4 cup of vinegar to your pot

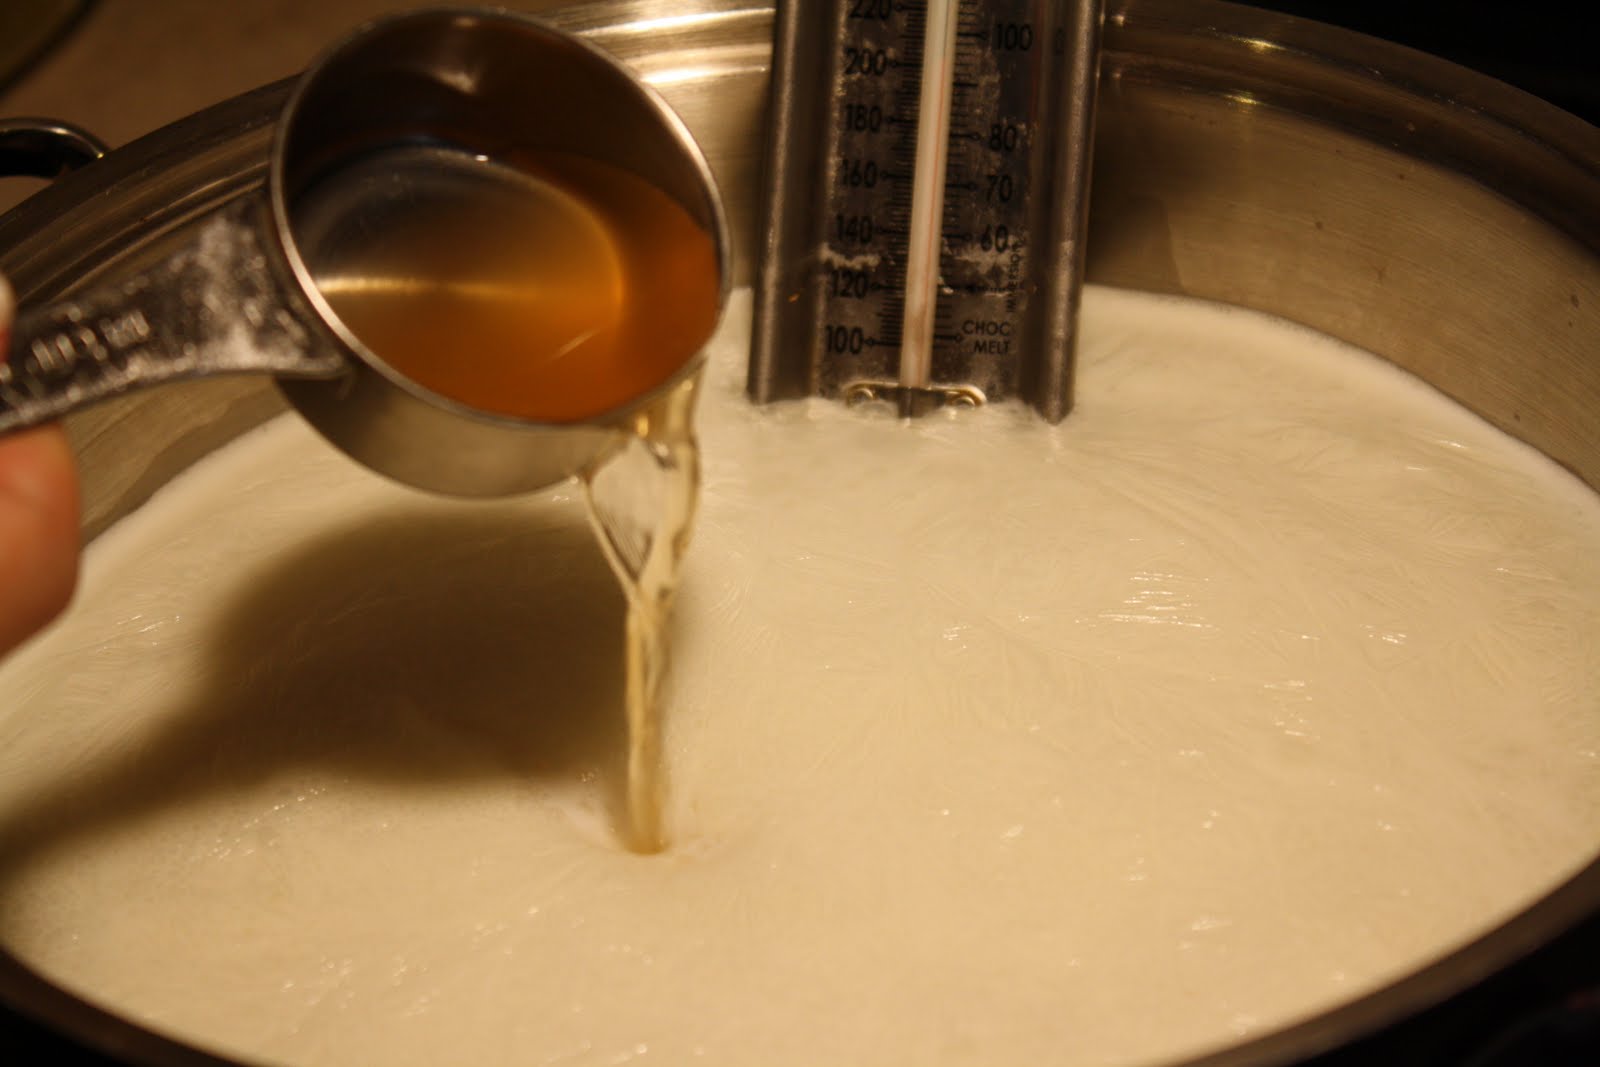
 give it a gentle stir

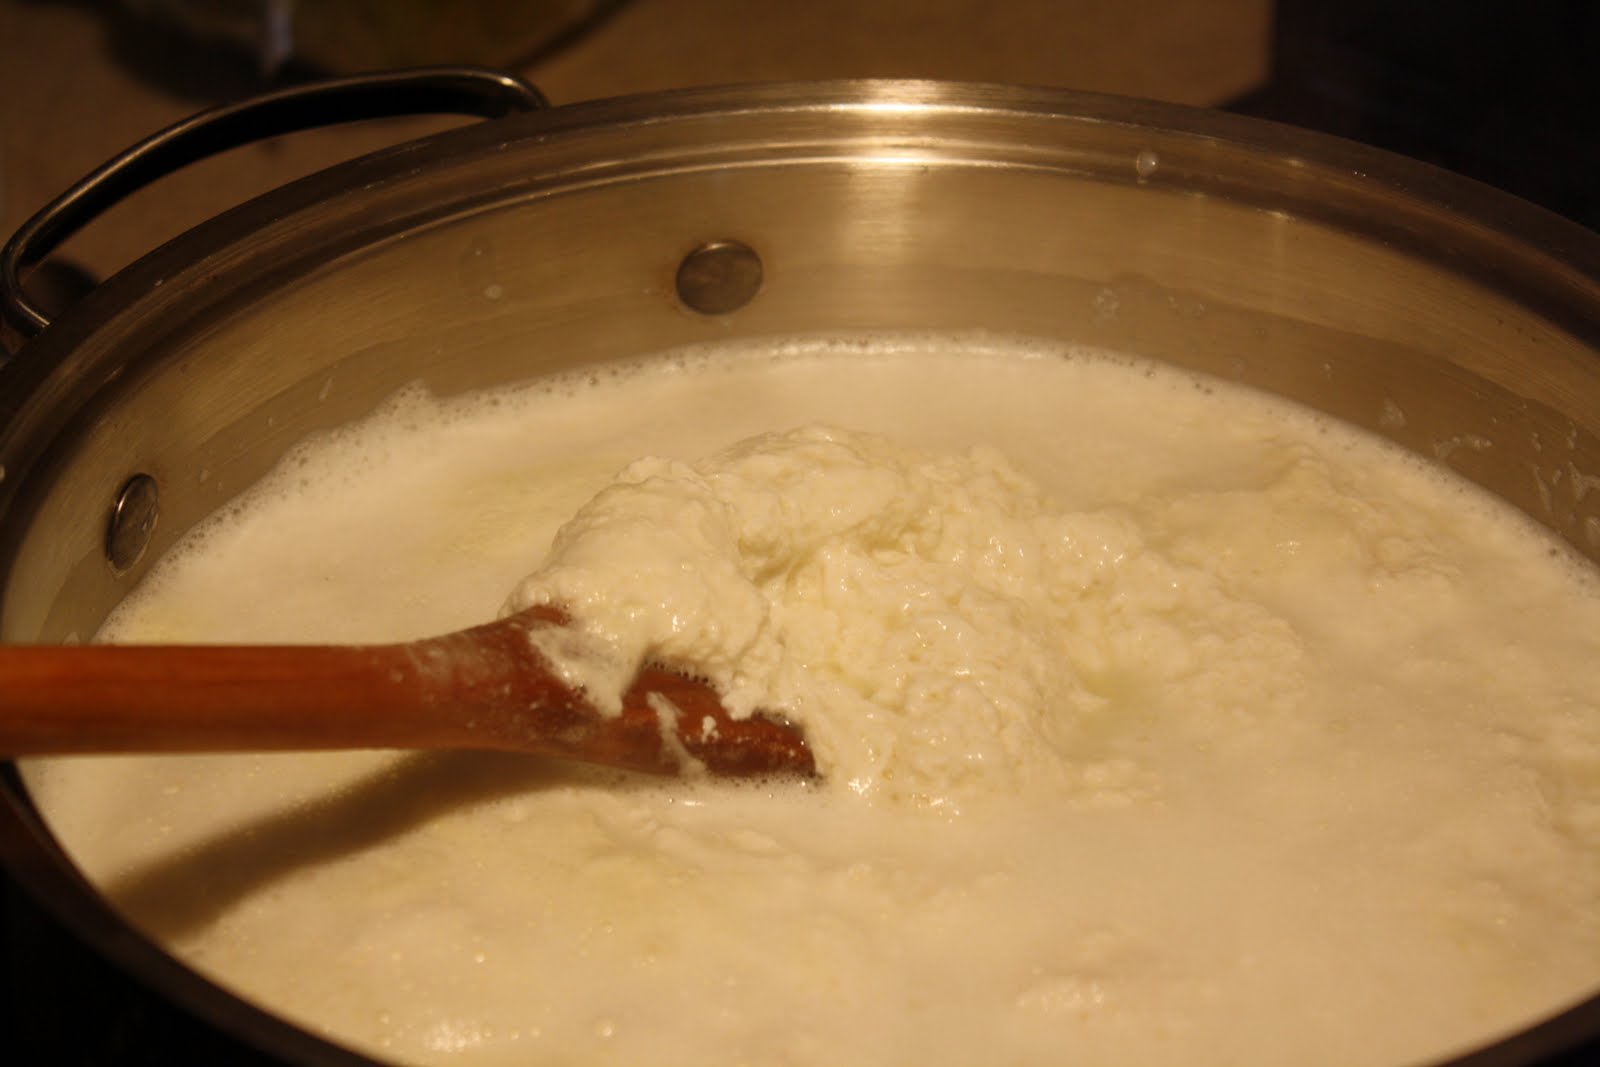
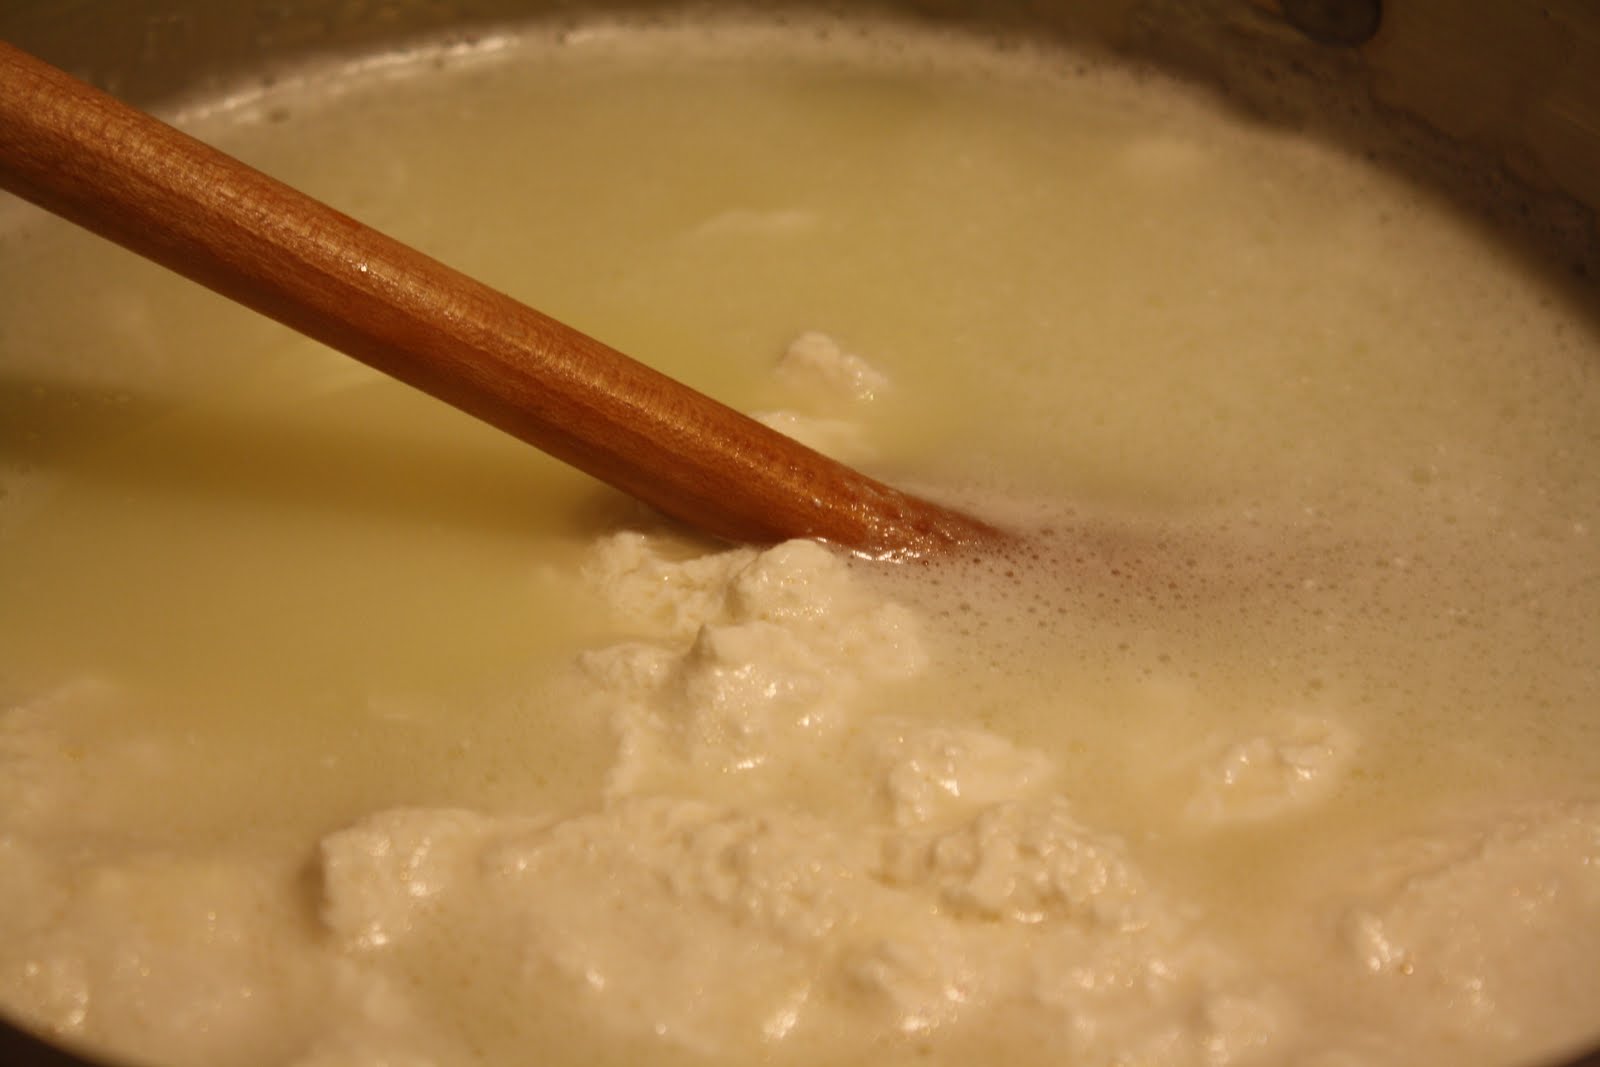
 You will start to notice the solids separating from the liquid.  This is the curd and they whey (just like in Little Miss Muffet).

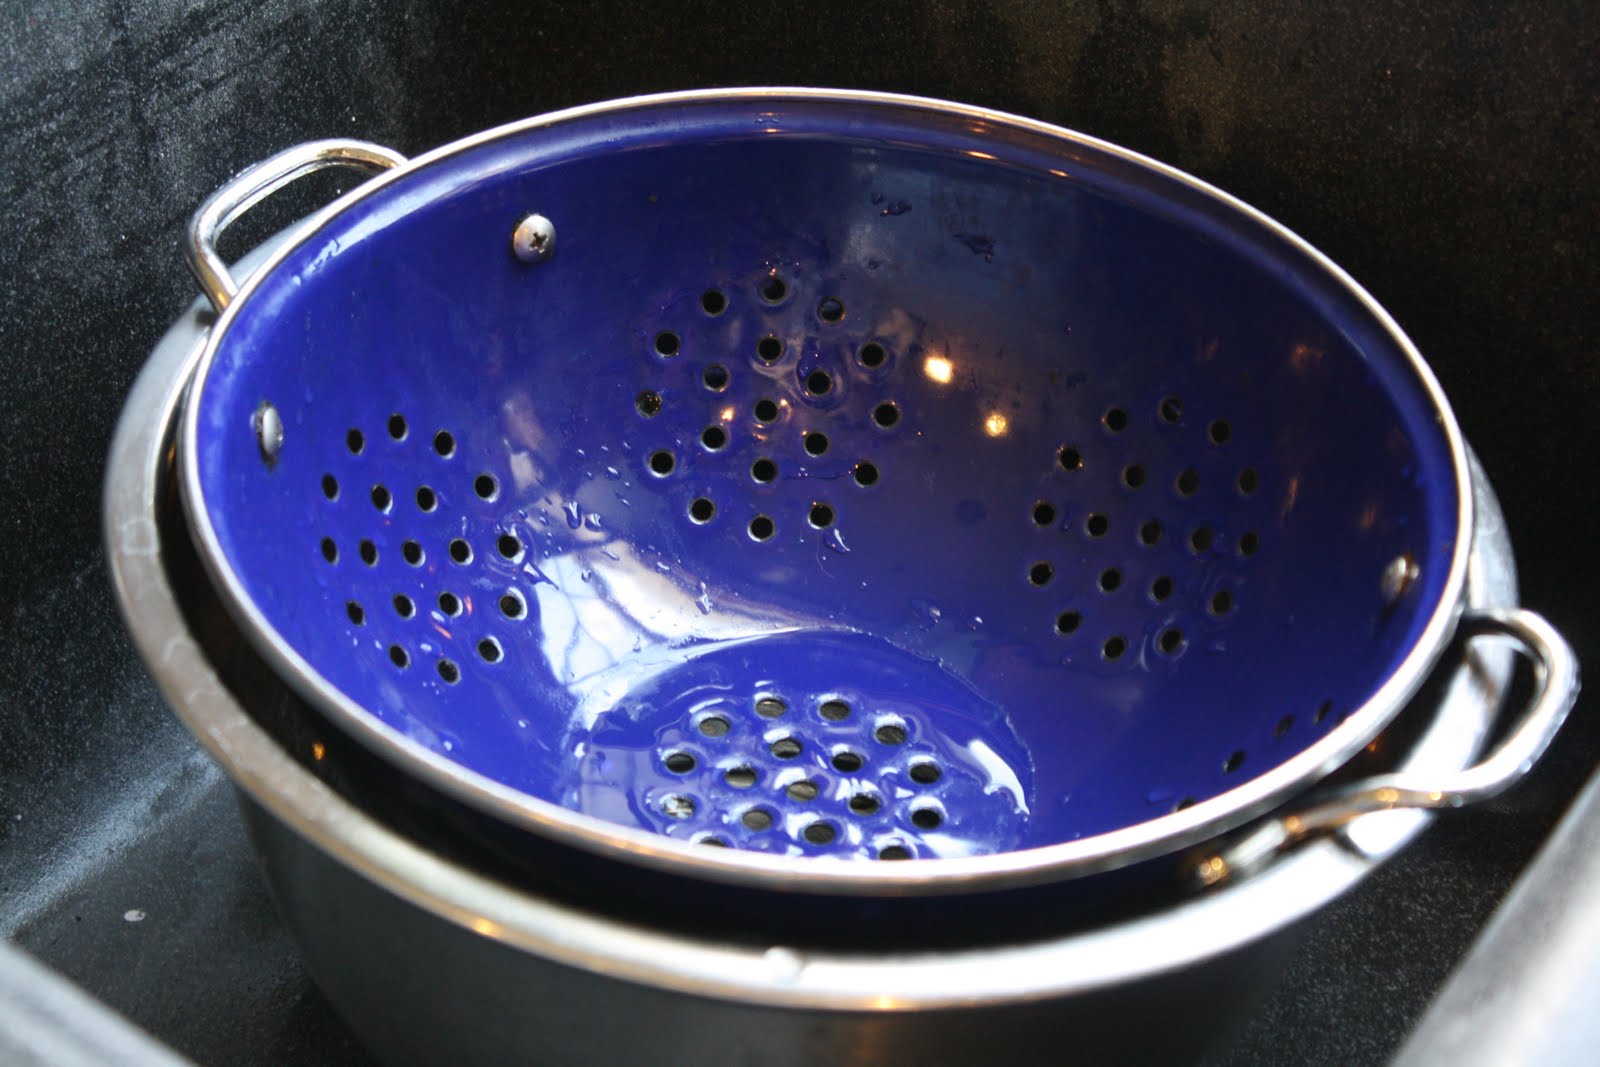
 Put a strainer inside a bigger bowl to catch the whey and place your cloth in it.

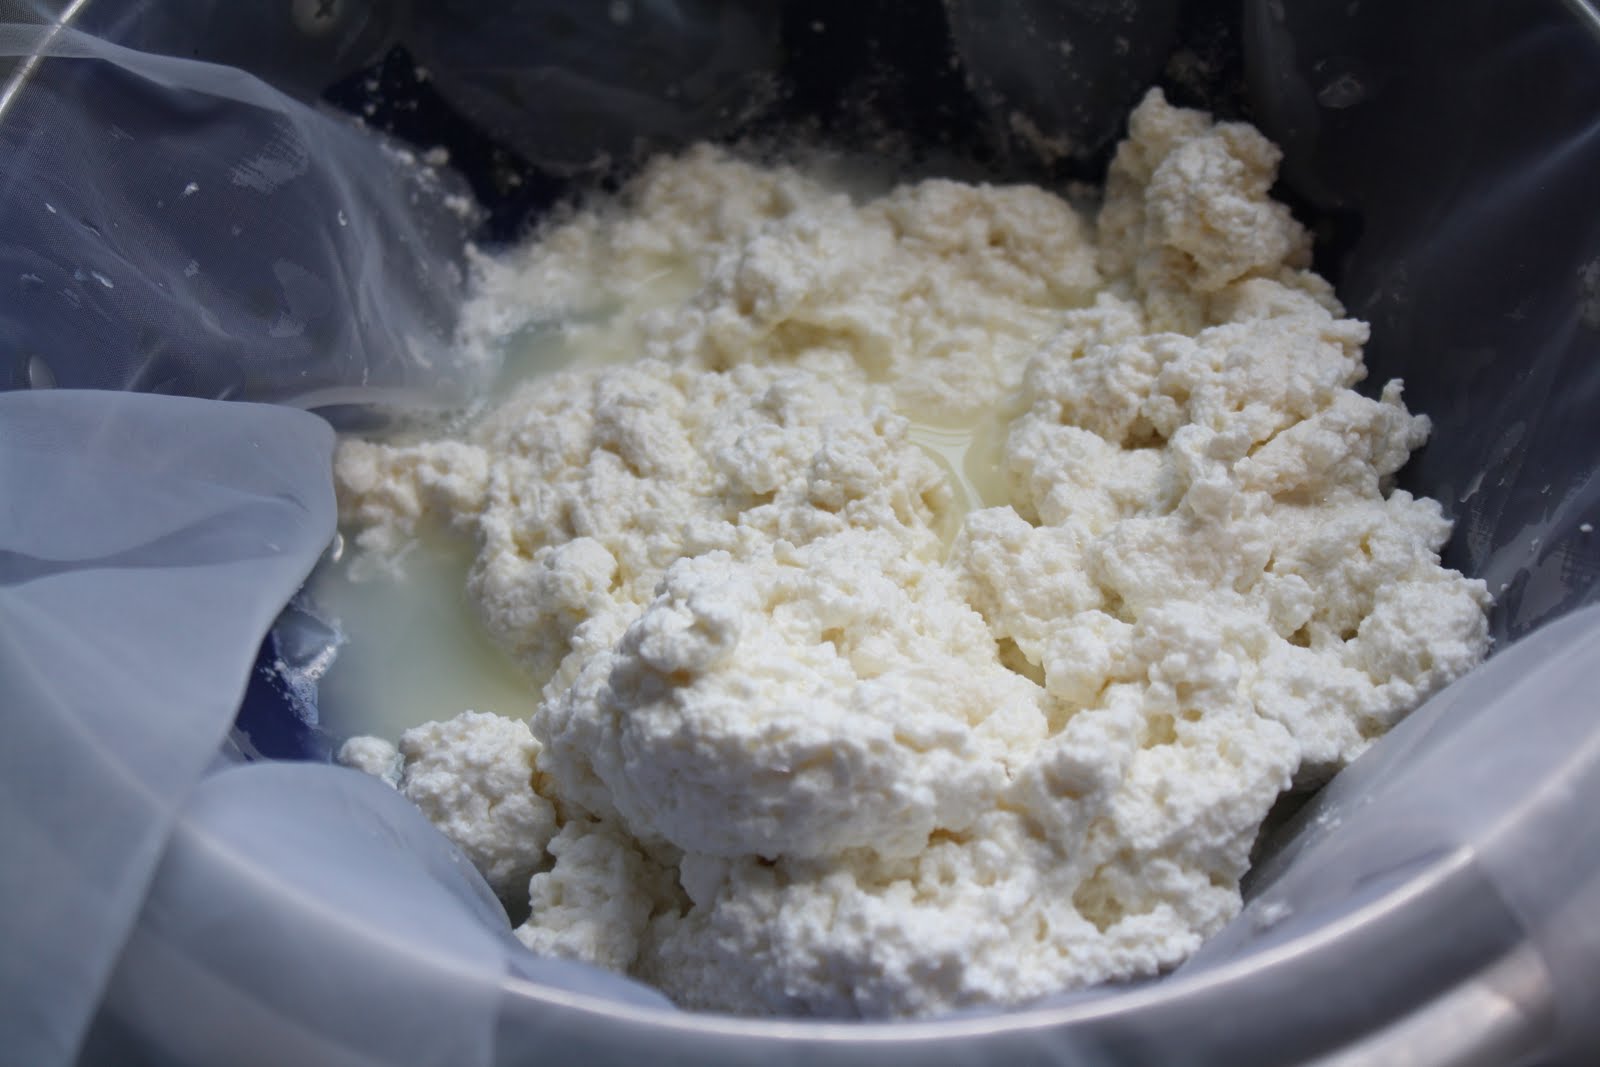
pour everything in your pot into the lined strainer (with the bowl under it)

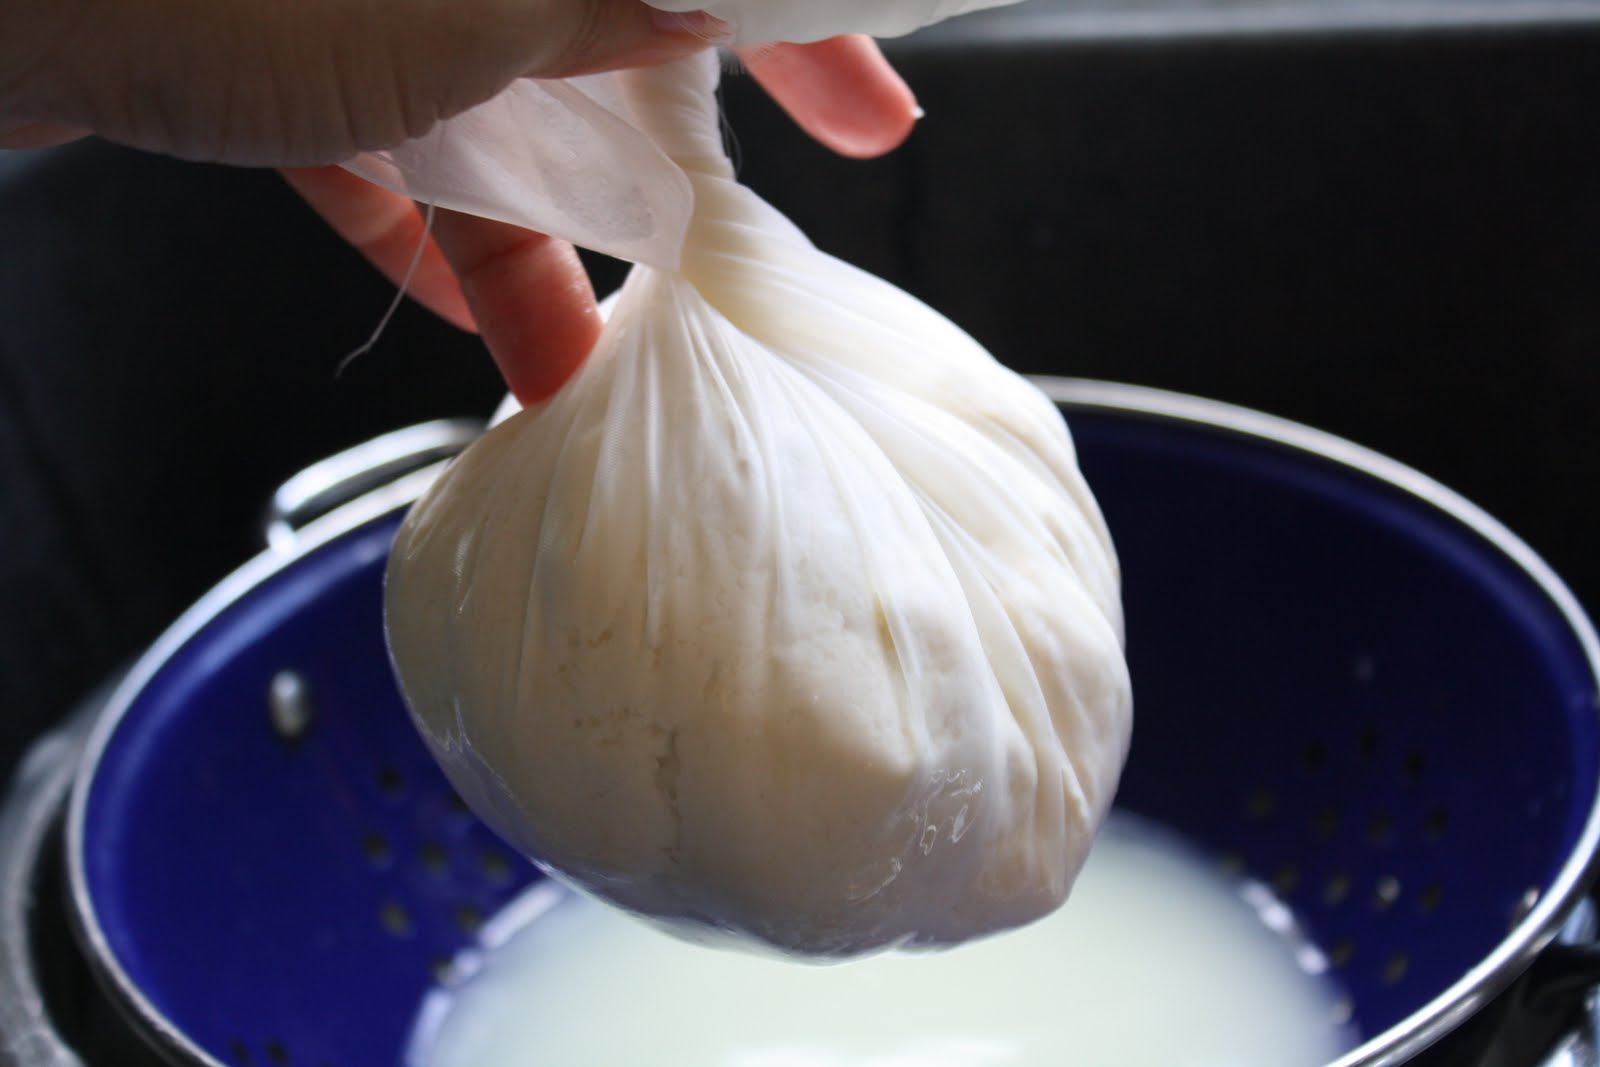
 twist the cloth to squeeze out the liquid. Before all the liquid is out I open the cloth and salt the cheese.  If you wait until all the liquid is out it is harder to get the salt in because the cheese becomes somewhat solid. You can tie off the cloth with a string and hang it to drip but with this cloth it will all come out with a few twists of the cloth.  Put your drained cheese into whatever mold you like and refrigerate over night.  Enjoy.

Comments { 8 }

We’re jammin… Nilla strawberry jam

I love this time of year in my town.  We have u-pick farms all around with corn, blueberries, blackberries and strawberries.  Strawberries and more importantly, jam is our favorite.  I love this recipe because it is soooo yummy and the vanilla (though you don’t really taste it) brings another depth of flavor.

What you need:
3 pints of strawberries, green top cut off
4 cups of sugar
Juice from half a lemon
1 tsp really good vanilla (I use Neisen Massey Bourbon vanilla)

 wash your strawberries

 I added about a cup of the sugar

 then start mashing!  This is the hardest part I promise.

 mash until you get to the consistency you like.  I don’t like chunky so I mashed alot, you might like bigger pieces of berries so that is up to you.  At this point it was so yummy that I had a hard time convincing myself to continue and not use them as is but I need jam so I had to continue on

 add the lemon (make sure you use a sieve to catch the seeds)

 add your vanilla…I added this picture to show you my vanilla.  In my (very humble) opinion this is the very best vanilla out there.  It is expensive but the flavor is so amazing that to me it is totally worth it and it is my little secret for a few years now which I share with you.

Now take your berry mash and put it into your pot, add the rest of the sugar and cook it on medium until it reduces and starts getting thicker.  I do not use pectin in my recipe because I want it to be as natural as possible.  We tried it today and it was perfectly jelled and oh so good.  OK back to the recipe.  How can you tell if you are ready to put your jam into jars?  Here is what I do.

  I put a little plate in the freezer and I take it out when I am ready to test my jam.  I put a little and since the plate is frozen cold it will jell up if ready.

 put into your jars, put the lids on and then can them.  You can find lots of instructions on line but basically, I boil a big soup pot of water.  I put my jars and lids in and boil them for a few minutes.  Carefully take them out and I put them on a towel or cloth on the counter.  I ladle my jam into each jar leaving a little room at the top.  Put the lids on and put them into the boiling water for about 10 minutes.  I remove them and wait for the plink.  The plink is the sound the jar lid makes when it seals (love that sound).  If after about 20 minutes your jar lids do not seal you can either boil them again or put them in the fridge.

I promise you will never want to eat store bought again…  my kids said it was unbelievable, incredible and totally awesome (that kid sound like he is from the 80s).  I spent a total of $4 to make this jam and I got 8 jars.  Even if you don’t have a u-pick in your town, last week Whole Foods had organic strawberries for $1 for a pound of strawberries.  Keep an eye out for those sales.

Comments { 5 }