About Tricia

I am Tricia. Momma of nine, homeschooler, artist, foodie and maker of all kinds of things. It's a pleasure to share here our family homesteading adventures, the things we make, and what inspires our days. Read more about my family and work here. Thanks for visiting!

Author Archive | Tricia

Lego party how to: Lego block party bags tutorial

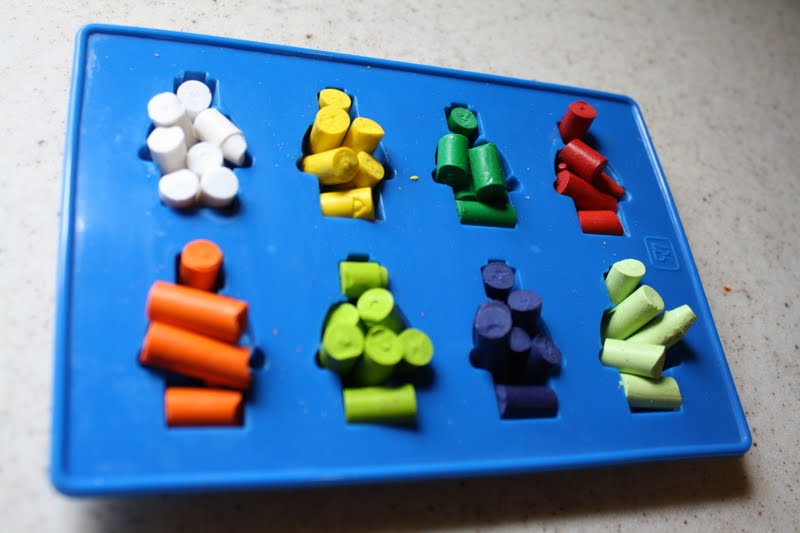
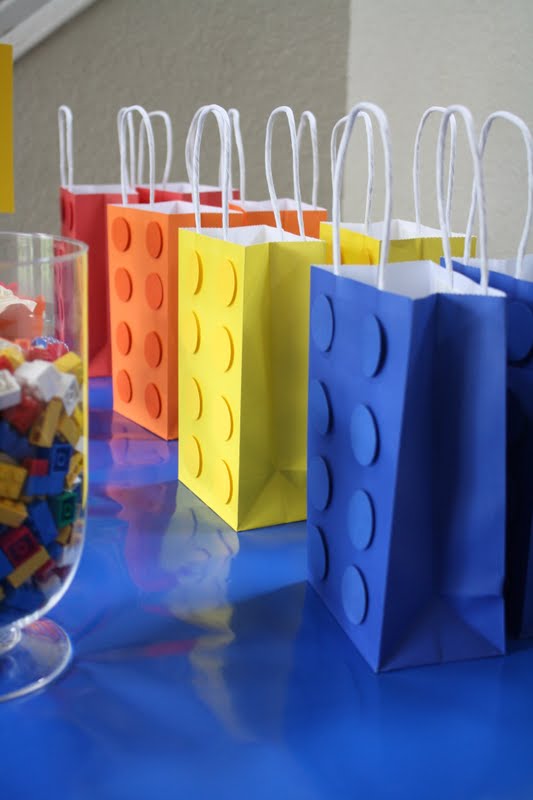
As promised, here is the tutorial for the Lego block party bags (not that you couldn’t figure it out without me).

What you need:
Party bags in Lego block colors (I got mine in a pack of 12 from Michaels)
Circle punch or scissors
Cardstock to match the party bags
pop dots

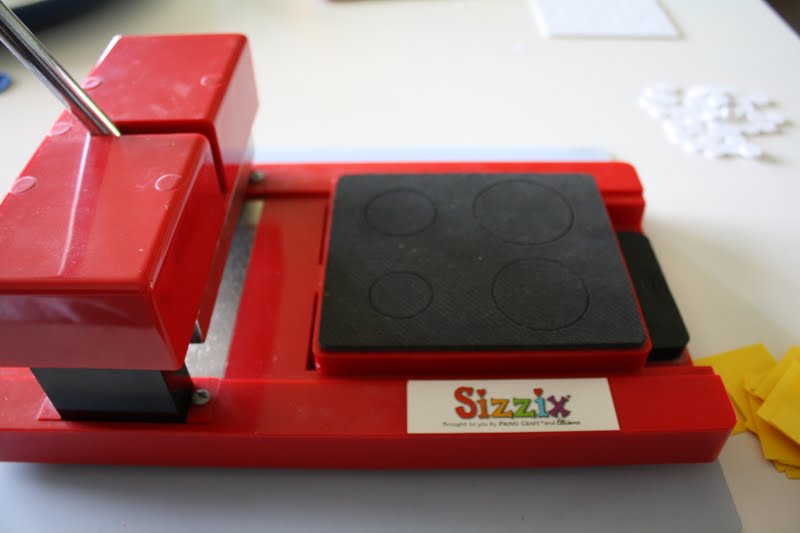
 If you have one of these old machines I used the third biggest circle, if you do not I would say the circle would be about the size of a half dollar.

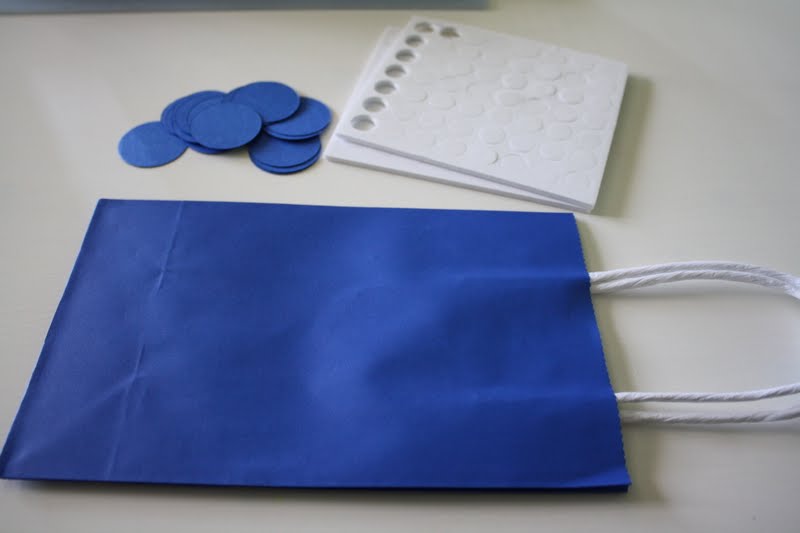
 For each bag you will need to cut out 8 circles

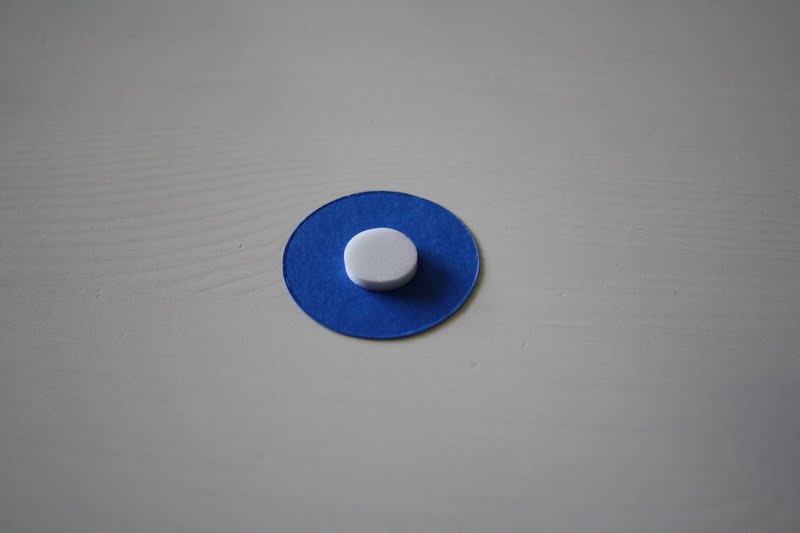
 put a pop dot on the back of each circle (note: do not throw away the sheet that is left when you are done popping out all the dots, cut them into small pieces and use them the same way you would use a pop dot)
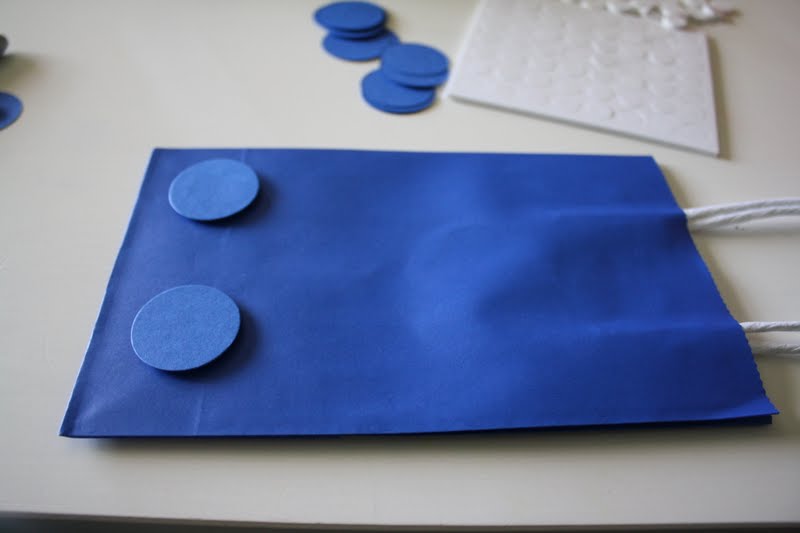
  I did not measure while I was doing this but you could just place the circles in place and play around with it before you remove the back off the pop dot.  Once you are happy, remove the pop dot backs revealing the sticky side and press them in place.  Once you have the first one done, you can use it as a template for the rest.
too easy I know,but I did promise.
For the party itself you can visit right here. No presents please : )
Comments { 2 }

Lego party how to: Mini figure crayon tutorial

I think these are my favorite craft from the party and I have heard from some of the moms on them so I think they may have been the boys favorites too.
 If you have the mold or can borrow one, this 48 crayons will cost you $1.  (Personal friends of mine, if you need to borrow the mold just ask)  I got a box of 48 crayons (not name brand) from Michaels for $1.
OK, now get your willing assistants to start peeling off all the crayon papers.  (Ignore the background in this picture, I have been redoing the living room and will have a before and after reveal soon).
 This is the mold you need, I got mine on ebay.  It can be used for chocolate, ice cubes, chalk, crayons, play dough, you name it. 

 Break up your crayon and put one crayon into each cavity. That’s right you can melt the crayons right in the mold.  Bake in the oven at 250 for about 8 to 10 minutes, when it is all melted, take it out and put it either in the fridge if you are in a hurry to unmold them and make more or just let them sit out until the cool and harden.

 I love the pictures Alexandra took, don’t you? 
 Be careful when unmolding the crayons, the heads break off if you don’t unmold them carefully.  After a few chopped off heads, you’ll get the hang of it.
 You could mix the crayon colors but I like them like this.  
 Each boy received a bag of crayons in their party bags 
To see the whole party visit here.
Comments { 35 }