Archive | Tutorial RSS feed for this section

Tutorial tuesday: How to cut a pomegranate fruit

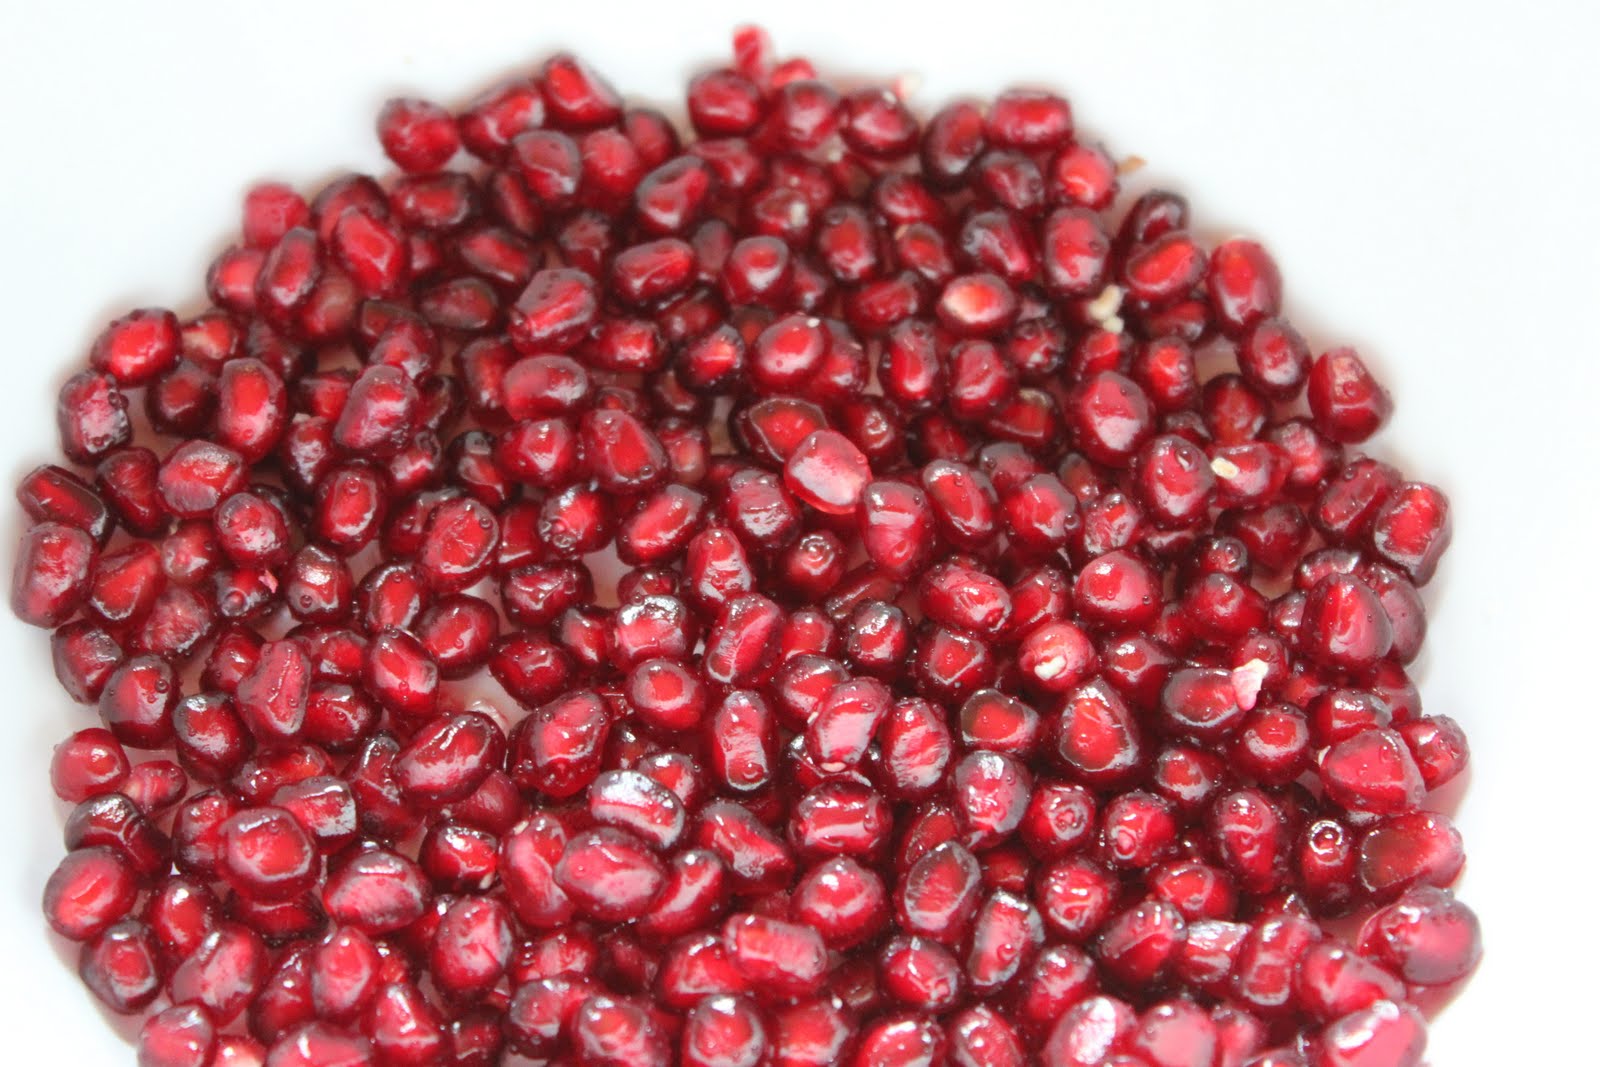
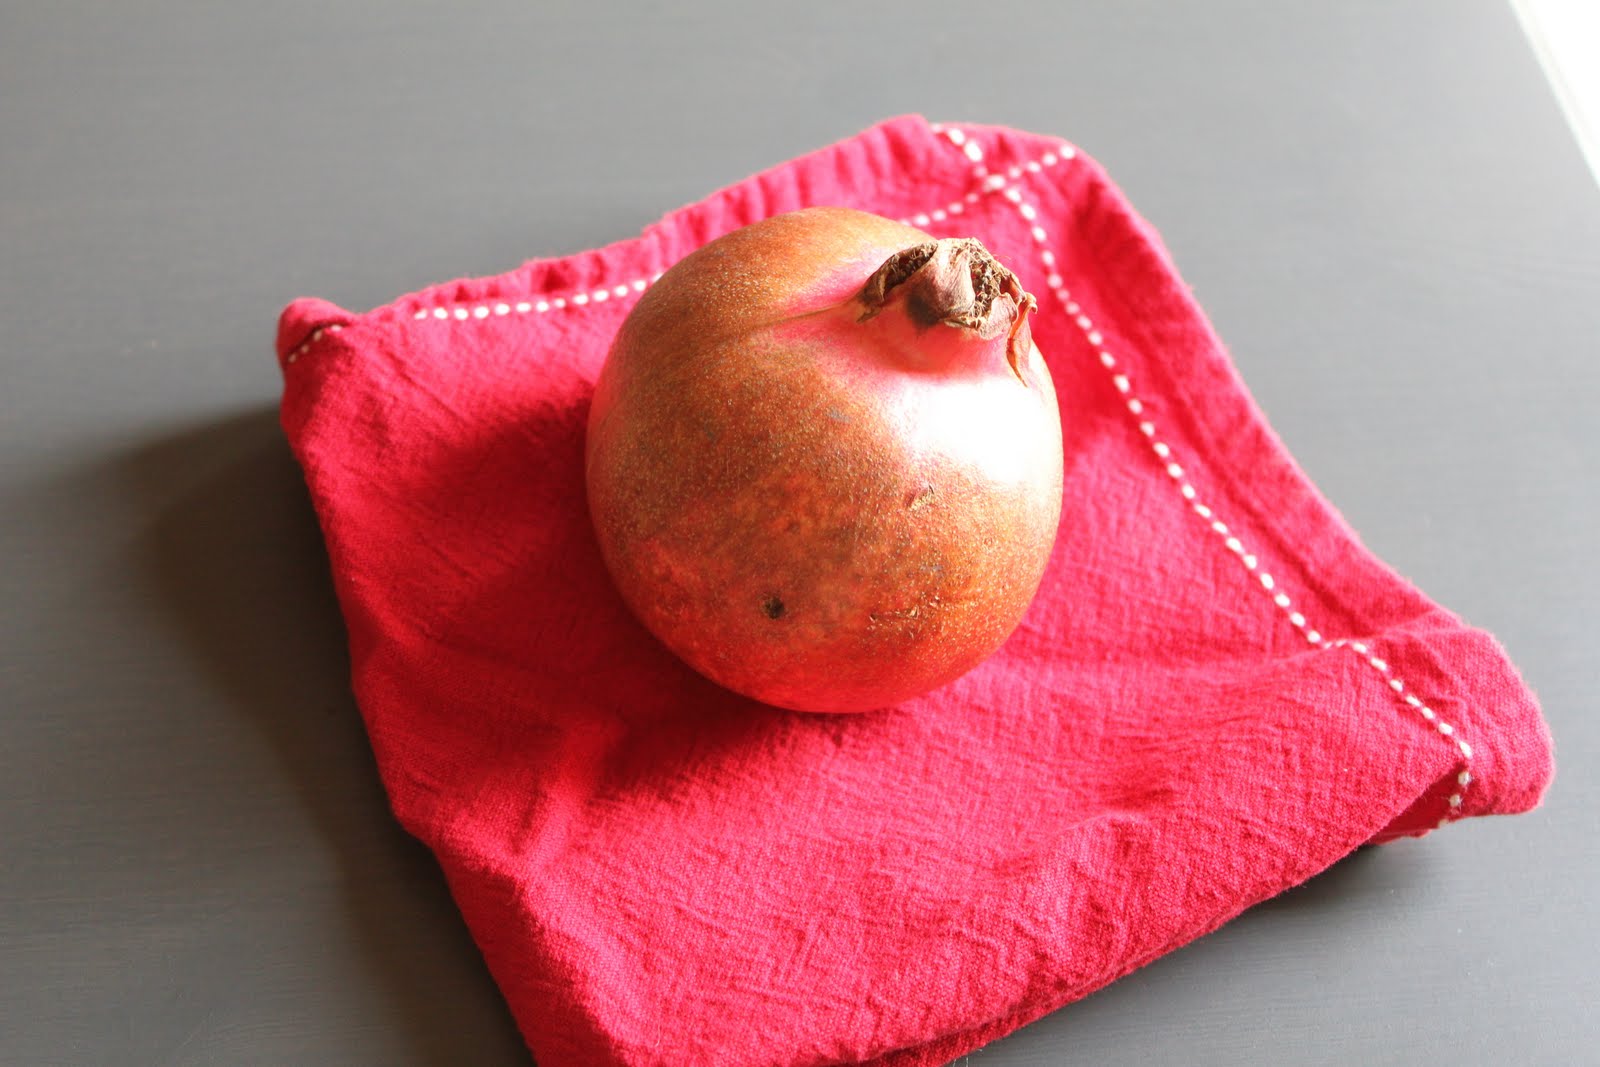
Yeah I am busted.  I have purchased non-local non-seasonal fruit at the store.  I had to have it but I can stop whenever I want to.  Pomegranates are actually a local fruit but are not ready until fall here.  My own pomegranate trees only still have a few flowers on them. I just needed some little rubies for my salad and if you have ever tried a pomegranate you will understand my deviance.

Pomegranates are so yummy (and of course they are good for you) and actually very easy to use. If you have not ever cut one of these fruits heres how.

 Word of advice, use a cutting board that you do not mind staining and be careful with your favorite tea towels because anything that gets pomegranate juice on it is stained for good. (If you know of a way to get it out let me know as I found this out the hard way).

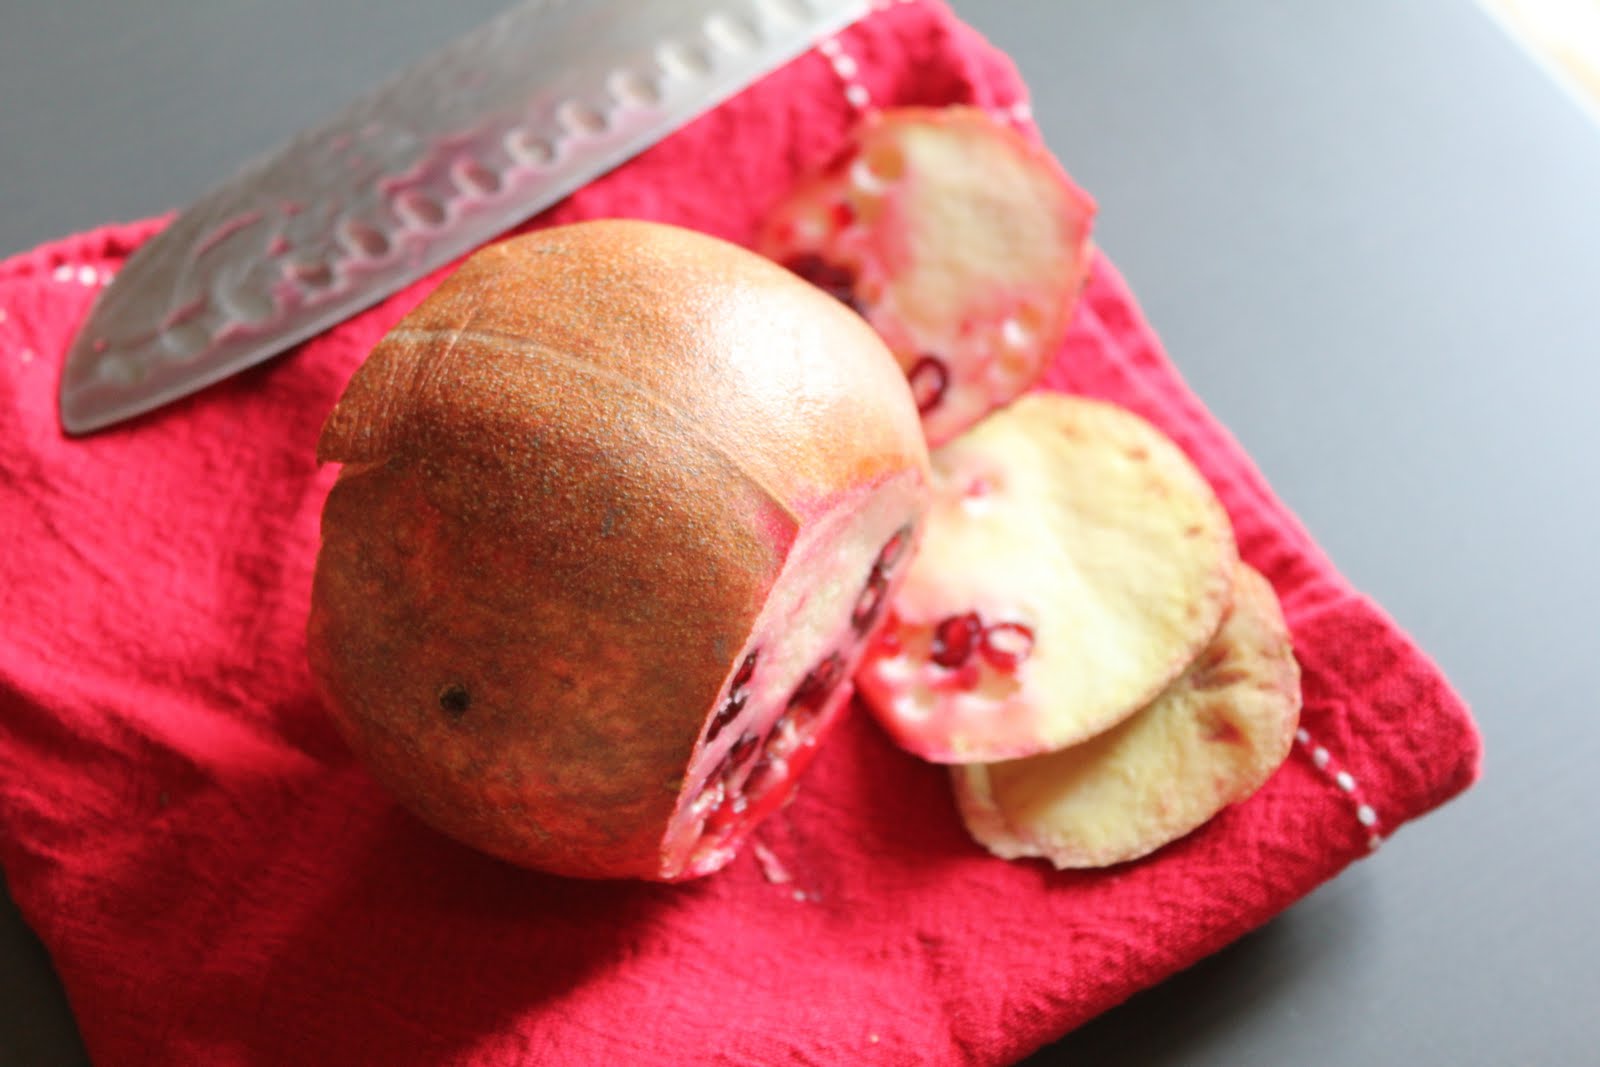
 Cut the top and bottom off

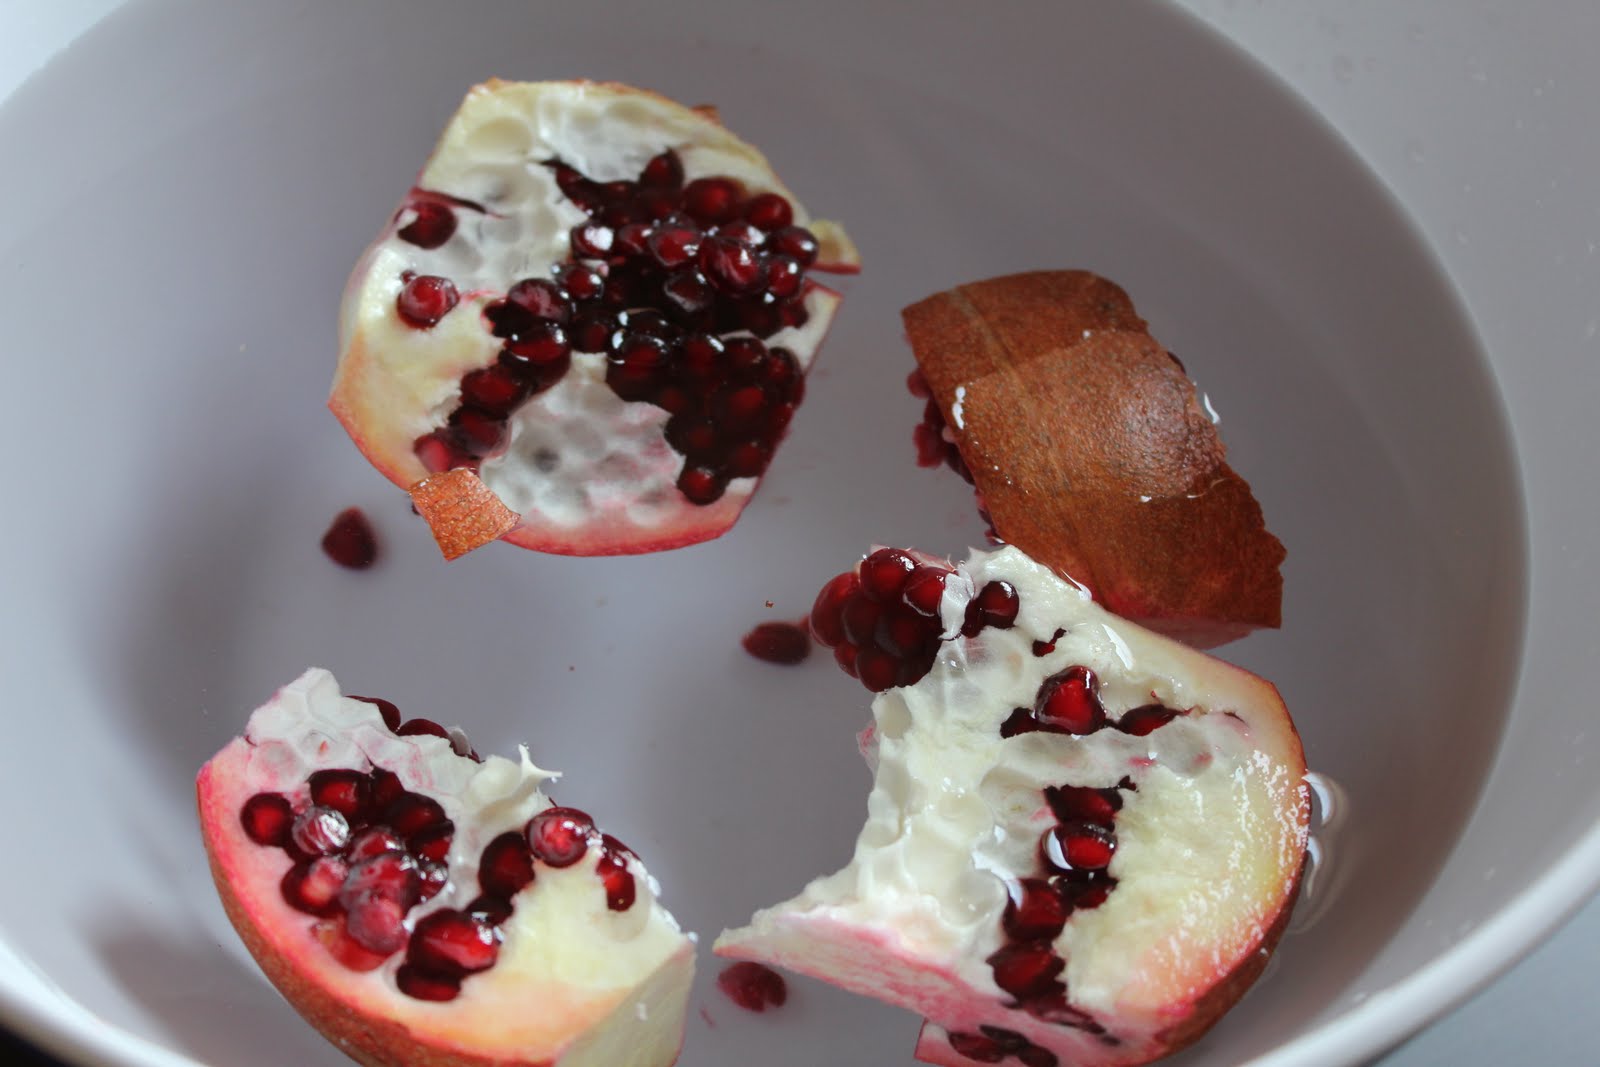
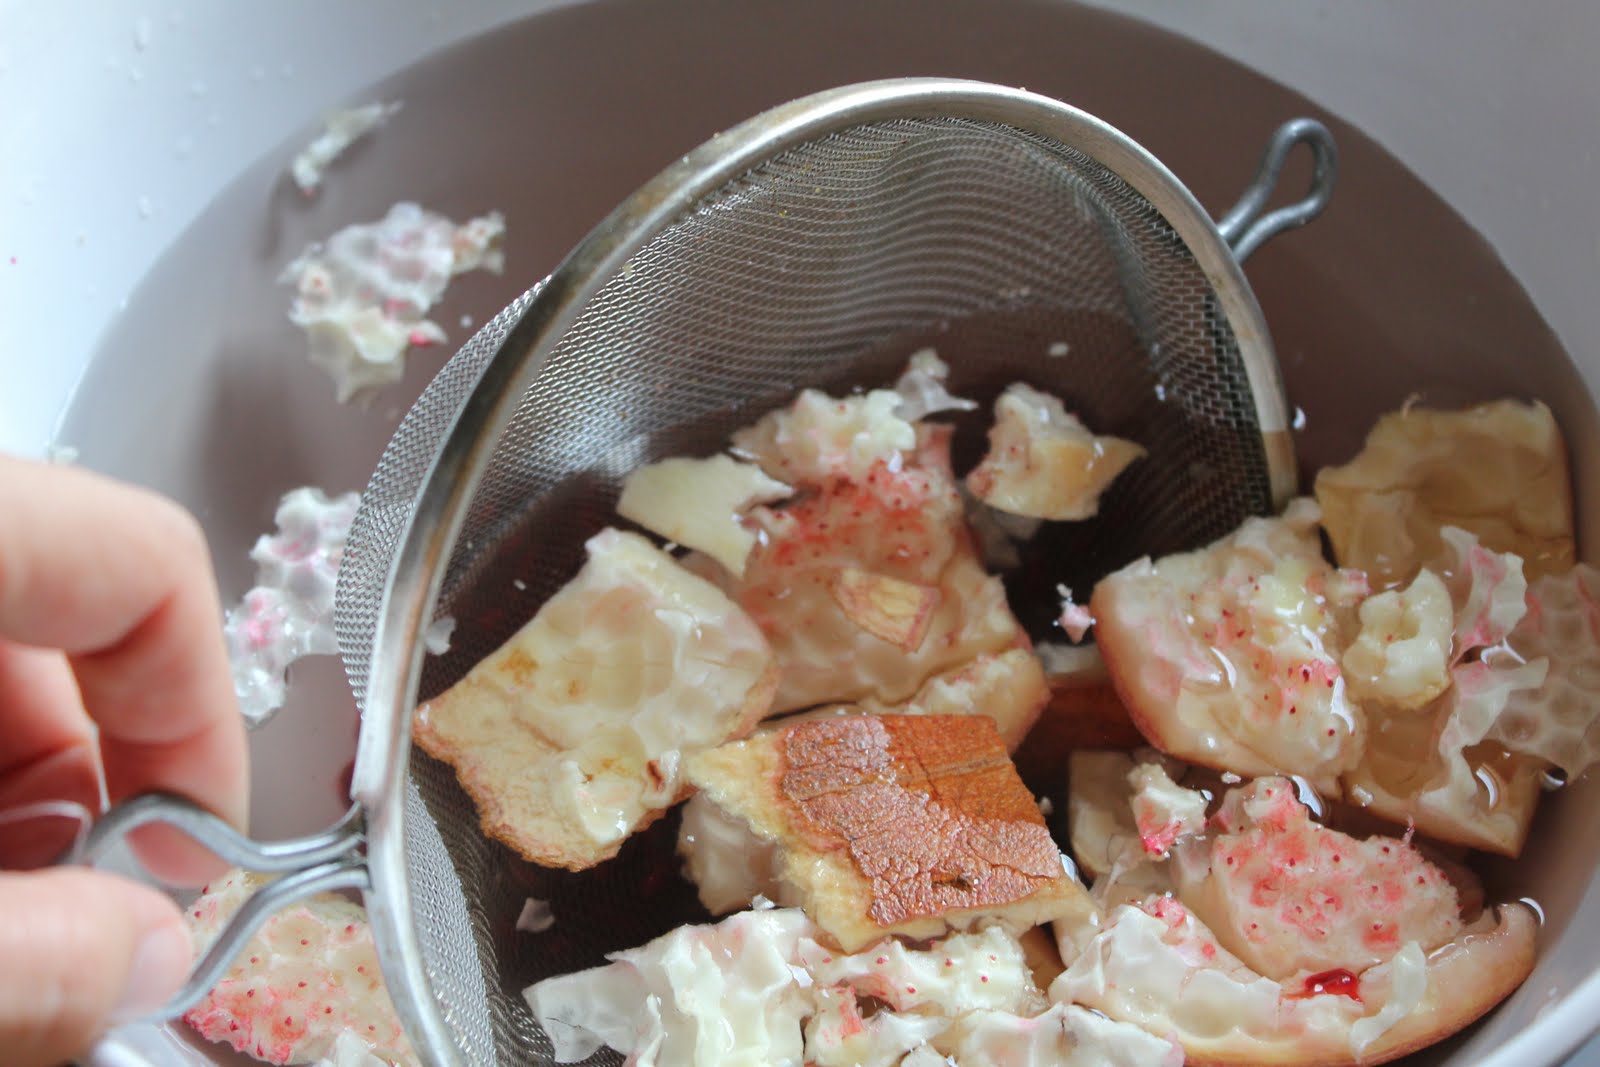
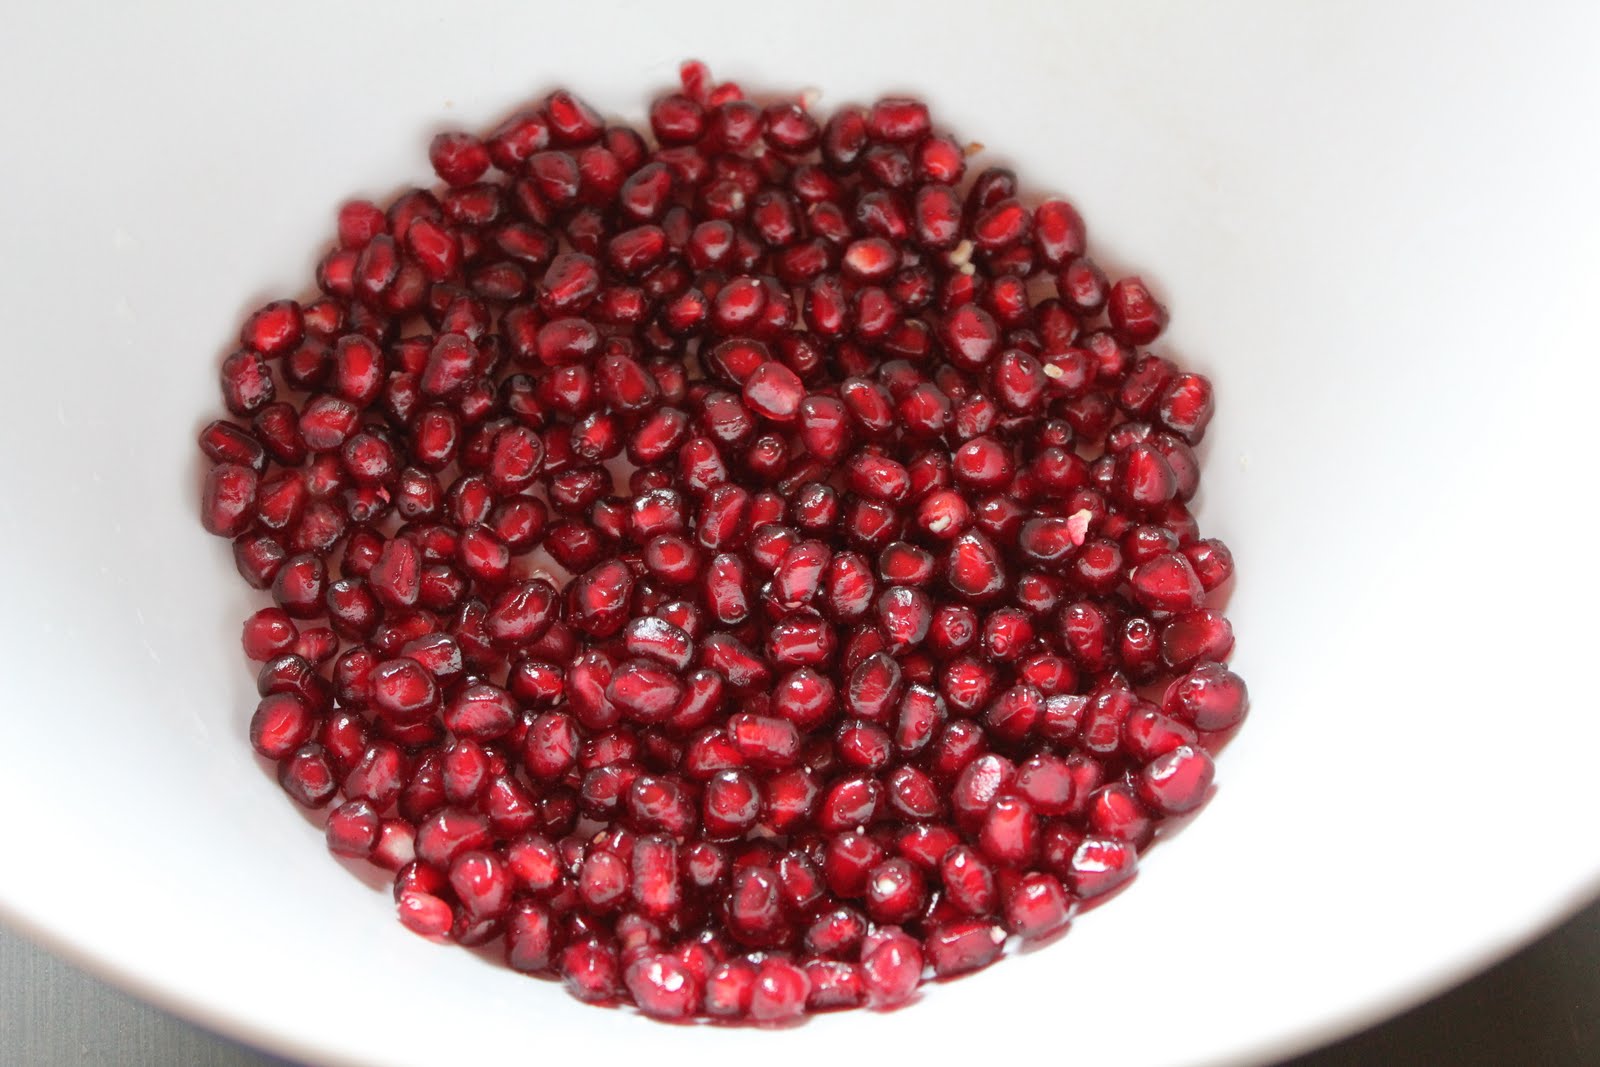
Over a bowl of water, take your knife and score the fruit 4 times around the outside and 12, 3, 6 and 9 o’clock (don’t cut all the way through or you will cut some of your pretty little jewels. Now holding the fruit under the water break it open and pop all the little seeds out of their nooks and crannies

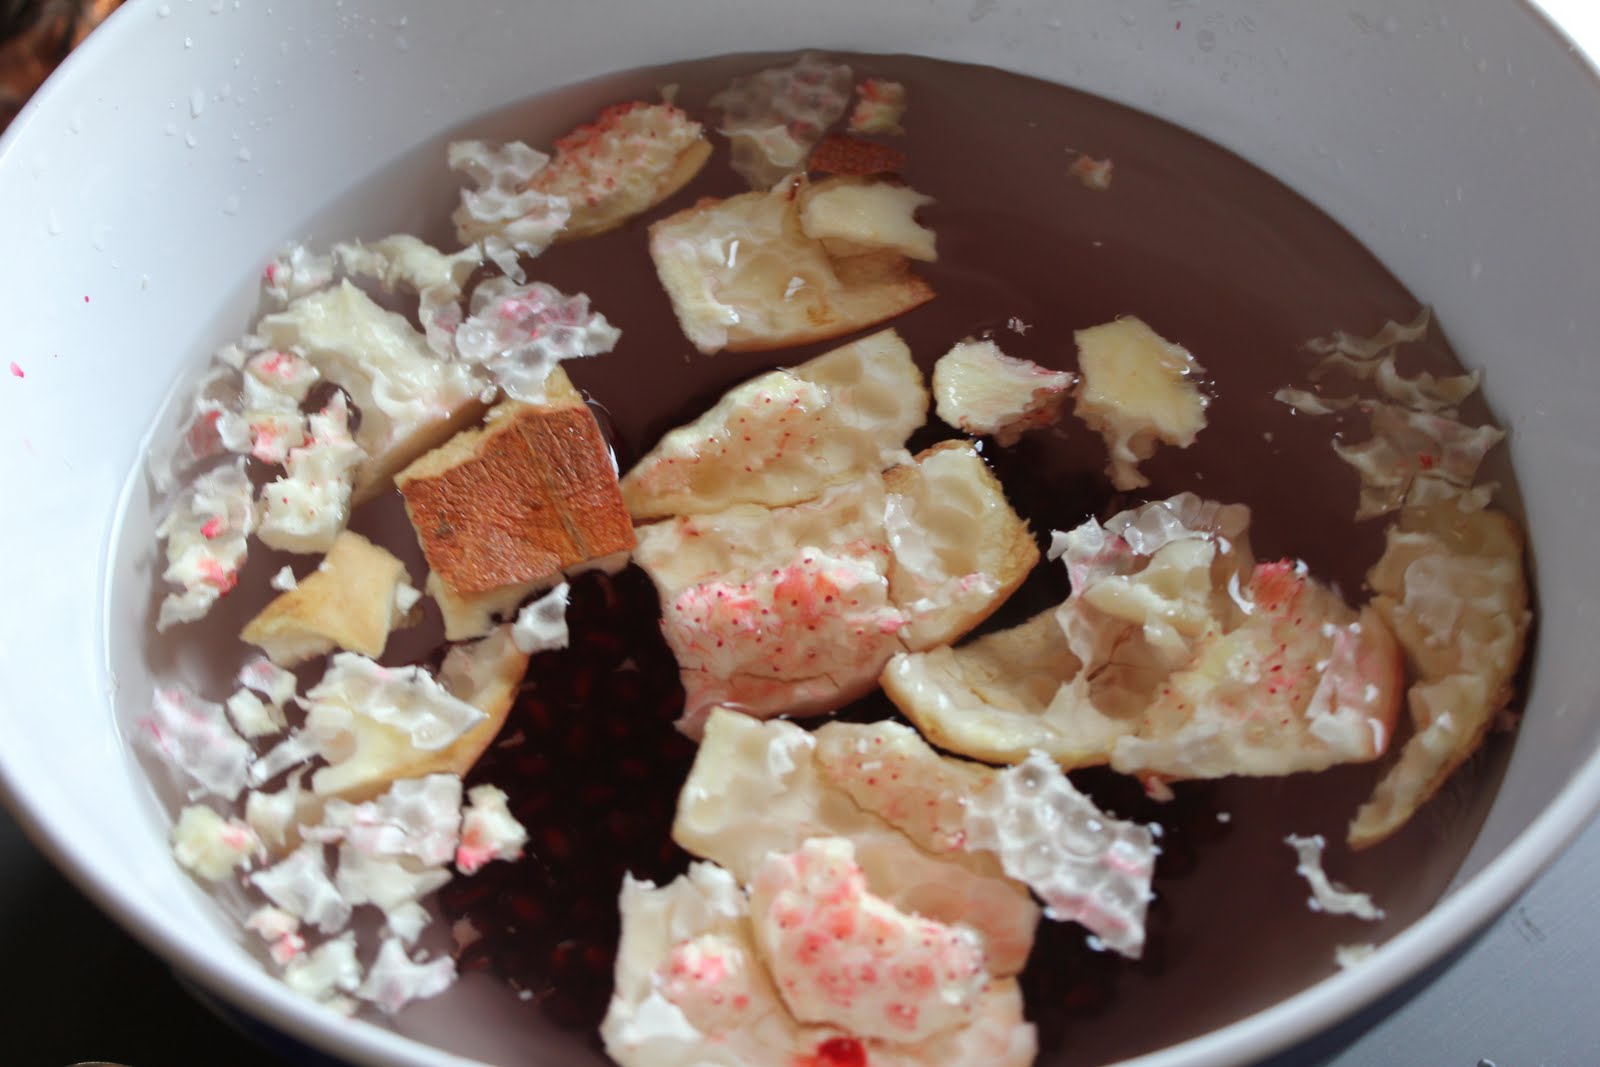
 the part you don’t eat will float to the top and the seeds will drop to the bottom

with a sieve scoop out the floating stuff and throw in the compost pile, pour the seeds into the sieve and you are ready to eat them.
Now you can use pomegranate seeds in all kinds of stuff, stay tuned Friday for the salad I made with them.
Comments { 1 }

Tutorial: How to make a Forsythe pot

If you have ever tried to make a new plant from a cutting (from a piece of an existing plant) you know that it can be tricky to get them to live long enough to make root and not dry out and die.  I was at a wonderful plant exchange this weekend and one of the people there told me about using a forsythe pot (don’t ask me why its called that) for starting plants from cuttings.  I came home and looked it up and love this idea.  It was easy to make and inexpensive.

Here’s what you need:
A gallon size or bigger pot, plastic or ceramic
Smaller clay pot with out hole on bottom otherwise you have to plug the hole with clay or a cork or something
Vermiculite (found in gardening section of any home improvement store)
Paper towels to cover hole in big pot so the vermiculite does not come out (I don’t use paper towels so I used newspaper)

Put paper in bottom of larger pot and press in place
Pour in vermiculite almost to the top
 Push smaller clay pot down into the center of the bigger pot
 Gently water the vermiculite until it is all damp and then fill the smaller pot with water to the top
 Push your cuttings into the vermiculite.  You could dip the ends of the cuttings in rooting hormone (or someone told me you can use powdered milk instead but I have not done any research on it)
 Keep the center pot filled with water and your cuttings have a wonderful new home where they can put energy into growing roots and you don’t have to worry about the soil drying out and killing the cuttings.
This would also be a great way to start seedlings I think.  It keeps the seedlings damp but not too wet.  Starting plants from cuttings is a great way to multiply the plants you already have to get lots of free ones from other gardening friends who have plants you don’t.  I have taken cuttings at parks, public roads and botanical gardens (I do not recomend this last one but there was a plant I HAD to have). Happy gardening.
Comments { 6 }