Archive | Tutorials and Patterns RSS feed for this section

Lego party how to: Mini figure crayon tutorial

I think these are my favorite craft from the party and I have heard from some of the moms on them so I think they may have been the boys favorites too.
 If you have the mold or can borrow one, this 48 crayons will cost you $1.  (Personal friends of mine, if you need to borrow the mold just ask)  I got a box of 48 crayons (not name brand) from Michaels for $1.
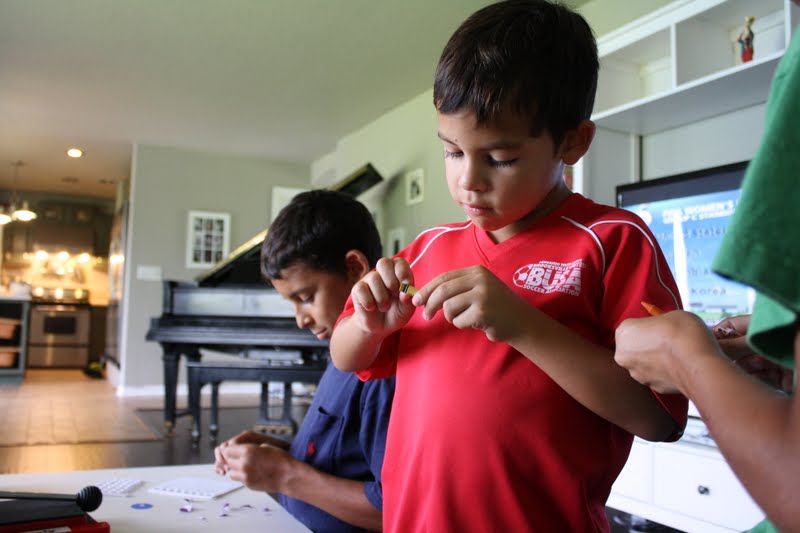
OK, now get your willing assistants to start peeling off all the crayon papers.  (Ignore the background in this picture, I have been redoing the living room and will have a before and after reveal soon).
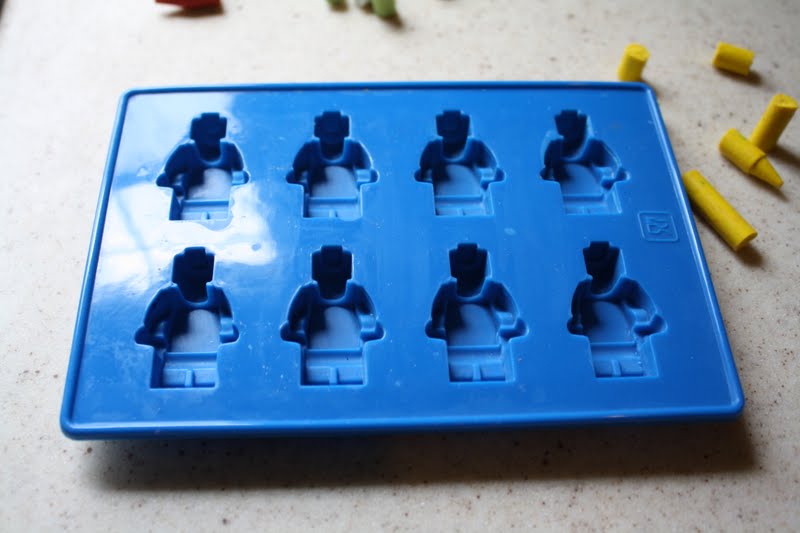
 This is the mold you need, I got mine on ebay.  It can be used for chocolate, ice cubes, chalk, crayons, play dough, you name it. 

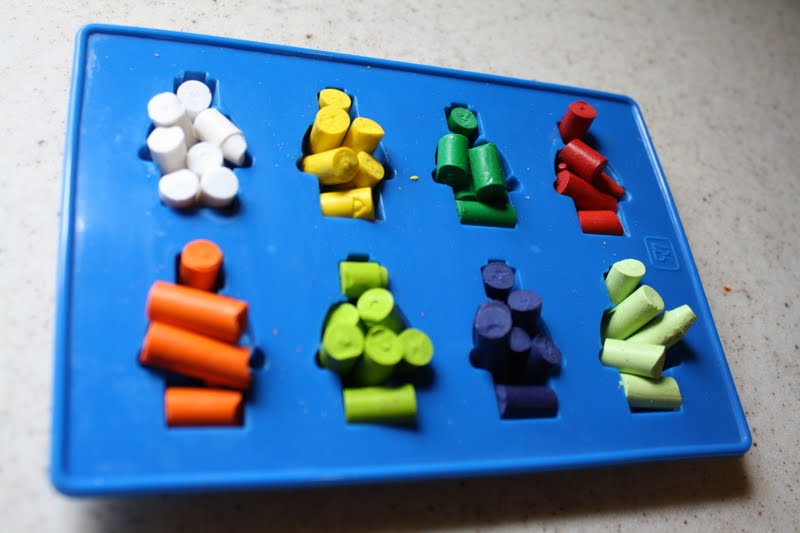
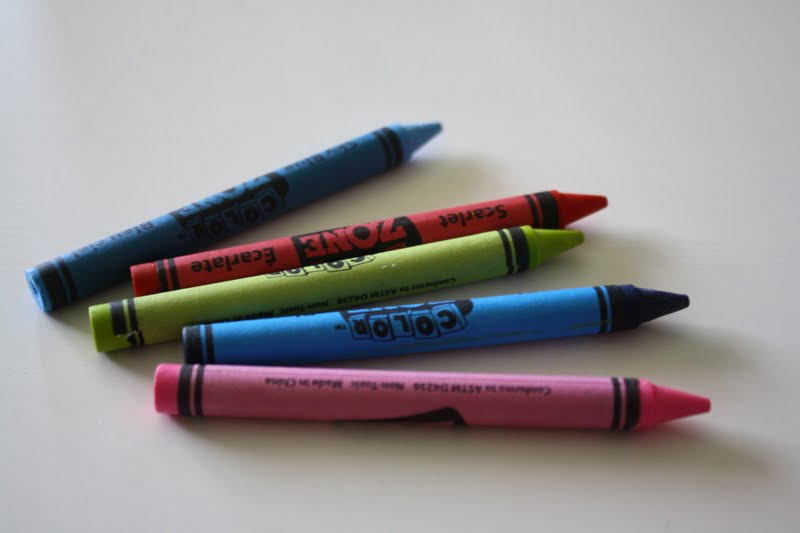
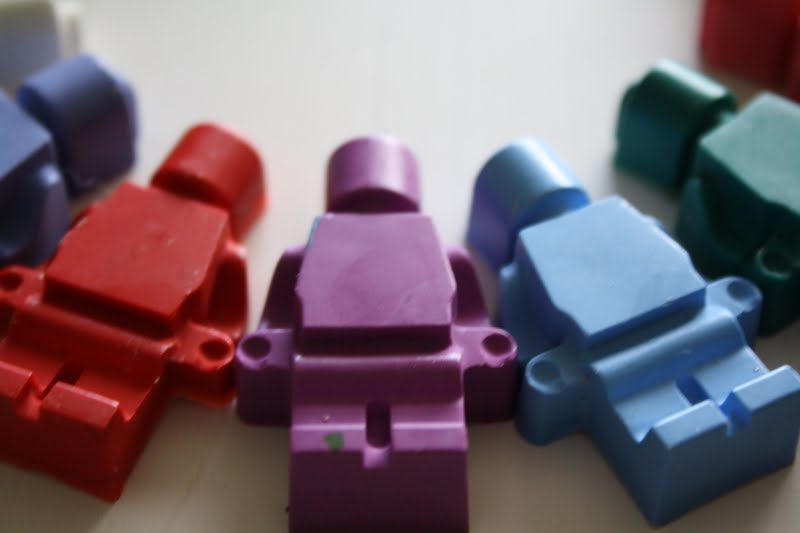
 Break up your crayon and put one crayon into each cavity. That’s right you can melt the crayons right in the mold.  Bake in the oven at 250 for about 8 to 10 minutes, when it is all melted, take it out and put it either in the fridge if you are in a hurry to unmold them and make more or just let them sit out until the cool and harden.

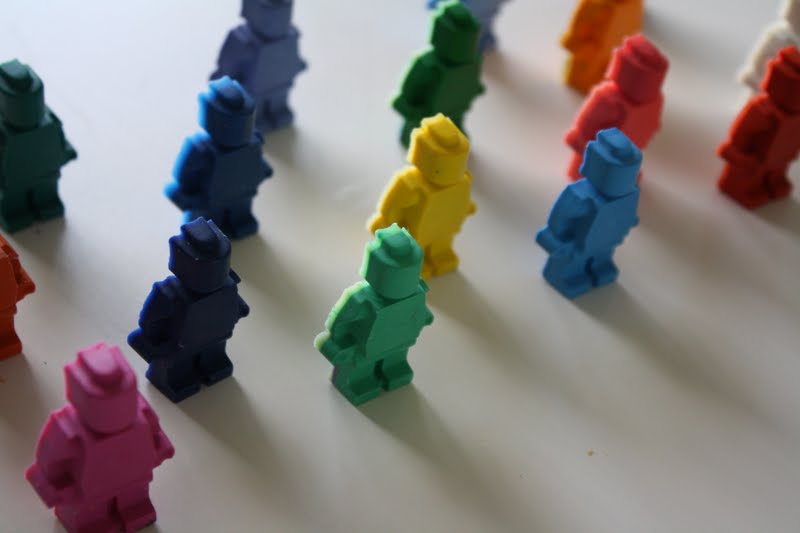
 I love the pictures Alexandra took, don’t you? 
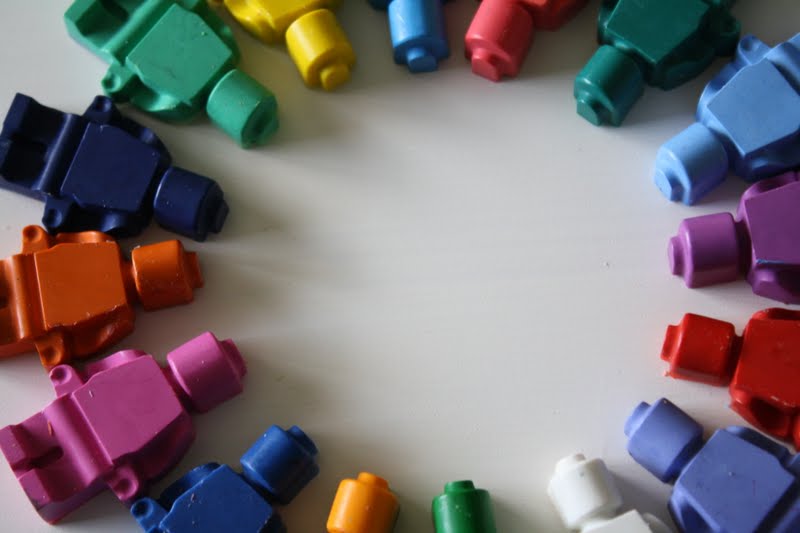
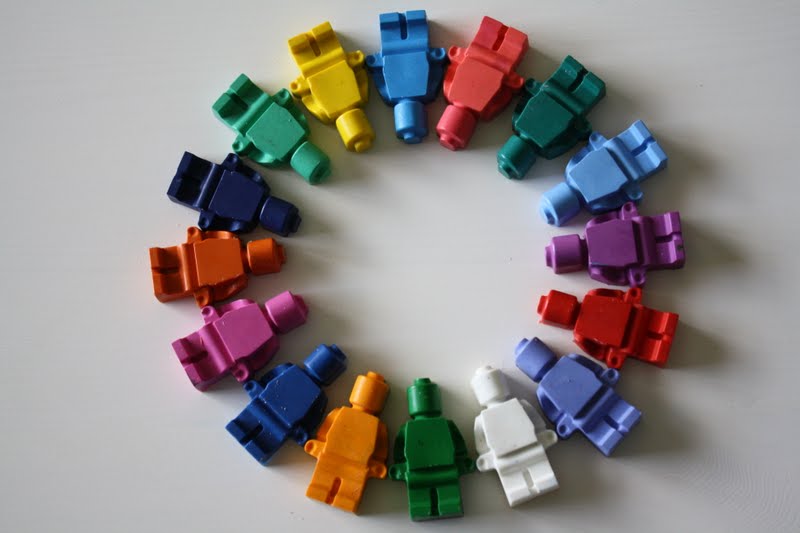
 Be careful when unmolding the crayons, the heads break off if you don’t unmold them carefully.  After a few chopped off heads, you’ll get the hang of it.
 You could mix the crayon colors but I like them like this.  
 Each boy received a bag of crayons in their party bags 
To see the whole party visit here.
Comments { 35 }

Lego party how to: Personalized Lego straw from recycled plastic skrinky dinks tutorial

Here is an almost free craft if you own some permanent markers and what ever you have to pay for the straws.  I never made any shrinky dinks when I was little, I remember seeing them on TV but none ever made it to my house.  Too bad my mom didn’t know about clear plastic number 6!  You know the clear trays that pastries and salad come in at the supermarket.  You may look a little weird (like me) at the store picking up packages of croissants or precut salad to look under for the number inside the triangle.  That I know of you are only supposed to use the ones that are number 6. I couldn’t bring myself to buy some of that salad (you can cut your own for alot less money) so I asked at the bakery and they happily gave me a few packages.

Next, I downloaded a lego font from here and printed all the names I needed.  Increase the size of your font until it is about 1.5 inches tall.  Your plastic strips will be about 2 to 2.5 inches tall and as wide as the name on them. With a black sharpie I traced them. The finished project will be 1/3rd smaller than when it began and about 3 times thicker so keep this in mind while planning your project.

then I filled in the black lines to make them look thick like the font on legos is as well as joining all the letters in between by coloring with black in between

 next I traced around the black with yellow sharpie and then with red

 now keep coloring with the red until you have a rectangle that is all colored in.  Ignore the hole puncher, that was for another project : ) Oh… preheat your oven to 350 F.

place your colored plastic strips on a cookie sheet covered in foil or just put them on foil
put them into the oven.  If you have a window in your oven you can watch the fun, if you don’t wait 90 seconds and then slightly open the oven door to keep an eye on it.  At first it will curl and wave like crazy but within 3-4 minutes it will shrink and flatten down to about 1/3rd of the original size.  When you take them out of the oven, you have about 10 seconds to press them flatter if you want or curve them or whatever else you want the plastic to do before it becomes hard. Be careful with the oven and use precaution when taking the shrinky dinks out and handling them until they cool off.
With a glue gun, glue the name tags to the straw. done. This is my original idea,  If you like it enough to try it on your blog please link back to this post ; )
To see the whole party visit here
Comments { 2 }