Happy Saint Patricks Day to everyone. One of the tutorials I have promised all my bloggy friends is the marshmallow pop tutorial from the marshmallow pops I made for Livie’s second birthday party.
Since today is Saint Patrick’s Day (also my feast day since my given name is Patricia…wink, wink) and who doesn’t love a treat on Saint Pattys day, I decided to do the tutorial today.
What you will need:
Candy melts or white bark chocolate
Marshmallow (the big kind not the tiny ones)
Sprinkles, candies or decorations for the top
Lollipop sticks
Styrofoam board to keep the pops standing on
Small cups to keep chocolate and toppings in for dipping
First thing you want to do is get your pops board ready. You do not want to be pushing pops into a board when they are not yet set up and mushy. Make holes for your pops by pushing the ends of the lollipop sticks into the styrofoam in rows across and down the board.

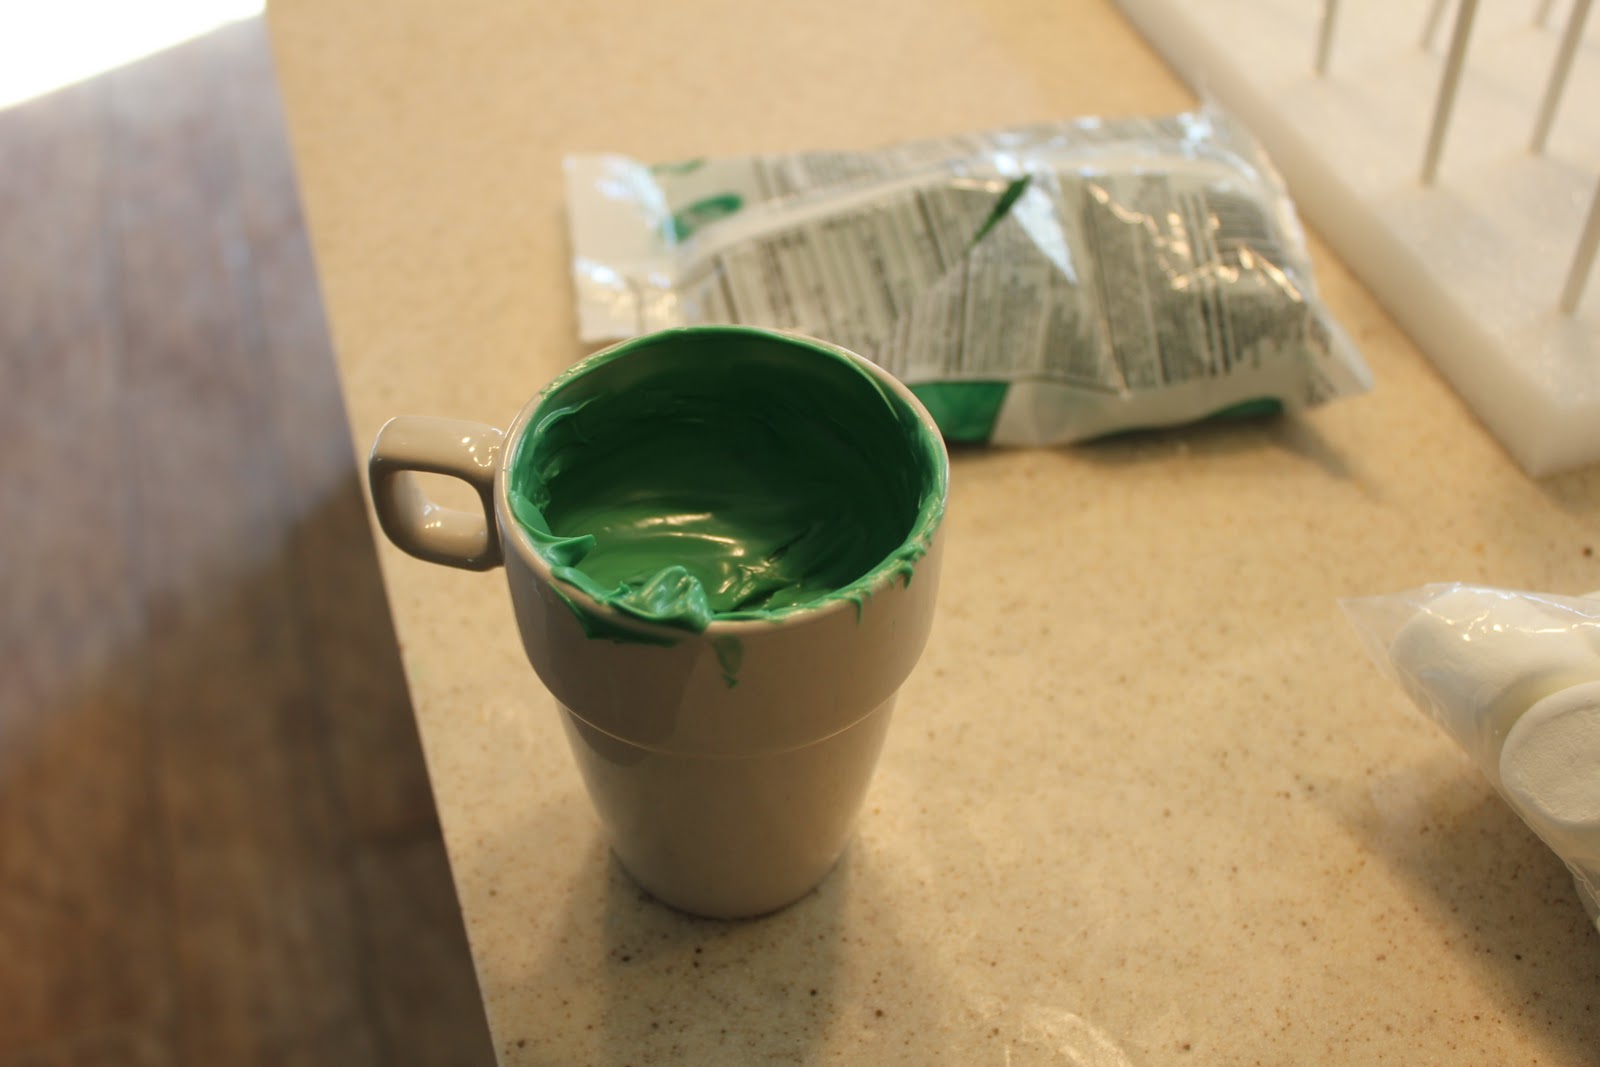
Put enough candy melts in your microwaveable cup (this is pretty much all that I use my microwave for) to almost fill the cup. Melt in your micorwave for about 15 seconds at a time, take out and mix. If not melted, put it back in and do another 15 seconds. If you do not watch it and it goes too long you will burn the candy melts and it will be un-useable.
Push a lollipop stick in the bottom of a marshmallow until it is in the middle, don’t push it all the way through. Holding the lollipop stick, dip the marshmallow into the melted chocolate until half covered.

Turn the pop slightly while pulling it up to get a nice covered top.

Now that you have dipped it in the chocolate, you are going to dip it in your sprinkles or top it with whatever you like. For the birthday party pops, I just put a cute m&m on top and done.

done and done.

Now, wasn’t that easy? I made all of them in about 20 minutes while painting the livingroom for our big makeover (more on this in a few weeks for my big reveal), getting ready for a Saint Patricks party tonight and making 2 trays of roasted potatoes for the party.

To decorate your pops board, you could cover the top with some nice scrap booking paper or fabric before you poke the holes but white worked with my color scheme so I just added some ribbon around the base.