About Tricia

I am Tricia. Momma of nine, homeschooler, artist, foodie and maker of all kinds of things. It's a pleasure to share here our family homesteading adventures, the things we make, and what inspires our days. Read more about my family and work here. Thanks for visiting!

Author Archive | Tricia

Jello shot push pops tutorial

Remember push pops?  The geniuses over at the Meringue Bake Shop came up with some push pop cupcakes which I must say I love so…. I found a company who sells clear plastic ones and have been making lots of fun things with them.  For our annual July 4th celebration, I made jello shots in them.  Of course you could make them without the alcohol but why should the kids have all the fun.  If you have never made alcoholic jello shots then fret not, I’ve got you covered (scroll to the bottom for the instructions)

 Make your bottom layer flavor of jello and pour into the cups, put in the fridge for about 30 minutes or until firm

 in this picture I am piping in a layer of whipped cream but if you do it this way it will float to the top once you pour your next layer of jello so just do it at the end. Make the next layer of jello and pour over the firmed up layer of jello.  Put them back in the fridge for an hour.

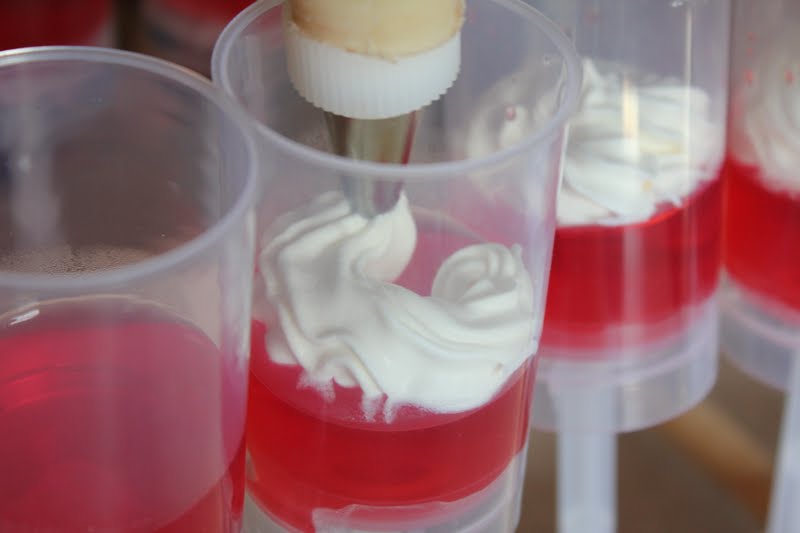
 To pipe the whipped topping on, just put a cup or so of whipped cream into a piping bag with a star tip and squeeze a nice round of whipped cream on top for decoration.

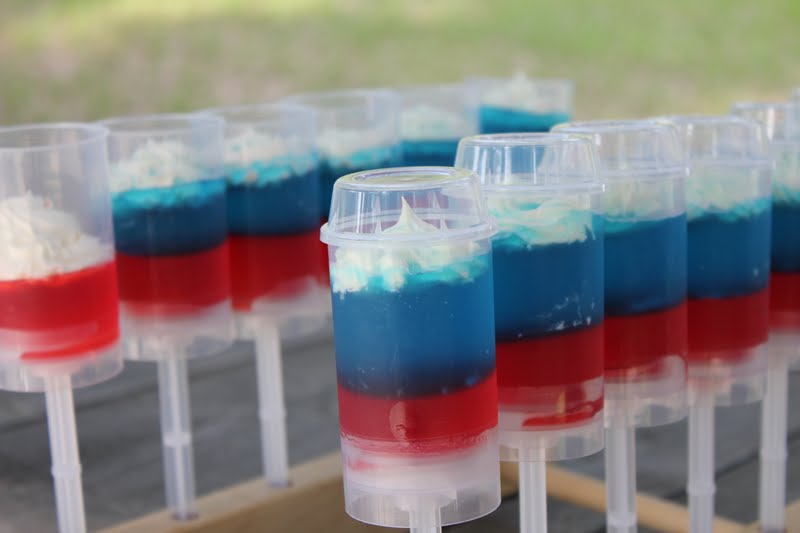
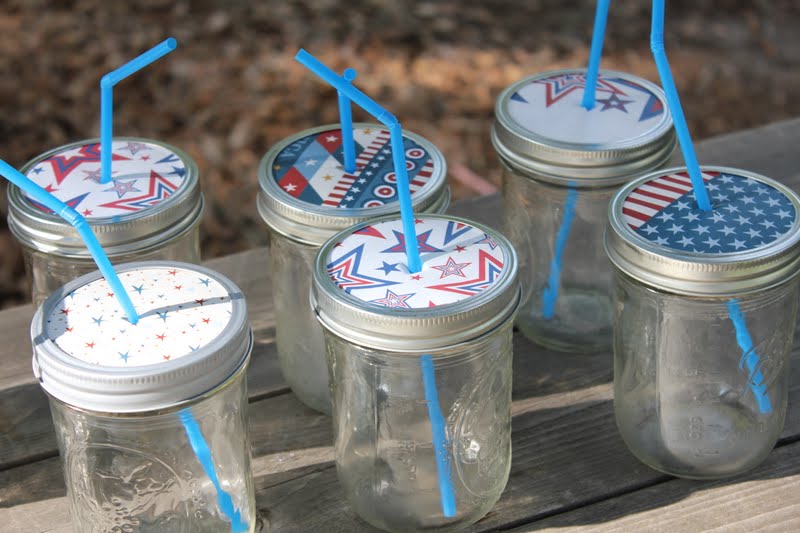
 You will need a base to keep your pops upright while the jello firms up the refrigerator.  You could easily use a block of styrofoam covered with paper or fabric.  I have searched and there is no one making jello like this out on the web.  If you copy this idea please post a link back to the post ; ) Thank you!

For jello shots you mix the jello powder with one cup of boiling water and then instead of adding a cup of cold water you add a cup of cold vodka…done!  Told ya it was easy.
Comments { 11 }

Holiday themed mason jar sippy cups tutorial

I heart mason jars, always have!  When Poppa and I first started this family I kept everything that I could in them. In our little condo kitchen, I removed the doors to the upper cabinets to display my french country inspired jars full of rice, beans, sugar etc.  My style back then was very eclectic and most people thought I was out there (not that they have stopped thinking that) but for the 90’s, this was pretty unusual. Our other use for them was drinking cups. They were cheap and if they broke, who cares plus it gave me an excuse to try my first jam, 3 citrus marmalade (wish I had taken pictures).  Not much has changed since 1996 around here except that we can afford “good” cups for visitors : )

 What you’ll need:
Mason jars with lids and rings
scrapbook paper or fabric
disposable cup lid (like what you would find at a fast food restaurant)
marker
scissors
straw

 trace the mason jar lid and cut out enough circles to cover all your jars

 now do the same with all the plastic lids and cut those out

 place your paper or fabric circle under the plastic circle you cut out of the plastic lid. Line them up and with an exacto knife, put the knife in the slit in the cup lid and using it as a guide, cut an x through the paper underneath it.

 put the plastic lid on the jar, paper on top and secure the lid.

 insert straw and enjoy

You can reuse the plastic liner many, many times.  You could also drill a hole in the metal lid of the mason jar itself but I cannot find the bit that makes that hole at the moment and in case you are not handy with a metal drill bit, here you go.

Comments { 1 }